
When I was in college, I invited a girl over for a date. It was a glorious spring day, and I thought it would be the perfect time to fire up the unused barbecue that had been sitting on my patio all school year. I prepped all the food, chilled all the beer, and then I realized I had no way of lighting the coals for the barbecue.
Our barbecue didn't have a chimney, and I was rather opposed to lighter fluid (which is both bad for you, and has an unfortunate flavor), so I scoured the Internet for a solution. After 15 minutes each of research and handiwork, I had a homemade barbecue chimney, and I was ready to impress my date with some delicious grilling.
I'd like the story to end there, but in reality my charcoal was soaked from being left in the rain, and we ended up using the oven instead of the grill. But I digress. I may not have utilized the homemade chimney on that day, but it remains my favorite grilling hack, and one that requires only a few simple tools.

Step 1: Strip a Tin Can
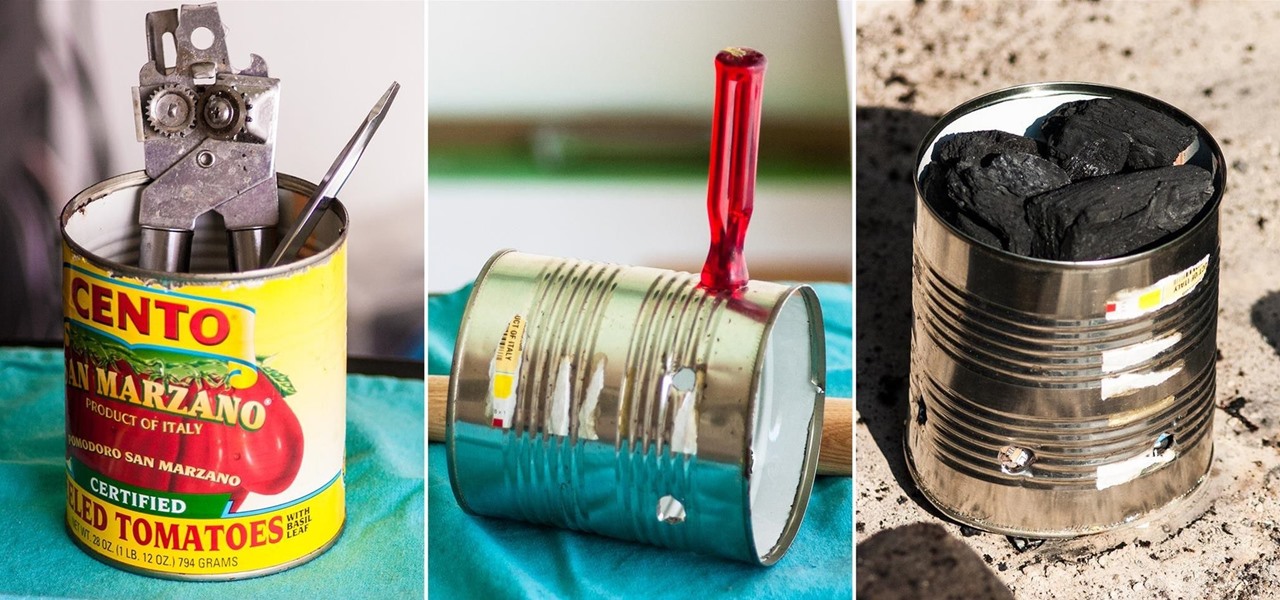
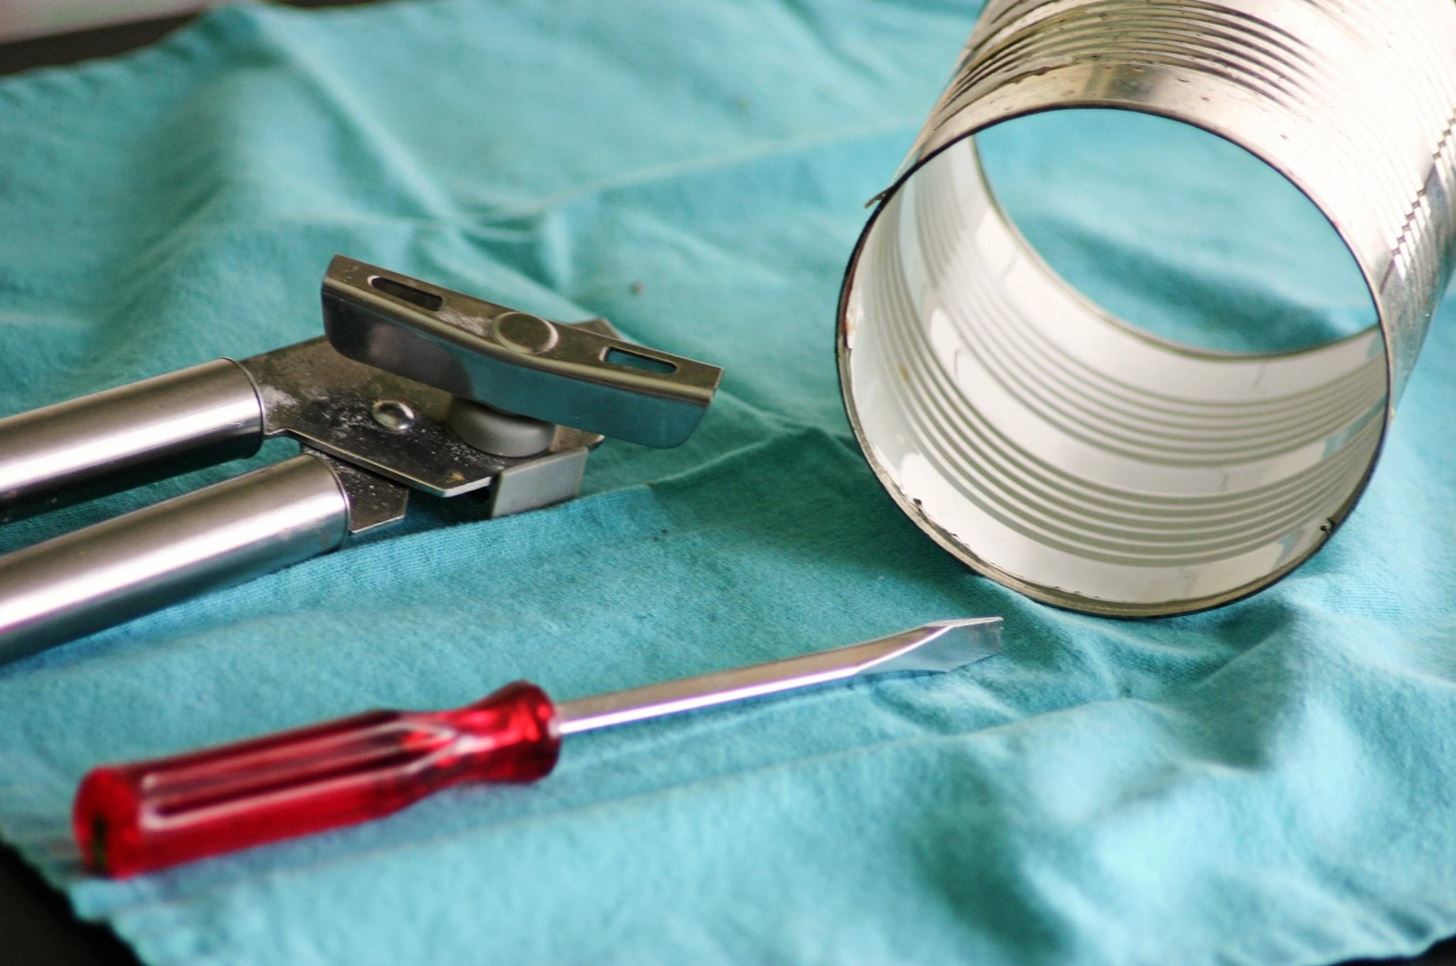
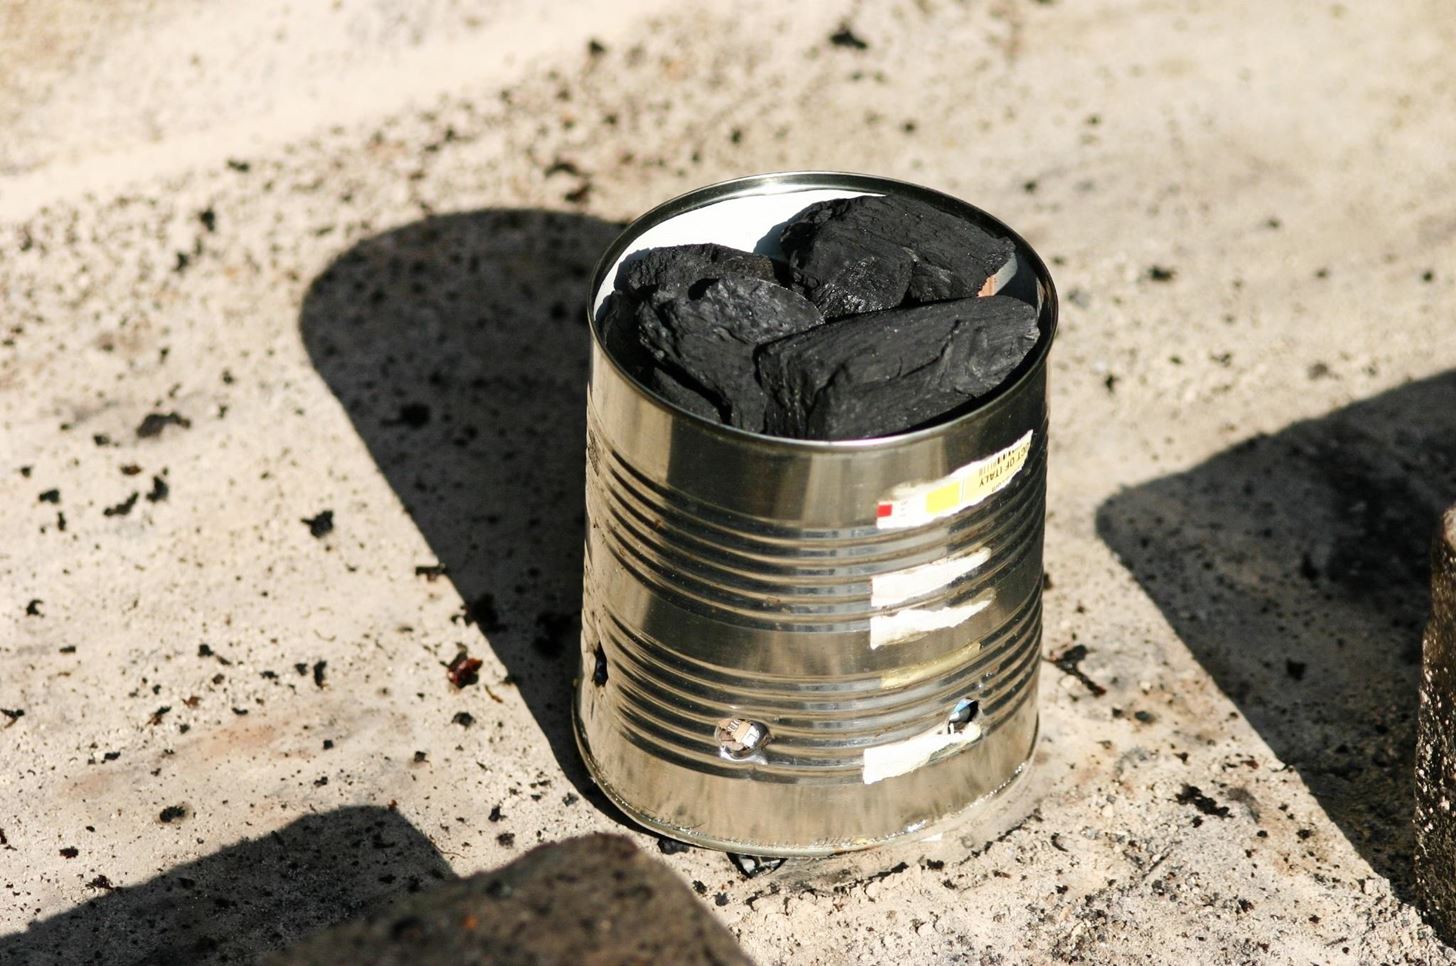
There's only one essential item for a homemade BBQ chimney: a tin can. I used a 28 ounce can, but a larger can definitely makes the process easier. Conversely, you could use a 12 or 16 ounce can, but it would be a bit more difficult to make work. Once you have an empty can, strip it entirely: remove the label and the bottom so you have a hollow and opened tin cylinder.
Step 2: Poke Holes for Ventilation
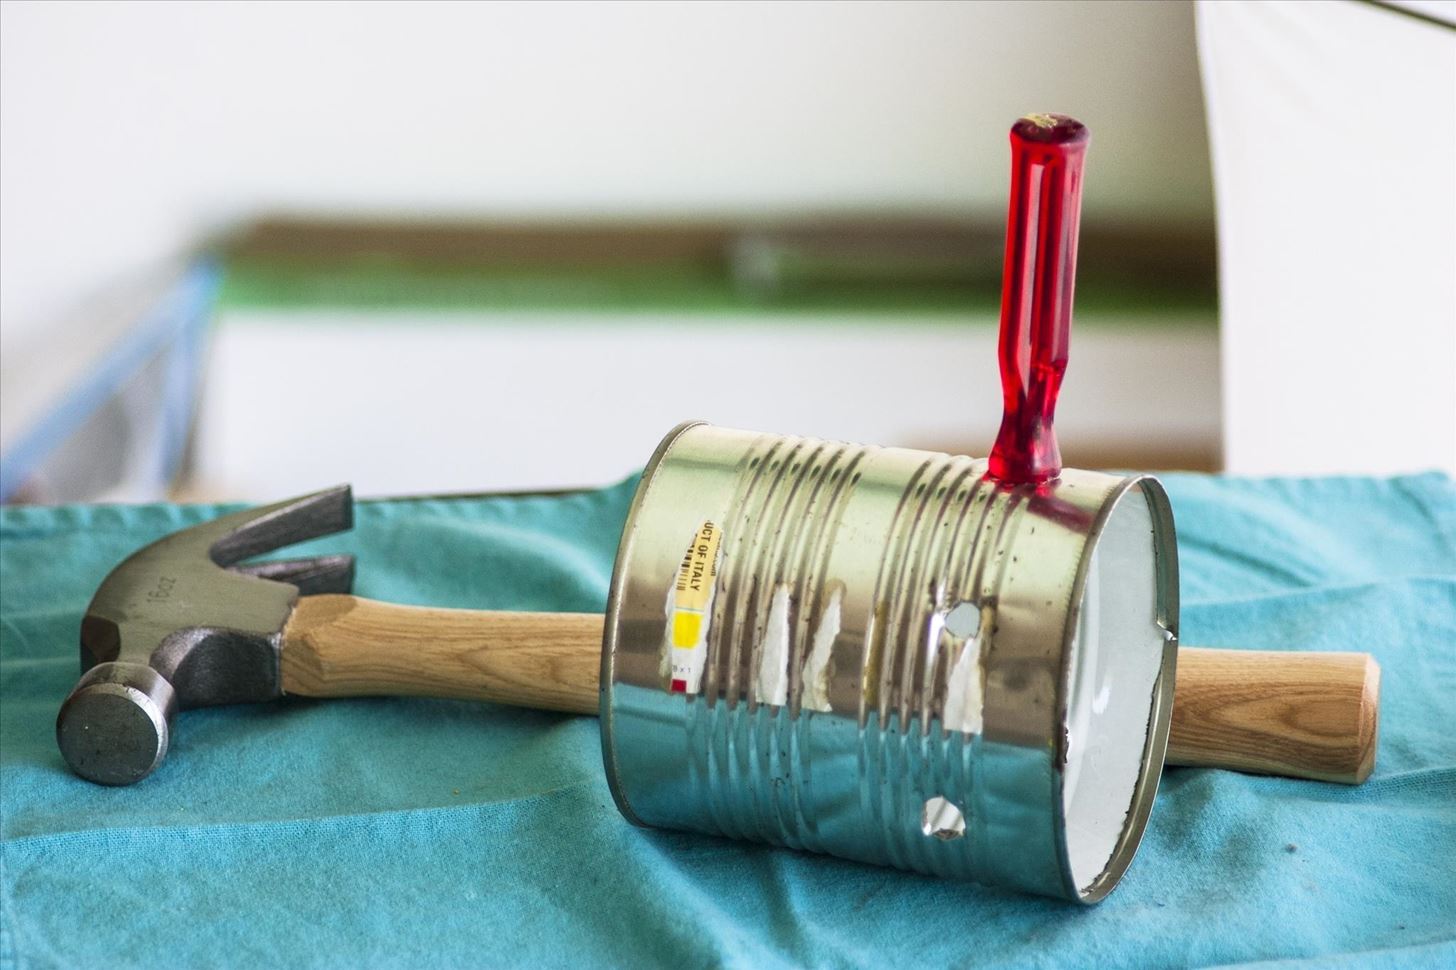
In order for the chimney to work, there will need to be ventilation so the fire can breathe. Poke five or six holes near the bottom of your can, and make sure they're large enough to allow steady air flow. A church key is the best implement for making these holes, but you can get creative: I usually use a screwdriver or pliers, and help them puncture the tin by hitting them with a hammer.
Step 3: Add Newspaper
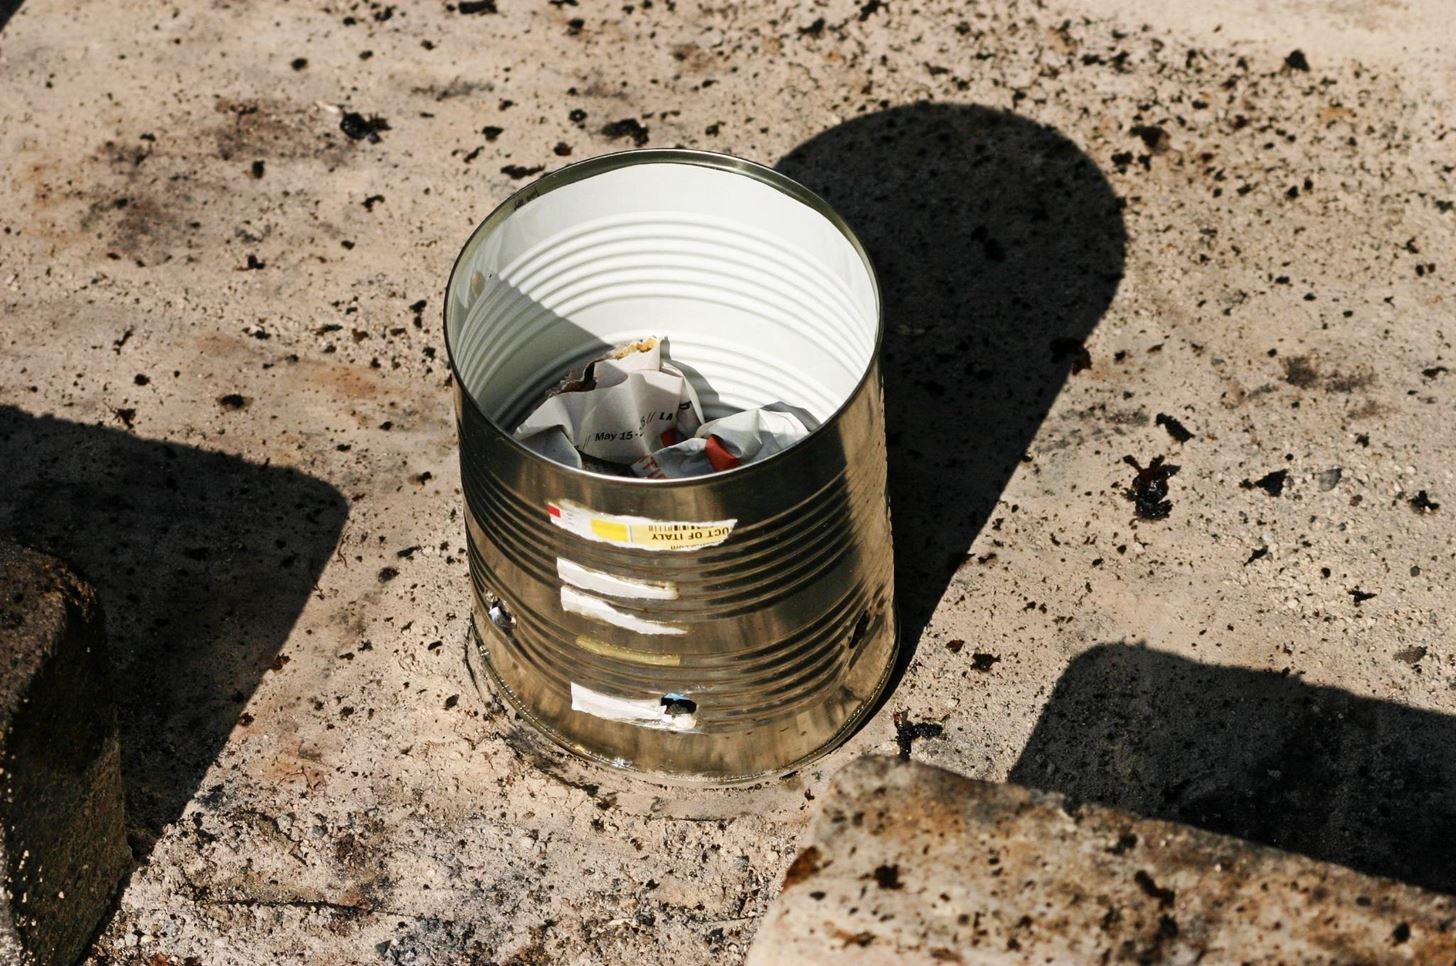
Place your tin can on the bottom of your grill (or wherever you ultimately want your hot coals). Then take one or two pieces of newspaper and stuff them into the bottom of the can. You want to be careful not to compress the newspaper too much, or it won't have enough air to burn strongly.
Step 4: Add the Charcoal
Place a few pieces of charcoal on top of the newspaper. You don't need to add a huge amount; just a few burning coals will be enough to light the rest.
Step 5: Let 'Er Rip!
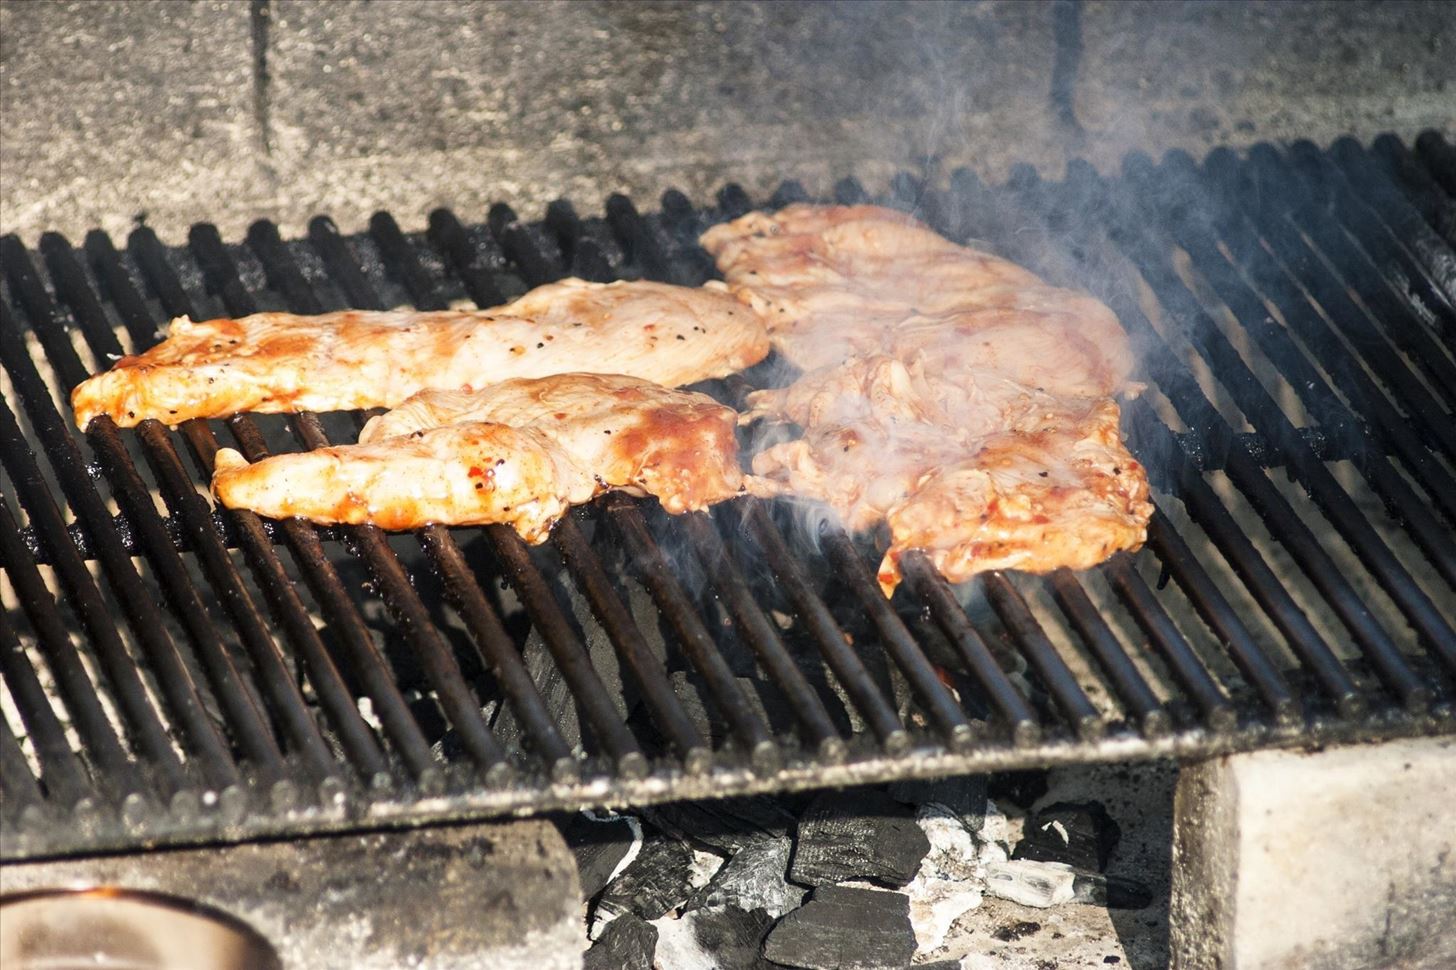
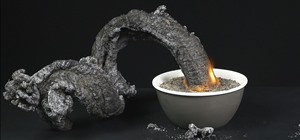
Light the newspaper on fire, and wait for it to heat up the coals. When the coals are extremely hot, simply take a pair of tongs and lift the tin can up. Add more charcoal on top of the hot coals, and you're good to get cooking.
- Don't Miss: Charcoal Grill + Flowerpot = DIY Tandoori Oven
Awesome Variations
The instructions I just laid out are for a very simple chimney, albeit one that works well. If you want to spend some more time making your chimney perfect, however, there are lots of things you can do.
You can put wire coat hangers through the ventilation holes to create a grate for the charcoal, like a store-bought chimney has. This keeps the coals elevated, and makes it easier for them to heat up. And if you really want to get fancy with your chimney, you can use nuts and bolts to make a handle.
Whatever you do, happy grilling!
Just updated your iPhone? You'll find new emoji, enhanced security, podcast transcripts, Apple Cash virtual numbers, and other useful features. There are even new additions hidden within Safari. Find out what's new and changed on your iPhone with the iOS 17.4 update.


Be the First to Comment
Share Your Thoughts