
Caramel is delicious, but it can be a tricky flavor to incorporate into baking. Traditionally, caramel is a liquid, and that doesn't always suit dessert preparation since adding extra liquid to baked goods can ruin them. So how do you get that buttery, toffee-like flavor?
Enter Stella Parks from Serious Eats, who shows that with a little tinkering it is possible to caramelize sugar without needing to liquefy it at all. Read on to understand the magic of caramel sugar—a tasty stand-in for regular granulated white sugar—as well as how to make it yourself.
Caramelized Granulated Sugar vs. Brown Sugar
It's true that brown sugar can be substituted for a flavor similar to caramelized sugar's , but chemically it doesn't have the same interaction with other ingredients as granulated caramel sugar does.
When you substitute brown sugar for white, you have to do a bunch of complicated equations to figure out the proper ratios. This baking headache can be avoided by using granulated caramel sugar that boasts a 1:1 ratio for recipes using white sugar. How easy is that, to quote caramel afficianda Ina Garten.
The Benefits of Thermal Decomposition & Sugar
The magical transformation that caramel sugar undergoes has the fancy scientific title of thermal decomposition. Unlike melting, which does not actually change the substance (think of freezing water and then melting it), this process is a chemical reaction where heat is used to break down the molecular bonds and create a beautiful new structure.
It's hard to pinpoint a particular temperature where thermal decomposition takes place, since it depends on variables like length of exposure to heat and intensity of the heat source. The end result, though, is a granulated caramel that will motivate you to immediately start baking cakes, cookies, and other desserts with it.
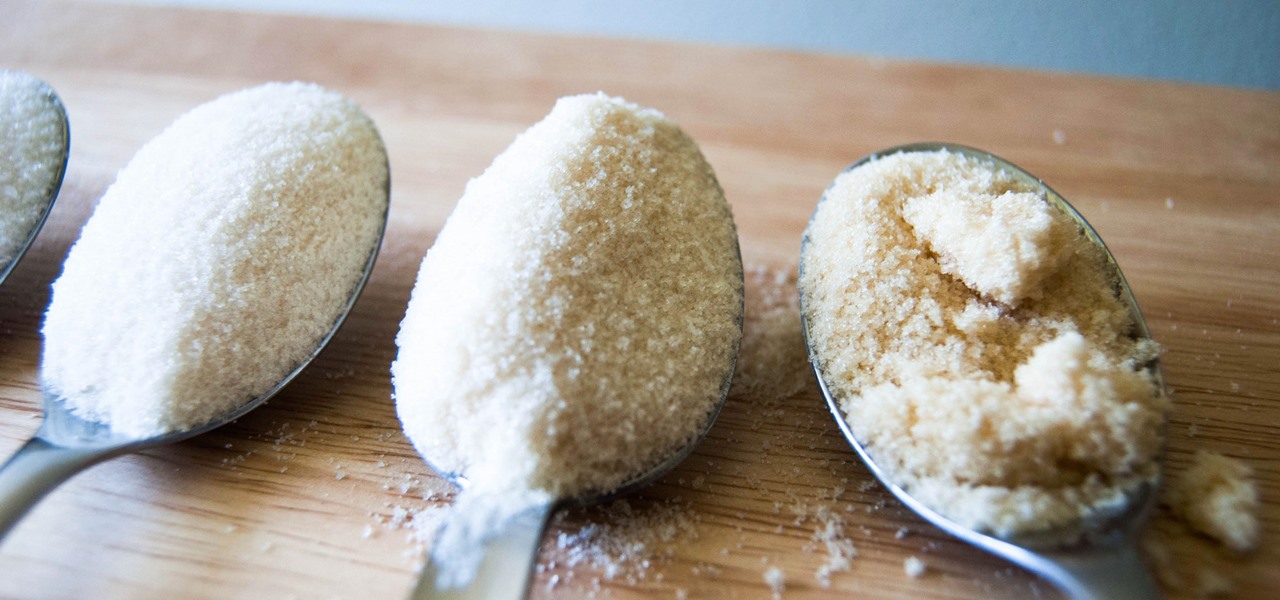
High Heat vs. Low Heat
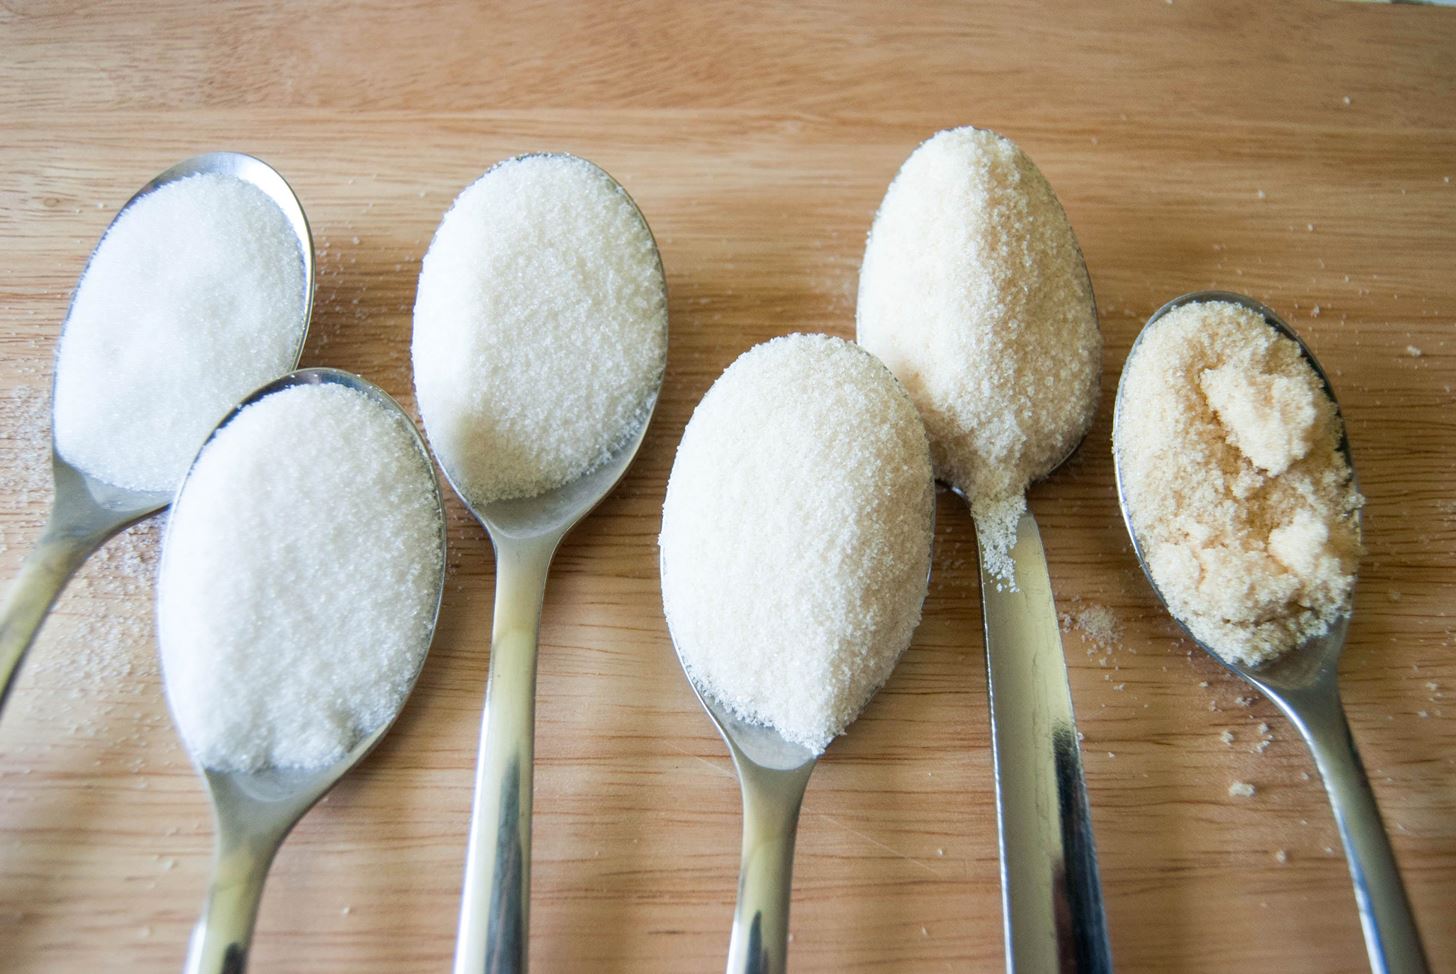
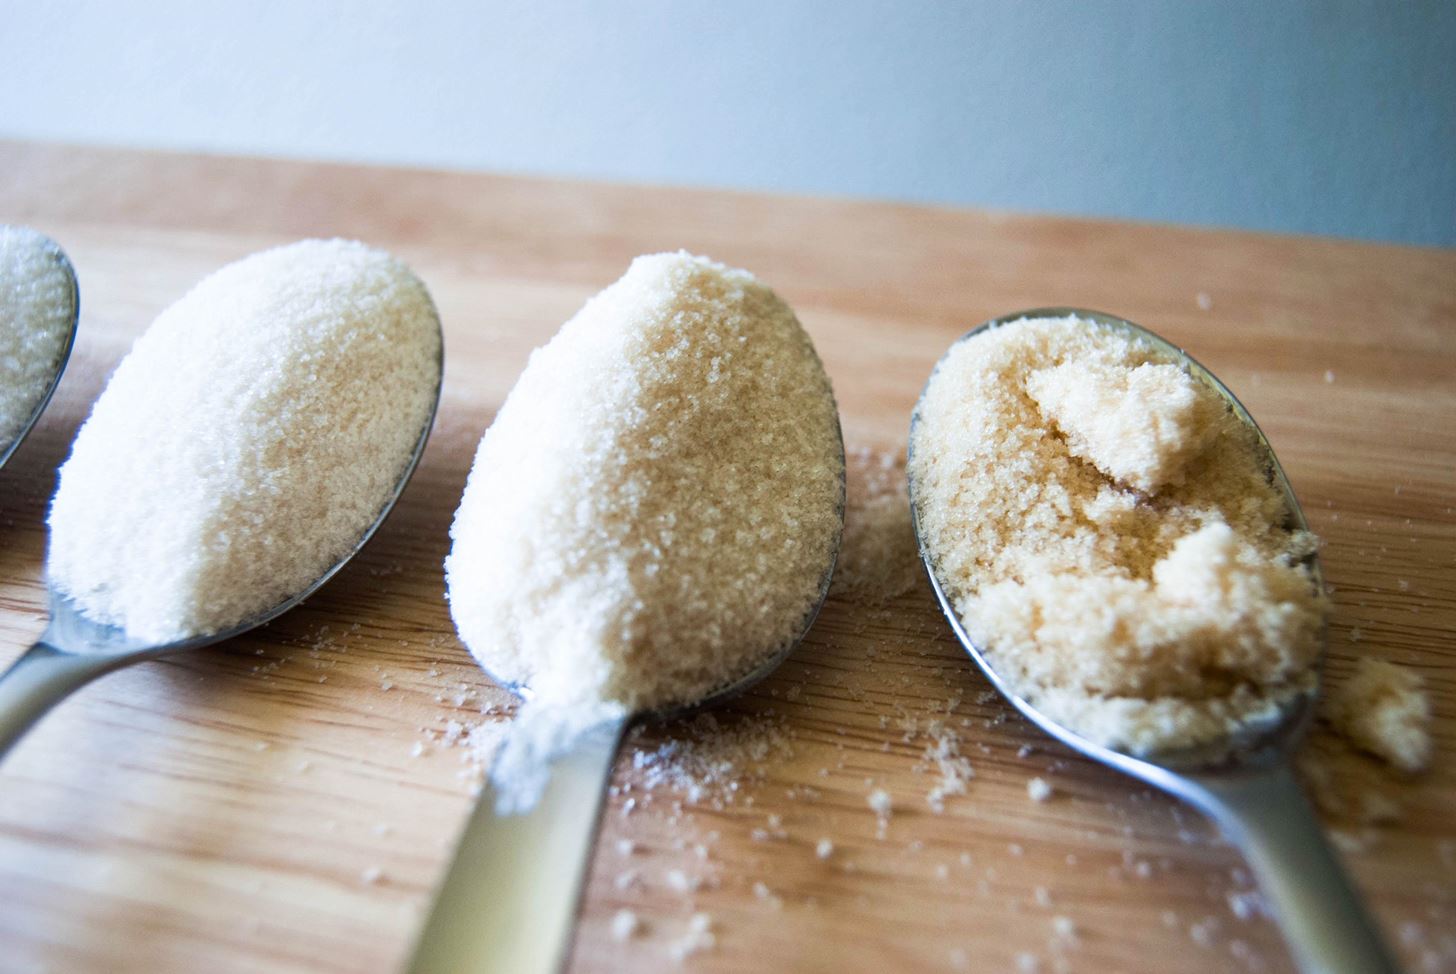
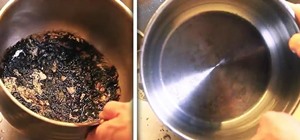
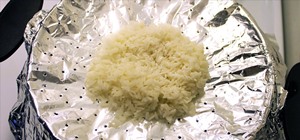
Sugar quickly melts into caramel when it's heated up on the stove top or with a blowtorch. With thermal decomposition, the slower heating-up process allows the sugar to go through various granulated caramel stages. Each hour that the sugar bakes creates a slightly different taste and texture. After the first hour, the ivory sugar is a mellowed out, less-sweet version of its former self. In contrast, after five hours, the sugar will have clumped together and physically resembles brown sugar, but with lighter caramel flavor notes.
How to Make Granulated Carmel Sugar
It's recommended to make large batches of this versatile sugar, so you always have some for next time. It can be stored for as long as plain white sugar can (as long as it's in an airtight container) so that it's readily available for future baking endeavors without the lengthy production process each time. Here's how to make the magic happen:
- Preheat the oven to 300°F.
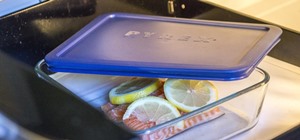
- Use a glass or ceramic baking dish to hold the sugar, since both are poor conductors of heat and will allow your sugar to bake more slowly but not burn.
- Bake the sugar for five hours (or less, depending on how strong you want the caramel flavor to be). Make sure to stir it every half-hour or so after the sugar has been baking for an hour so as to avoid uneven browning.
- To get rid of any lumps, allow the sugar to cool a bit when it's out of the oven.
- Place it in a food processor, then pulse until it regains the texture of regular granulated sugar.
The Big Reveal
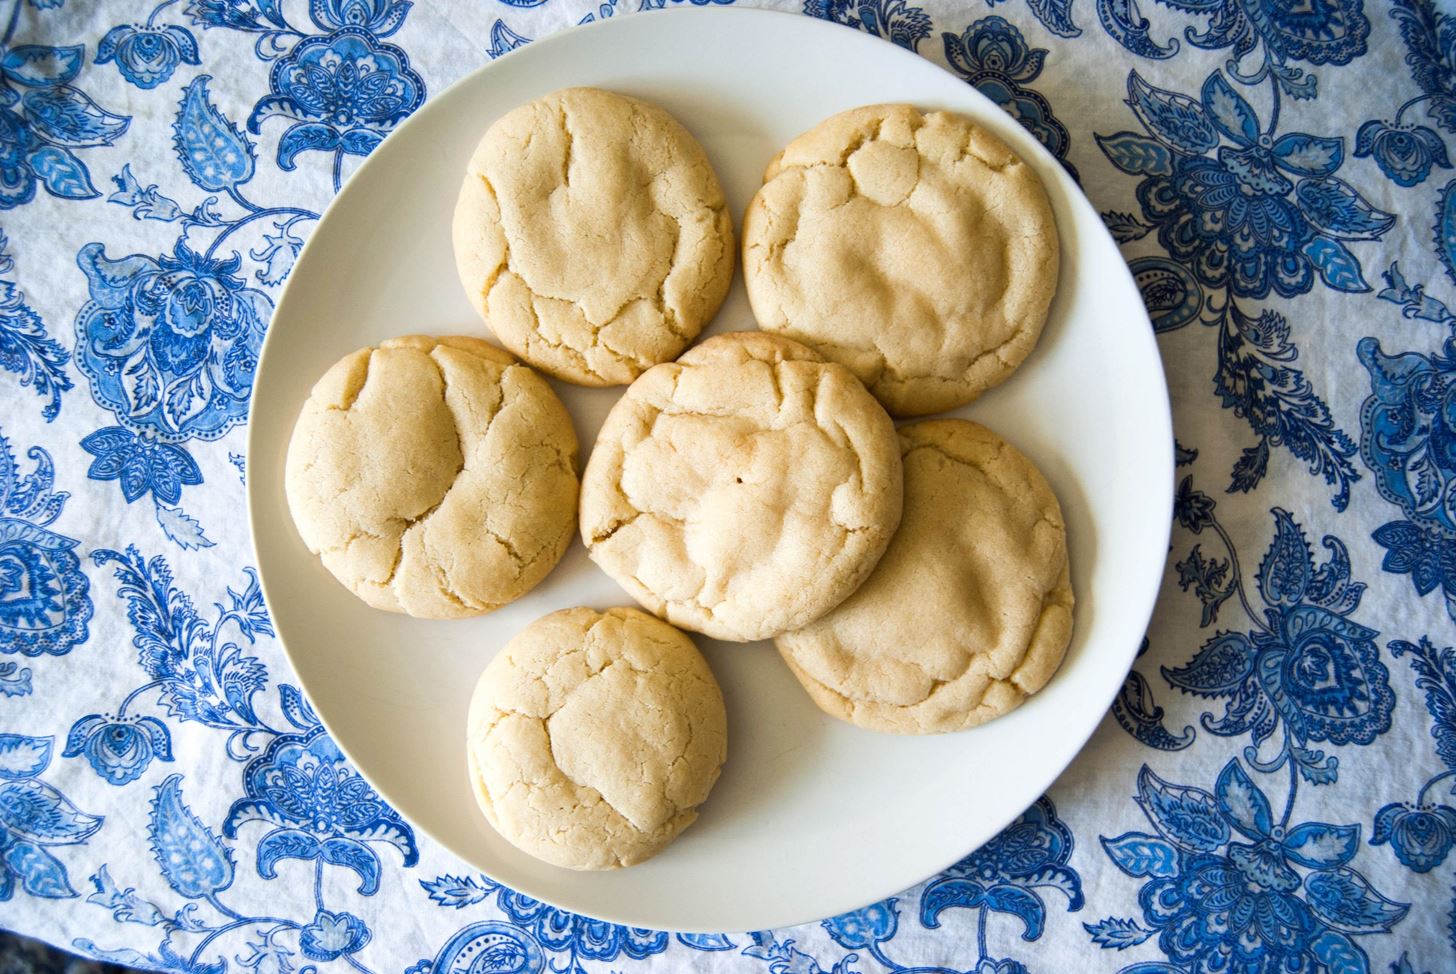
The best thing about caramel sugar is that the options are endless when it comes to deciding what to use it in! I went with a classic sugar cookie recipe from In Katrina's Kitchen because it was simple enough for the caramel flavor to really stand out. Although all the cookies had the same appearance and texture, they had varying flavor notes of caramel depending on how long the sugar had baked for.
The first two cookies with the sugar that had baked for 1 and 2 hours had a faint taste of caramel, but honestly it was barely noticeable. The cookies with 3 and 4 hours of baked sugar had a more defined caramel taste, and the 5-hour sugar cookie had the richest flavor of caramel (as was expected). A much-welcomed benefit was that all the cookies had an more crispiness on the outside than a normal sugar cookie would have. Granulated caramel sugar for the win!
Now that you know this simple oven trick to baking caramel-rich cookies, you'll be brainstorming new ways to add granulated caramel sugar to all your baked goods. Let us know what you made and how it turned out in the comment section below!
More Baking Hacks:
Just updated your iPhone? You'll find new emoji, enhanced security, podcast transcripts, Apple Cash virtual numbers, and other useful features. There are even new additions hidden within Safari. Find out what's new and changed on your iPhone with the iOS 17.4 update.


Be the First to Comment
Share Your Thoughts