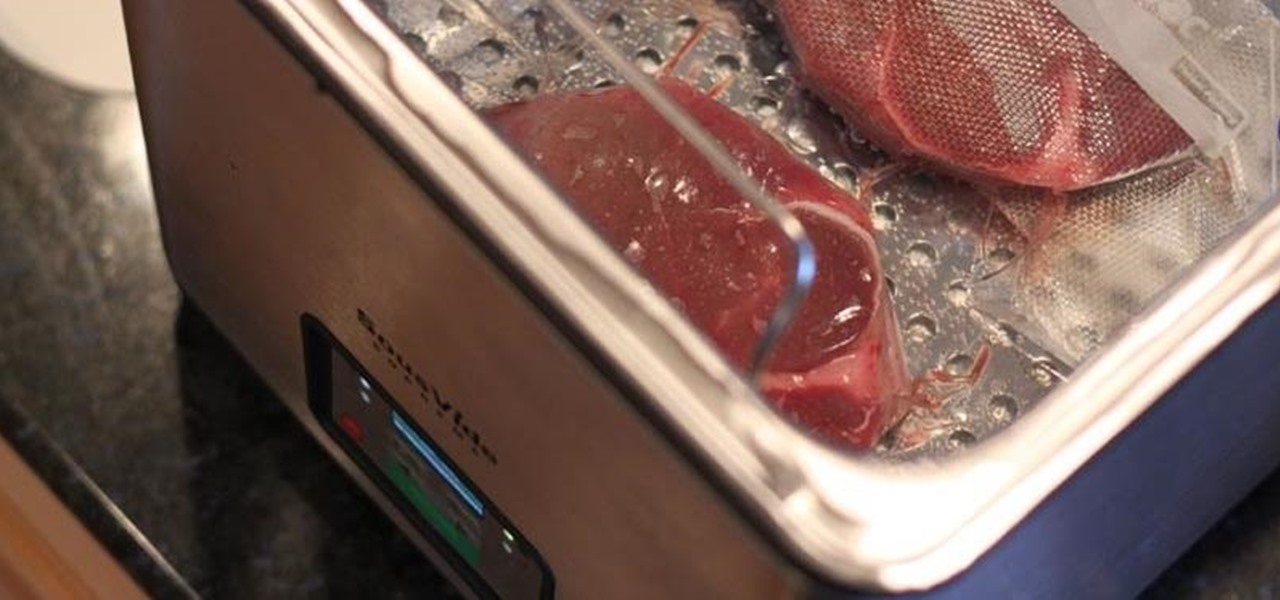

Unless you're a pretty avid home cook, you probably don't know a lot about sous vide. Sous vide is a low-temperature cooking method where food is cooked in vacuum-sealed plastic bags in a water bath for a prolonged period of time.
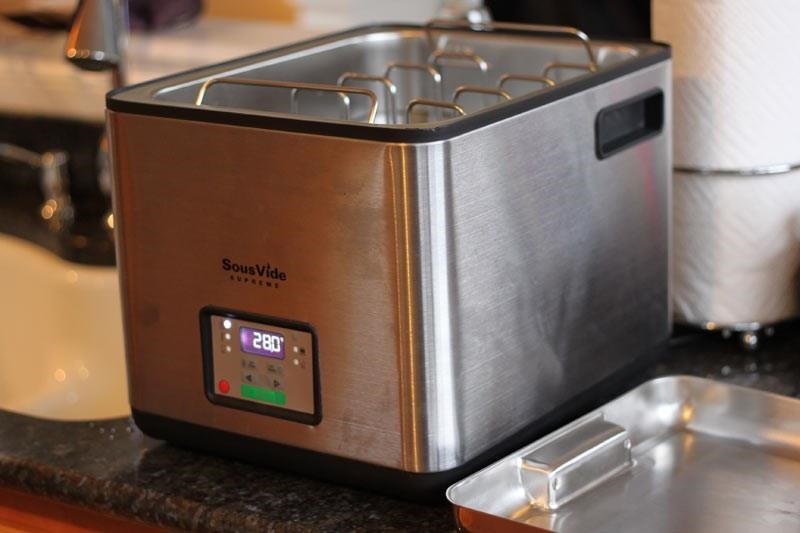
Sous vide machines are used mostly in high-end restaurants, and can get pretty pricey (up to a few grand for the really good ones). Recently, more affordable versions have been hitting the shelves due to their popularity, but $400 is the low end, which is way too much to spend for most casual users.
It works by regulating the temperature of the water so that the food cooks very slowly. The water is held at the same precise temperature until the food is cooked through, and allows the inside and outside to cook together. A thick or tough cut of meat like a roast can take up to 72 hours to reach the right temperature.
So Why Bother?
Why do people willingly pay so much for a machine that comes with such detailed requirements? For starters, it's literally impossible to overcook food with sous vide. Seriously. The food can never reach a temperature that's higher than the water, so if you set it for 135°F, your steak will be medium rare, no questions asked.
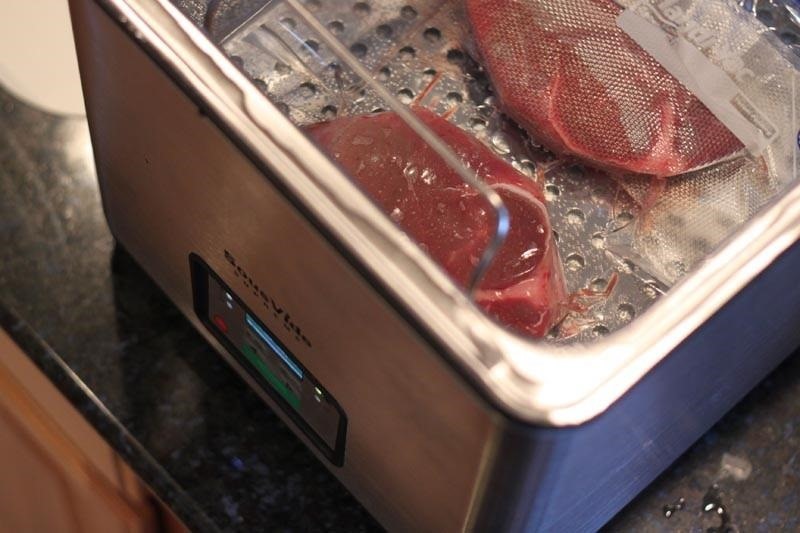
In addition to preventing overcooking, sous vide also ensures that you don't lose any of those precious juices while your food cooks. Since everything is contained in the bag, your meal will come out tender, juicy and flavorful.
It sounds like a lot of work, but once you get everything set up, sous vide is actually a great cooking method for lazy chefs. Think about it—you put all the ingredients in a bag, throw it in the water, forget about it for a few hours, and have a perfect meal waiting for you.
What If I Don't Have a Vacuum Sealer?
Without a doubt, the biggest downside to sous vide cooking is the necessity of vacuum-sealing the food. Vacuum sealers are great, but they're not exactly cheap, and not many people have one lying around.
1. Make Your Butcher to Do It
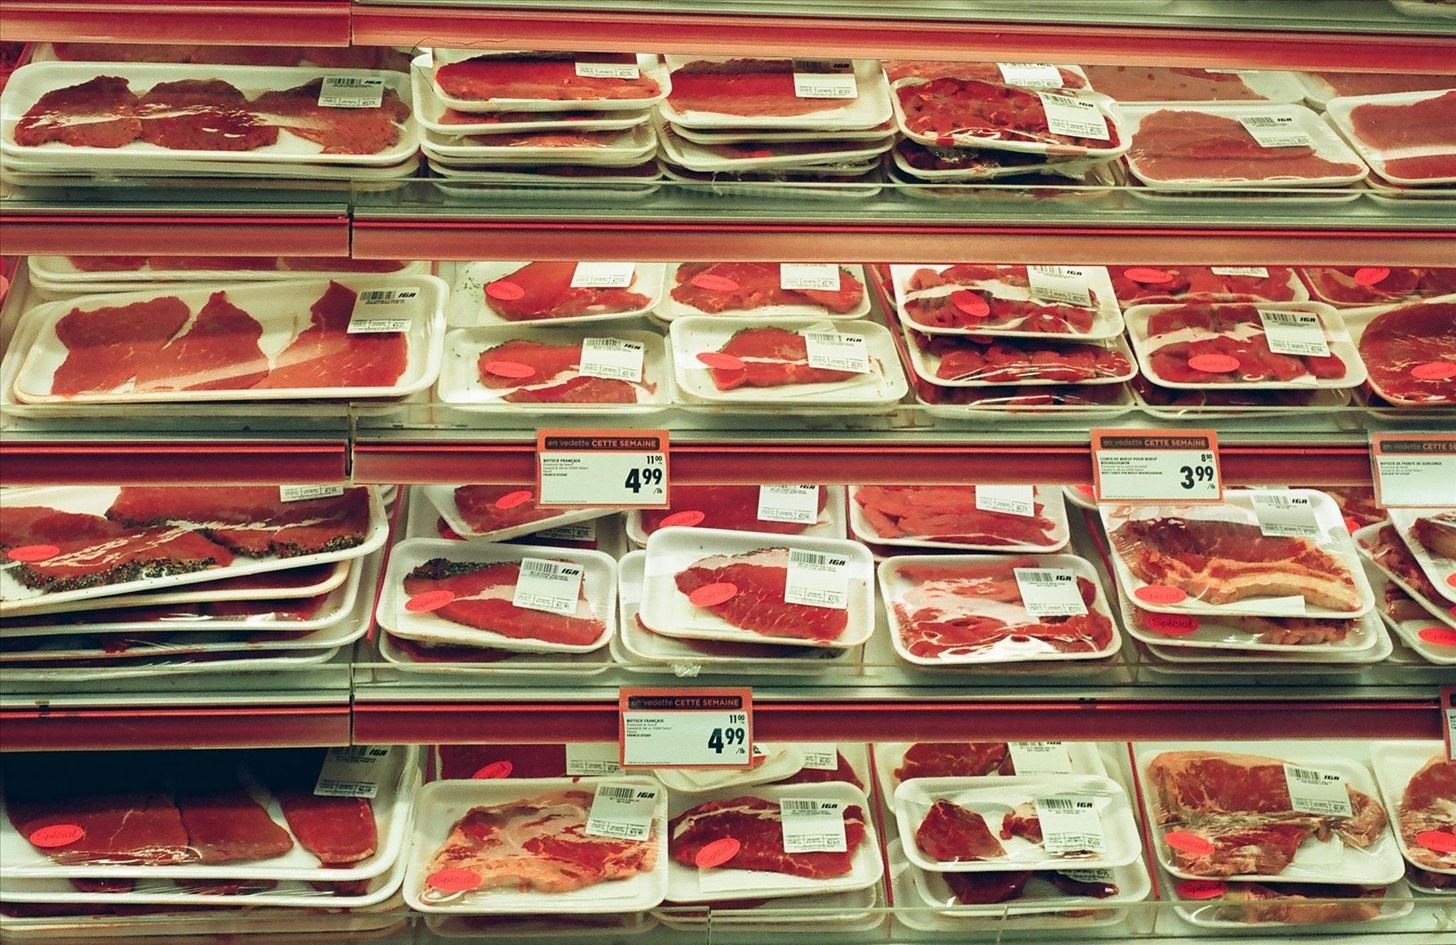
If you go to a butcher for your meat, you can often get them to vacuum seal it for you, but what if you just buy from the grocery store case?
2. Improvise with a Ziplock Bag & Straw
You can improvise using a zip-top bag and a plastic straw. Just place your food in the bag and zip it almost all the way, stick the straw in the opening, and suck all the air out. Pull the straw out and quickly finish zipping the bag so no air has a chance to sneak in. Obviously you want to be careful not to suck any juice through the straw if you're sealing up raw meat.
3. Alternative Ziplock Bag Method
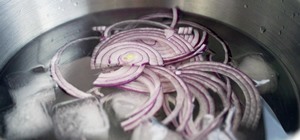
Alternatively, you can get most of the air out of a zip-top bag by submerging it in water. Fill your sink with water and put your food into the bag (or just use the container you're cooking in). Now, with the top open, slowly lower the bag into the water and it will push out the air so you can seal the top.
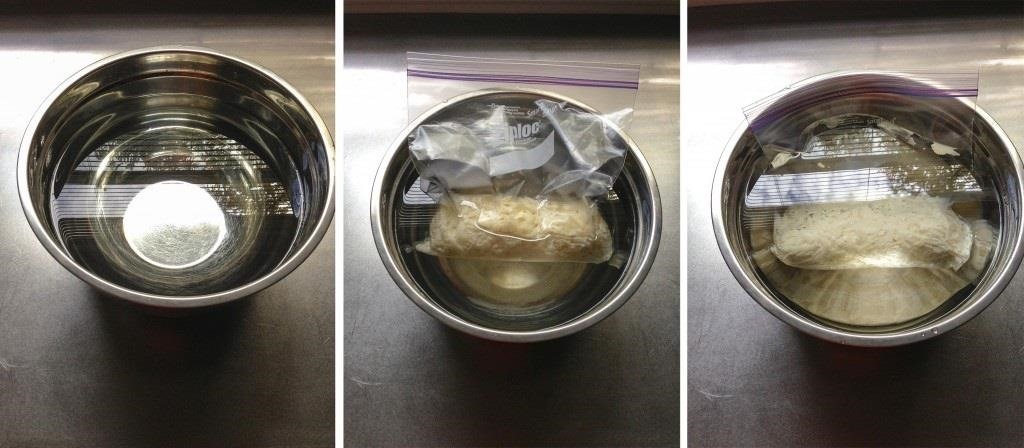
The result won't be quite as good as what you'd get from a vacuum sealer, and the purists will scoff at you, but these both work just fine for sous vide at home. If you want to be more precise, you can also try the double-bag method using a vacuum pump.
How to Make Your Own DIY Sous Vide Setup
Even if you can't (or don't want to) pay for a sous vide machine, there are several ways you can make your own for a fraction of the cost. Not only will a homemade version be cheaper, it should also work just as well as the commercial ones as long as you set it up properly.
What You Absolutely Need
The single essential tool you'll need to get started with sous vide is a digital thermometer. There are, of course, really fancy ones on the market, but the most important thing is that it's accurate. This one by ThermoWorks is a good, inexpensive option.
Since the consistency of the temperature is the key to making sous vide work, it doesn't really matter what the outside looks like. You can use a variety of containers to cook sous vide, or sometimes even repurpose old appliances.
Here are a few examples of vessels you can use to set up your own DIY sous vide machine at home.
1. Rice Cooker Sous Vide
One of the most common ways to sous vide at home is to use a rice cooker or slow cooker (Crockpot). This setup by Instructables user burkelashell uses a cheap external thermostat that's wired to the slow cooker to regulate the temperature.
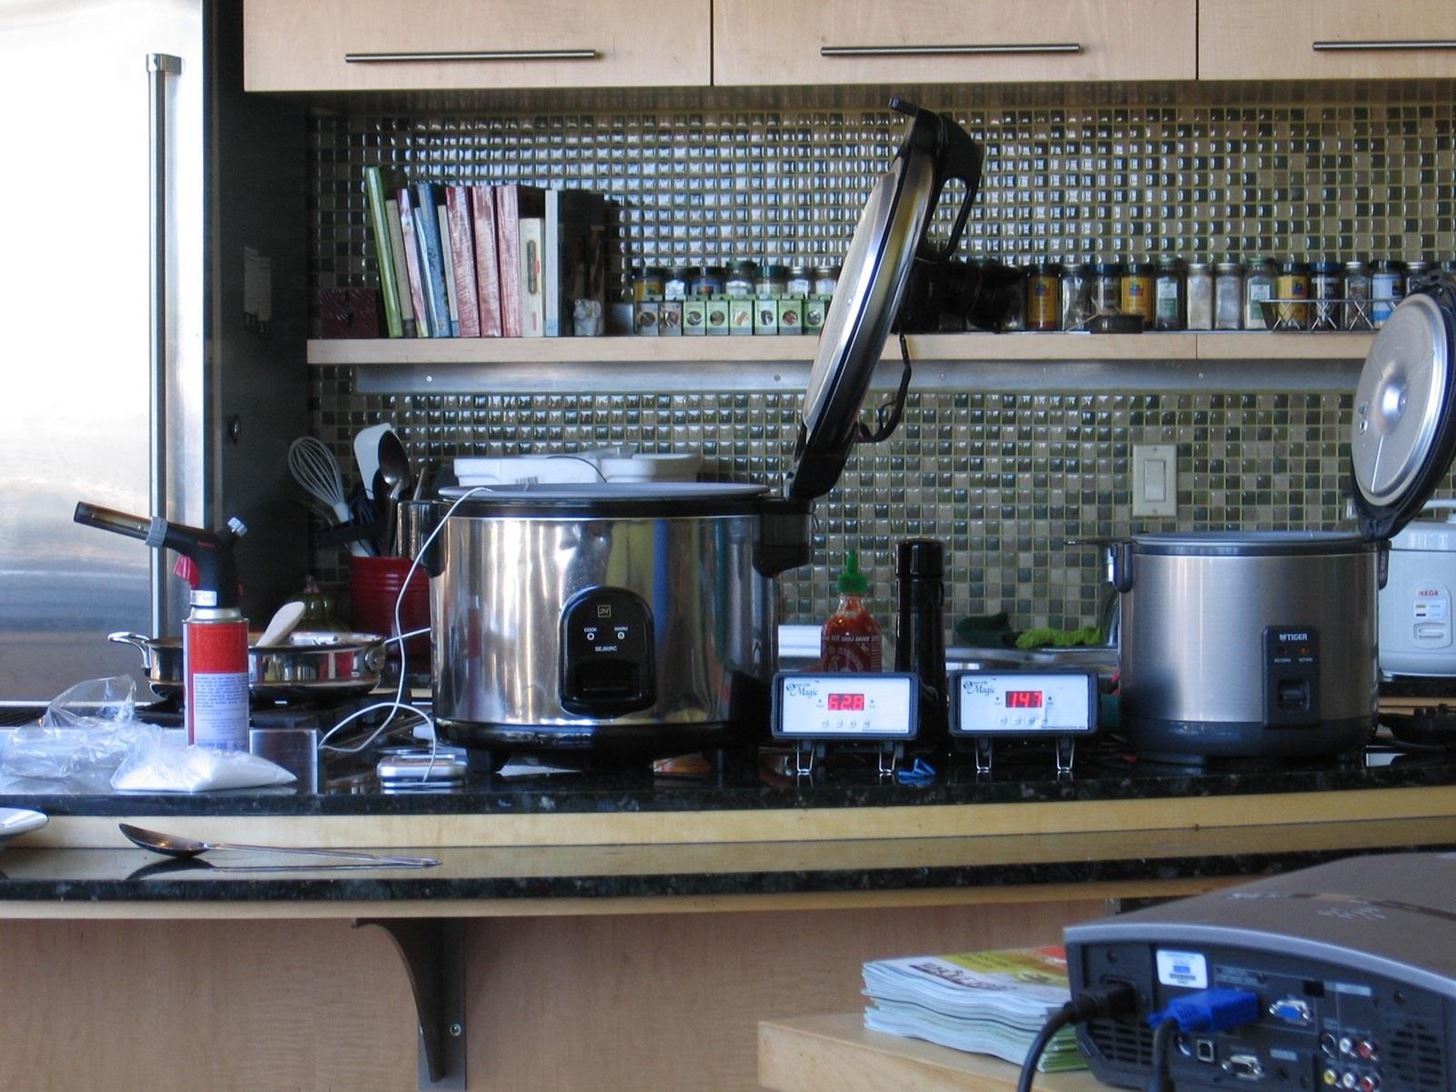
If you're looking for something a little less complicated, you can also use the cooker's "keep warm" setting to hold the water at your desired temperature. It takes some experimentation (and a little math), but this guide explains how to get the heat just right.
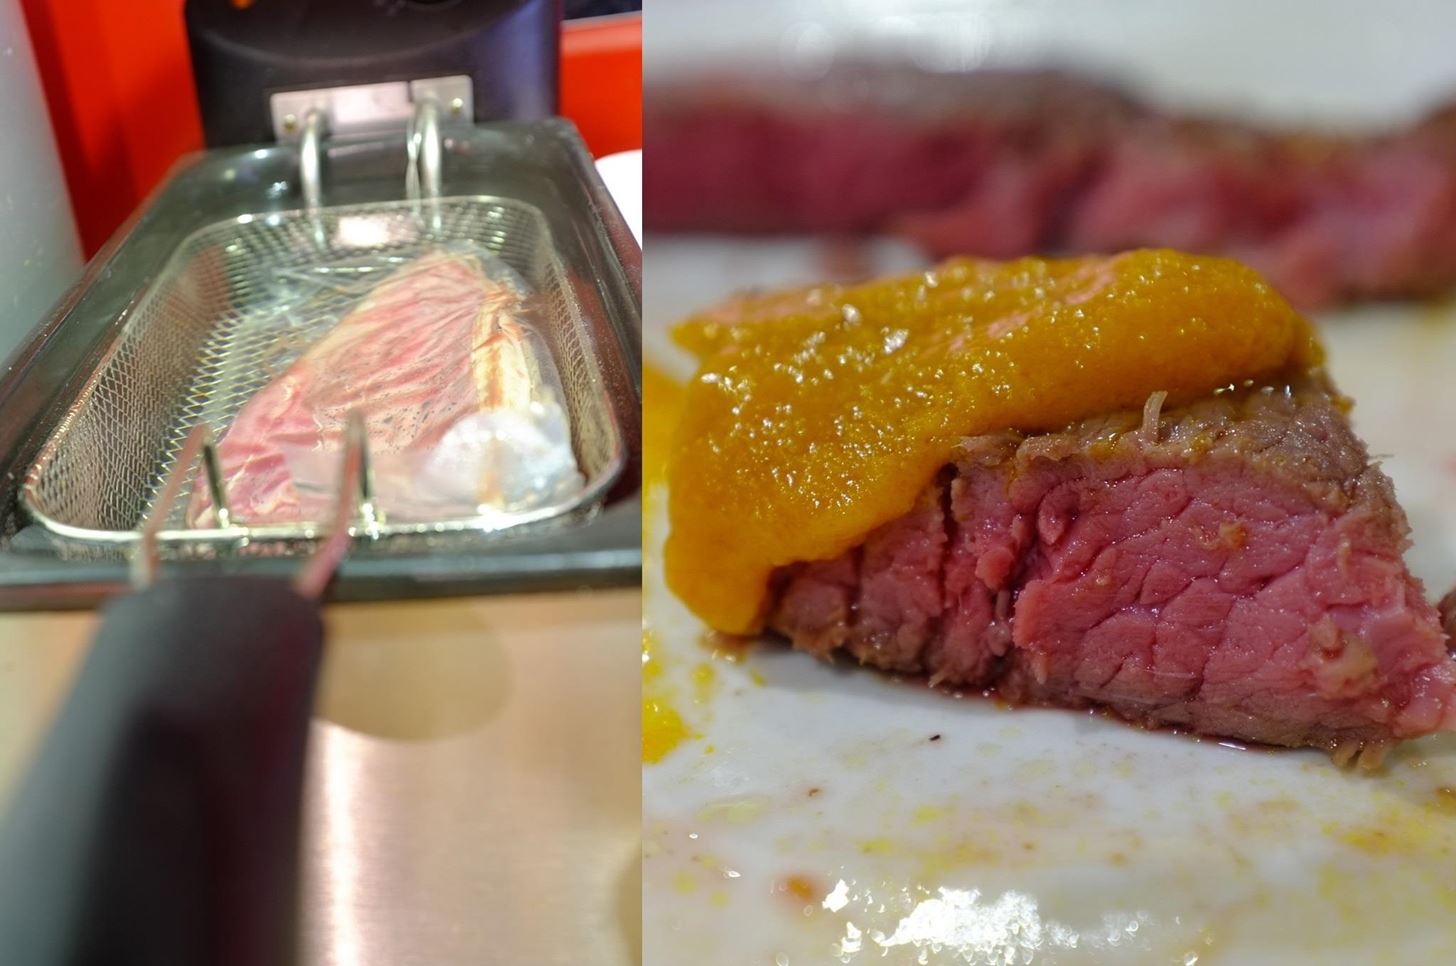
2. Deep Fryer Sous Vide
If you already have a deep fryer, you can make it double as a sous vide machine. As Mat Brown explains, the thermostat on most deep fryers starts pretty high (around 250°F), but if you have an external thermometer, you can get it to go much lower. Check out his guide for more details.
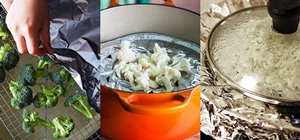
3. Oven or Stovetop Sous Vide
One of the easiest setups only requires a thermometer and a heavy-bottomed pot. If you're using the stovetop, clip your thermometer onto the side of the pot and experiment with the burner until you find the right heat. If it gets too hot, you can add some cooler water to lower the temperature.
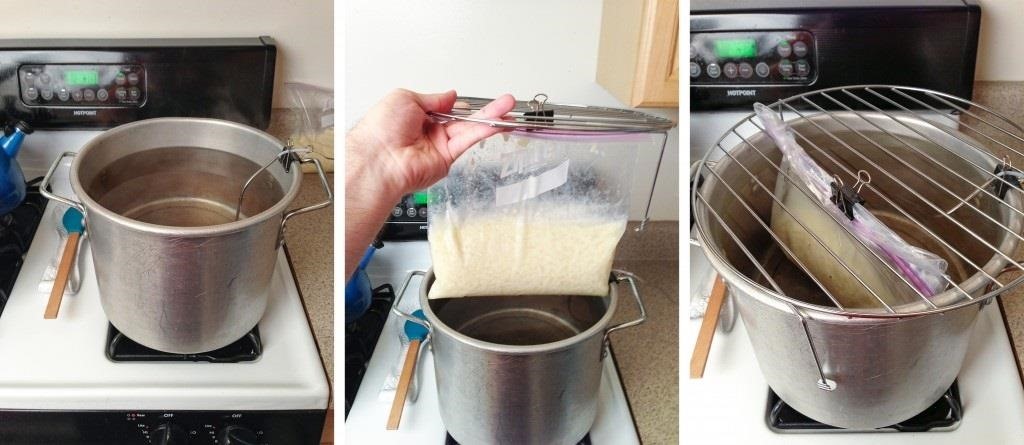
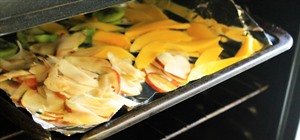
Even simpler, clip the thermometer to the pot with the prong submerged in water and place it in the oven. When the water reaches the right temperature, place the food in the pot and cover it with a lid, then put it back in the oven. Whenever the water temperature goes higher than your target temperature, just turn the oven off for a few minutes until it drops.
Both of these methods are less accurate and consistent than an automated setup, but if you keep a close eye on your thermometer, they can work quite well. You can find more details about both setups here.
4. Insulated Cooler Sous Vide
Another simple sous vide setup uses an insulated cooler as the container for the water. Use your thermometer to get your faucet running a few degrees hotter than your target temperature and fill the cooler. If it doesn't get hot enough, you can add a little boiling water to bring it up.
As long as you check the temperature frequently, it should be relatively easy to adjust and keep the water consistent. Depending on the type of cooler, you can use the lid to hold the bag in place while your food cooks.
You can find a full tutorial with more details on this method over on ChefSteps.
Have You Tried Sous Vide?
If you've been experimenting with sous vide, whether using a real machine or one of these improvised setups, let us know how it's going! What worked? What was a complete failure? Share your tips, tricks and observations with other aspiring cooks in the comments below.
Just updated your iPhone? You'll find new emoji, enhanced security, podcast transcripts, Apple Cash virtual numbers, and other useful features. There are even new additions hidden within Safari. Find out what's new and changed on your iPhone with the iOS 17.4 update.


2 Comments
http://www.amazon.com/Ziploc-Vacuum-Starter-3-Quart-1-Pump/dp/B003UEMFUG
Just thought it was odd you didn't even mention the fact that ziploc literally sells a sousvide kit.
Great article! I'm always looking for ways to incorporate trendy or restaurant-style cooking techniques without spending so much extra money. I have most of these items at home (rice cooker, slow cooker, deep fryer, external thermoter and vacuum sealer), so I might just be able to rig something up ! Thanks! :-)
Share Your Thoughts