

As much as I love eating weird foods, when it comes to my favorite food, there is only one simple choice: cheese. Since cheese is my favorite to eat, it should come as no surprise that it's one of my favorites to make as well.
There's really no shortage of cheeses that you can make at home, each as fun and delicious as the next. But since this is a food hacks site, I'm going to focus on the cheapest, easiest, and simplest homemade cheese. Chances are, you've got all the ingredients you need already (milk, vinegar, and salt), making this the perfect hack for if you run out of cheese and don't want a trip to the store, or if you just want to impress your dinner guests.

Step 1: Heat Your Milk
The kind of milk you use is important, though you have lots of options. The most important thing is to avoid ultra-pasteurized milk. The casein in ultra-pasteurized milk has been denatured, which keeps it from being able to form curds. If you can get your hands on it, raw milk will give your cheese more flavor, but it's also hard to find, and more expensive than generic pasteurized milk, which still yields a delicious product.
If you only have non-fat milk in your fridge, don't worry, it will work. It won't be any healthier, and it will yield a smaller batch of cheese, but it works fine in a pinch.
Once you've chosen your form of liquid dairy, bring a gallon of the milk to a boil over medium heat, stirring it constantly to avoid burning.
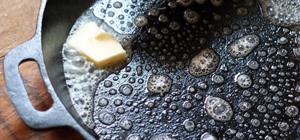
Step 2: Add Vinegar
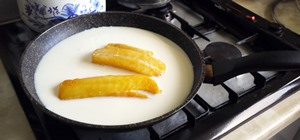
Now here's where the fun happens. Once the milk boils, turn the heat to low, and add ½ cup of either white or apple cider vinegar, while continuing to stir. The mixture should immediately separate into curds and a yellowish-greenish liquid called whey, which is caused by the acid curdling the milk.
If this separation does not occur, just keep adding vinegar until it does (a commenter at Nourished Kitchen points out that you can use lemon juice instead to make the soft Indian cheese paneer).
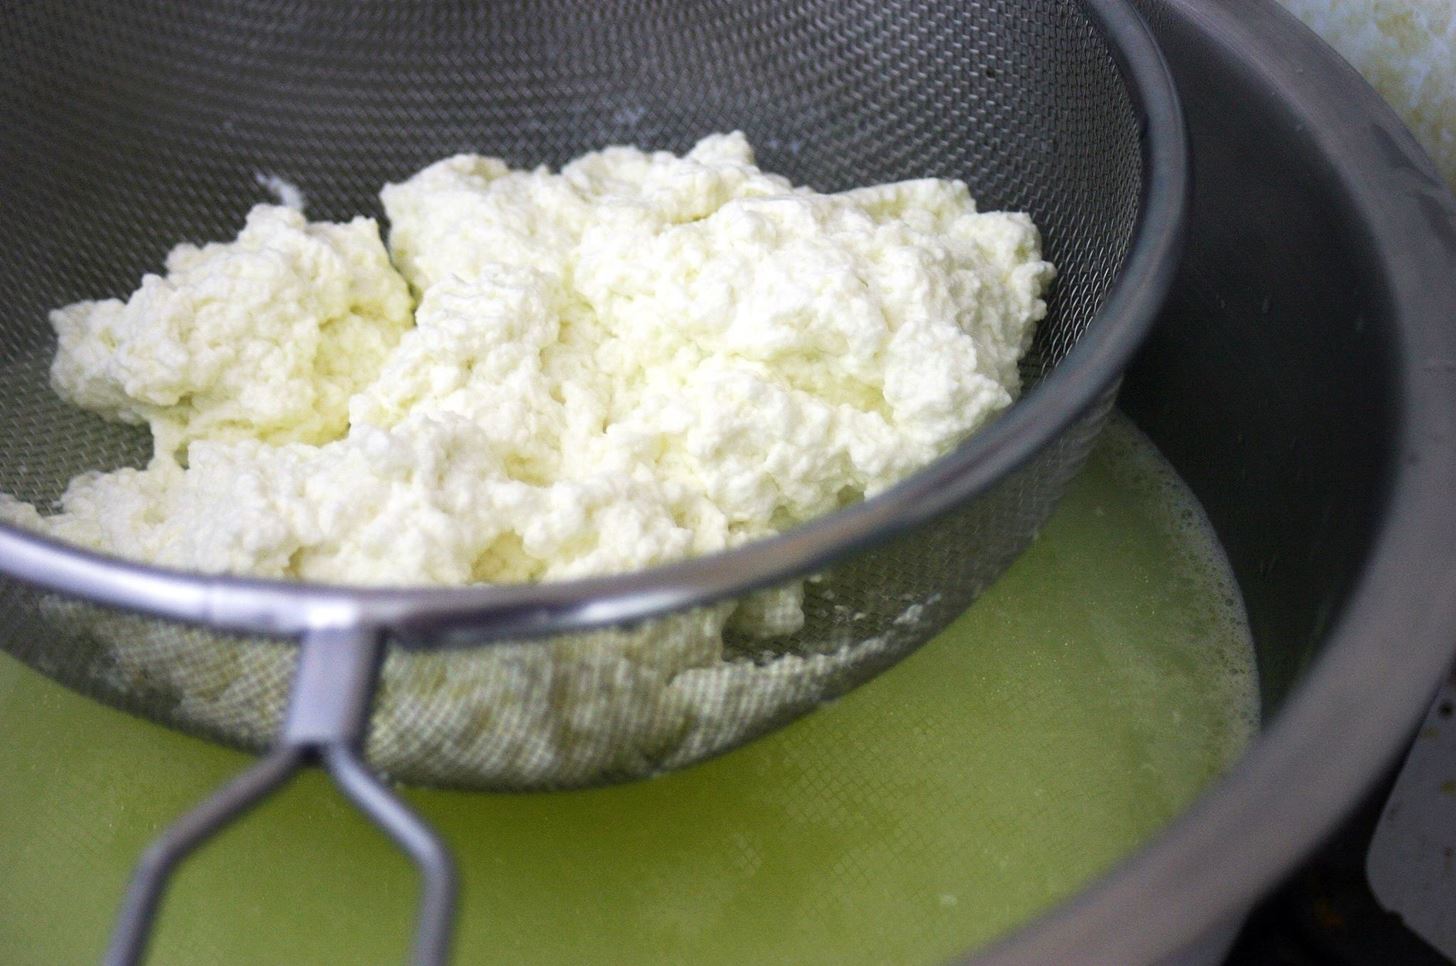
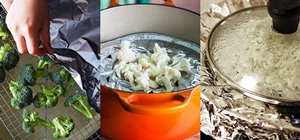
Step 3: Drain
As soon as the curds separate, pour them through a strainer. Make sure to keep the whey that is strained off (more on that to come), and then rinse the curds with cold water. Draining and rinsing the curds immediately is the key to a cheese with good texture; the longer the curds are cooking, the more rubbery the cheese.
After rinsing, apply pressure to the curds to express any excess liquid.
Step 4: Season
Here's where you add flavor to your cheese. I recommend three teaspoons of kosher salt, but I'm a fan of saltiness, so you might want to start with two teaspoons. (A lot of people suggest fine sea salt for a more even flavor, but I prefer the taste of kosher.) If you want to have a little fun, add any other seasonings you like. My favorites are chives and freshly cracked black pepper.
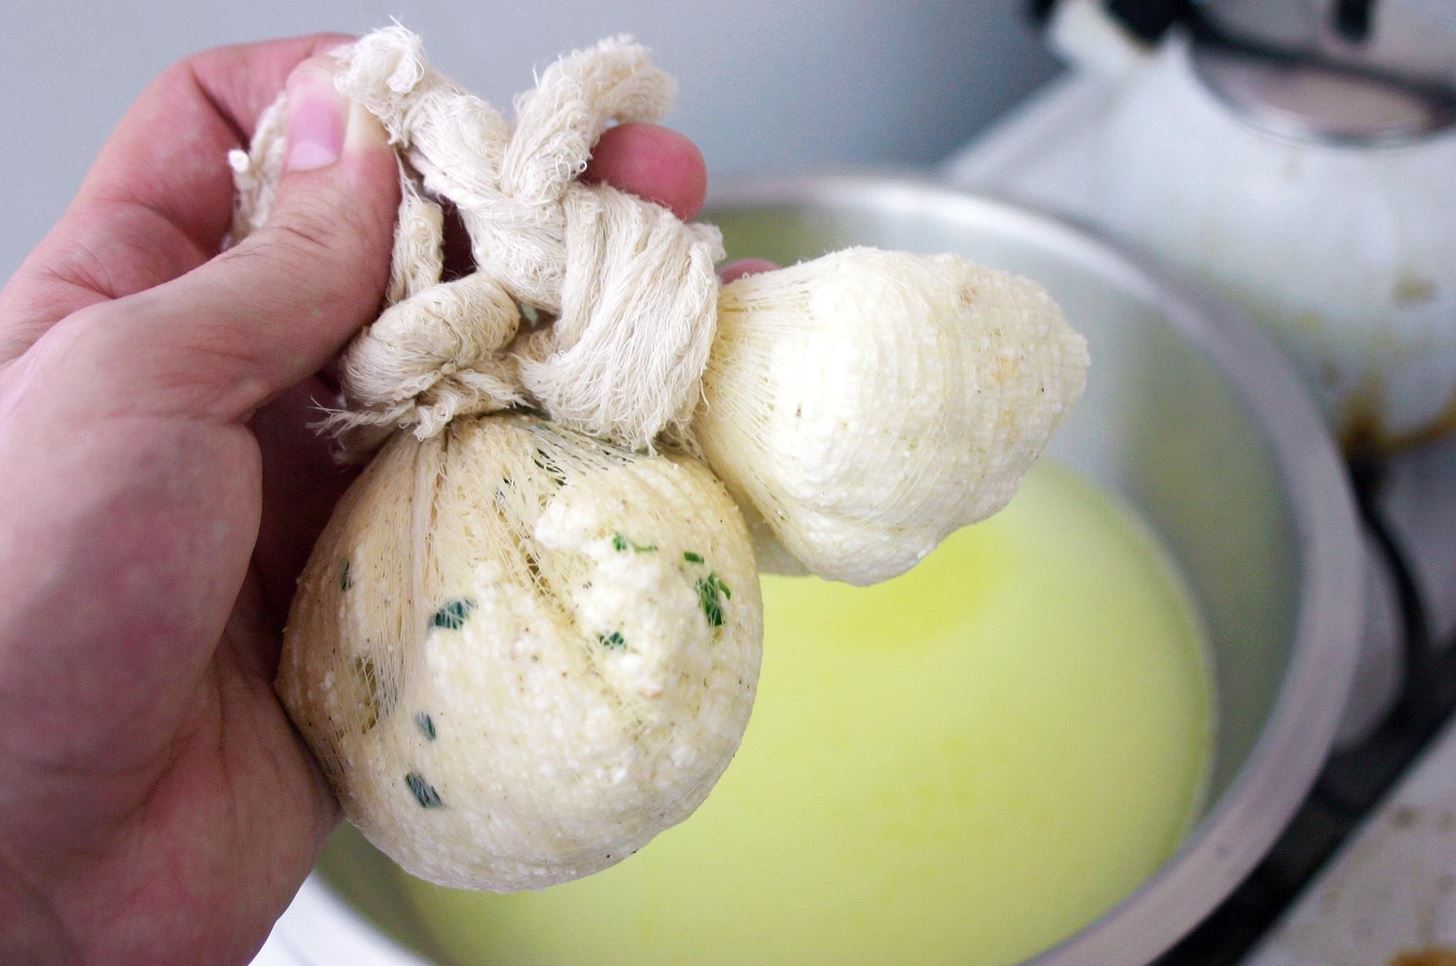
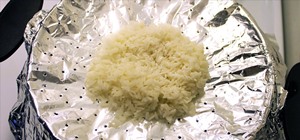
Step 5: Dry
After seasoning, wrap the cheese in cheesecloth (or any food-safe fabric will do, like an old, undyed cotton T-shirt), and let it sit an hour or two before moving to the fridge. You can crumble it after it dries, or keep it in a ball to put on crackers.
Variations
The above recipe is my favorite homemade cheese, because it's so easy and uses only common household ingredients. However, there are a million variations on homemade cheese, though most require rennet, and often culture.
With these less-common ingredients you can easily make numerous types of simple cheese, such as these four from Mother Earth News. And if you really want to have some fun, I highly suggest dedicating an afternoon to making mozzarella.
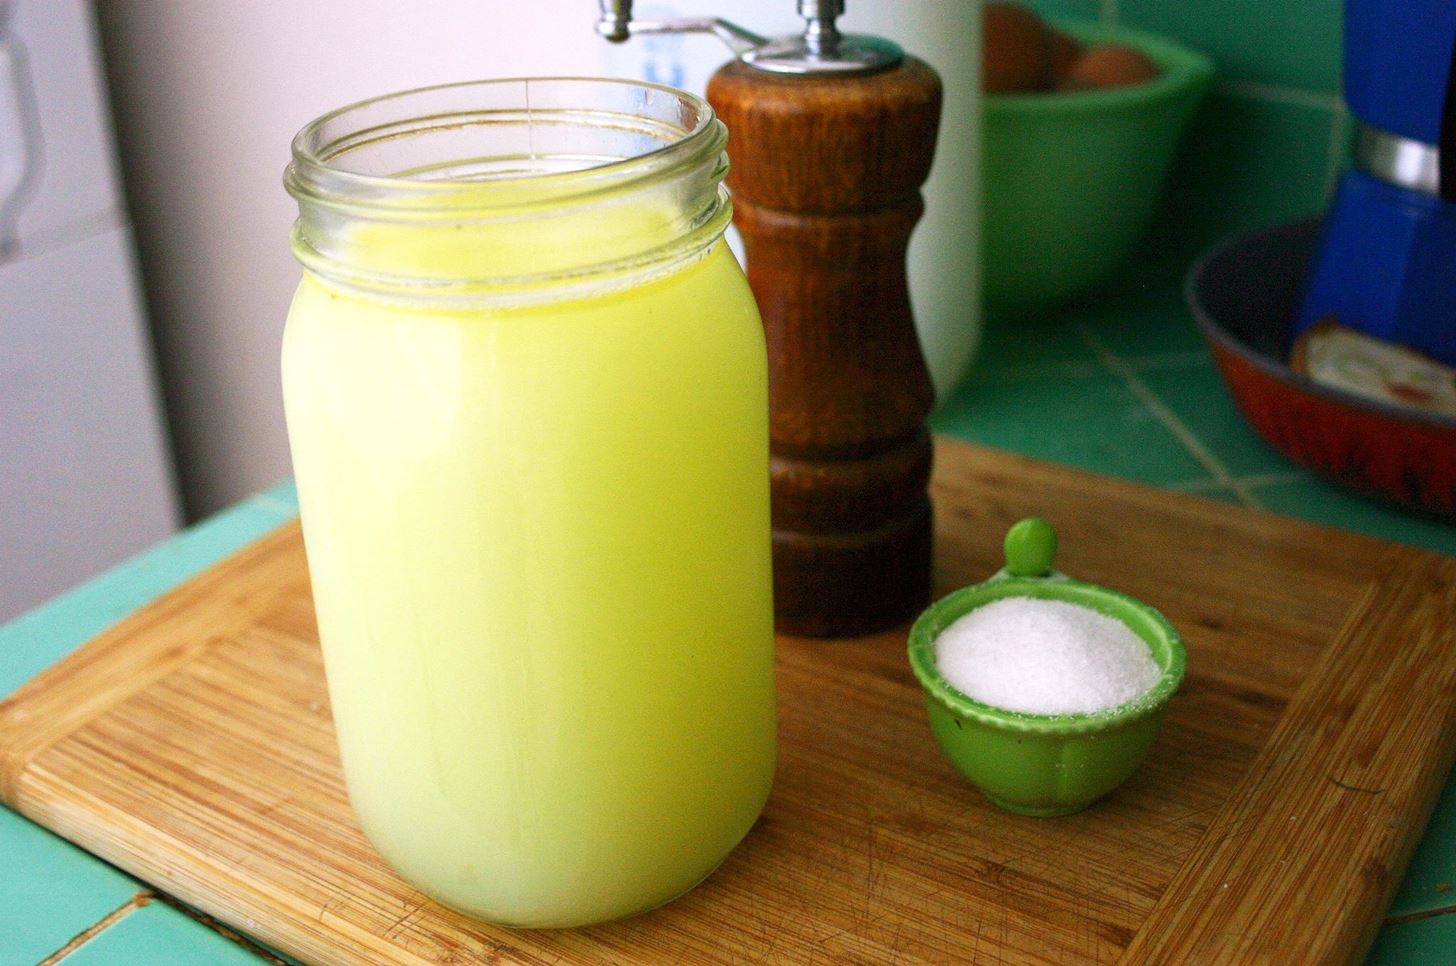
Don't Forget the Whey!
Remember how I said to not discard all that Gatorade-colored liquid? That's because it is incredibly useful to have around the kitchen. Whey is essentially just water with lactose, and has a unique, buttery flavor. You'll get many cups of it from a single batch of cheese, and it adds a delicious, mild flavor to recipes (the whey protein is also very nutritious).
My favorite is to use the whey as a substitute for water in baking, or to add it to pancakes for some extra depth of flavor. It's also a great addition to smoothies, as it provides both health benefits and richness. One commenter at The Prairie Homestead suggested adding a few teaspoons of whey to pasta and potato salads to keep them fresh for picnics.
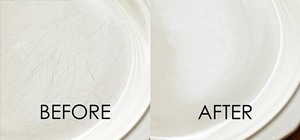
If you're feeling really bold, some even suggest using it as a hair and skin enhancer!
Homemade Food Rules
Storebought can suck it. Why spend the money on pickles when you can make quickles instead? And if you love Trader Joe's Speculoos cookie butter, here's how to make your own.
More Cheesy Hacks:
Just updated your iPhone? You'll find new emoji, enhanced security, podcast transcripts, Apple Cash virtual numbers, and other useful features. There are even new additions hidden within Safari. Find out what's new and changed on your iPhone with the iOS 17.4 update.


4 Comments
hi there, just wondering what the yield is?
i have made paneer before too.:)
Lisette, you should get about a pound of cheese for each gallon of milk. Enjoy!
Hi, a very well-written article. Thank you.
I just have a question, is it OK to use Asian rice vinegar as the source of acid? What about balsamic vinegar? For the latter, I am wondering if it might overpower the cheese. Thanks.
Hi, would this cheese melt?
Share Your Thoughts