
Imagine you have mastered the perfect cherry pie for your annual work picnic but, upon taking it out of its airtight pie carrier, your heart sinks as you realize the crust has turned to mush thanks to the moisture from the filling. Sound familiar?
Well, I have news for you: it's totally preventable. Your pies are no longer destined to be a soggy mess thanks Stella Parks of Serious Eats, who discovered a brilliant hack for keeping pie crust crisp—Epsom salt. With this trick, your pies will arrive in tip-top shape for their reveal at a holiday dinner party or a weekend BBQ.
How Epsom Salt Becomes a DIY Desiccant
Epsom salt may be something that you associate more with a long soothing bath instead of baked goods, but herein lies the magic.
Epsom salt, also called Epsomite, is technically known as magnesium sulfate heptahydrate, where the heptahydrate refers to a hydrate (a compound containing H2O) with seven molecules of water. In order to turn Epsom salt into a safe desiccant (drying agent), you just have to bake it in the oven until all the moisture is removed.
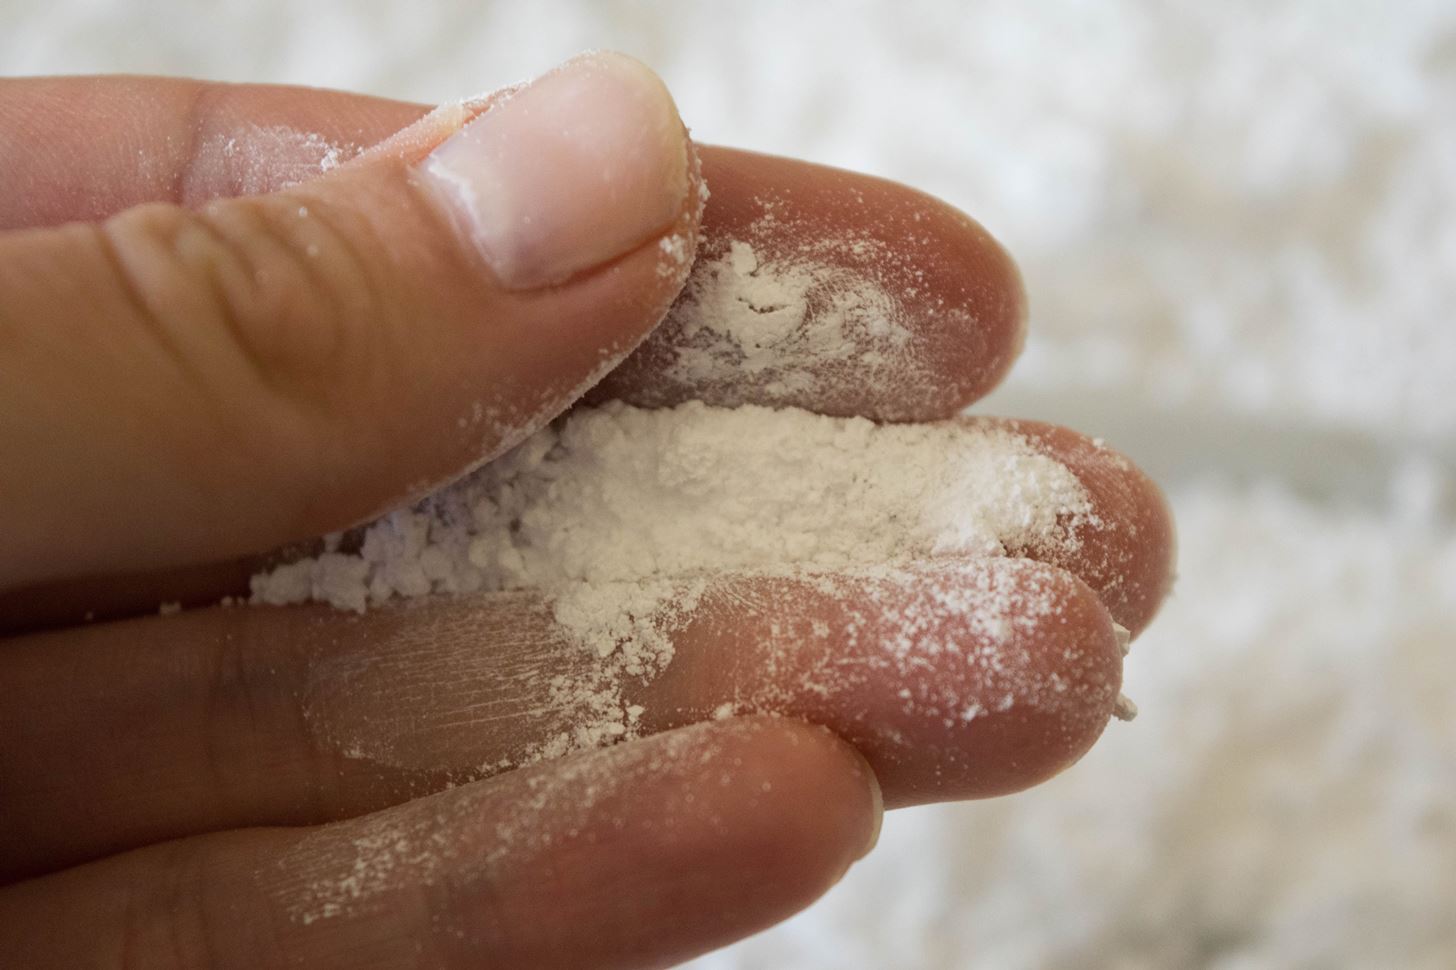
This produces anhydrous magnesium sulfate, the bone-dry version of magnesium sulfate, a substance that can help create anything from dried fruit to dried herbs. And, as you probably guessed, moisture-less Epsom salt makes a perfect sponge for soaking up excess moisture from a pie.
You could just buy anhydrous magnesium sulfate (even the food-grade stuff), but mostly online only, and for a higher cost. That's another reason why this Epsom salt hack is so great!
How to Prep Your Desiccant
This process is so easy you'll probably remember it by heart after the first try.
- Preheat the oven to 400°F.
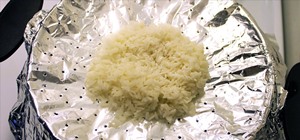
- Pour a generous amount of the Epsom salt onto a baking tray lined with parchment paper. You'll need enough salt for a thick layer at the bottom of your container, so take its size into consideration.
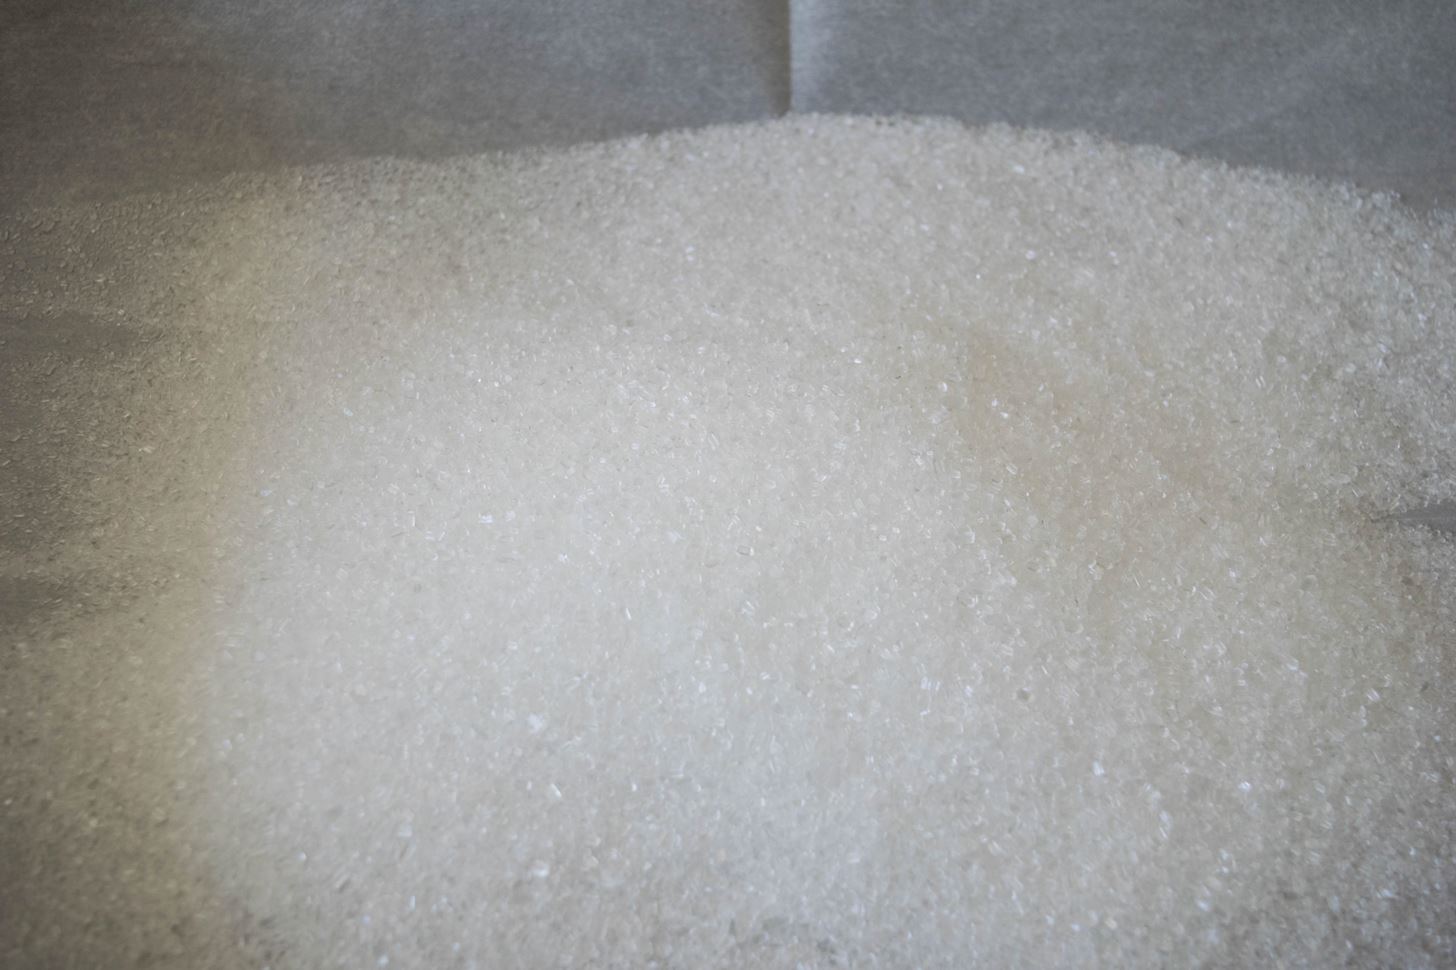
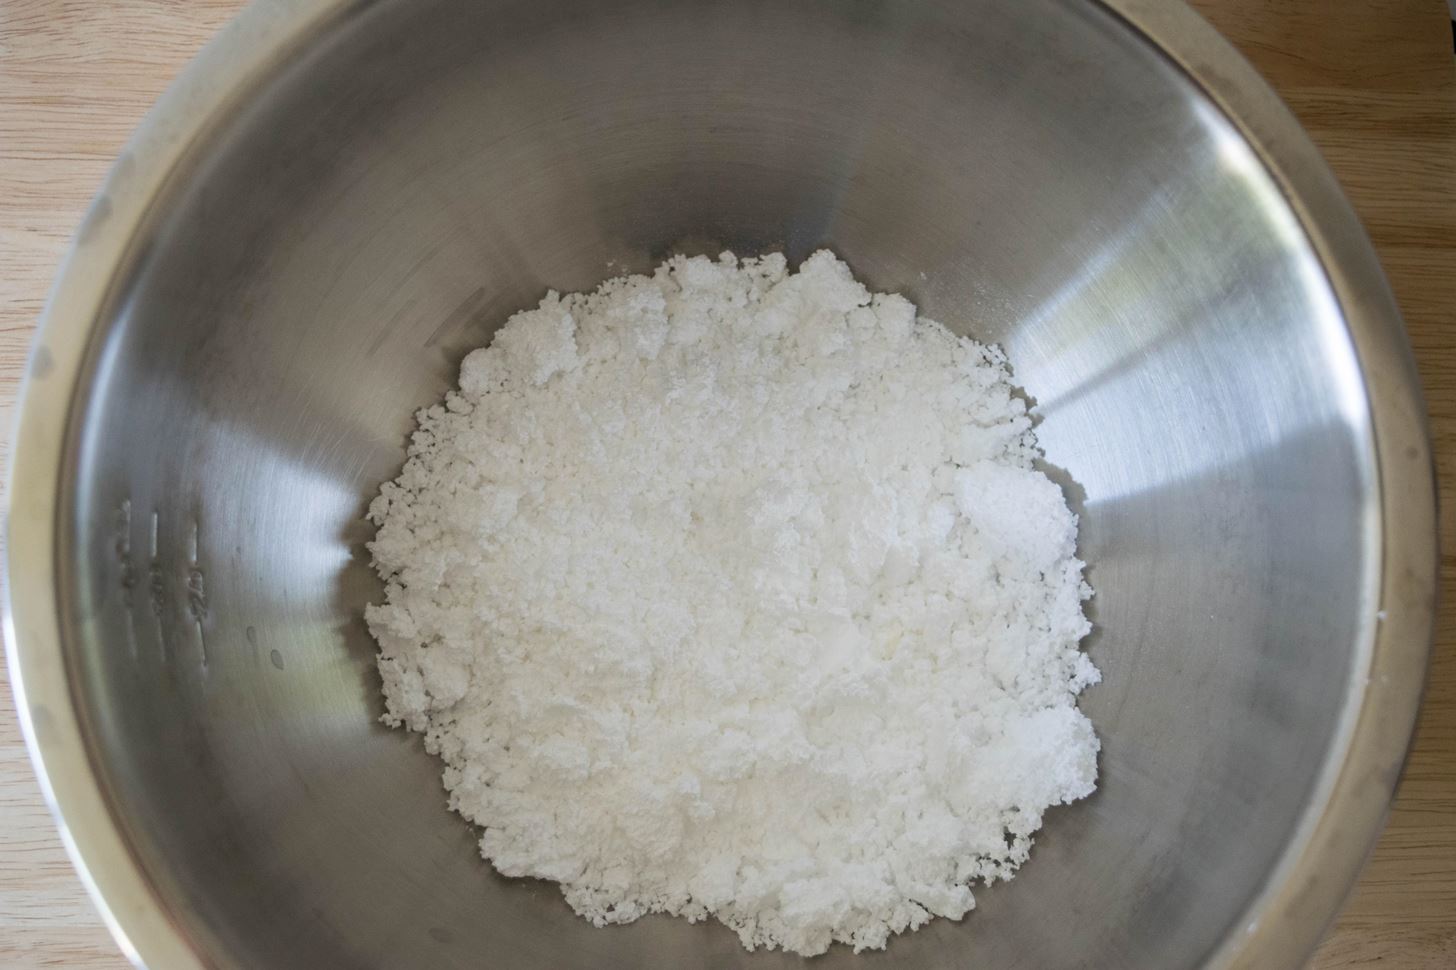
- Bake for 75 minutes total, stirring every 15 minutes.
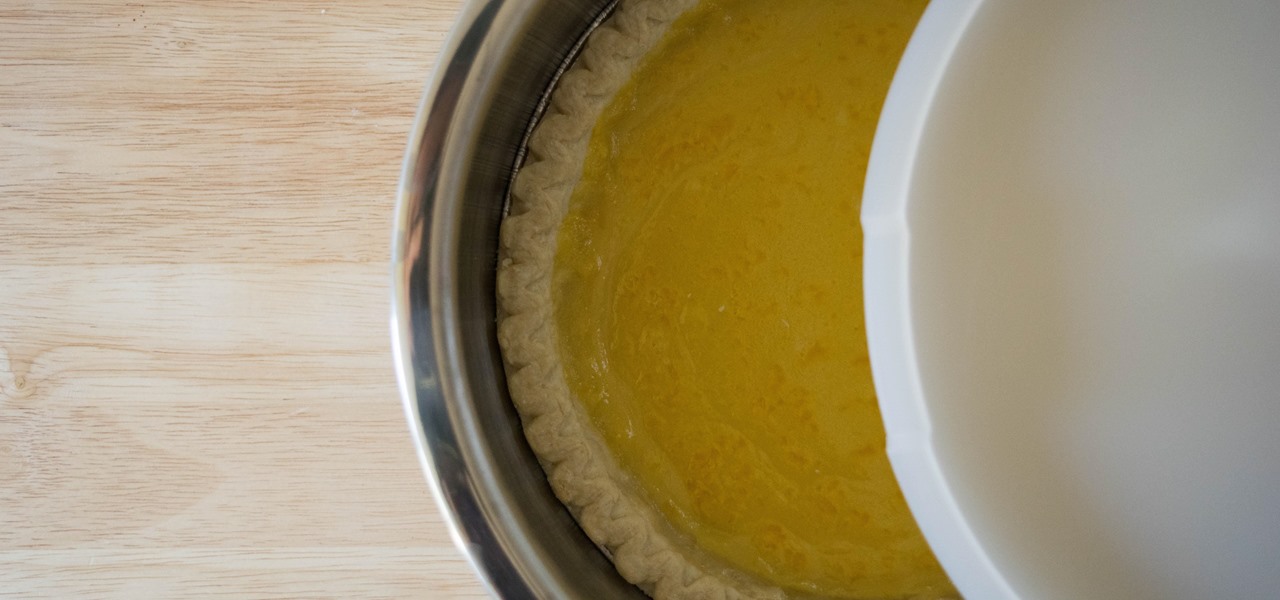
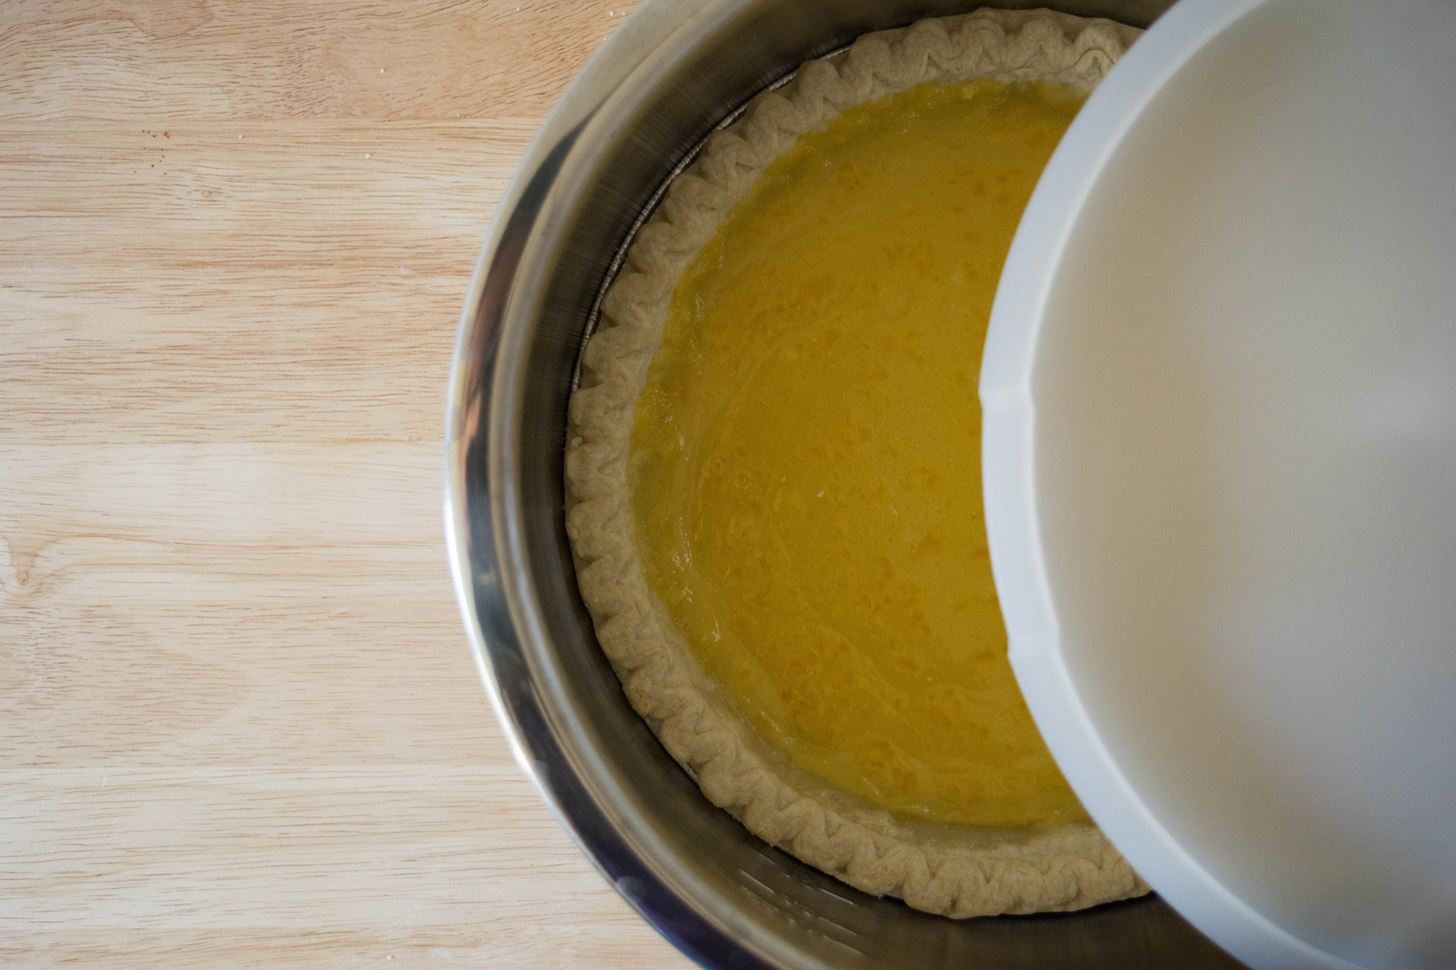
- Transfer the dried Epsom salt to an airtight container such as a pie holder (or a mixing bowl with a lid), and nestle the now-bone-dry Epsom salt into the bottom.
- Place your pie on top of the salt, and make sure the lid is on tight.
- Keep the pie in the container until minutes before it's ready to be consumed.
A Note About Crispness
Nothing can replicate the fresh-out-of-the-oven crispness of a pie, but this method comes in close second. To get optimal results, make sure the Epsom salt is baked for the whole 75 minutes (even if it looks dry beforehand), since the more moisture that is evaporated from them the more effective a desiccant they will be.
Use Epsom Salt with Other Treats
Pies are not the only treats that can benefit from this DIY desiccant. If you want your homemade toffee such as Lizthechef's version on Food52, or French croissants like Lauren Weisenthal's from Serious Eats, to maintain their crispness, this dried Epsom salt works wonders.


Make sure not to put the desserts directly on top of the salt (even though they are safe to ingest), since you don't want to alter the flavor of your food. Just put a layer of cheesecloth (or something similar) between the food and the salt to provide a breathable barrier between the two.
Now that you know how to use Epsom salt for maintaining a crispy pie crust, you will never have to deal with a soggy dessert again! Make sure to try out this hack the next time you bake, and let us know in the comment section below how it went.
More Pie Hacks:
Just updated your iPhone? You'll find new emoji, enhanced security, podcast transcripts, Apple Cash virtual numbers, and other useful features. There are even new additions hidden within Safari. Find out what's new and changed on your iPhone with the iOS 17.4 update.


Be the First to Comment
Share Your Thoughts