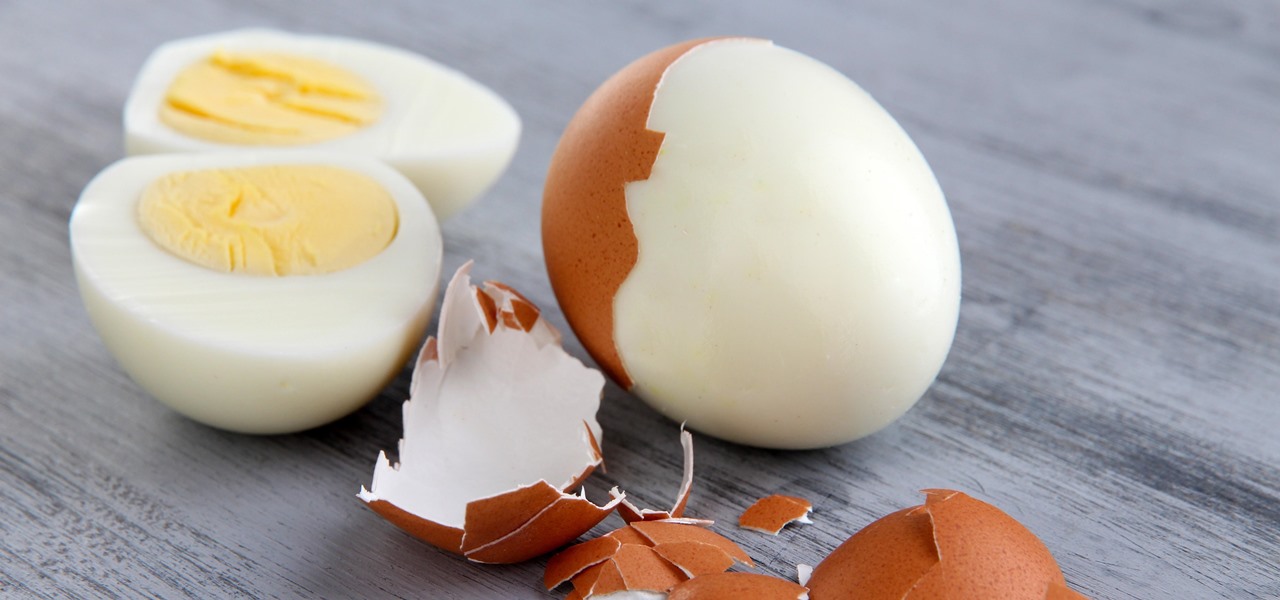

Hard-boiled (also known as hard-cooked) eggs are notoriously easy to mess up. We've all ended up with tough, rubbery egg whites and overcooked yolks that have that unappetizing gray-green ring around the edge. An ideal hard-cooked egg has a firm yet tender white, while the yolk is creamy and well-done without being mealy.
How & Why Do Eggs Firm Up When You Boil Them?
Both parts of the egg—the yolk and the white—are rich in proteins. Those proteins are made up of chains of amino acids that normally come in compact, folded units. When those amino acids are exposed to heat or chemicals, they change form or become denatured. That means the bonds that held the protein together are now broken.
The newly denatured proteins unfurl and seek other denatured proteins. Next, they link together to form a three-dimensional matrix. In cooking terms, that means the egg white and yolk are turning from translucent and gelatinous to solid. This same process happens in fish, chicken, and meat.
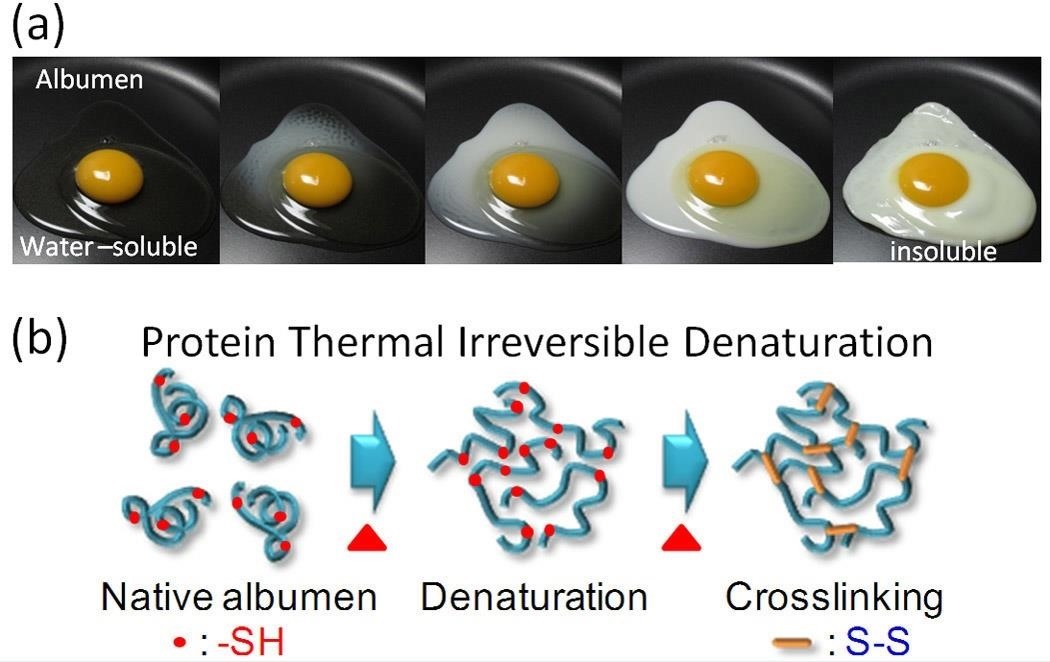
The higher the temperature and the more heat you apply, the more tightly denatured proteins enmesh themselves, forcing out any water. That's why overcooking an egg or a piece of meat causes it to become dry and rubbery. In order to perfect your hard-boiled eggs, you need to apply heat gradually and gently.
Now that you understand the science behind cooking eggs, let's cover the steps to making perfect hard-boiled eggs and how to easily peel them.
Step 1: Use Older, Almost Bad Eggs
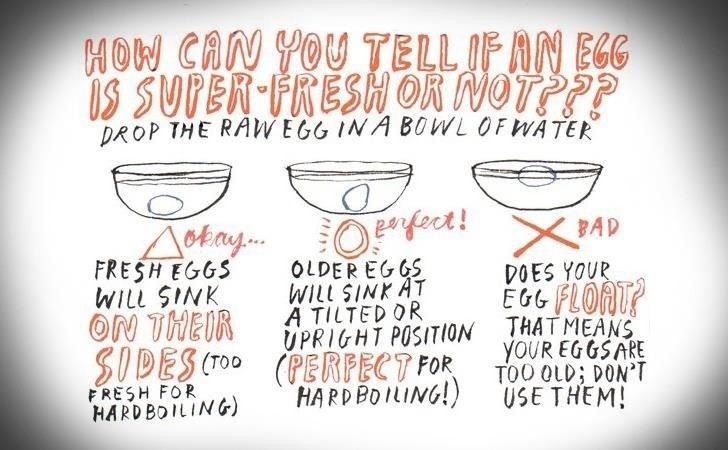
Eggs that are 7 to 10 days old are ideal to make hard-boiled eggs that will peel easily, says Shirley Corriher, author of CookWise: The Hows and Whys of Successful Cooking. Researchers discovered that older eggs are more alkaline, which makes it easier to remove their shells. For more help on finding the perfect eggs for hard-boiling, check out our guide on determining the real expiration date of eggs.
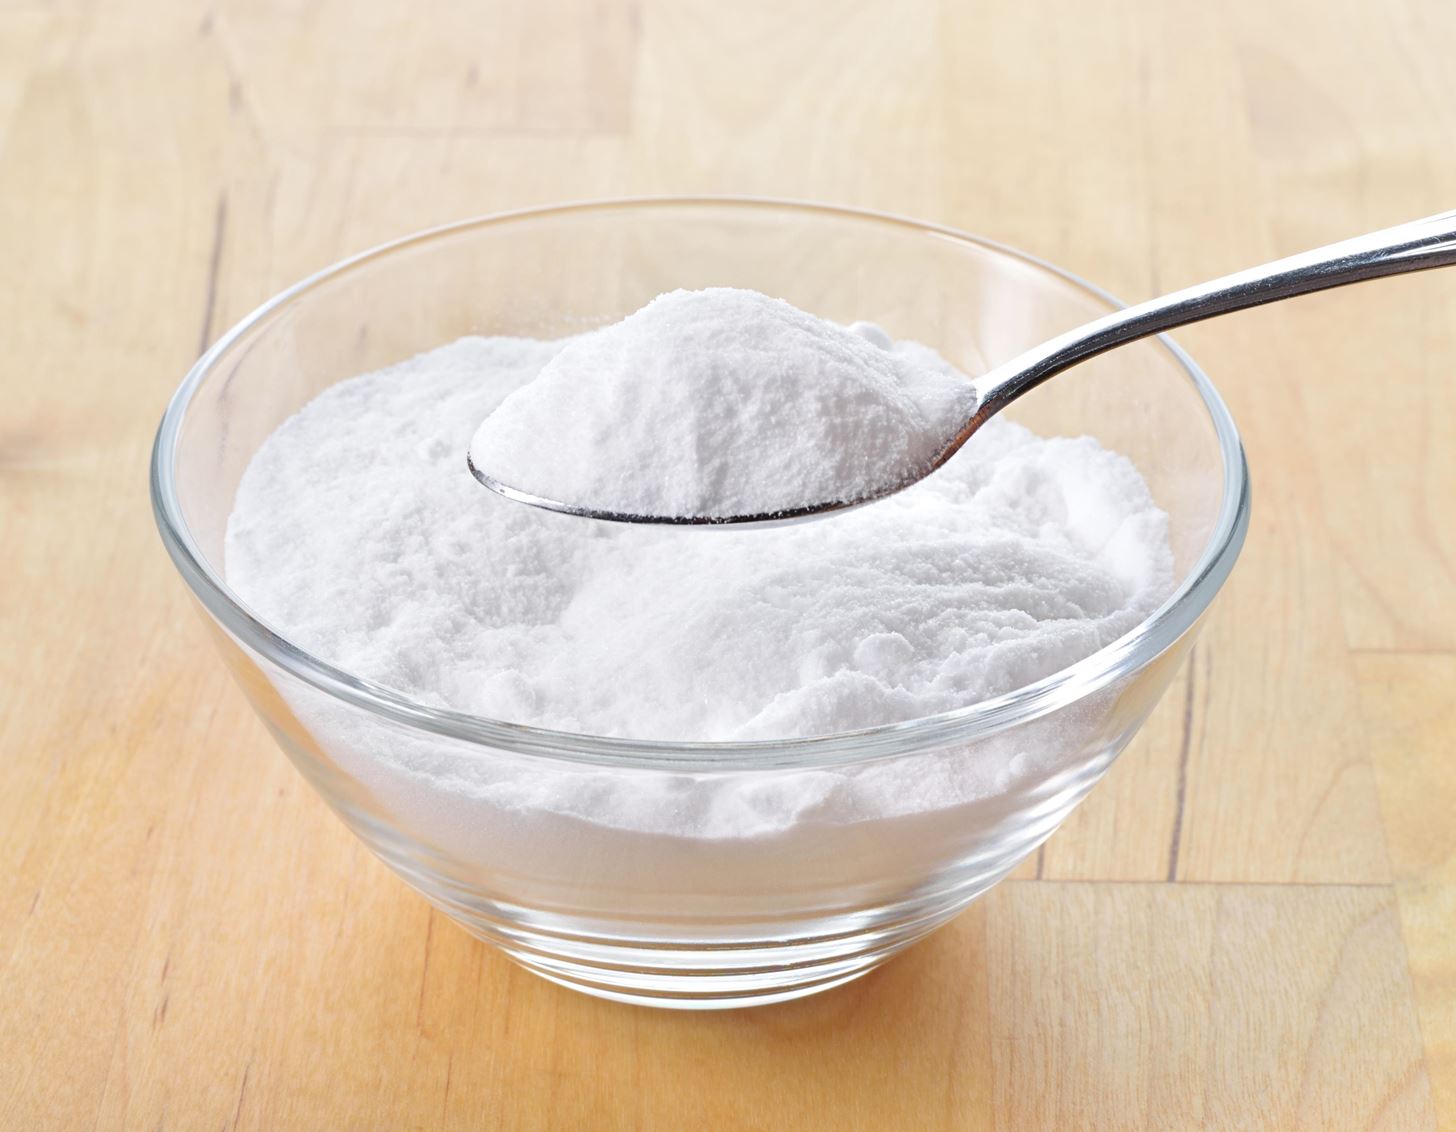
Step 2: Add Baking Soda to the Cooking Water
Because older eggs have more alkaline, you shouldn't add vinegar to the cooking water, though some recipes recommend it. Adding about a teaspoon of baking soda to the cooking water increases the alkalinity, which will make the eggs easier to peel later on.
Step 3: Center the Yolks (Optional)
If you're making deviled eggs or some other recipe where you need to have the yolks of your hard-boiled eggs centered, you may want to take an extra step. Wrap a rubber band around a carton of eggs and store it on its side or pointy side down overnight and your yolks will be centered.
A really old-school method to centering yolks involves twirling the eggs. According to Corriher, Cordon Bleu students in London are required to do this for several minutes before cooking. Thankfully, there is an easier way.
Over at ChefTalk.com, food stylist foodnphoto stirs the eggs clockwise for several minutes as they boil, then stirs counterclockwise for several more.
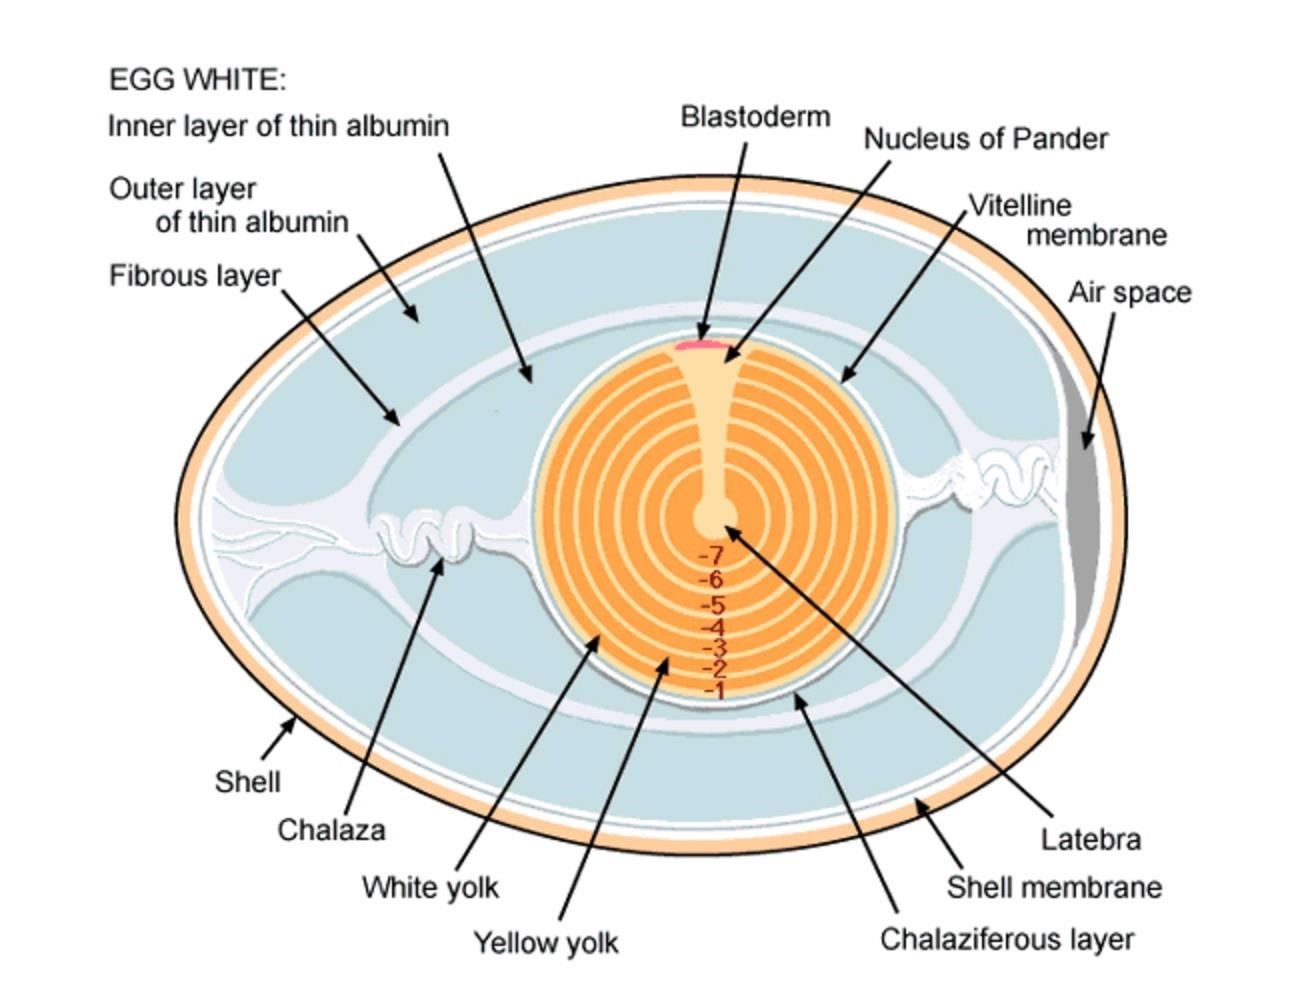
Luc-H points out why this works: "The yolk is held in the middle of the albumen (white) by 2 spring-like strands at each end called chalazas. If the egg sits still in any position, the yolk will sag down but by spinning and twirling it, it will center itself. In boiling water, it's only a question of waiting until the egg white congeals around the yolk to keep it centered."
You can read more here.
Step 4: Warm Up Eggs to Prevent Cracking While Boiling
A cracked egg is a sad hard-boiled egg: Usually, the egg white leaks out and makes the whole shebang harder to peel properly once it's done.
You can warm eggs in two ways: take the eggs out of your fridge and let them sit until they're at room temperature, or put them in hot tap water for up to five minutes. An extreme change in temperature is the most common reason why eggs crack during the cooking process, which is why you want them at room temperature and to cook them at a gentle simmer.
Either way, this will make it easier to remove the shells without also removing large chunks of egg white later on.

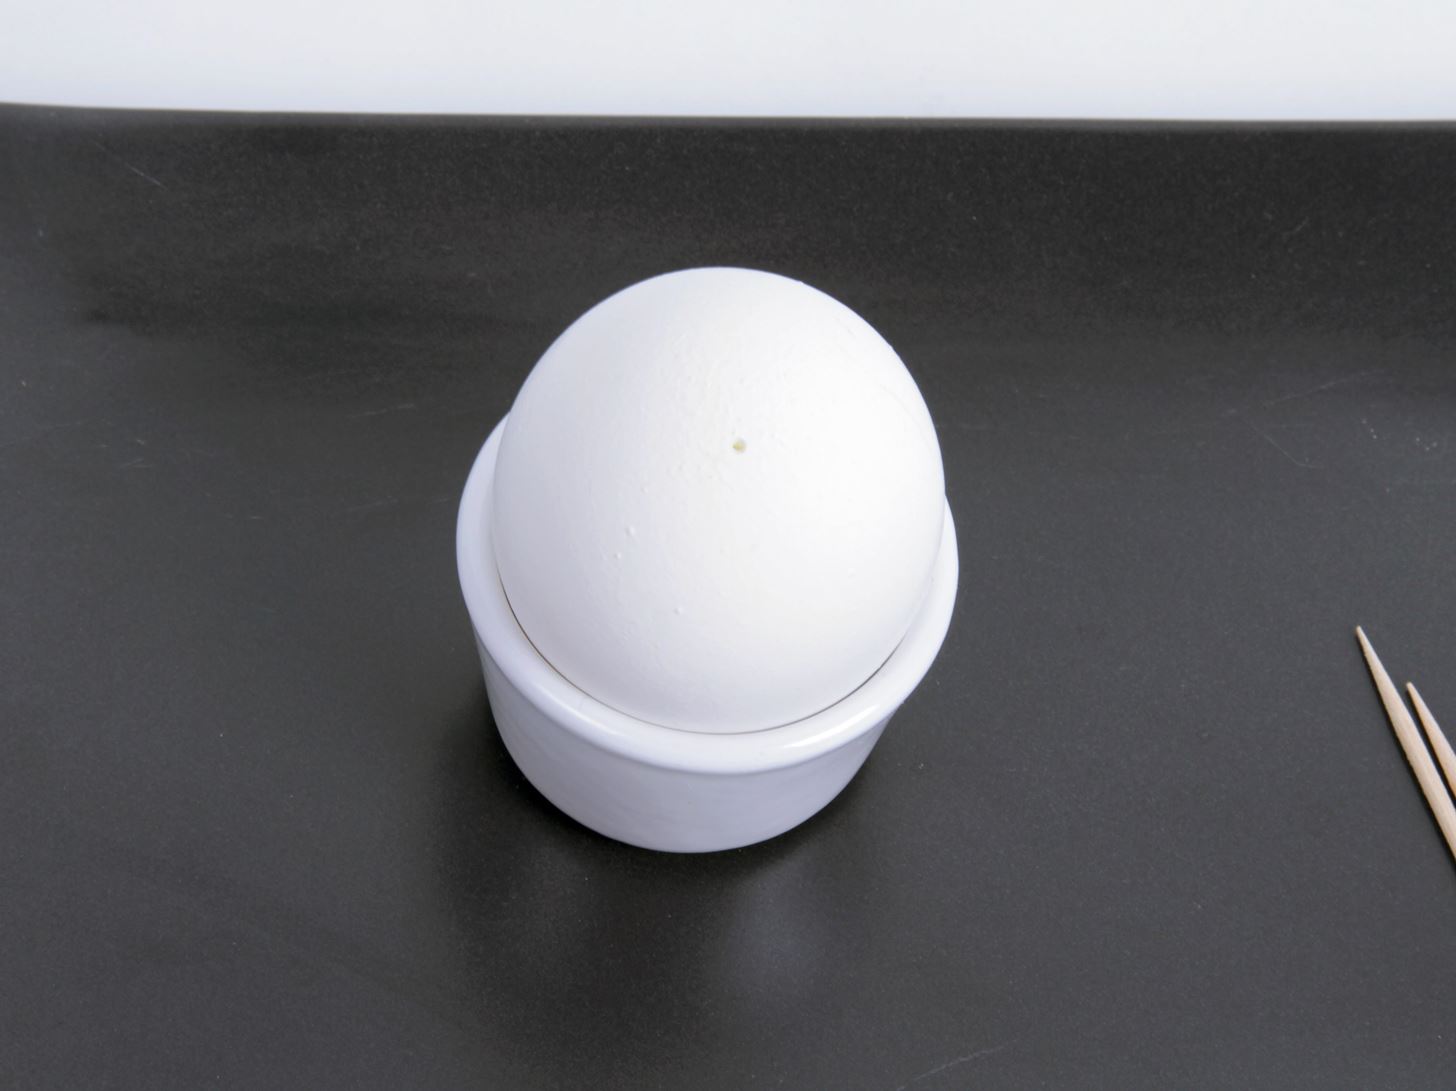
Step 5: Prick the Bottom of the Shell (Optional)
Some swear by pricking the bottom of the shell (otherwise known as the fat end) with a thumbtack to prevent cracking. Chemistry professor Arthur Grosser explains that every egg has a pocket of air inside (as we've shown you in our guide to telling when eggs are really expired), and pricking the shell allows the air to escape. Otherwise as the egg cooks, the air is forced against the fragile shell, causing it to crack.
Others argue that pricking the shell makes the structure weaker and more likely to crack under the pressures of cooking. It's up to you. This is where cooking gets fun—experimentation.
Step 6: Start with Cold Water
There are fans of the method where you lower eggs into boiling water, but that requires more steps and the results aren't as reliable. Starting with cold water is less fussy.
Besides, as J. Kenji López Alt of Serious Eats points out, "if we drop the eggs directly into boiling water, the exterior heats up much faster than the interior; by the time the very center of the yolk reaches 170 degrees, the white and outer layers of yolk are hopelessly overcooked."
Step 7: Give the Eggs Enough Room
Use a deep, heavy pot with a lid that's wide enough to hold all the eggs you're boiling in one layer and deep enough so you can have enough water to cover the eggs by one inch. A flimsy pot or pan won't do: it will conduct heat unevenly and leave you with inconsistently cooked eggs.
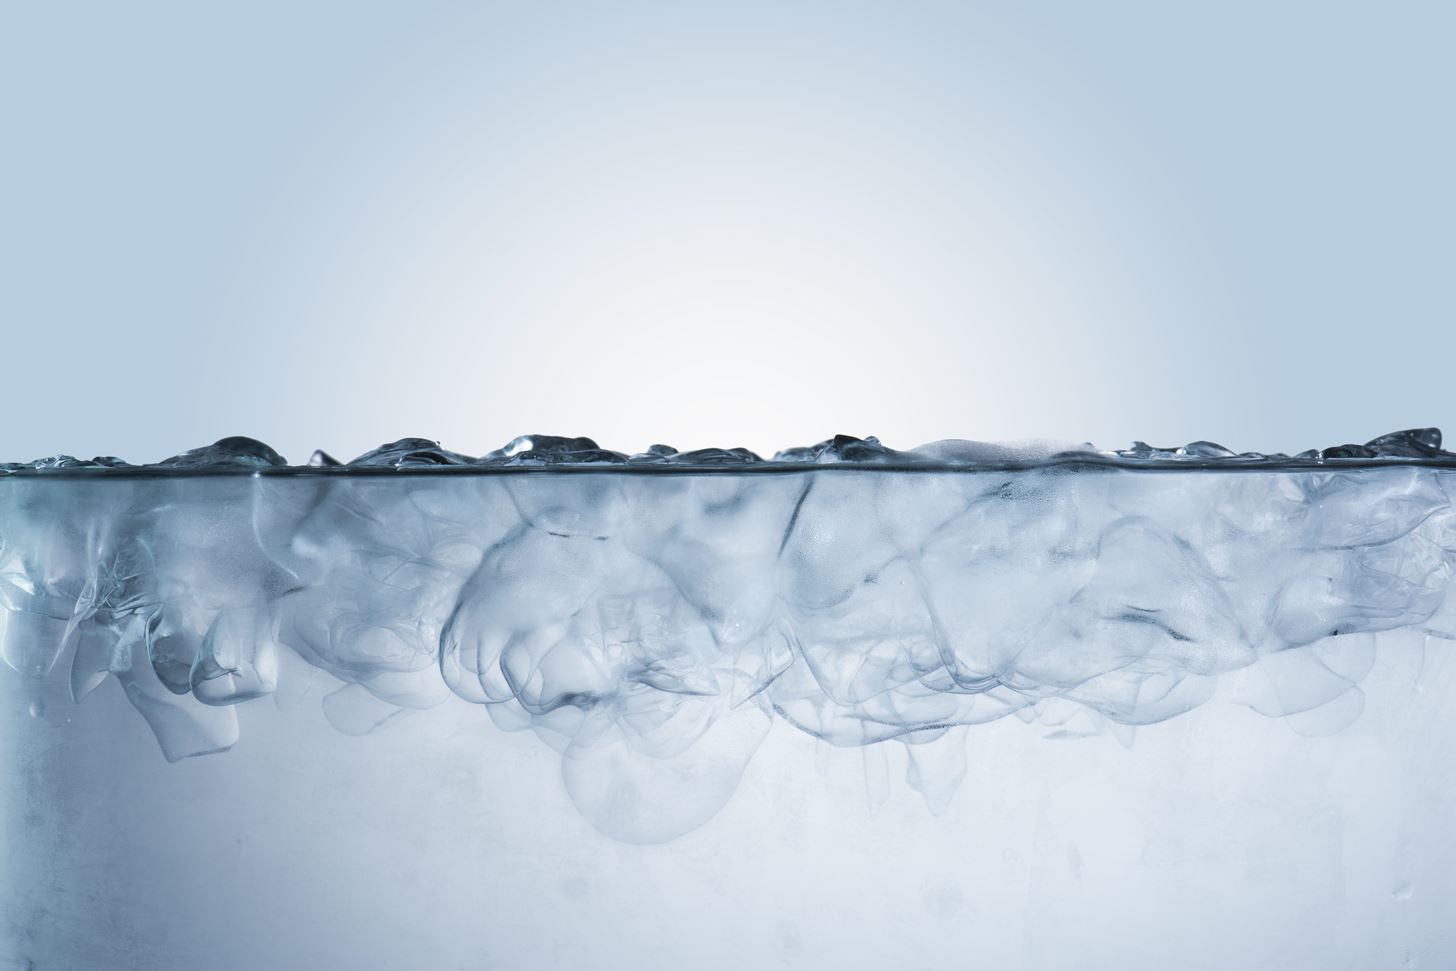
Step 8: Start the Burner & Prep an Ice Bath
Place your eggs in the pot, add a teaspoon of baking soda, and turn the heat to medium-high. Now here's the fun part: you get to watch water (almost) boil. While you're waiting, prep an ice bath that's deep enough to cover the eggs. You could peel them under running water, but that seems like a waste of natural resources.
Step 9: Turn Off Once Simmering Strong (But Not Boiling)
You really need to watch the pot, however, because you need to turn off the heat once the water begins to simmer enthusiastically, but before it comes to a full, rolling boil. Your egg is going to cook from the outside in, so if they sit too long in boiling water, the whites will probably be on their way to rubbery.
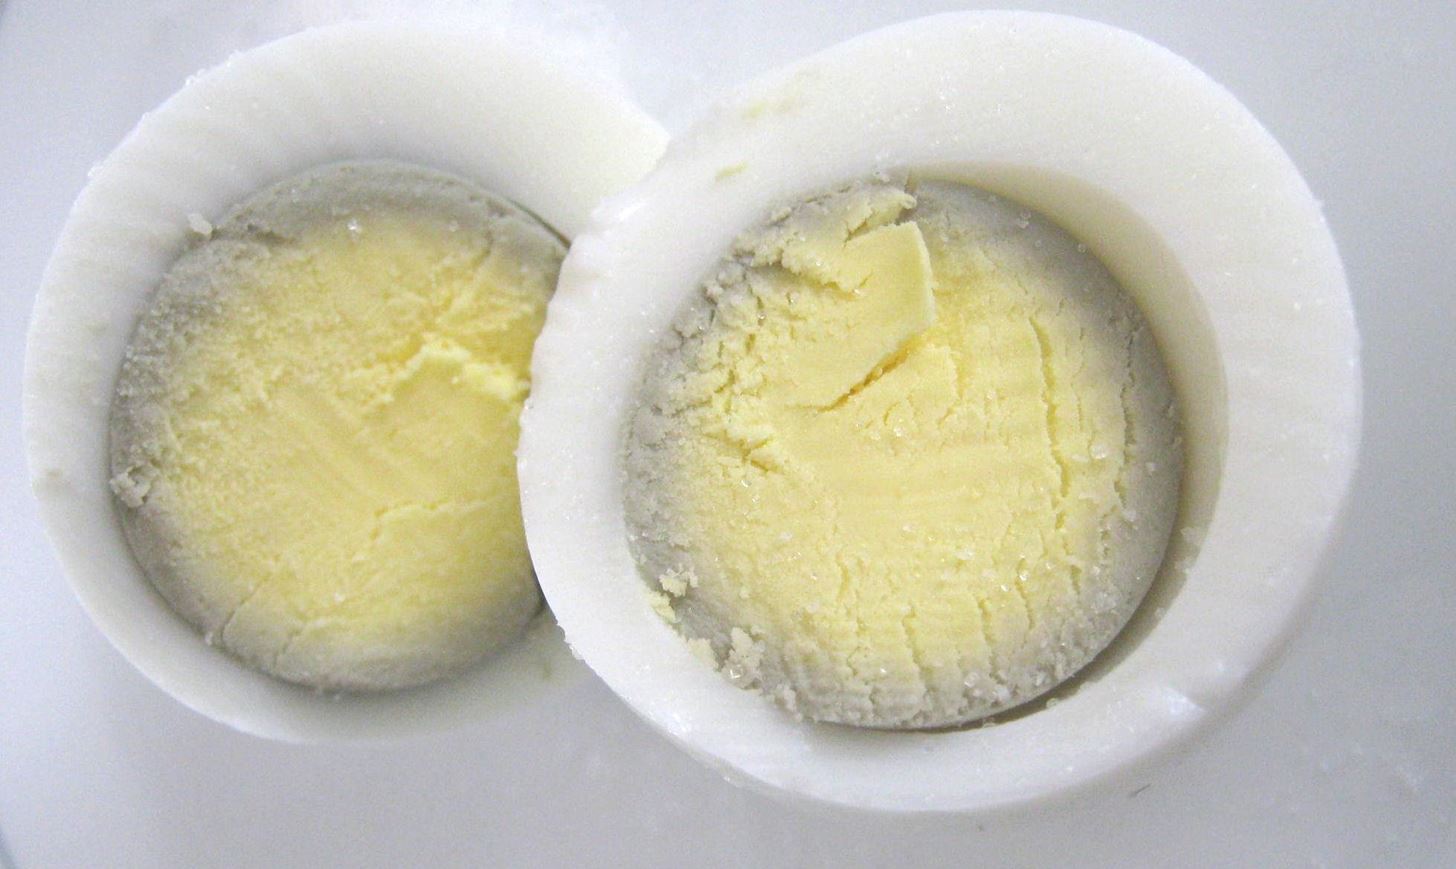
Overcooking eggs is also the culprit for that nasty gray-green sheen to the yolks. Egg whites contain iron and cook more rapidly than the yolk, which contains sulfur. If an egg is overheated, the iron and sulfur react to one another, and create that greenish tint. It's not harmful to ingest, it's just not very pretty—and it means your egg is most likely overcooked.
Step 10: Remove from Heat & Wait
Remove the saucepan from heat and cover it with a lid. Wait 10 to 12 minutes. I don't like draining water from a pot of hardboiled eggs—I've gotten hit by the spatters or had the eggs roll into each other and crack before I could properly chill them, making them harder to peel.
Step 11: Give Them Their Ice Bath
I remove eggs from hot water one by one with an ice cream scooper and lower them into the ice bath. Wait until eggs are completely cool before you peel. As Russ Parsons of the L.A. Times points out, eggshells are porous and the shock of plunging them into ice water will help separate the shell and membrane from the flesh of the egg.
Step 12: Peel Those Hard-Boiled Egg Pain-Free
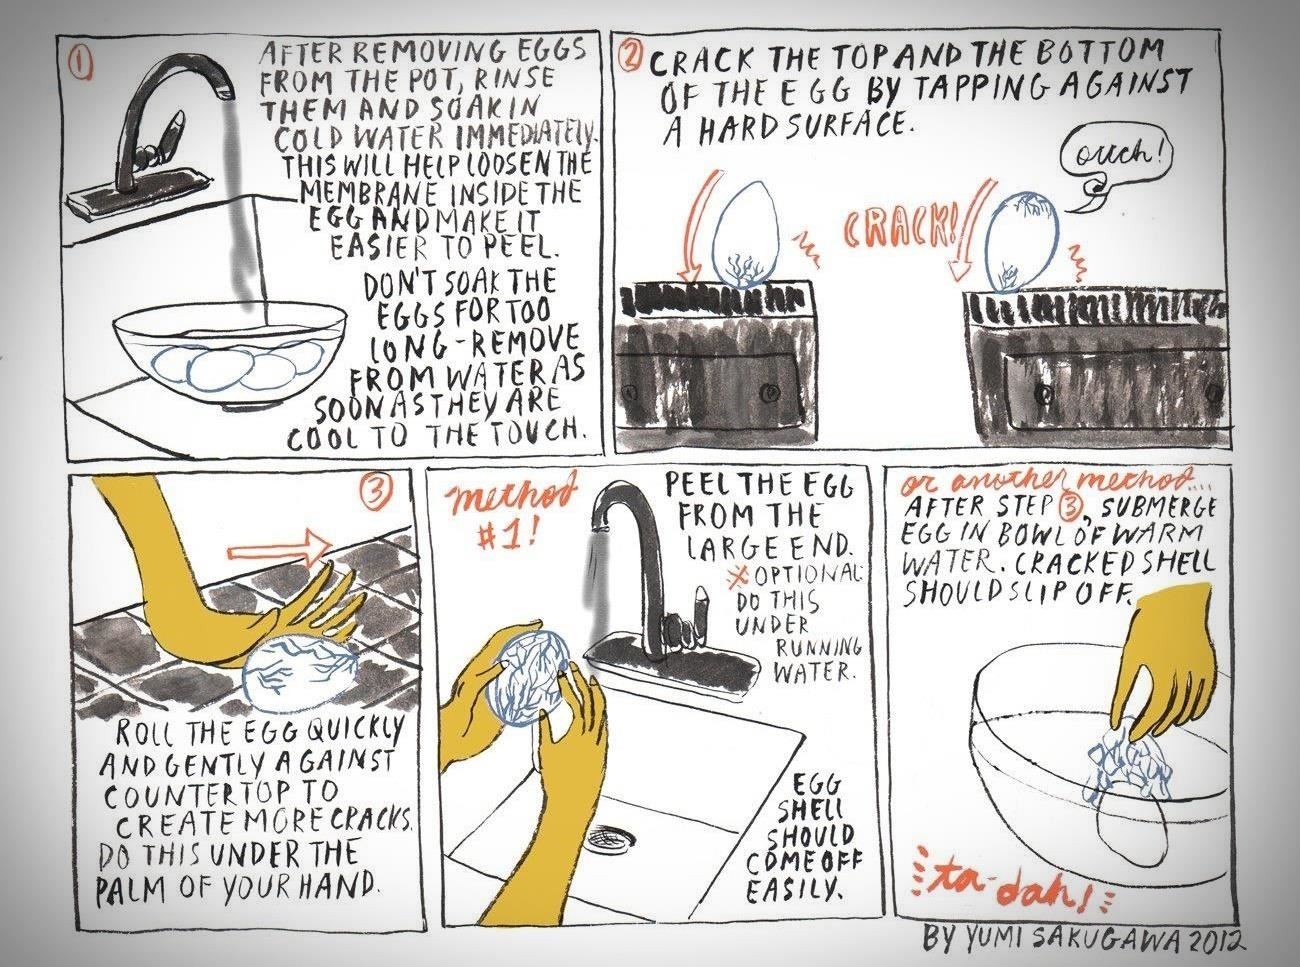
Now, there are lots of recommendations for ways to perfectly peel an egg, but I like Yumi's recommendation of cracking, rolling, and then peeling the egg underwater. Others recommend a similar method. Some things are classics for a reason.
How to Make Your Hard-Boiled Eggs Even Better
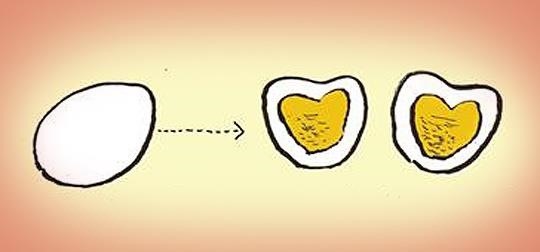
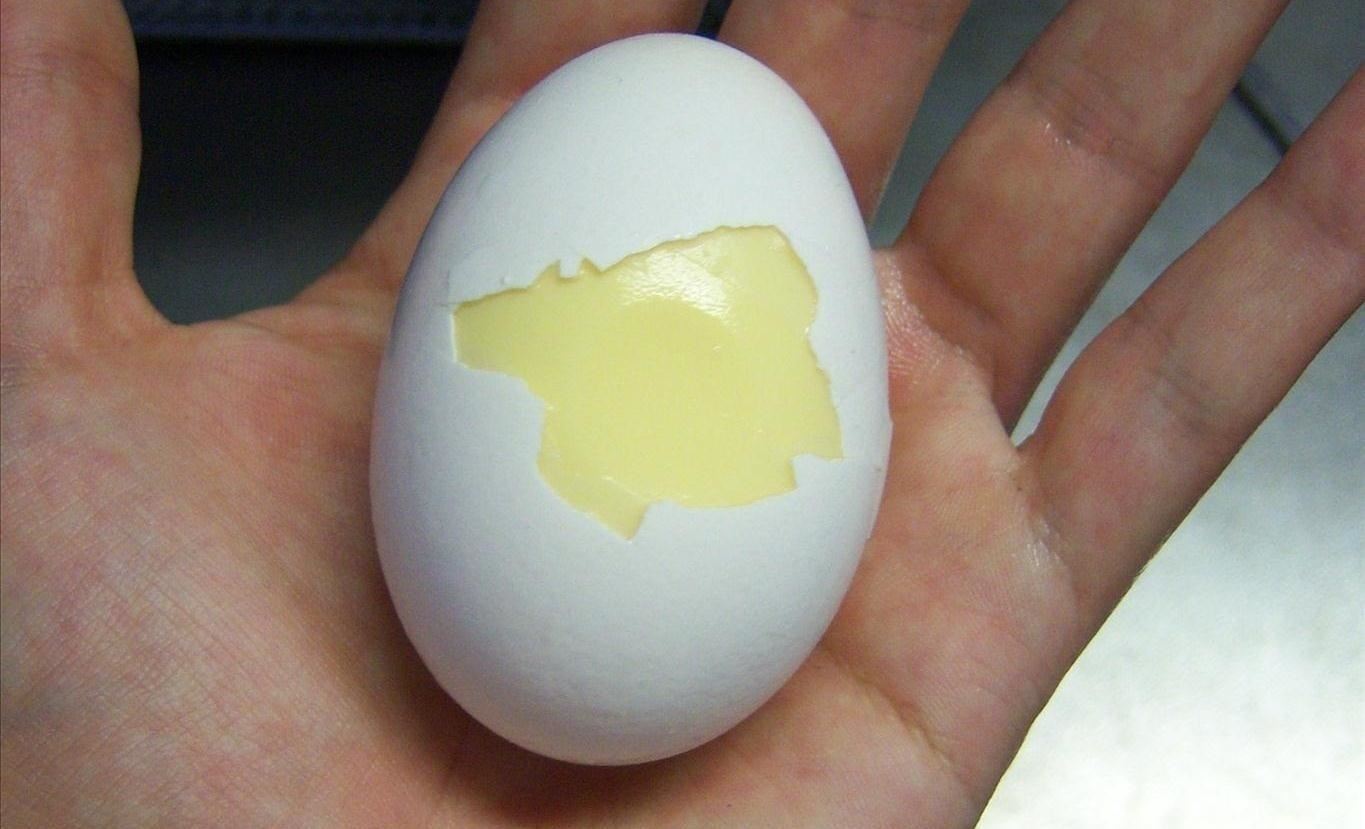
If you want to go a step further, after you've cooked and peeled them, turn the hard-boiled eggs into heart-shapes for a more decorative snack (and don't forget to save those eggshells—you can reuse them for other things later). You can also try out the "Golden Egg" method, which is basically scrambling the egg in its shell before you boil them. I haven't tried it yet, but it's definitely on my bucket list.
What's your favorite way to cook, crack, and peel an egg?
Just updated your iPhone? You'll find new emoji, enhanced security, podcast transcripts, Apple Cash virtual numbers, and other useful features. There are even new additions hidden within Safari. Find out what's new and changed on your iPhone with the iOS 17.4 update.


2 Comments
The part about running water wasting resources certainly isn't wasting water in urban areas because the water goes back in river or streams it comes from. Money maybe as running more water could increase bill. Time it may take more time. But, ice needed for ice water waste time and money and coal/oil to get the ice. Running water may use less resources and more renewable resource to non-renewable. Though non-renewable is an overstatement better is less renewable. Even coal and oil will renew eventually
In millions of years...
Share Your Thoughts