
When we were kids, snacks on-the-go or in our lunch box were often Kellogg's Nutri-Grain cereal bars. There were flavors like strawberry, blueberry, and our beloved apple-cinnamon.
As we grew older, we realized how chalk-full of sugar and other unnecessary ingredients these childhood treats were. So, we bid a sad farewell to the chewy, fruit-filled bars.
That is, until we discovered Tieghan's recipe and realized how how easy (and tasty) it is to replicate our childhood snack in our own kitchen.
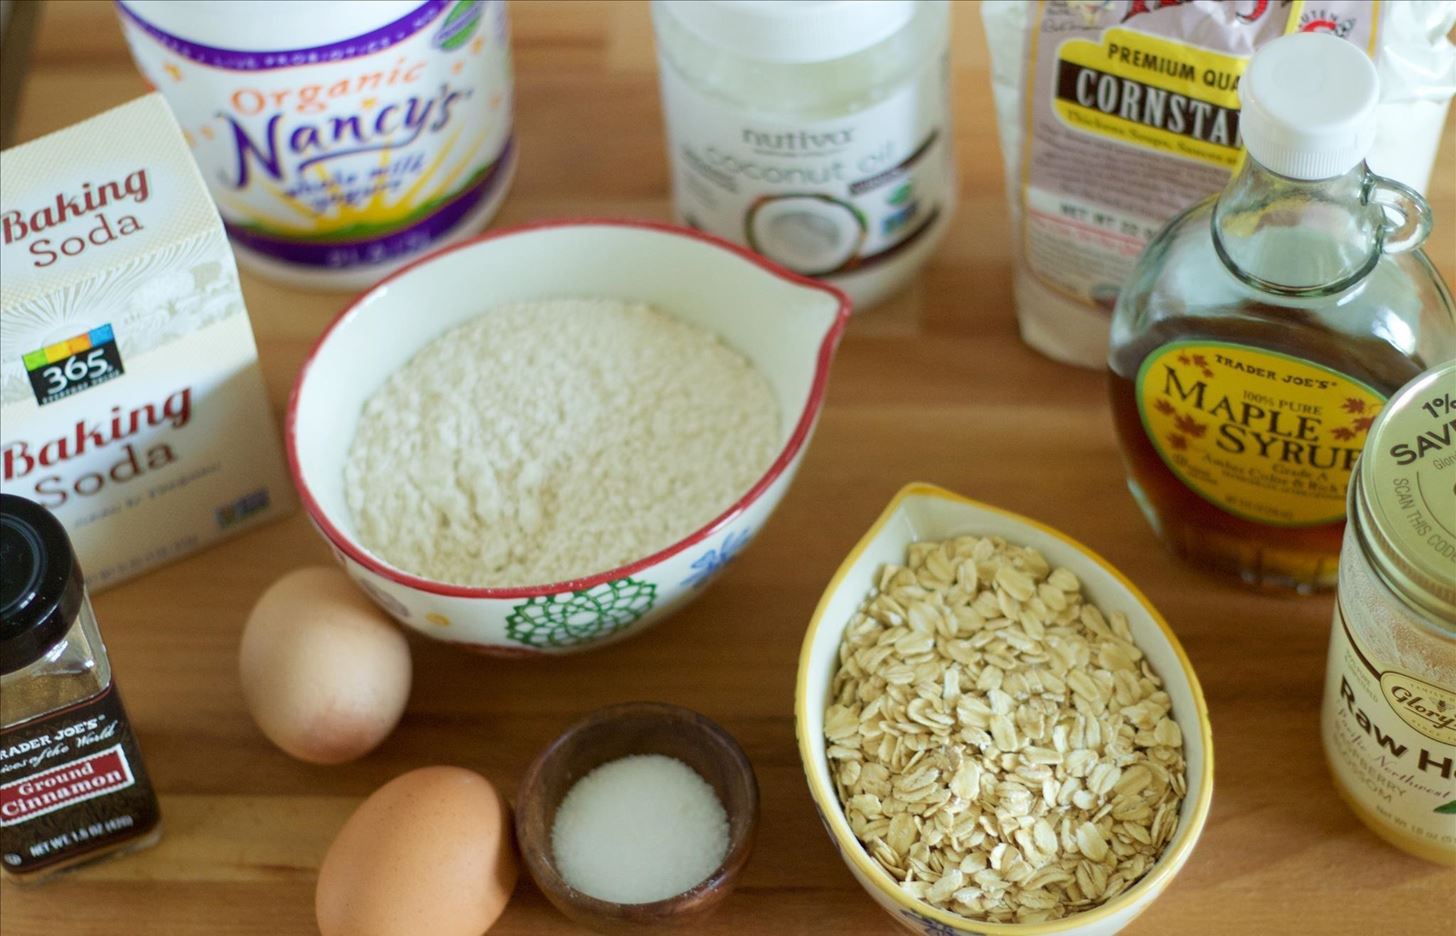
Ingredients (For the Dough)
- 1 c. white whole-wheat flour or whole-wheat pastry flour
- ¾ c. oats
- 1/8 tsp. baking soda
- ¼ tsp. cornstarch
- ¼ tsp. cinnamon
- 1/8 tsp. salt
- 6 Tbsp. coconut oil, at room temperature (or substitute butter)
- 2 Tbsp. plain Greek yogurt (or any whole-milk yogurt)
- 2 Tbsp. honey
- 2 egg yolks (save the whites to make meringues)
- 1 tsp. vanilla extract (or maple syrup)
Ingredients (For the Filling)
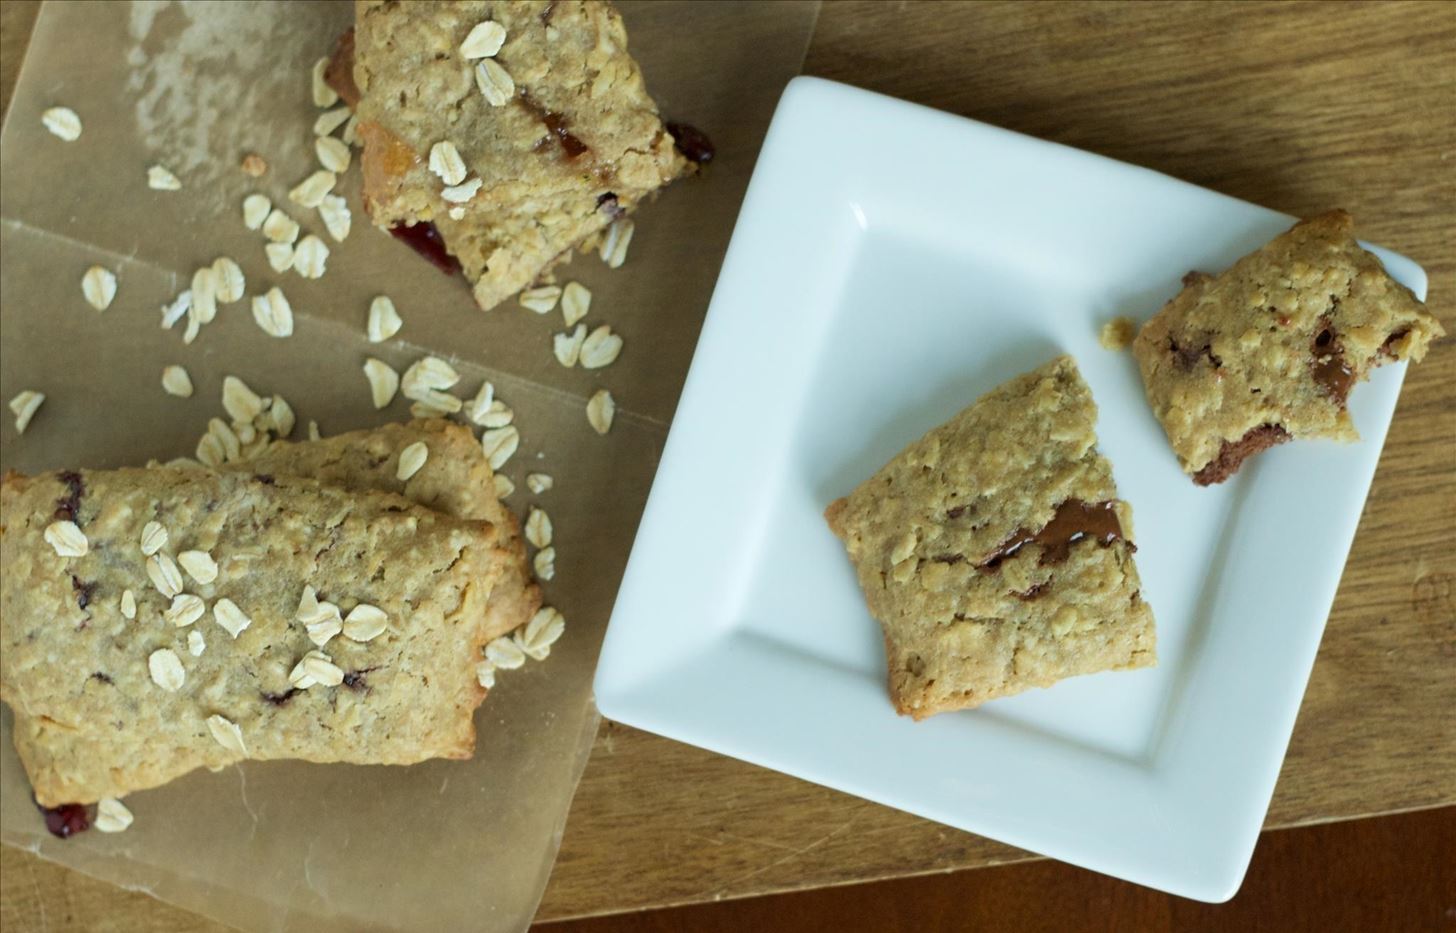
We used marionberry jam, peach champagne jam, and hazelnut spread. They all produced different but wonderful flavors. Our final verdict was that we liked the marionberry-filled bar for breakfast, the peach-filled bar for an afternoon snack, and the hazelnut spread-filled bar for dessert.
But, you can feel free to use a whole array of jams, spreads, or fillings! Have fun and get creative.
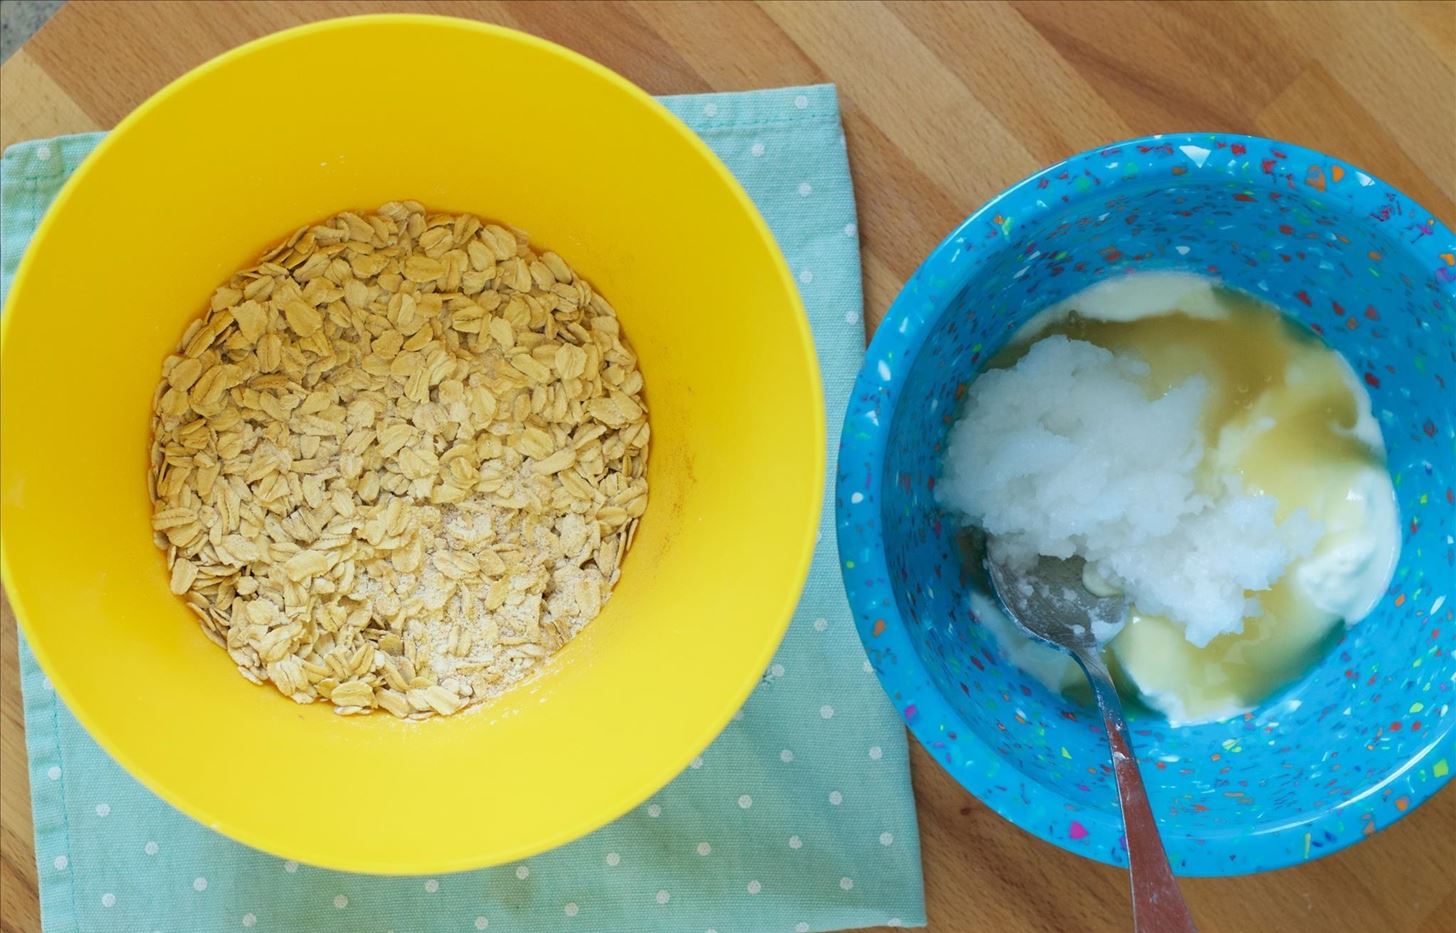
Step 1: Mix Your Dry Ingredients
In a medium-sized bowl, mix together the whole-wheat flour, oatmeal, baking soda, cornstarch, salt, and cinnamon. Set aside.
Step 2: Mix Your Wet Ingredients
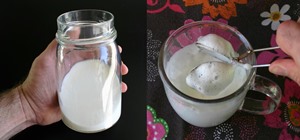
Cream the coconut oil, Greek yogurt, and honey together in the bowl of a stand mixer or other large mixing bowl. We tend to use a mixing bowl and wooden spoon, which works perfectly fine too.
Add the egg yolks one at a time, and then the vanilla. Beat until combined.
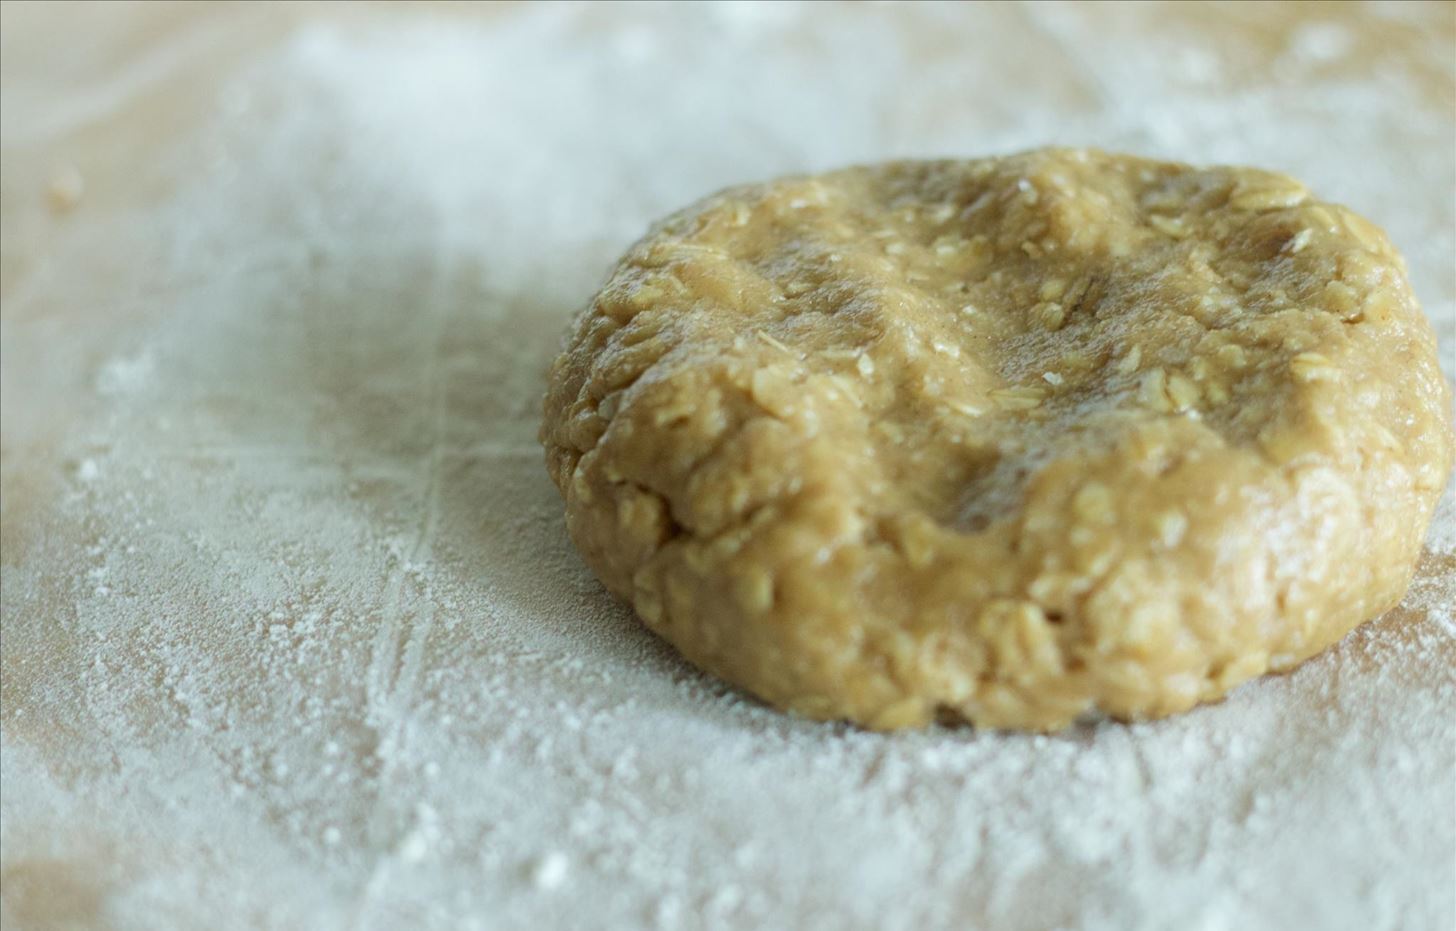
Step 3: Form Your Dough
Slowly add the dry ingredients to the wet ingredients and mix until combined. The dough will come together, but it will be a bit sticky and wet.
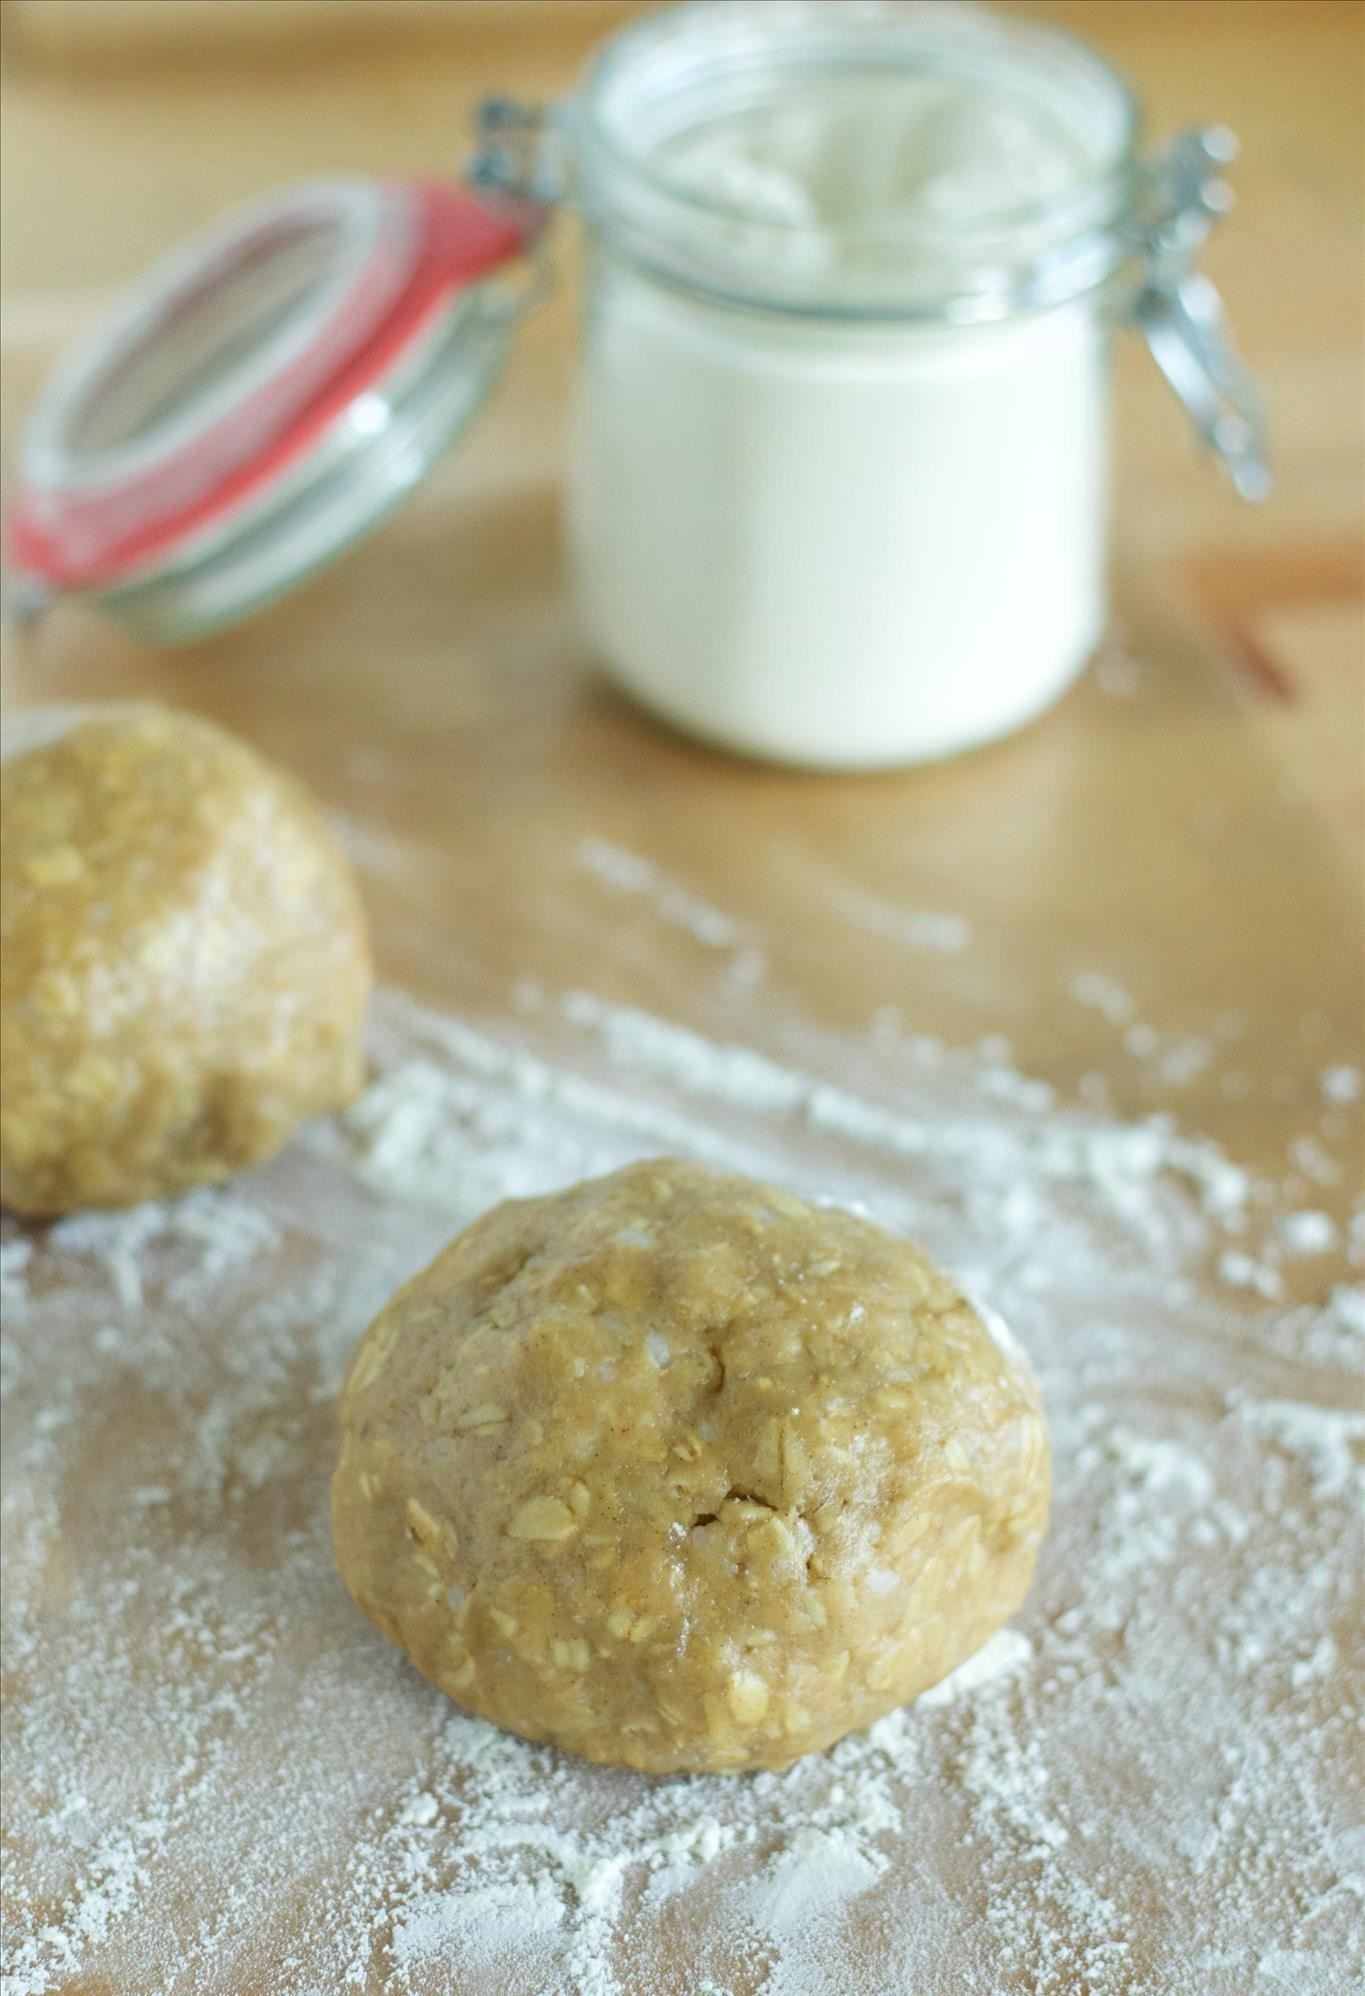
Step 4: Roll Out Your Dough
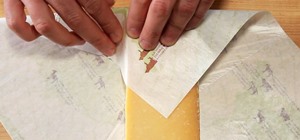
Line a good-sized work surface with lightly-floured wax paper. Divide your dough in half.
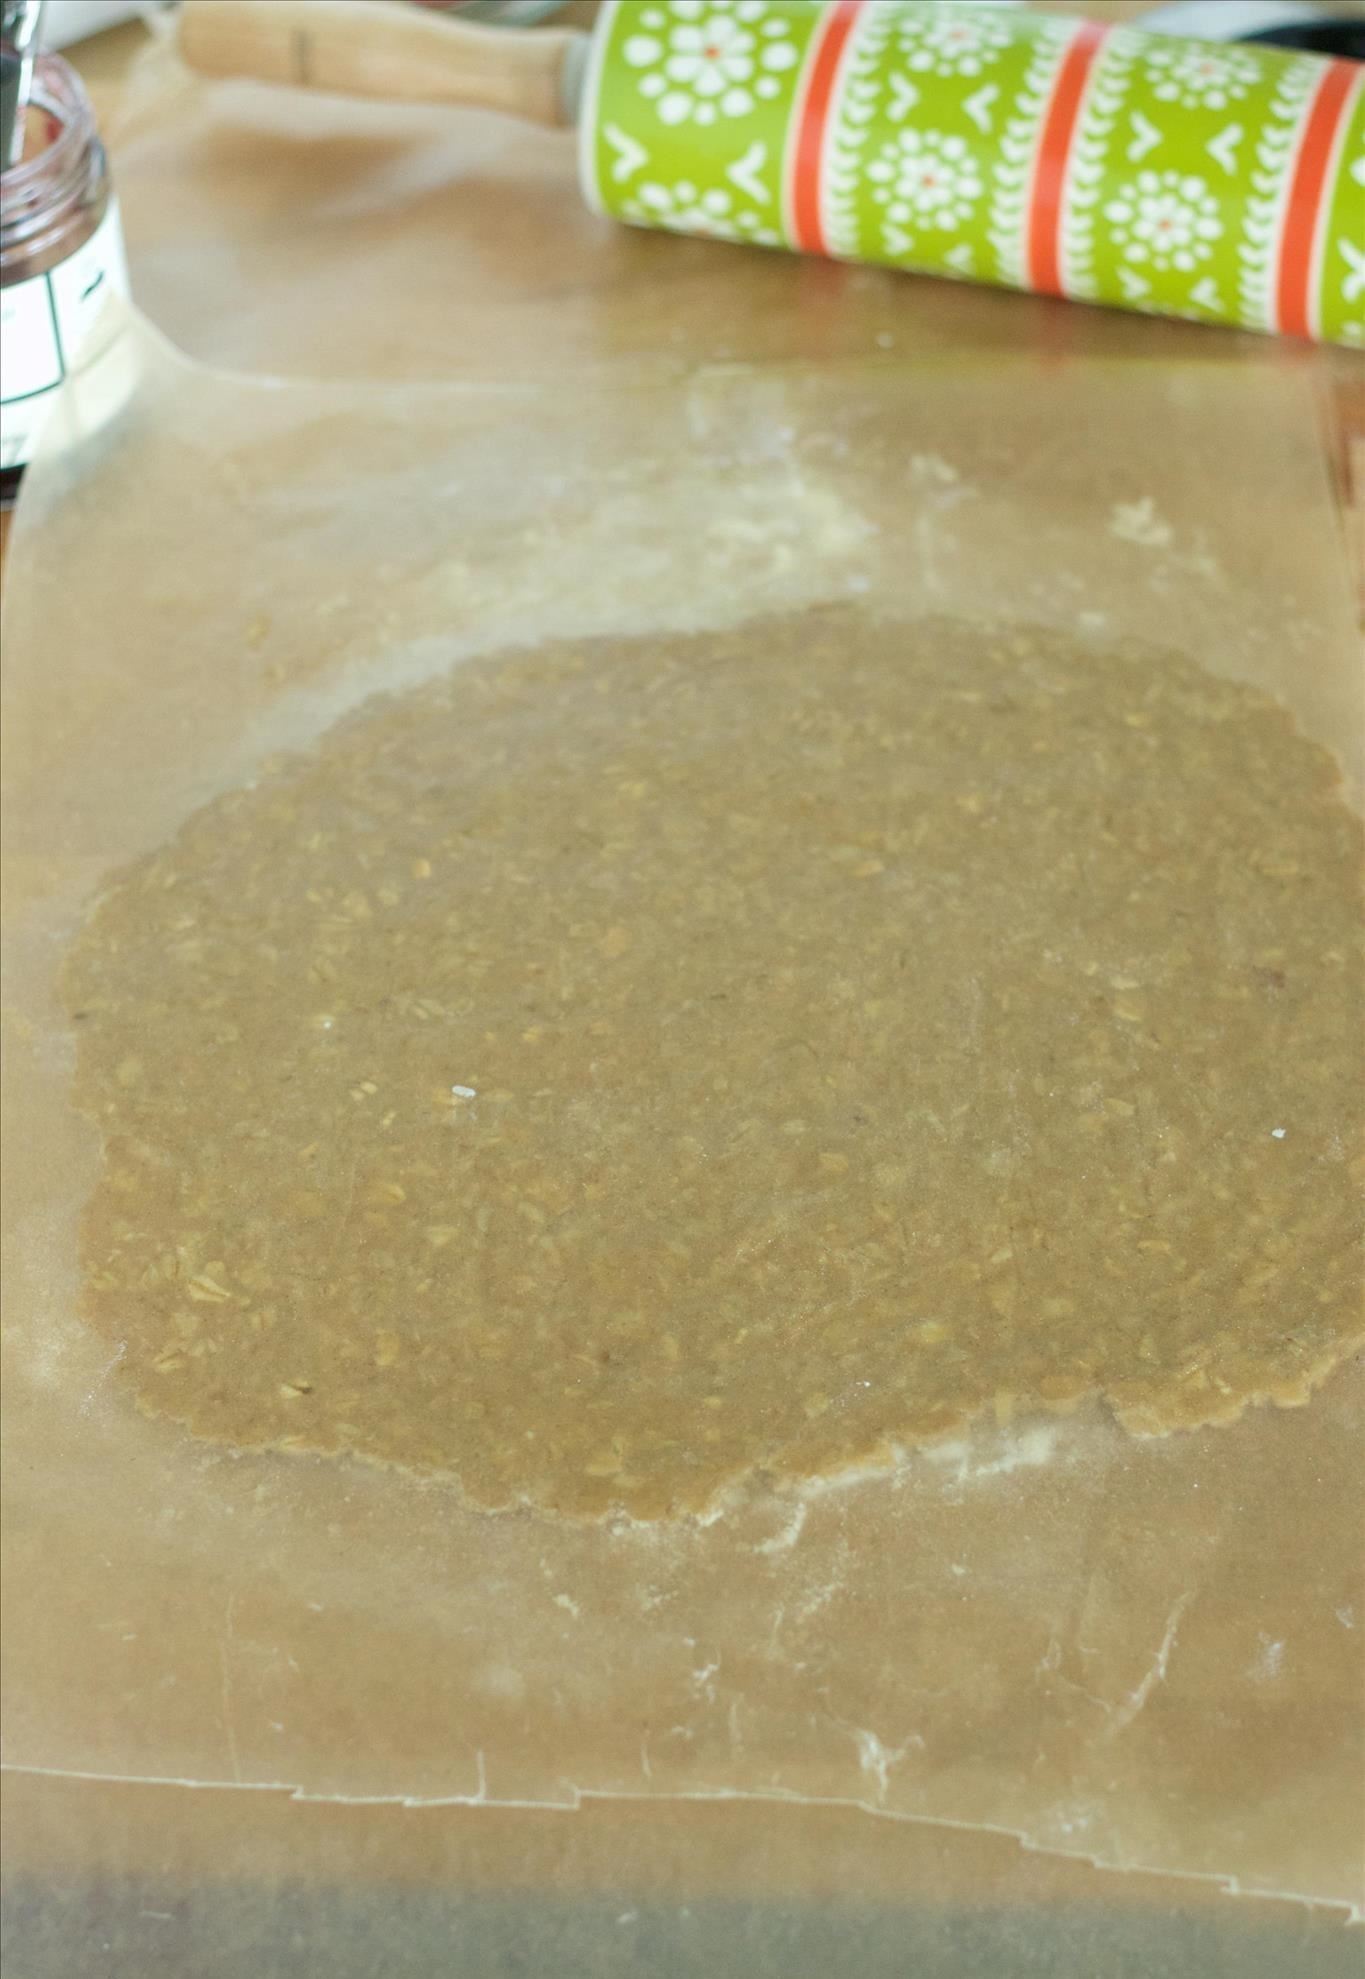
Set one dough ball aside and place the other on the center of the wax paper to roll out. Top it with a bit more flour so it does not stick, and cover it with another piece of wax paper. Then roll the dough out into a large rectangle about 1/2-inch thick.
Try to roll out your dough to an even thickness. If your dough is very thin at certain points, it will stick to the wax paper and also make it difficult to form the dough into bars. Should your dough get too thin, just form it back into a ball and give it another go.
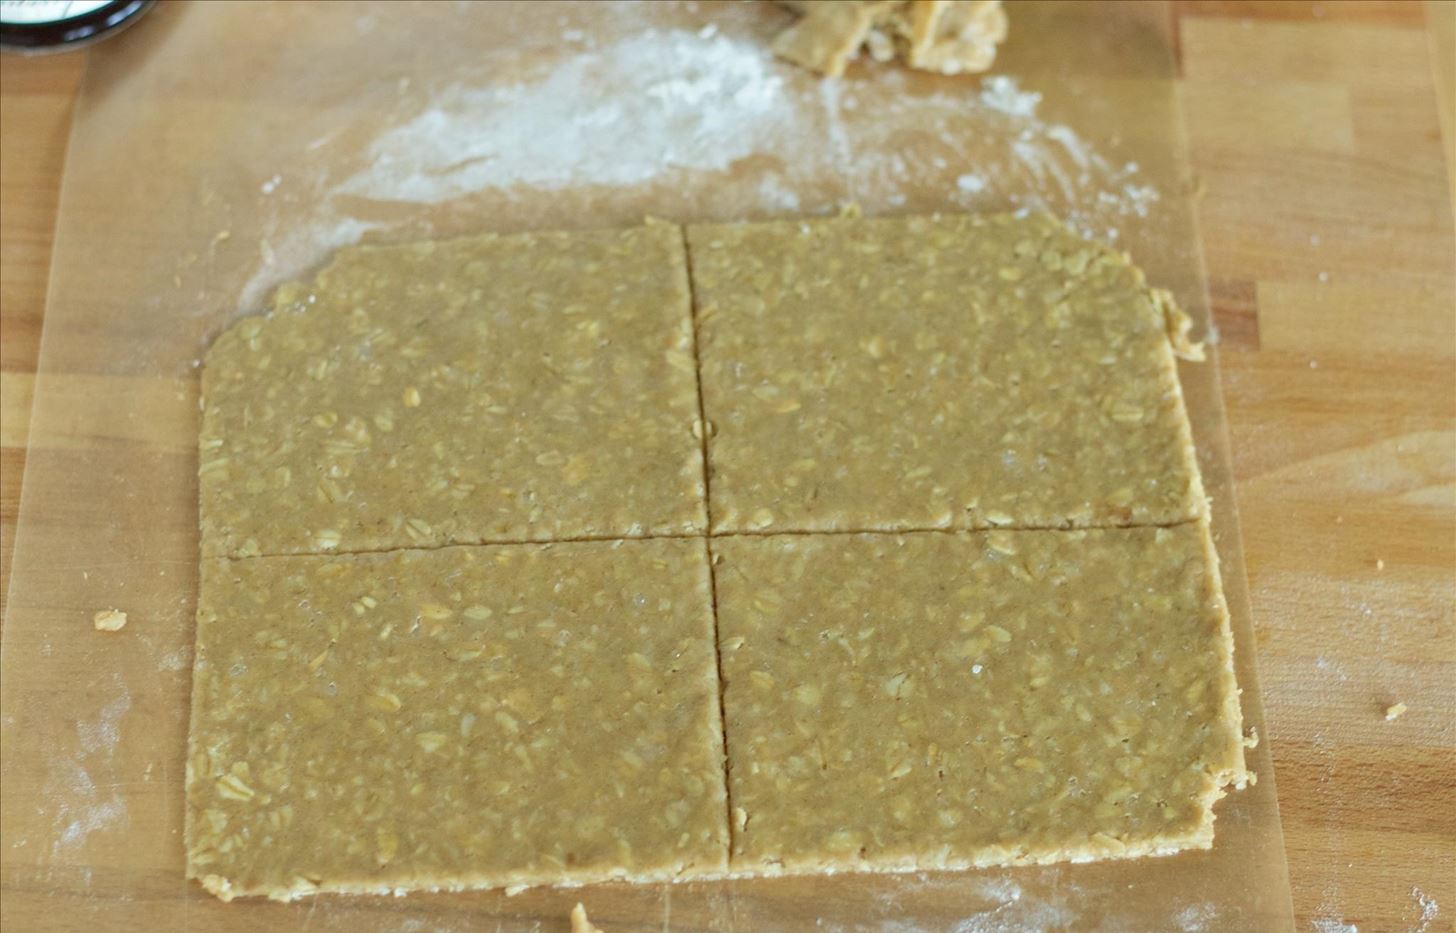
Step 5: Cut Your Dough
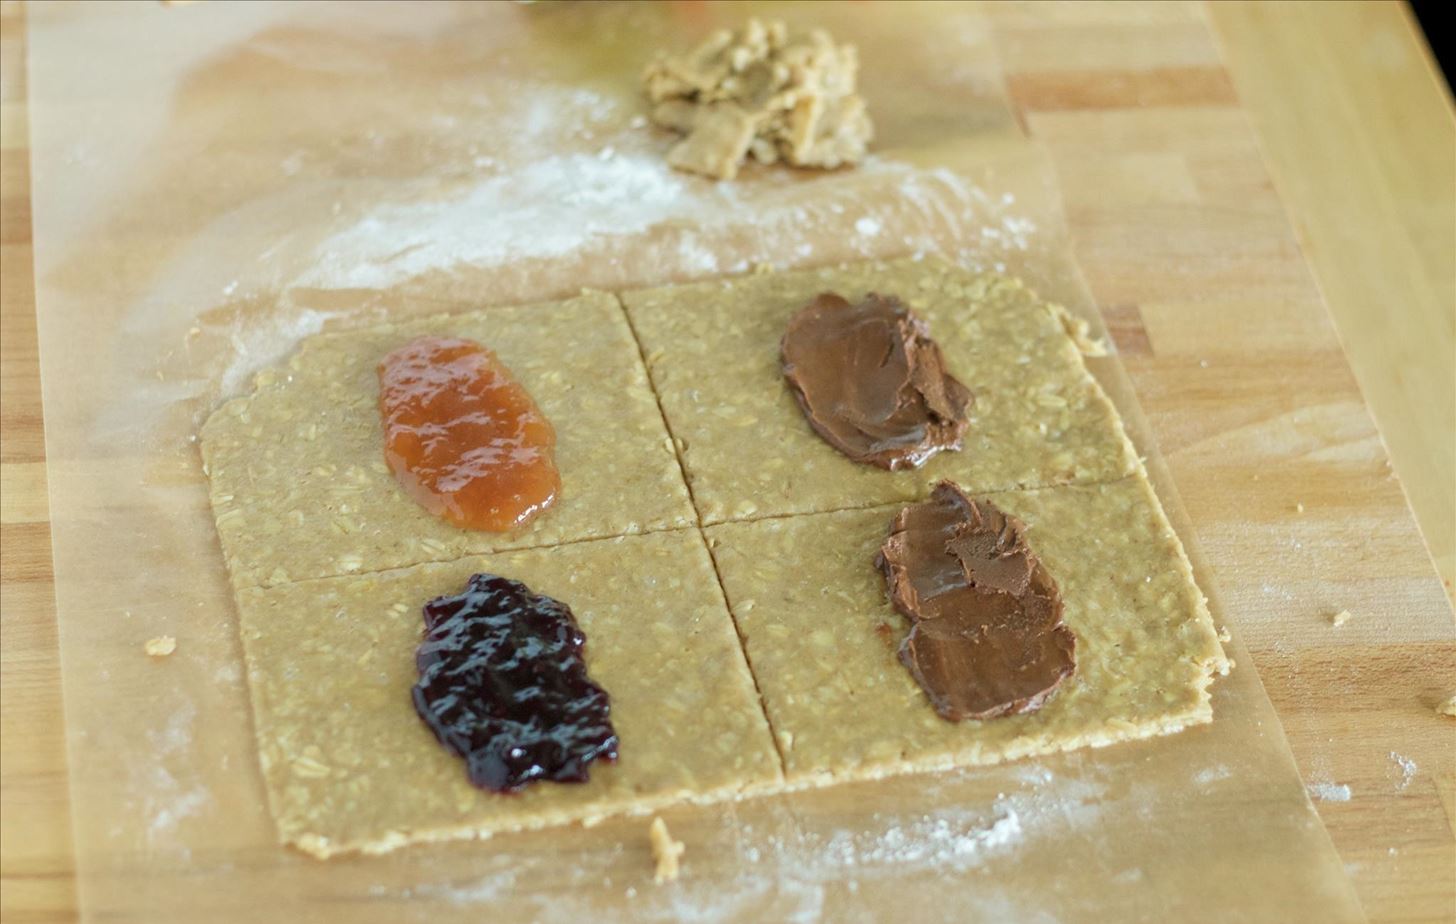
Using a pizza wheel or sharp knife, cut your rectangle into four squares. You can leave the uneven edges on the dough for a rustic look, or simply cut that part off to make the squares neater and more uniform.
Step 6: Spoon Your Filling
Spoon about 1½ tablespoons of filling down the center of each square, leaving a ¼-inch border all around.
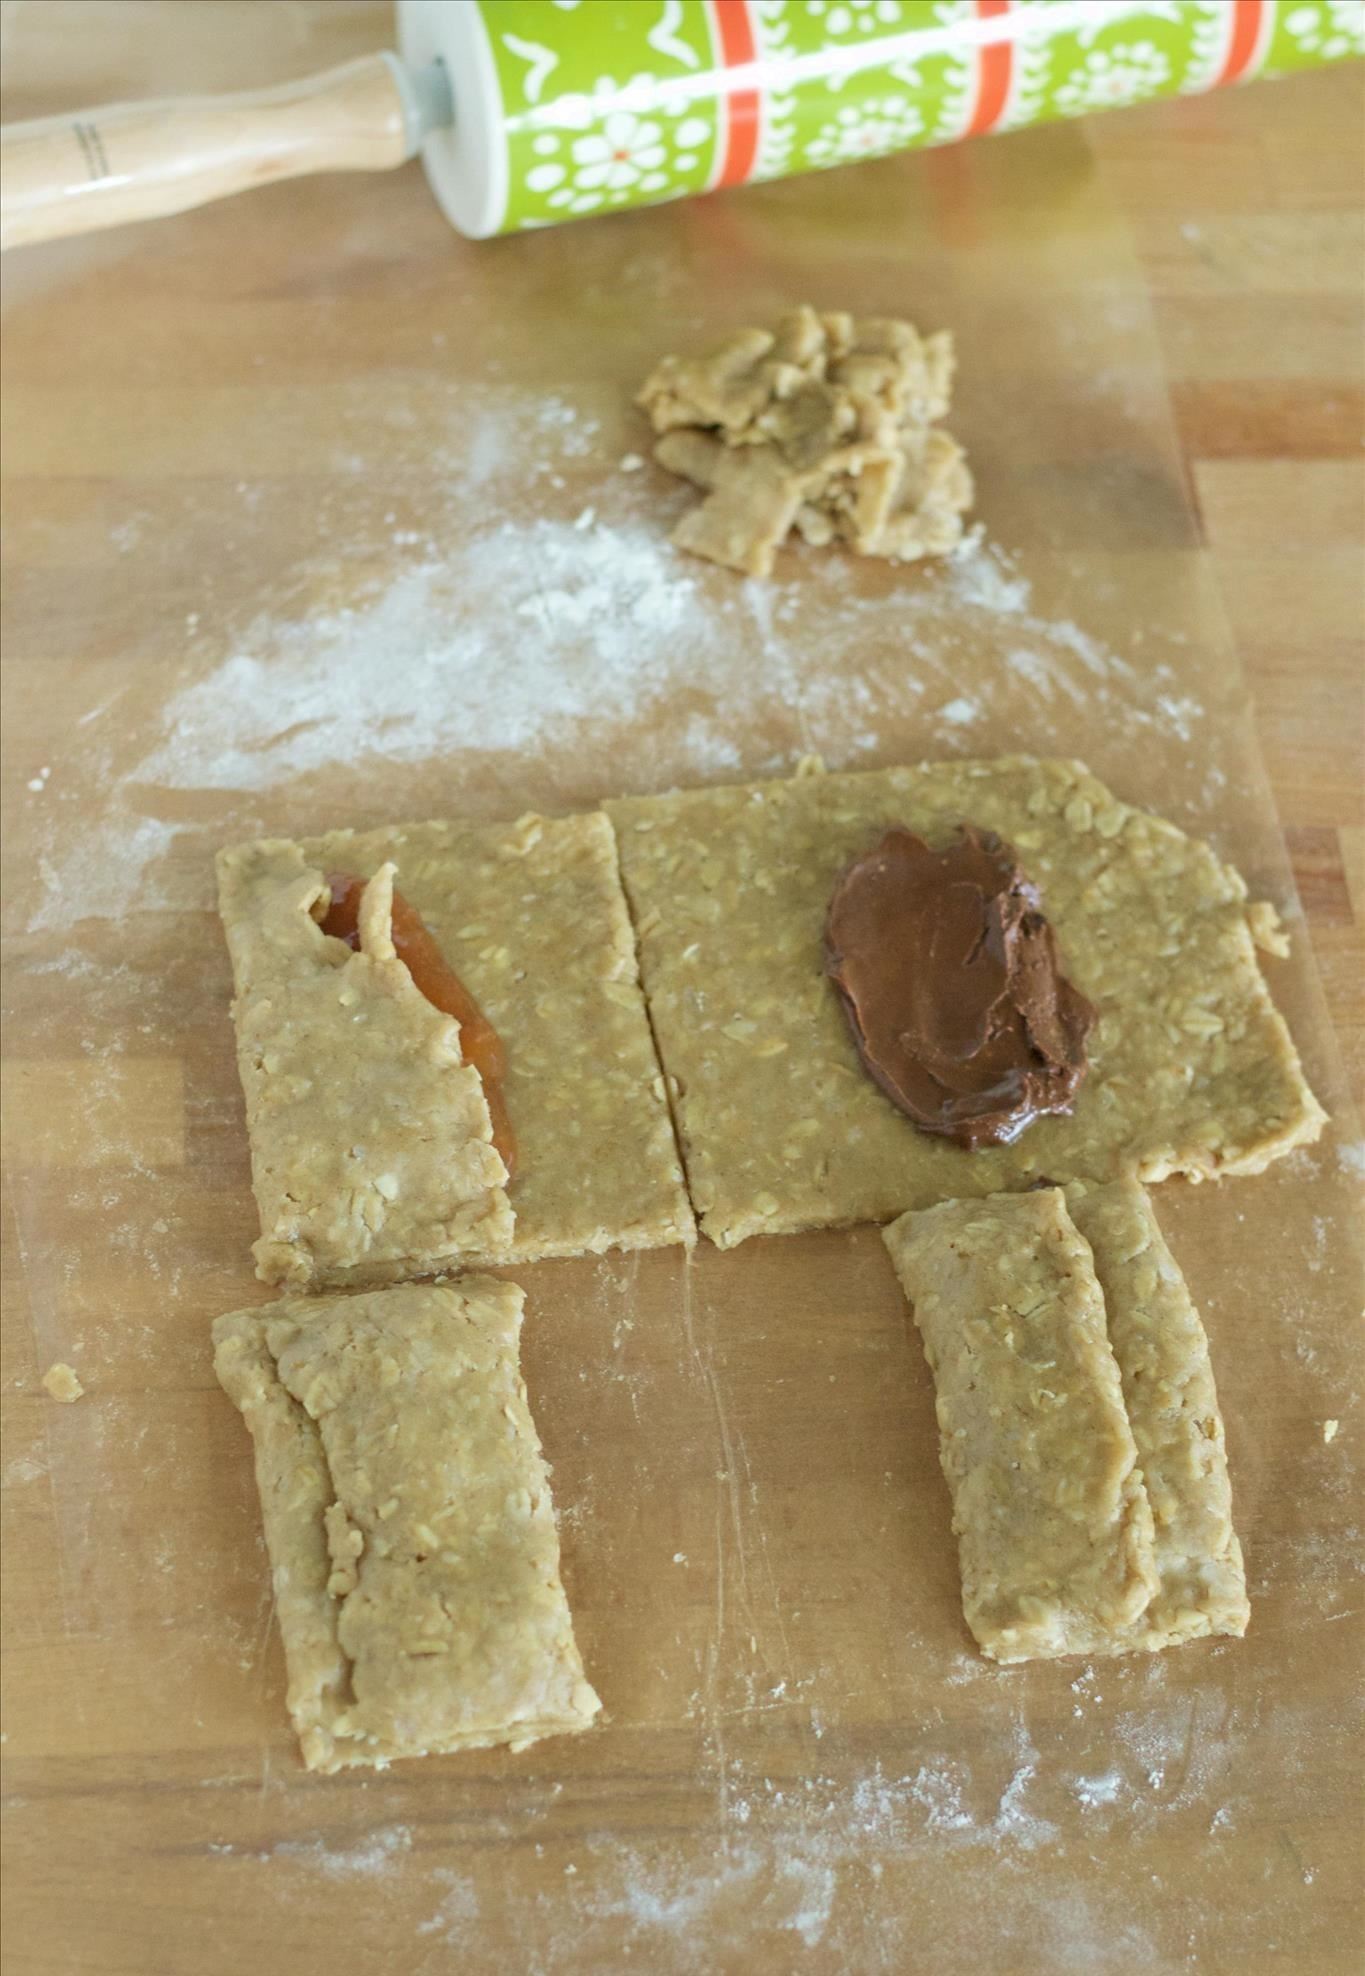
Fold one side of the dough up and over the filling and then pinch it together at either end. Do this for the other side as well.
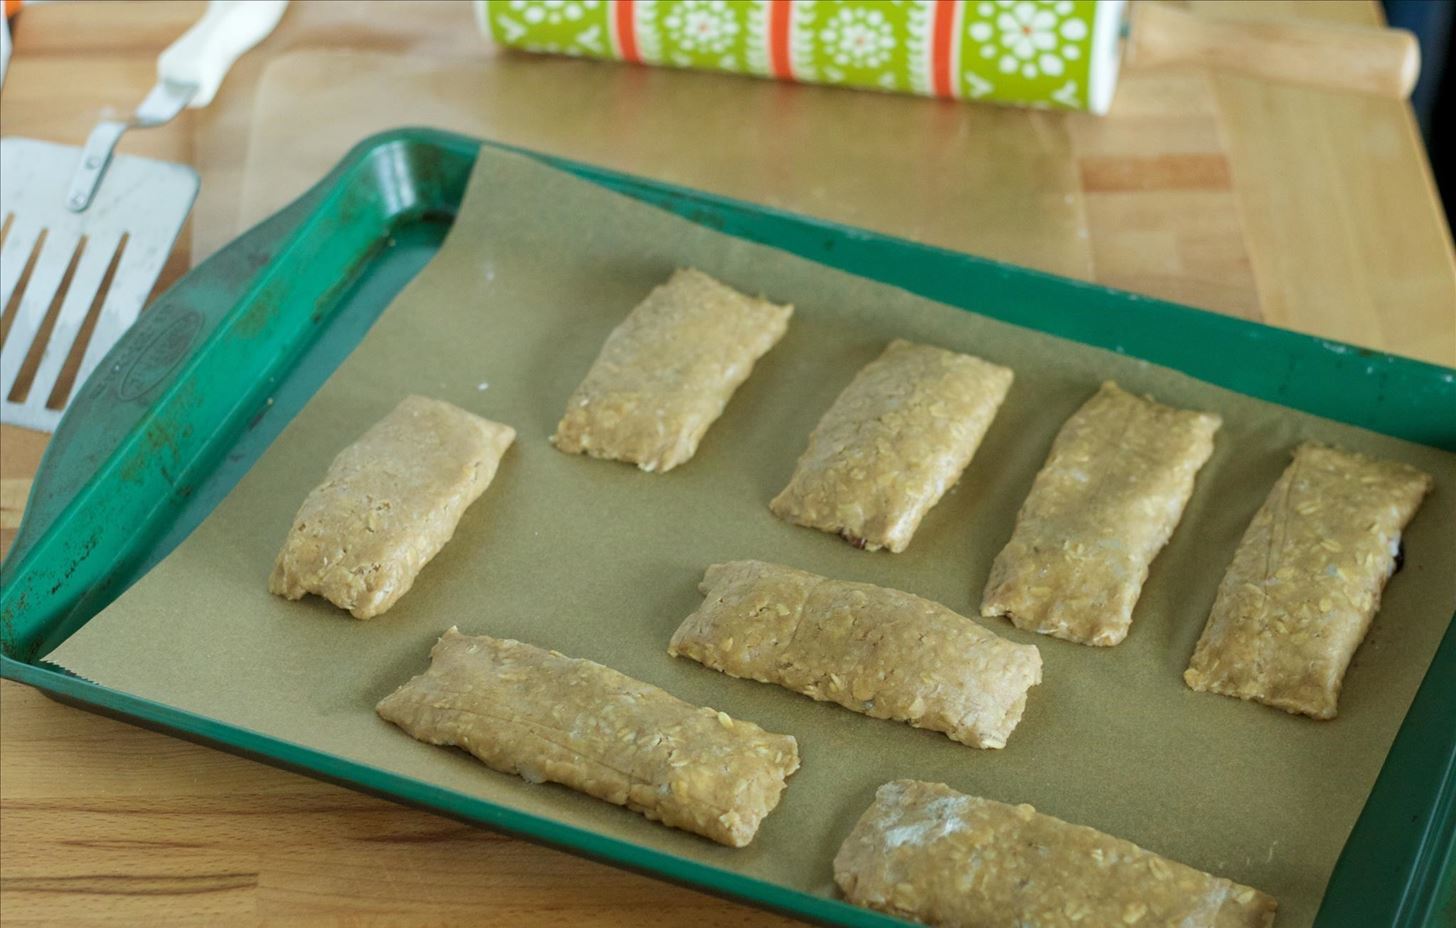
Step 7: Place Bars on a Baking Sheet
Roll the bars over, carefully, and place them seam-side down on a parchment paper-lined baking sheet. At this point, you can give the bars another slight pinch on either end to keep them together, should they need it.
Step 8: Repeat for More Bars
Repeat the rolling, cutting, and filling with the remaining dough and squares.
Step 9: Transfer to the Freezer
Place your bars (you should get about eight) in the freezer on a plastic wrap-covered baking sheet for 15 minutes. Meanwhile, preheat your oven to 350°F.
Step 10: Bake!
Take your bars out of the freezer and pop them in the oven for 15 to 20 minutes on the middle rack. Bake until they are slightly golden on top. Allow them to cool for 5 minutes before indulging. Transfer to a container and keep for three days (or longer, if placed in the fridge).
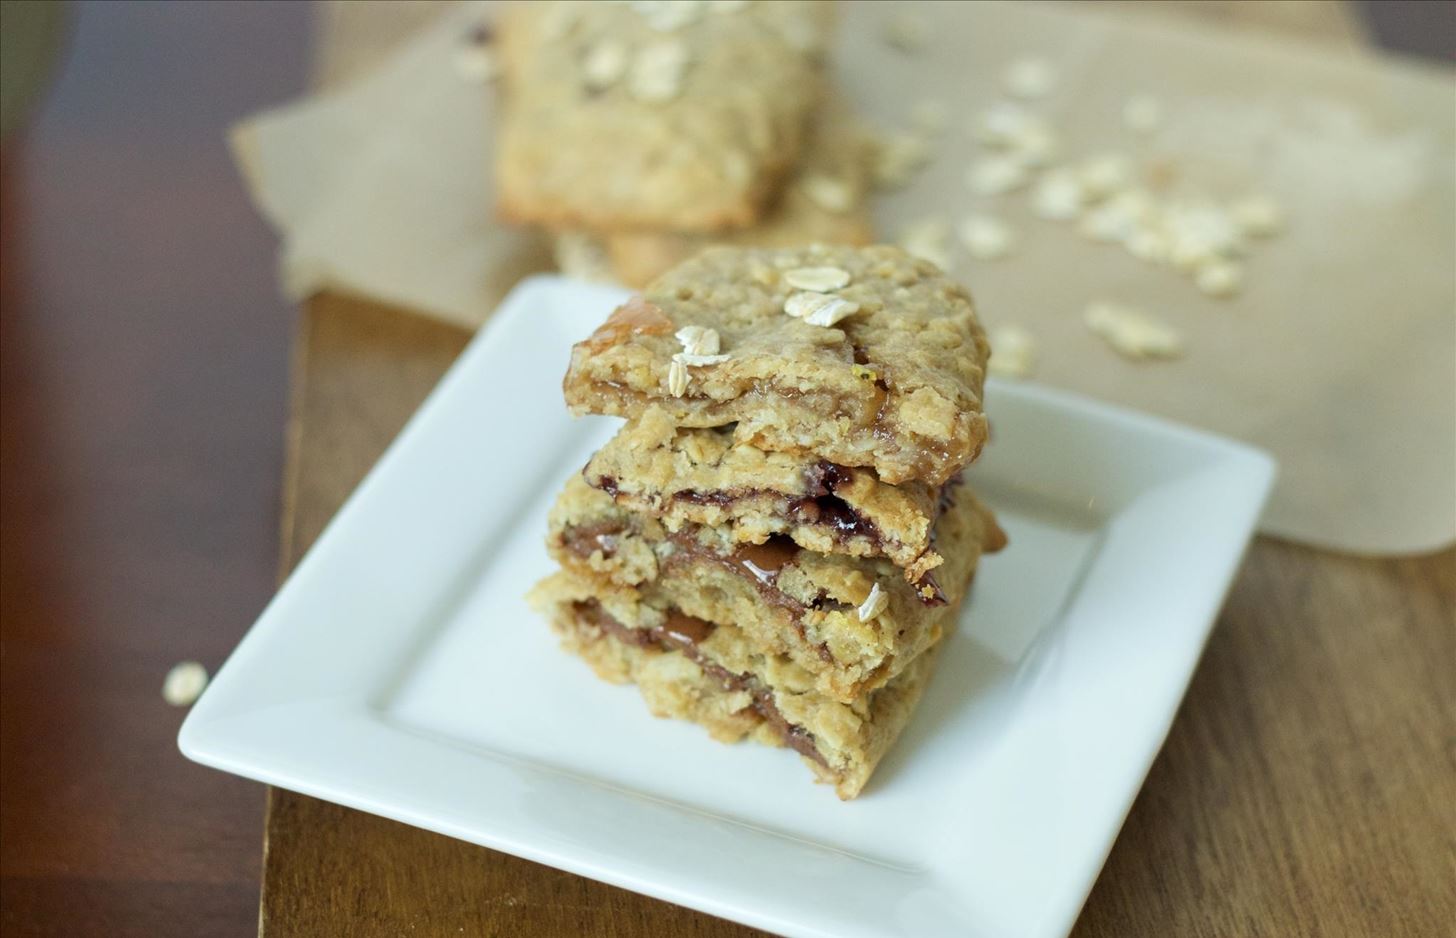
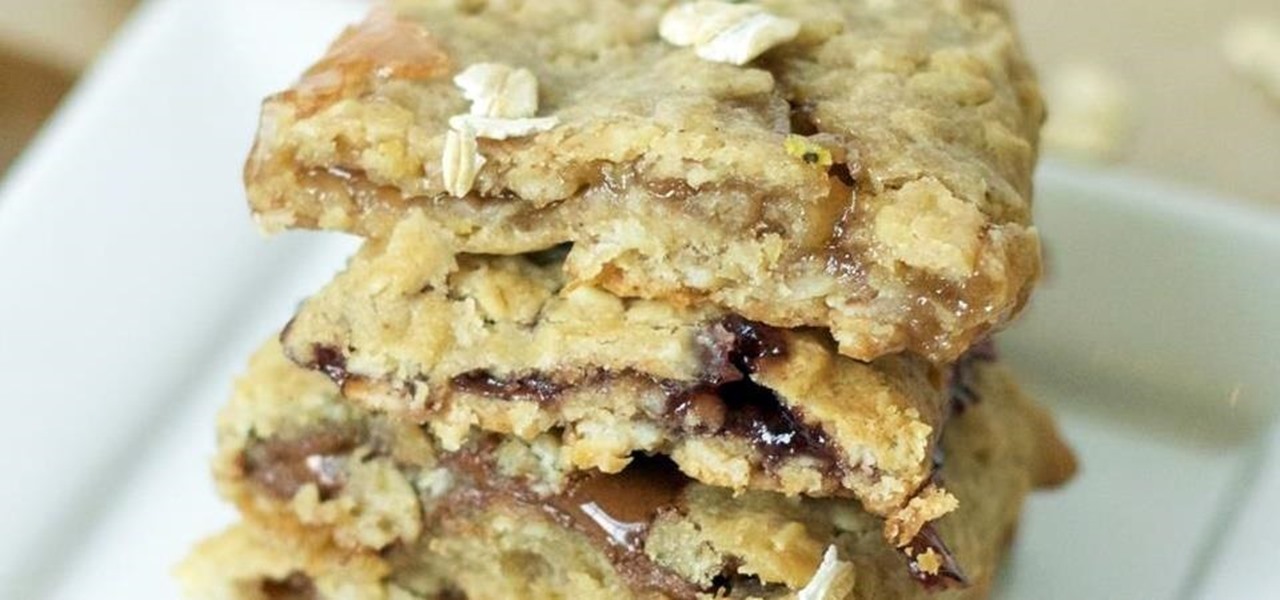
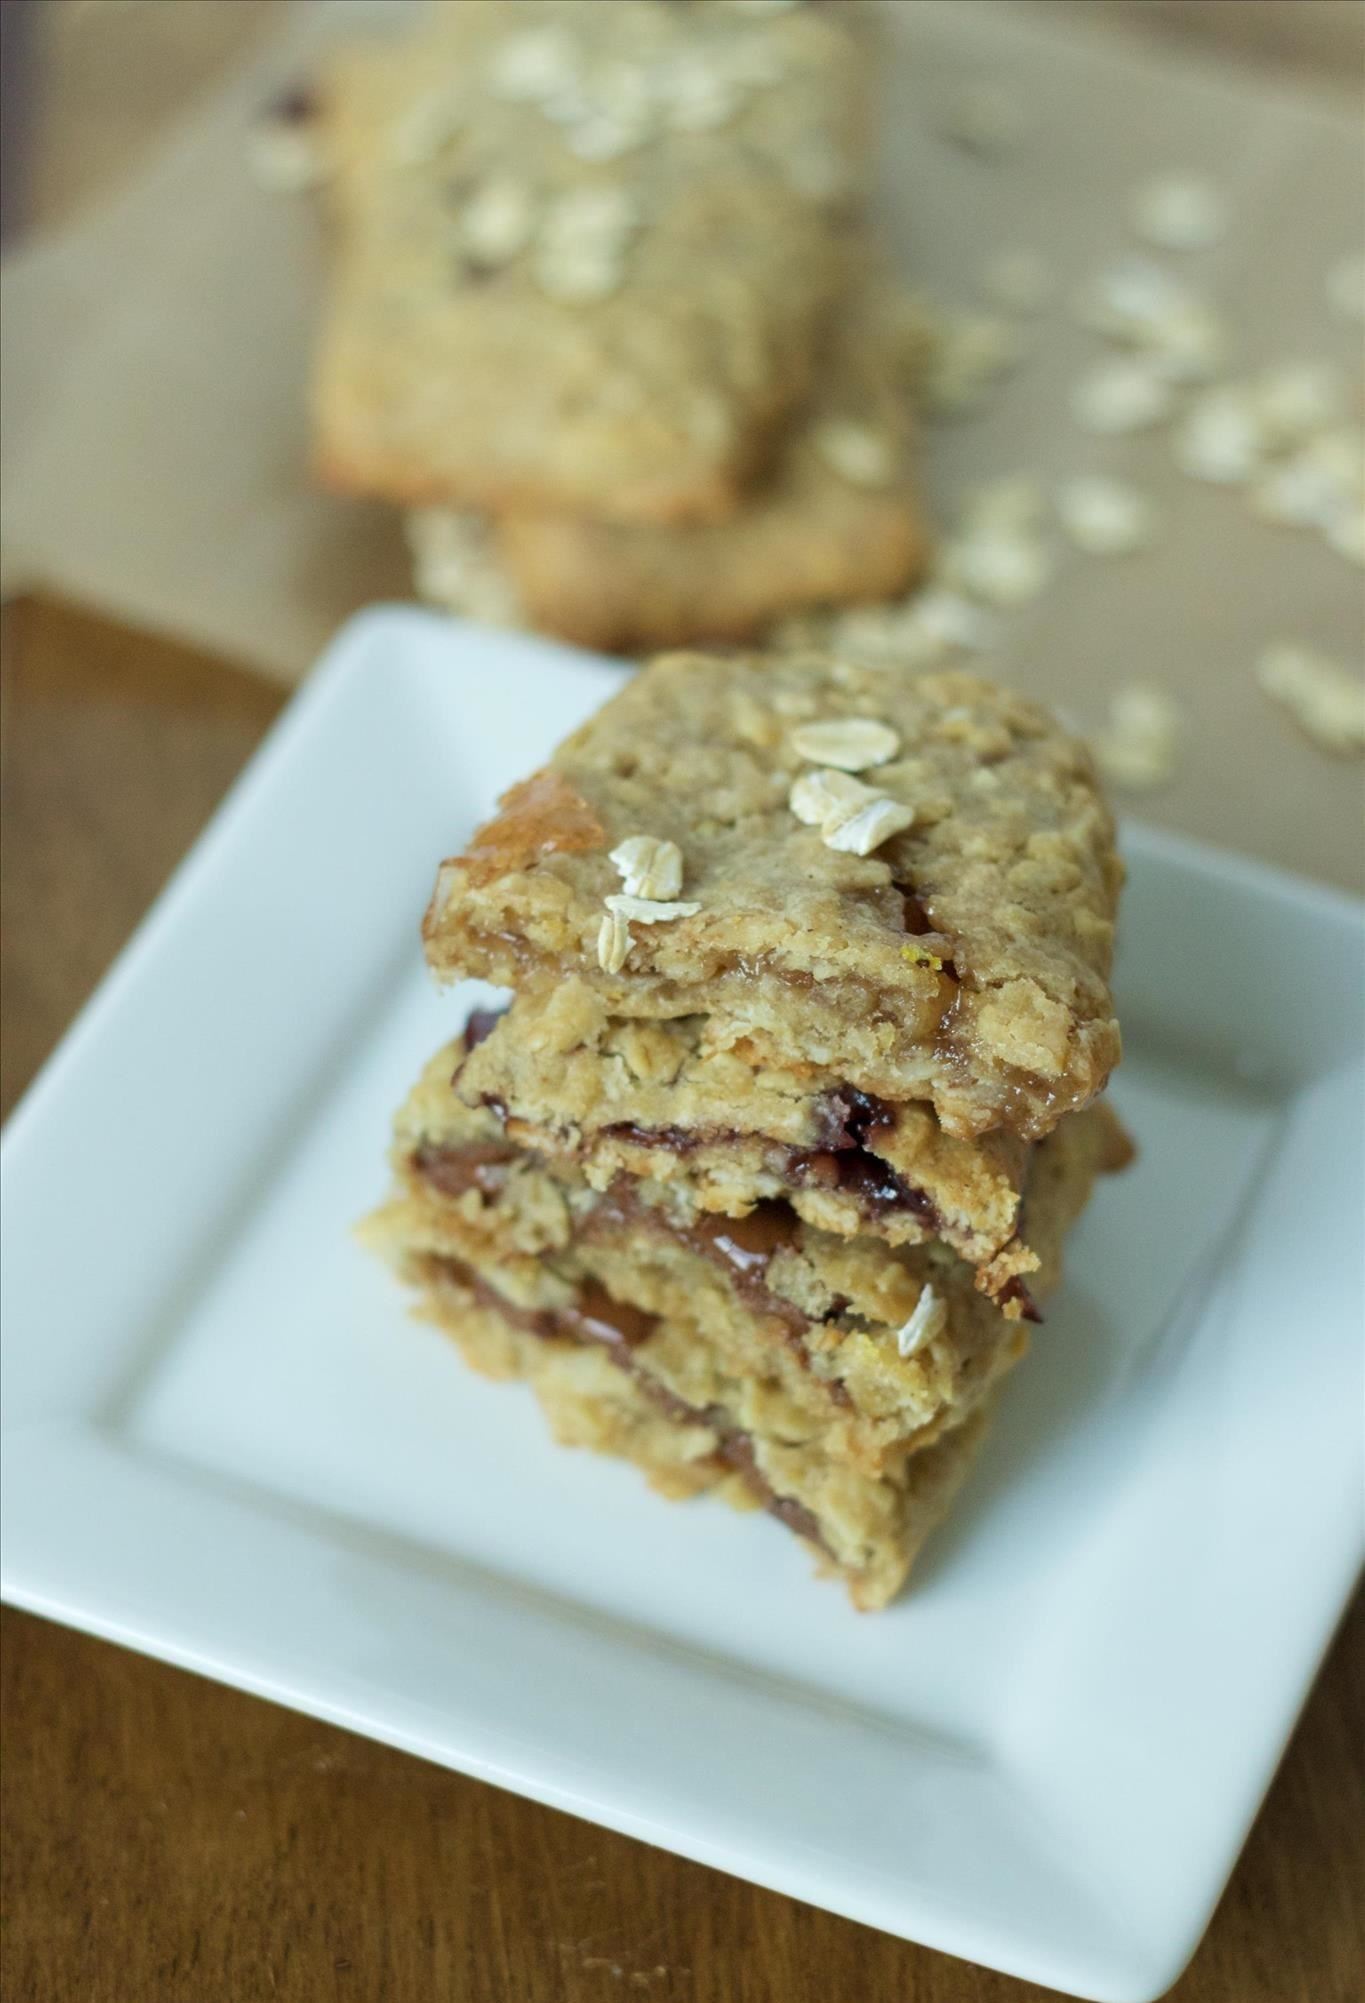
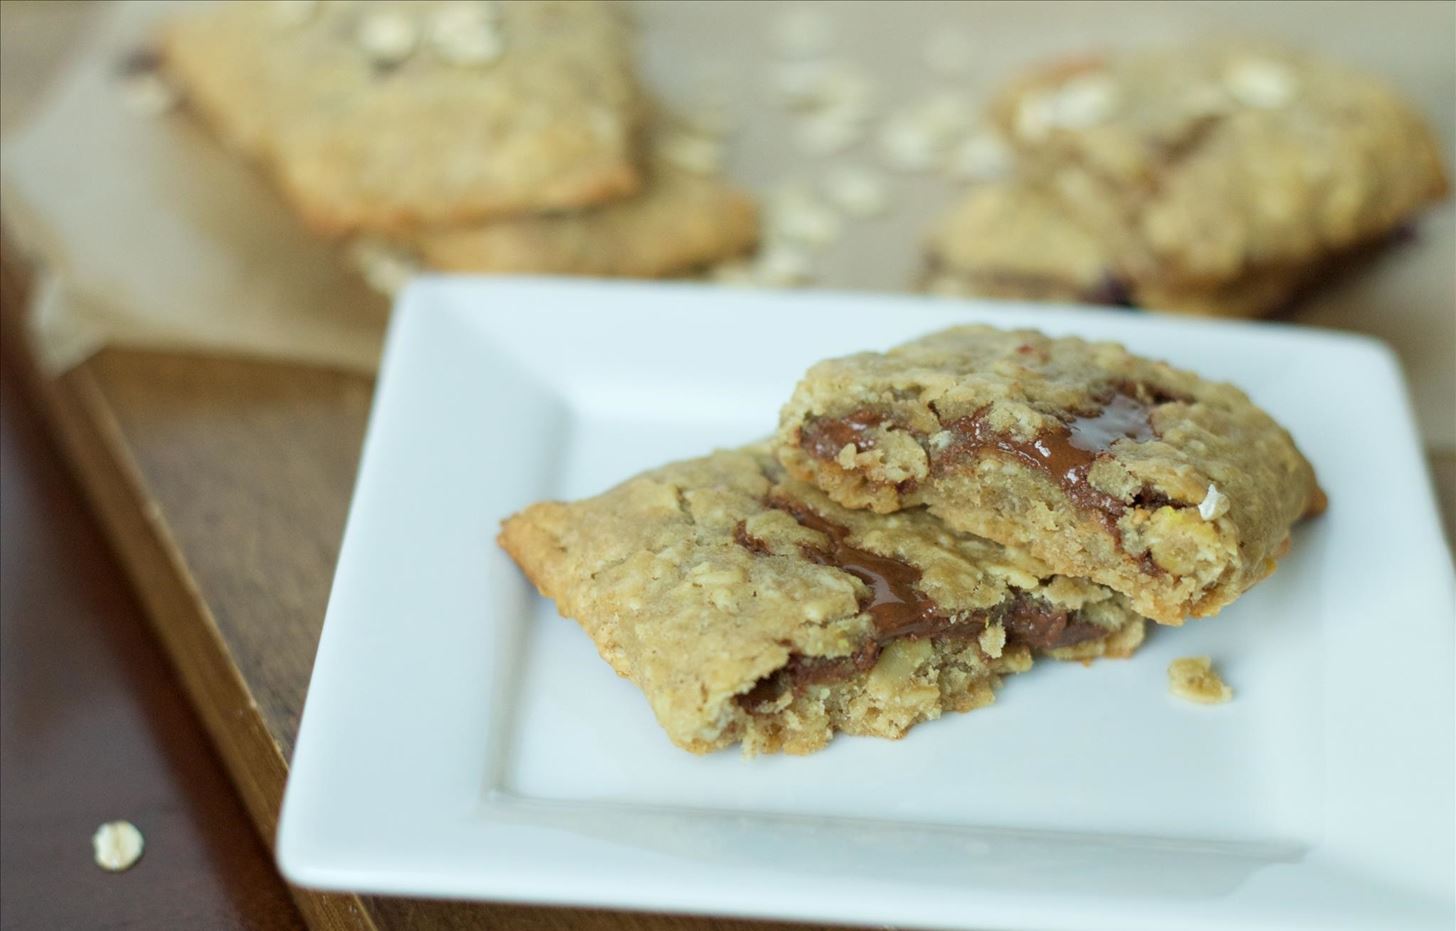
We love the taste, texture, and process of these homemade Nutri-Grain bars and are excited to experiment with more fillings. They pair perfectly with a cup of coffee or a bowl of yogurt and fruit in the morning.
They also make a great afternoon snack when you need a little something-something to keep you going. And as for dessert, if you're looking for just a little sweet finish, these bars hit the spot!
Have you tried your baking hand at homemade cereal bars? Recreated some other iconic store-bought treat? Let us know what you like to make in the comments below.
More Easy, Healthy Snack Hacks:
Just updated your iPhone? You'll find new emoji, enhanced security, podcast transcripts, Apple Cash virtual numbers, and other useful features. There are even new additions hidden within Safari. Find out what's new and changed on your iPhone with the iOS 17.4 update.


Be the First to Comment
Share Your Thoughts