
Stock is a crucial ingredient for so many recipes: soups, gravies, and risottos depend on stock; quinoa and rice are both more flavorful when cooked with it, too. So, chances are that broth is a staple on your weekly shopping list.
But I'm here to tell you that it shouldn't be—especially if you use vegetable stock.
Making vegetable stock at home is actually both easy and economical because, most of the time, you don't even need to buy extra ingredients; as long as you have veggie odds and ends, you can make an amazing stock that will easily beat any of that store-bought stuff—and only cost you a fraction of the price.
Step 1: Use Your Scraps
I always have a bag in the freezer for my food scraps. Onion roots and tips go in, as do the peels. Carrot and celery tops and tails? Straight to the bag. Little pieces of garlic that aren't worth peeling? Into the bag. The ends of green onions, the roots of jalapeños, and any leftover herbs that may be going bad all end up in the bag.
- Don't Miss: Your Freezer: You're Using That Wrong
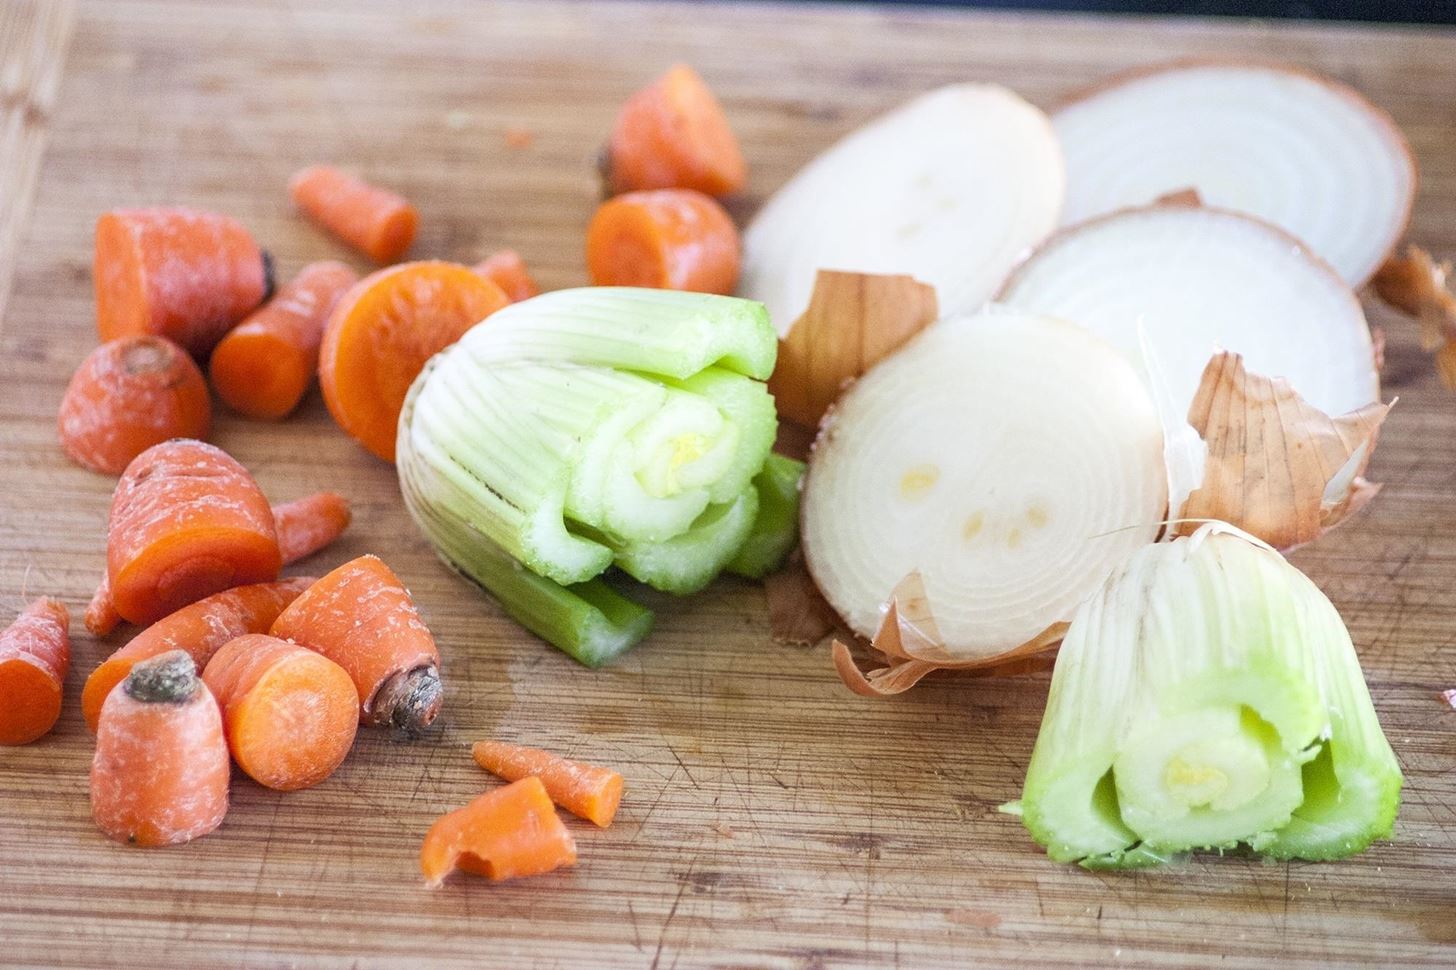
The best part about veggie stock is that nothing ever goes to waste in my kitchen; I never use the good part of any veggie. I just save the scraps that would otherwise go in the trash... and when the bag gets full, it's time for stock.
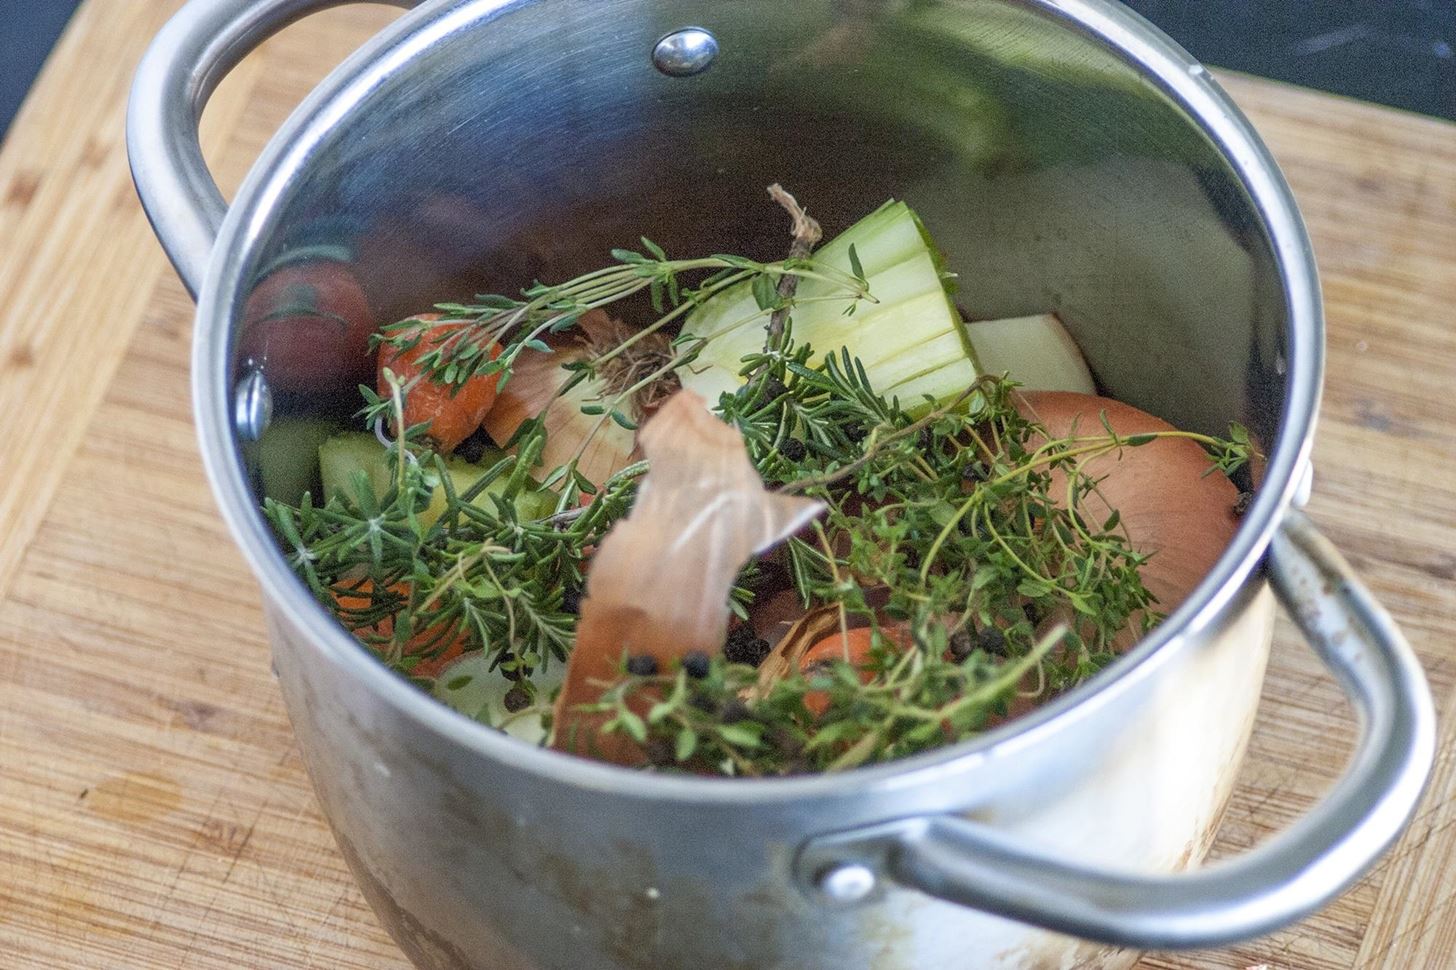
Step 2: Add Some Herbs
Once you've got enough veggie scraps, throw them in a pot and add any herbs you have lying around the house (or that you've also preserved in the freezer). Hard herbs (such as thyme, rosemary, and bay leaves) are the standard, but soft herbs (such as parsley and basil) also work beautifully. Add some whole peppercorns, and you have everything you need.
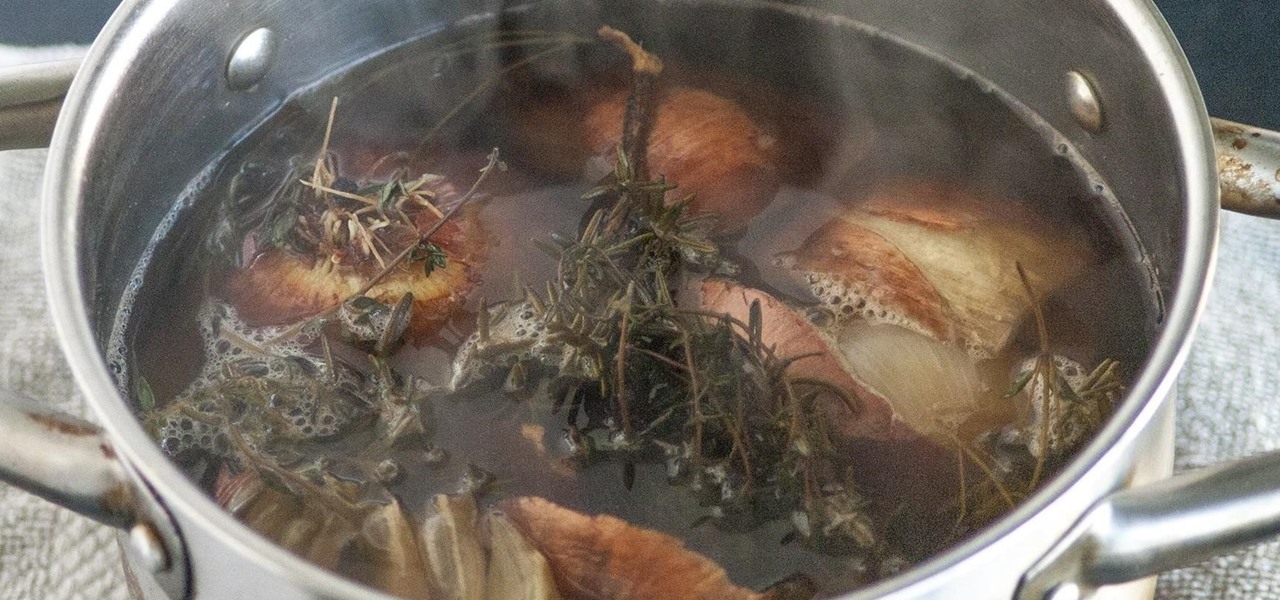
Step 3: Simmer Away
Fill your pot with water and put it on the stove under high heat. After it has reached a boil, turn it down to a very low heat and leave it be. Let it sit for at least an hour, but I recommend up to 8 hours, if possible; the longer the stock simmers, the more intense the flavors will be.
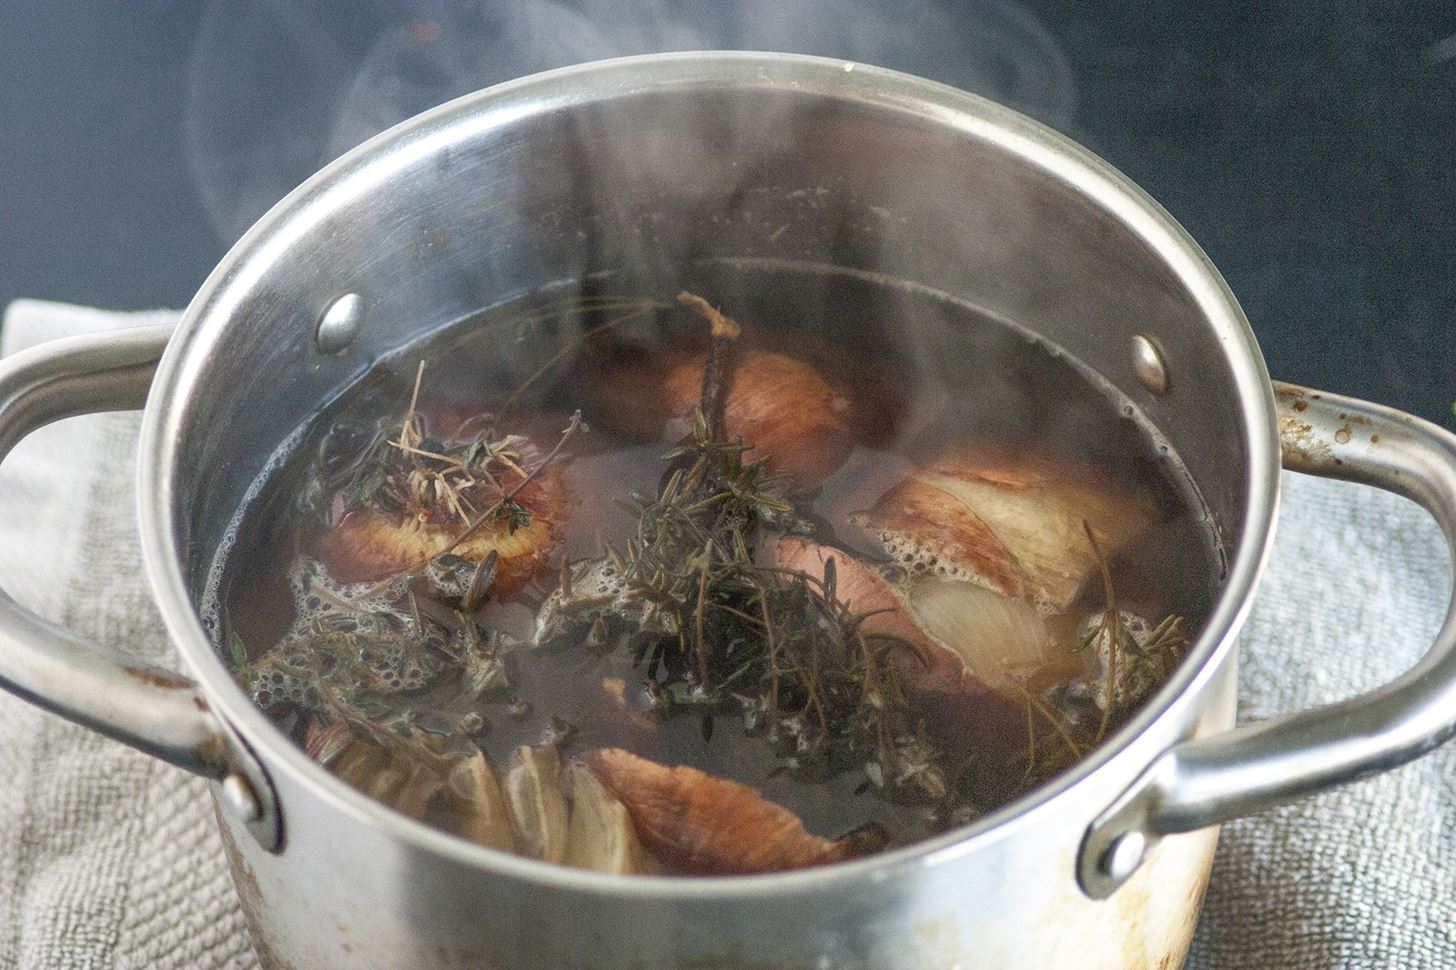
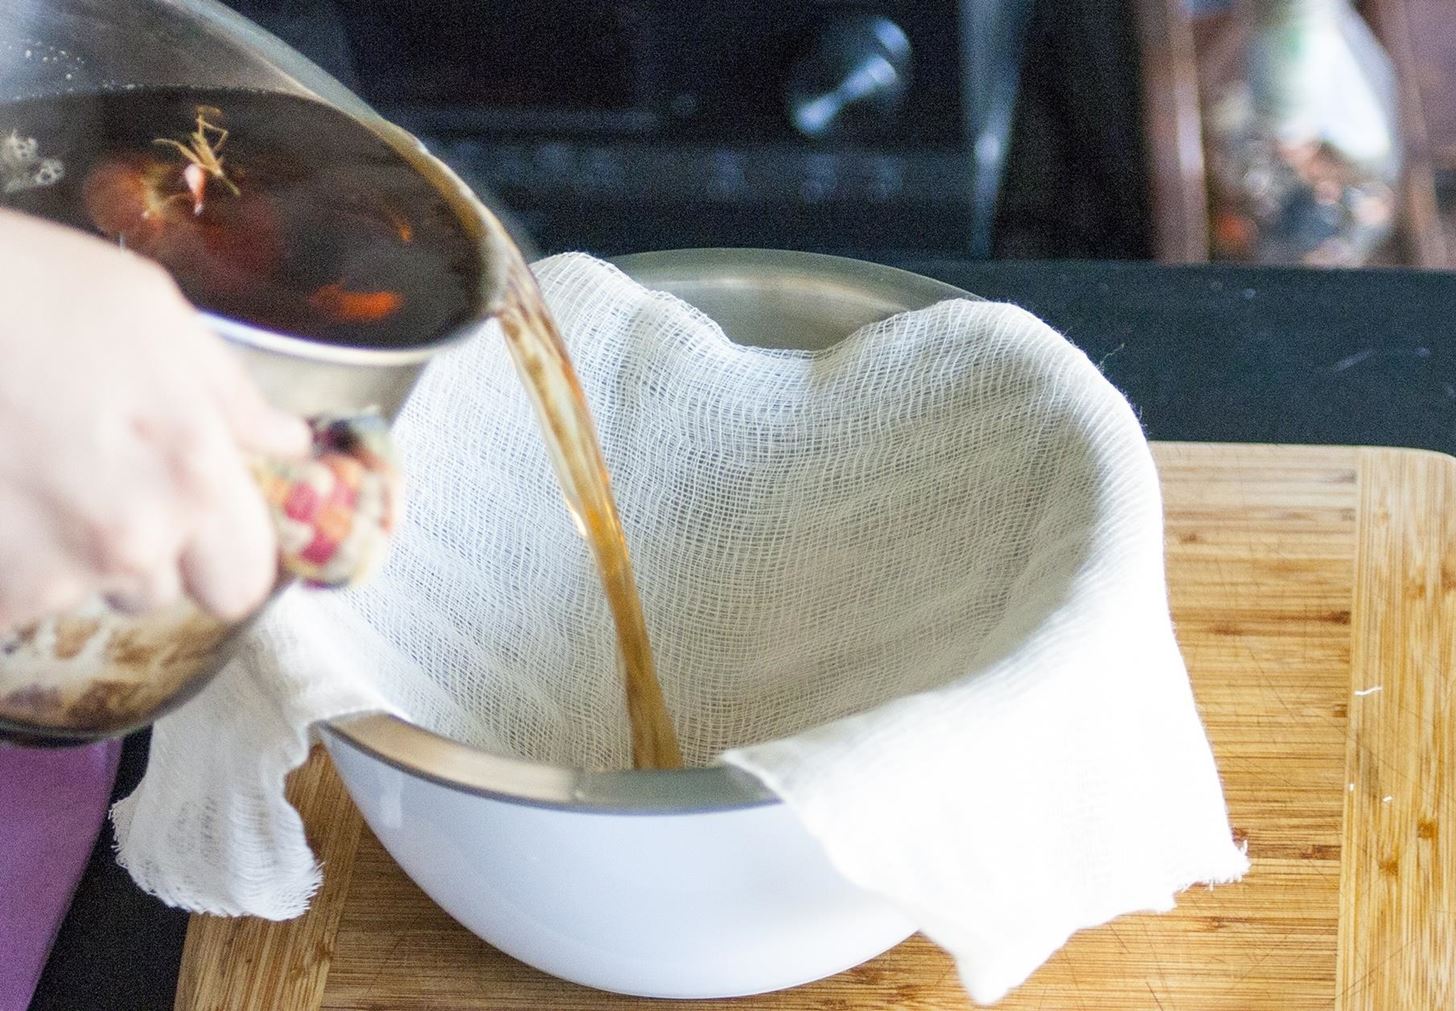
Step 4: Strain It
As the stock cooks, the vegetables will eventually break down, leaving your broth full of veggie debris of various sizes. For a perfectly silky broth, pour it through a cheesecloth (a strainer will also work, if need be). This ensures that your broth is 100% clear liquid.
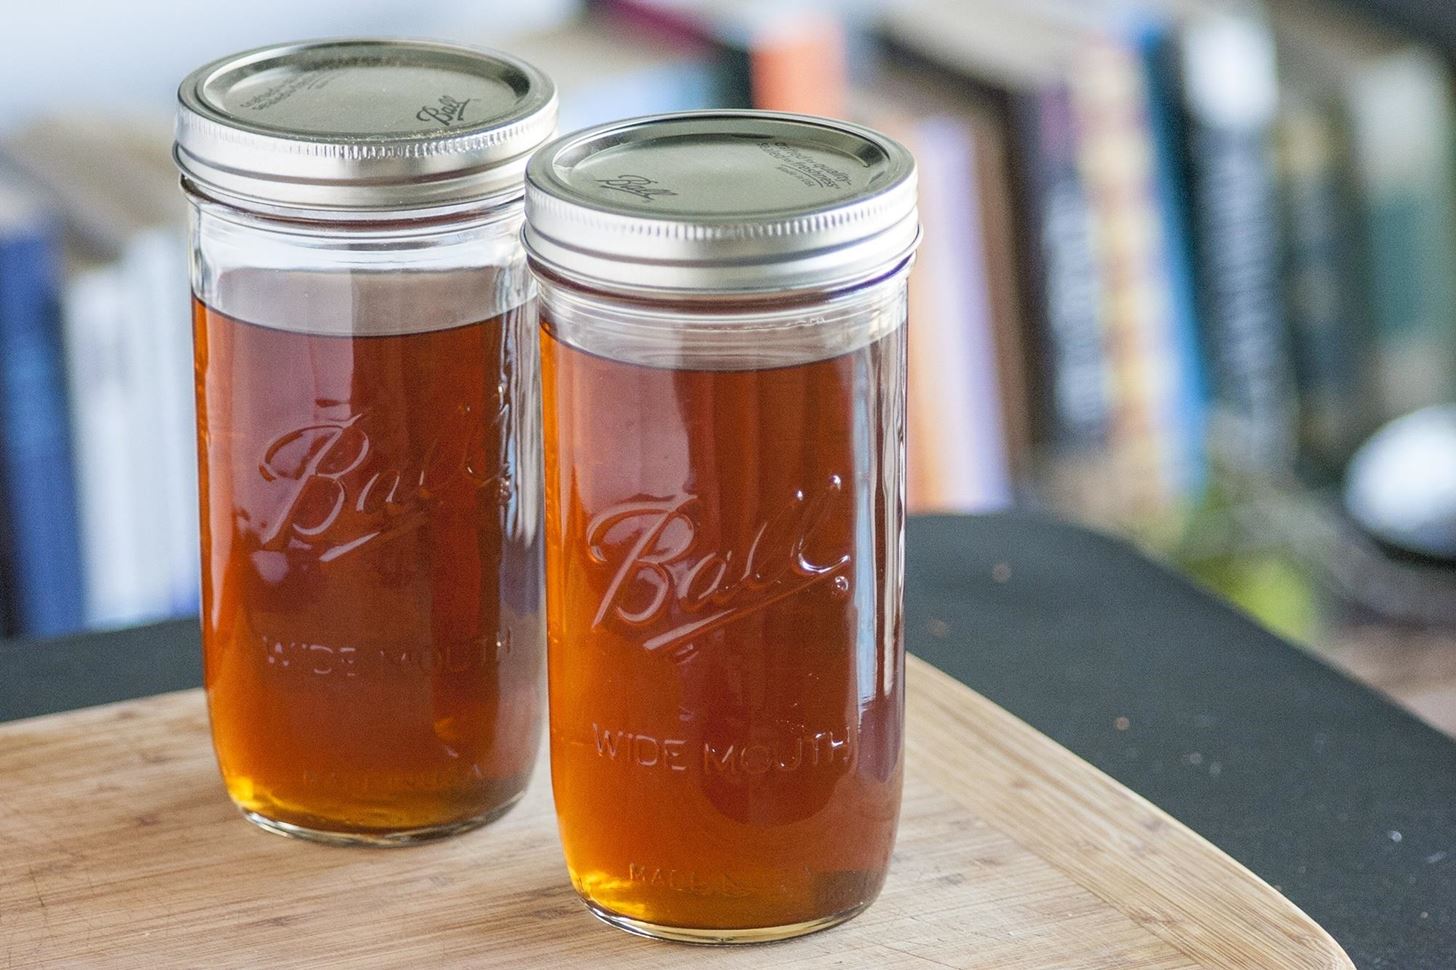
Step 5: Season & Store
Every stock needs a healthy amount of salt, which serves to amplify the rich flavor of the vegetables. The amount of salt often added to store-bought stocks is usually very high—which makes it pretty unhealthy, especially for people that have high blood pressure. Making stock at home allows you to control the amount of salt you use, which makes it much healthier.
After your stock has been strained, add salt to taste, then place your stock in a mason jar. It will keep in the fridge for a week or so and in the freezer for up to 6 months. (For easier storage, freeze the broth in ice cube trays, then pop the frozen cubes out and store the cubes in a resealable freezer bag.)
If you get in the habit of saving your food scraps and making veggie stock, you'll never find yourself short on stock; plus, homemade stock is both better-tasting and better for you. Best of all, you're reducing your overall food waste—a big problem in today's current environmental landscape. Enjoy!
More Budget-Friendly Hacks:
Just updated your iPhone? You'll find new emoji, enhanced security, podcast transcripts, Apple Cash virtual numbers, and other useful features. There are even new additions hidden within Safari. Find out what's new and changed on your iPhone with the iOS 17.4 update.


Be the First to Comment
Share Your Thoughts