
It is a truth universally acknowledged that food molded into fancy shapes somehow seems tastier. That's true even with chocolate, which is inherently delicious. Now, while you can buy chocolate that's been pre-molded into fancy shapes, you can have a lot of fun and save a few bucks by making your own specialty chocolate molds. All you need to get started are items you most likely already own.
The Cookie Cutter Method
This is an amazingly easy and versatile way to shape chocolate.
Tools & Ingredients:
- Cookie cutters (I recommend small plastic or plastic-coated cookie cutters since the molded chocolate will slip out more easily.)
- Clean, flat plates
- A neutral-tasting fat like canola oil or shortening
- Chocolate chips
- Decorations, if desired
Instructions:
First, grease up the inside of the cookie cutter and the part of the plate it will rest on. Next, place the cookie cutter on the plate and the plate on a firm, no-slip surface.
Melt the chocolate chips until smooth. (If you have time, you can temper it, too.) Fill the cookie cutter with melted chocolate and then top it with decorations, if desired.
Slide it into the refrigerator to chill for about 15 to 20 minutes (no longer than that, or it might develop a white, waxy film, unless you've tempered the chocolate).
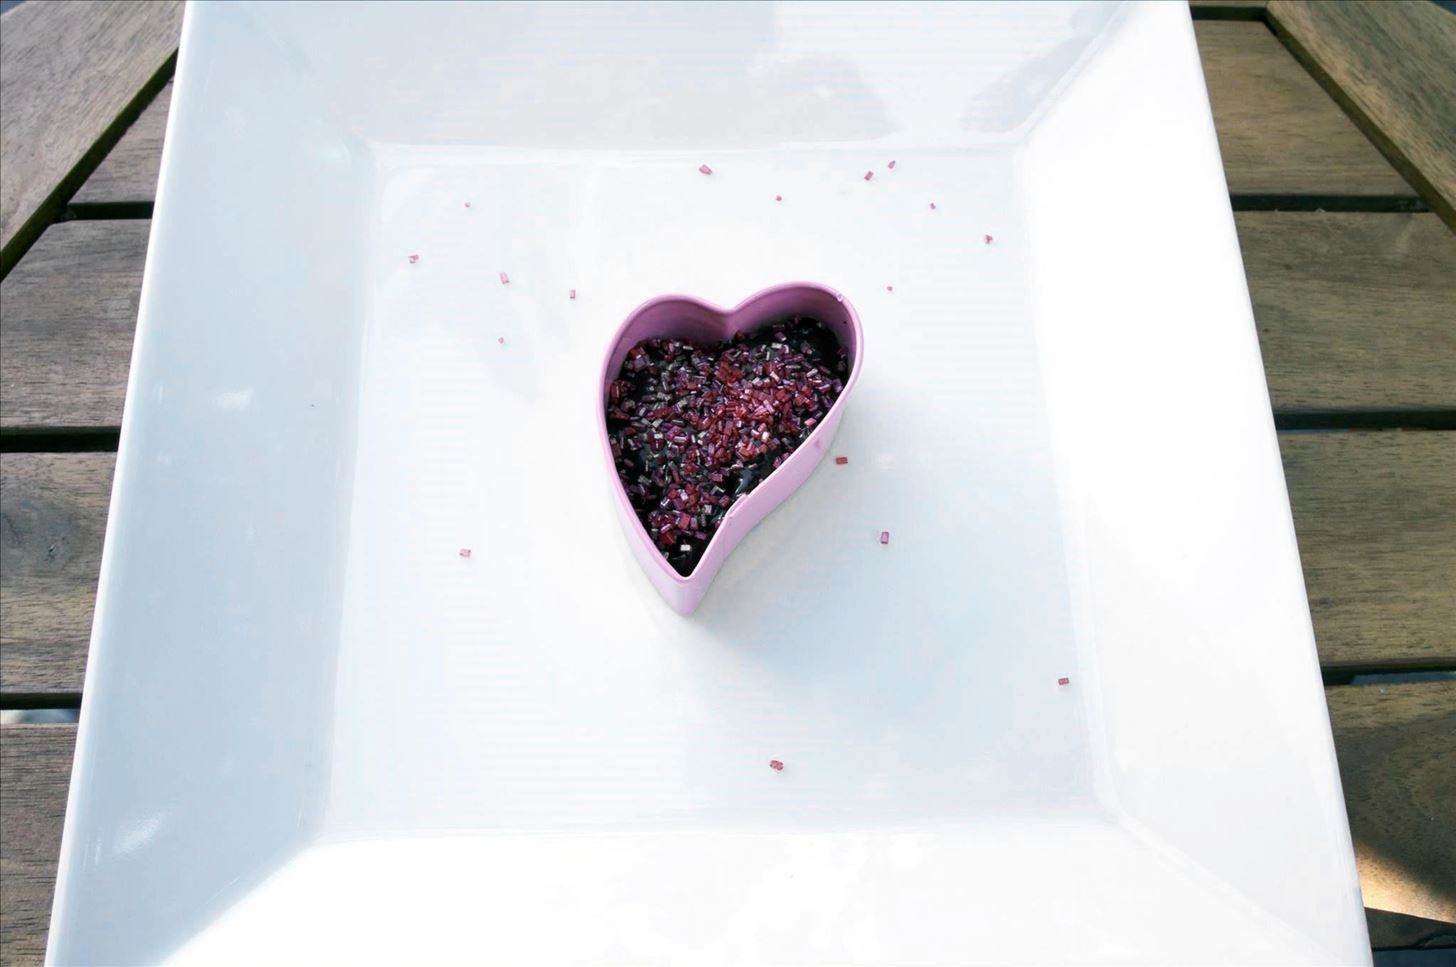
Getting it out requires a little more finesse, but it's a simple process. I ran a flat toothpick around the edges of the chocolate and shook it out gently onto the plate. (Scroll to the bottom for a pic of the finished product.)
The Brown Sugar Method
This next method comes to us courtesy of the baking blog Rise and Shine (via The Kitchn), and it works pretty well.
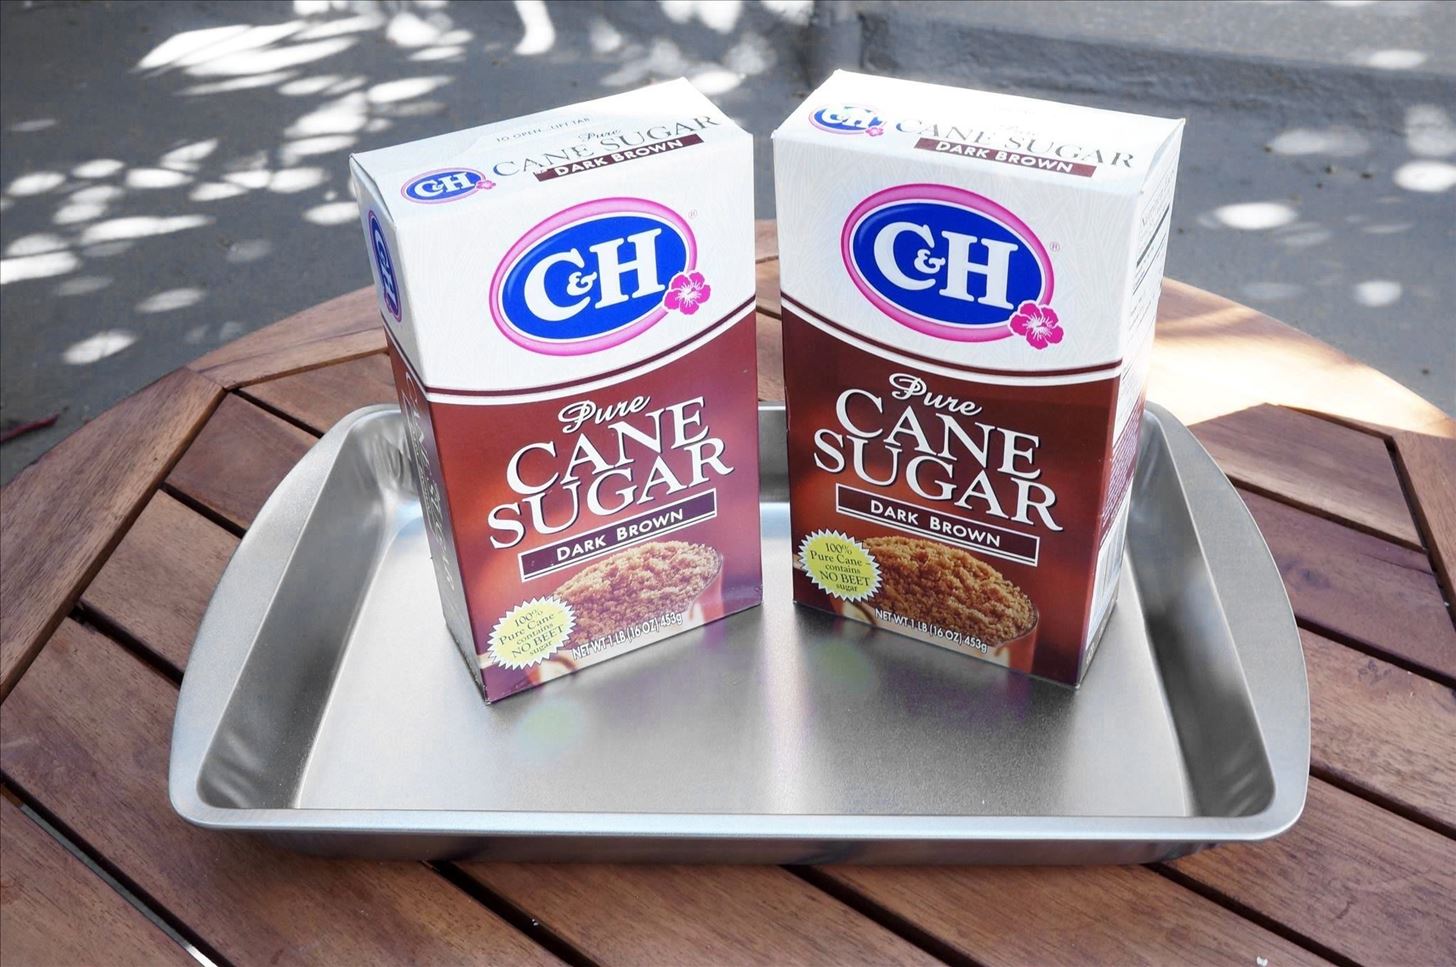
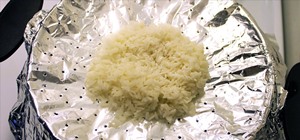
Step 1: Assemble Your Work Station
First, choose a small, shallow container and pack it full of brown sugar. This one required about two pounds of sugar to fill it. Fortunately, brown sugar is cheap and reusable.
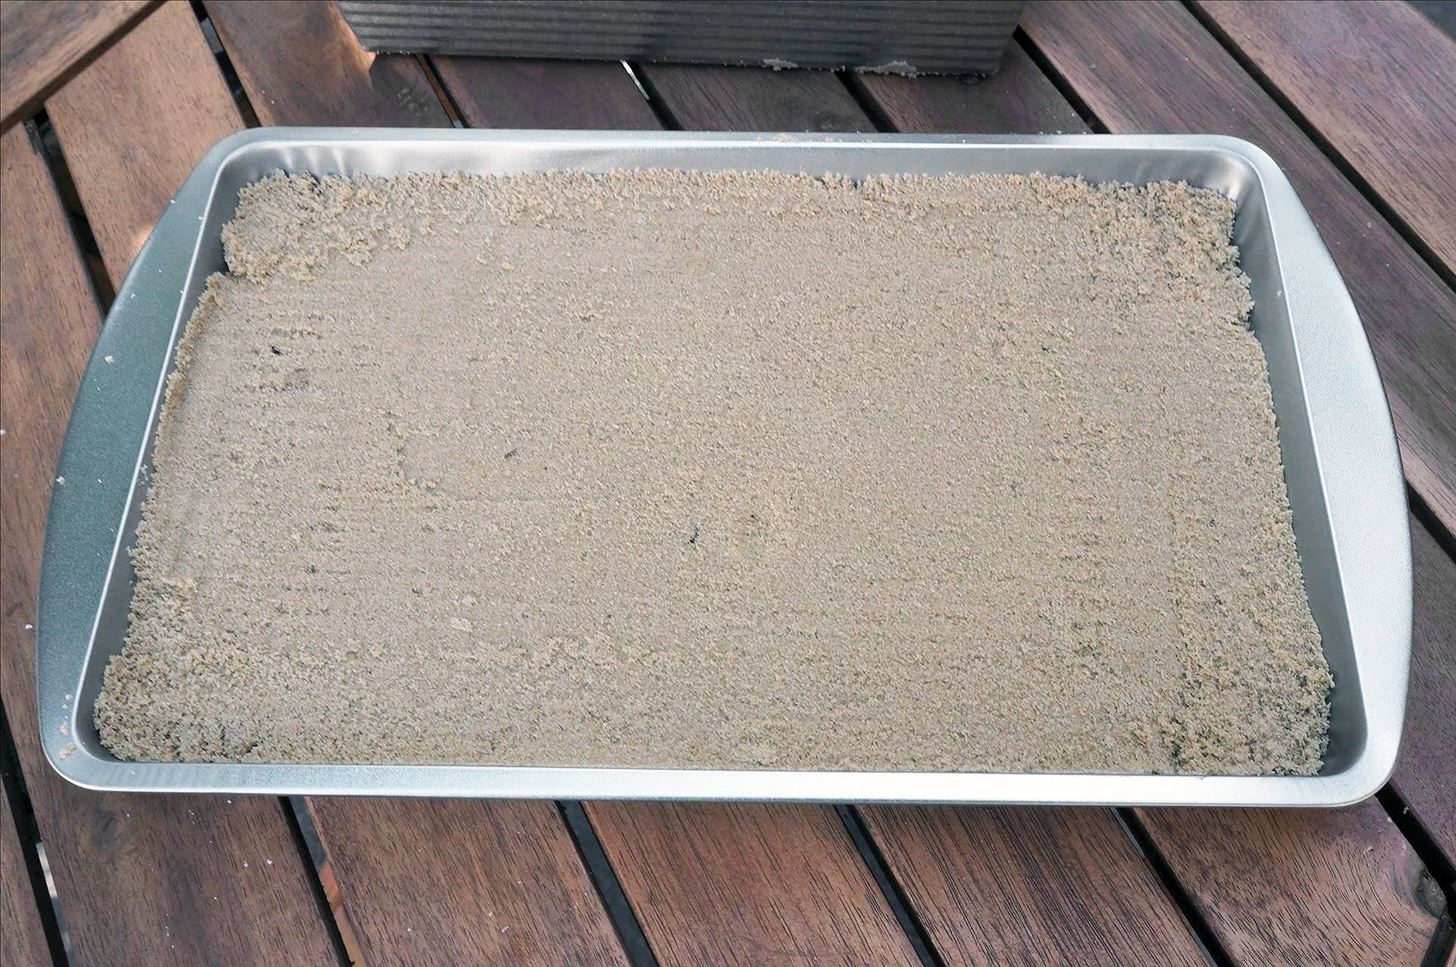
Next, fill your container with brown sugar and pack it down into a uniform surface.
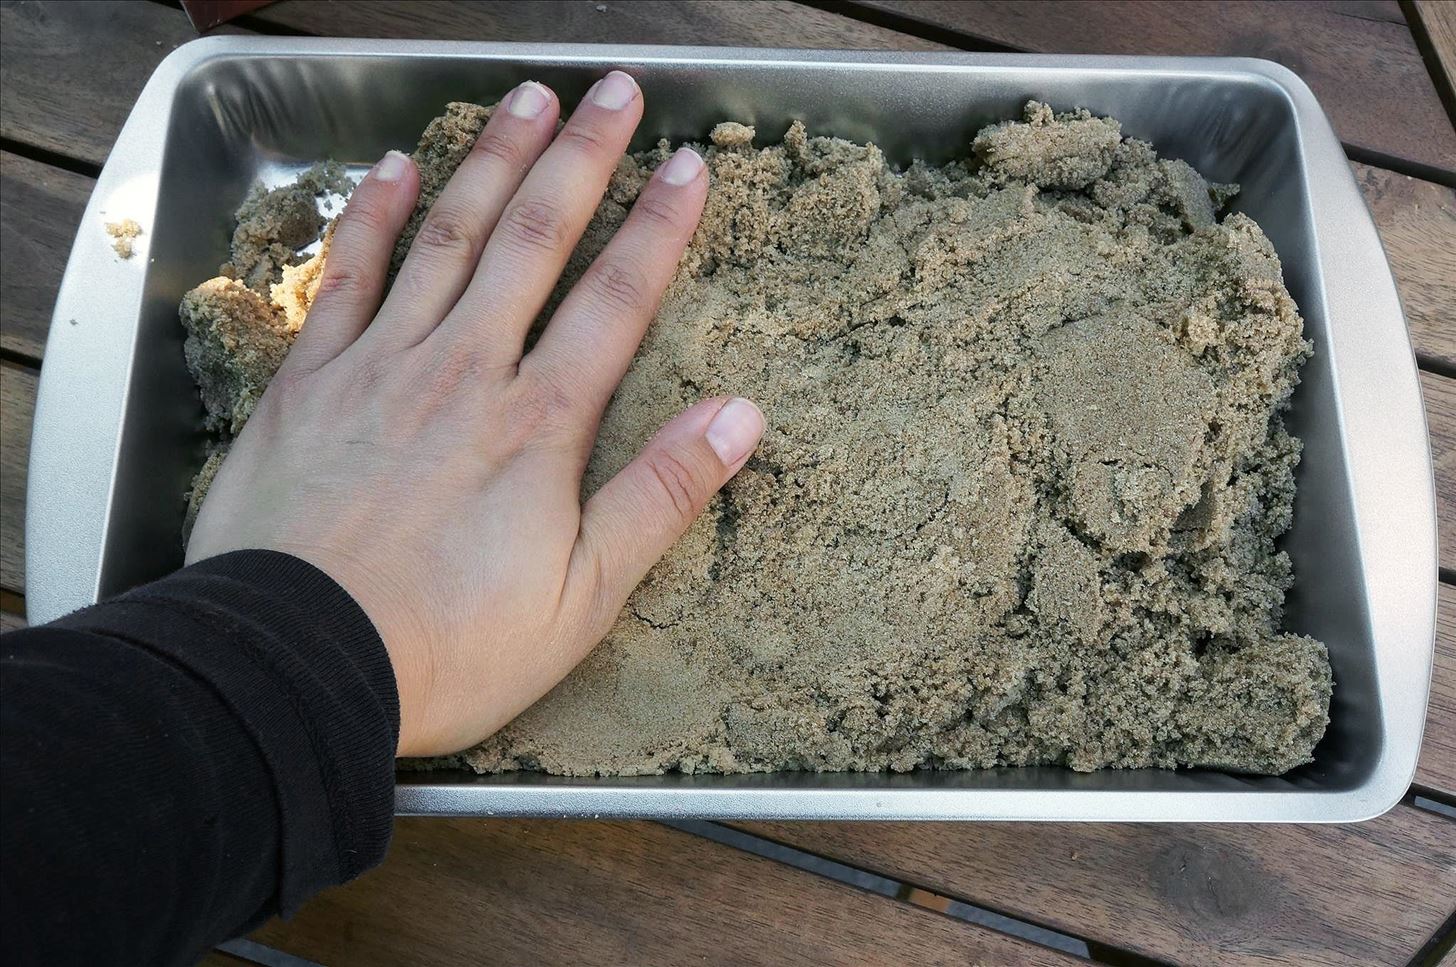
It's a good idea to get another pan that has a smooth bottom to pack it down even more tightly. I borrowed my neighbor's loaf pan for the job.
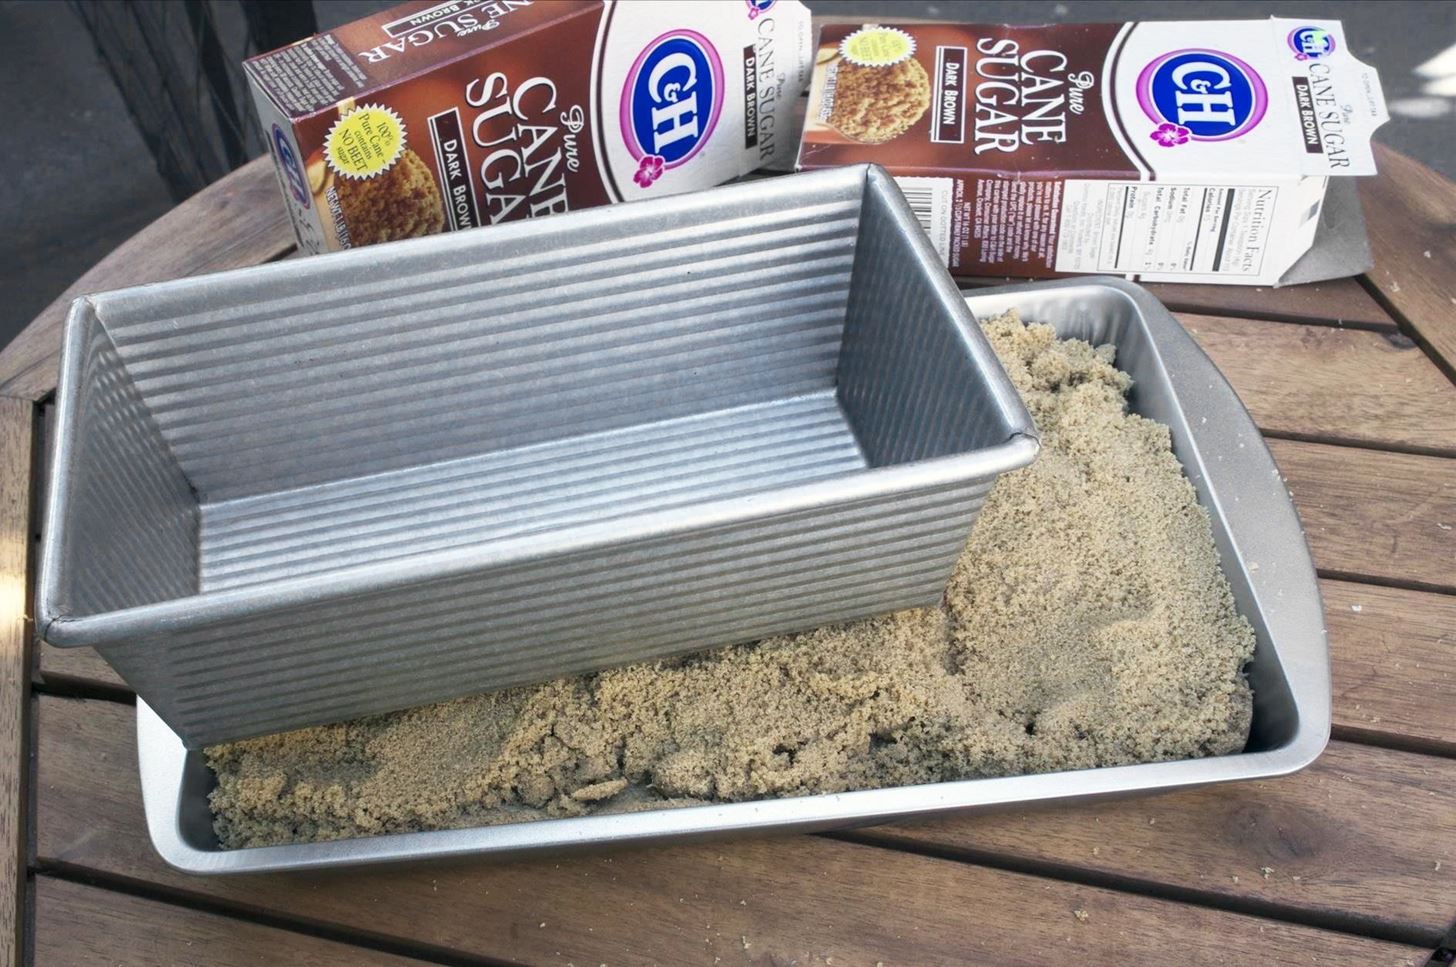
You really want that sugar to be as firm as possible—it's going to be the foundation for your chocolate.
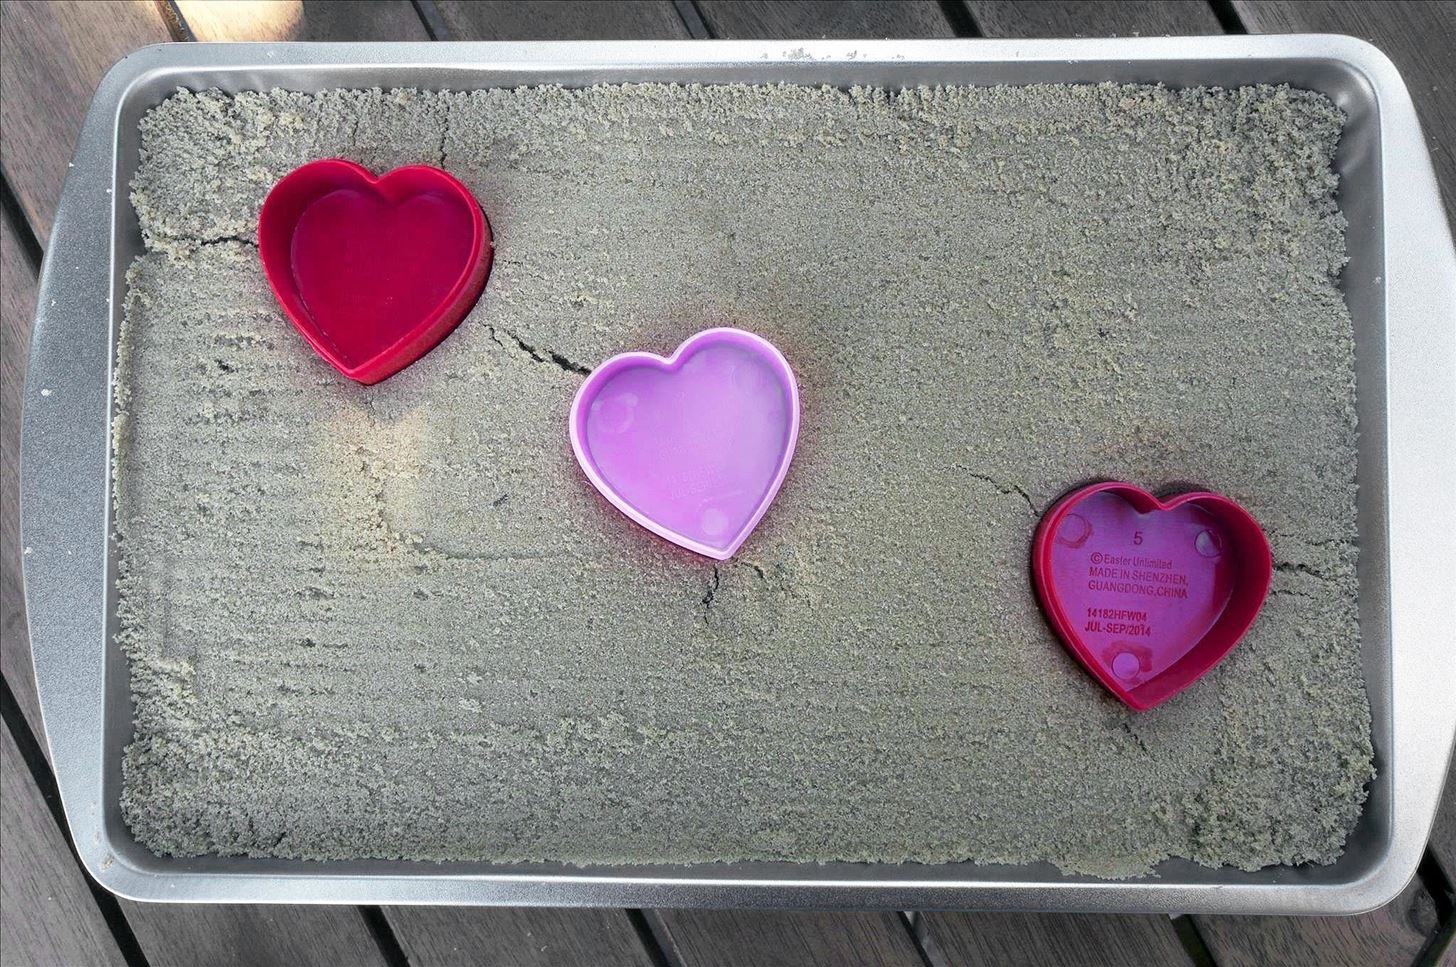
Step 2: Pick Your Shapes
Next, grab some fun objects from around the house. Personally, I recommend things with smooth shapes and clean lines. Anything with lots of nooks and crannies won't cast very cleanly. This is brown sugar, after all, not modeling clay.
Step 3: Press Your Shapes into the Sugar
Next, press your chosen items firmly into the brown sugar. I'd say you want them inserted about half an inch deep. Cracks might appear in the brown sugar; that's no problem. Just use your finger to pack more sugar into the crevices and seal them over.
Step 4: Fill with Chocolate; Chill
Remove the casting objects from the sugar and fill the spaces with melted chocolate. I used bittersweet here, but you could use any combination of chocolate, white chocolate, or peanut butter chips.

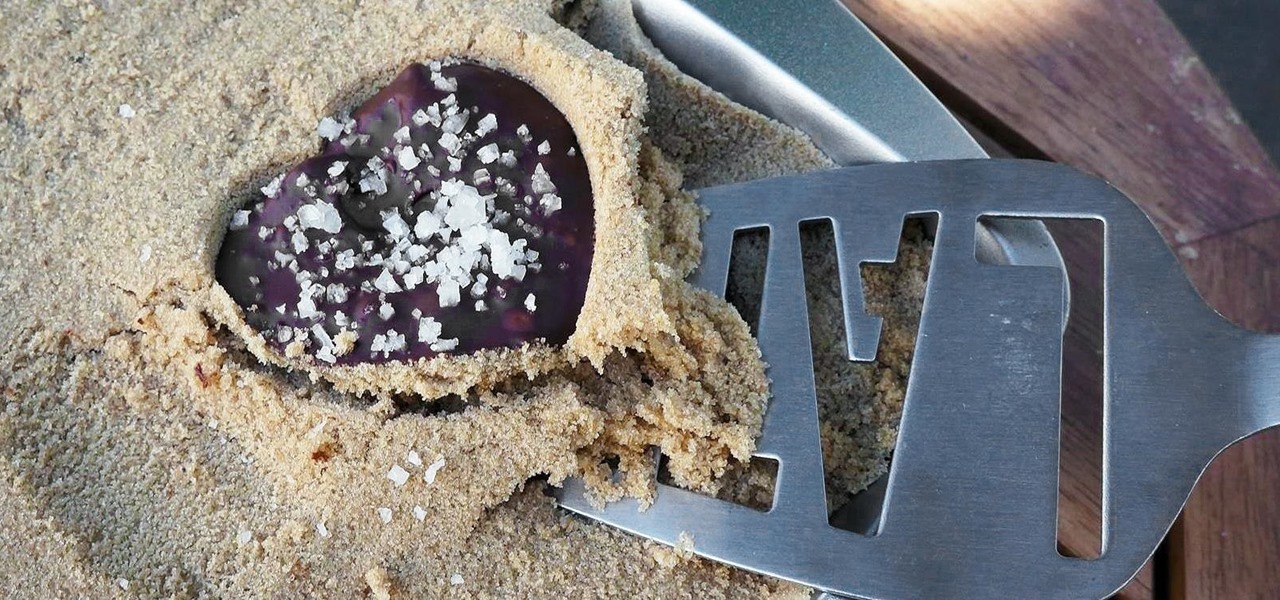
After you fill all the spaces, you can also sprinkle on a topping to decorate the chocolate. I used a little fleur de sel and then popped the whole thing in the fridge so the chocolate could set.
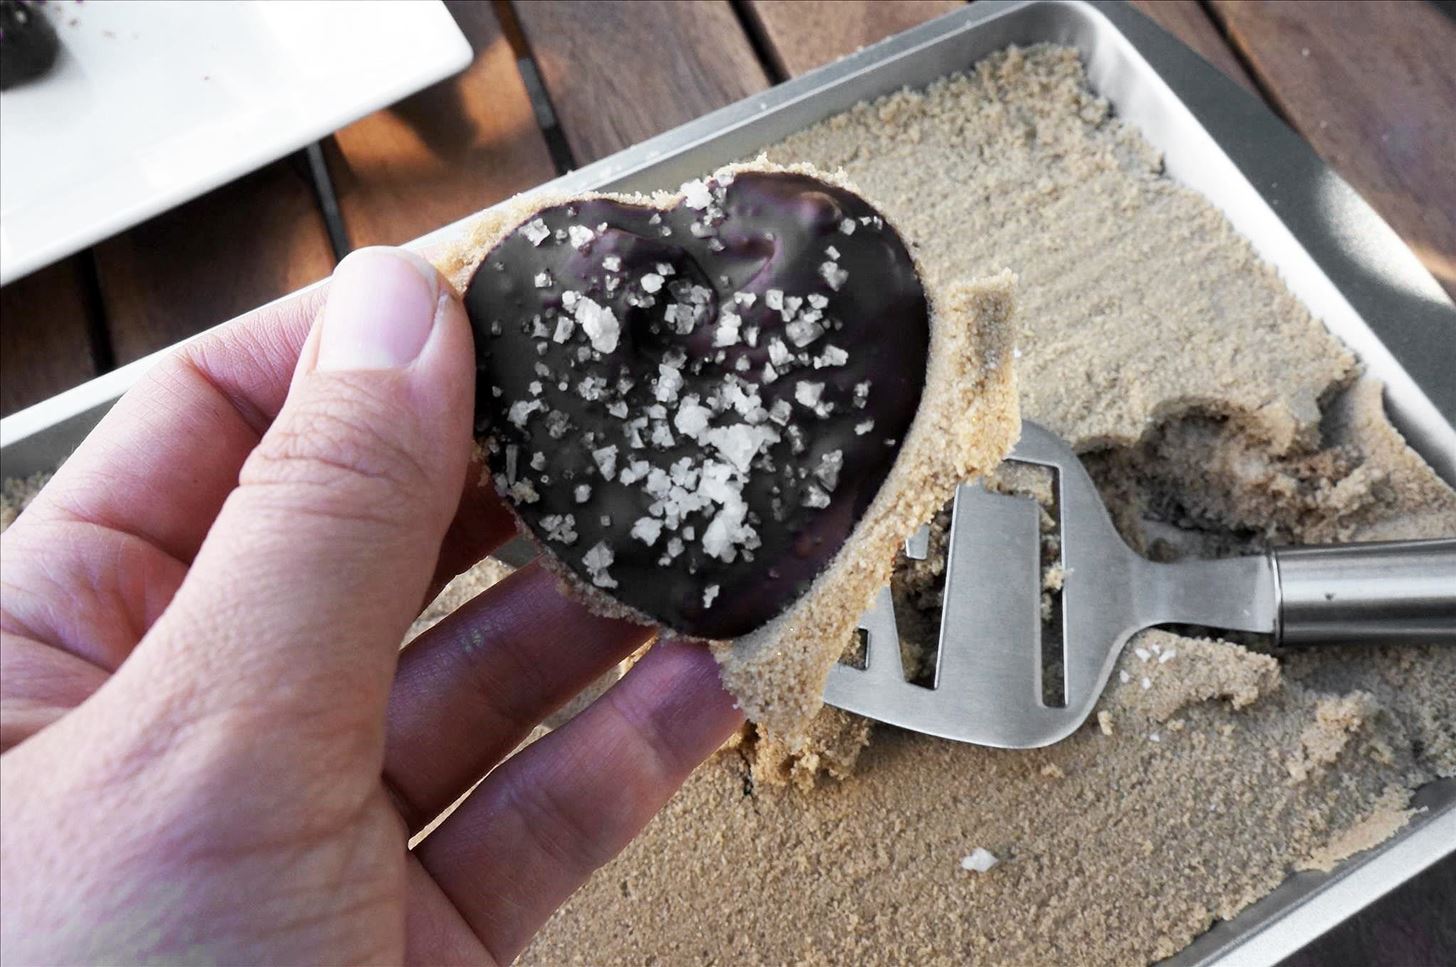
Step 5: Remove Your Candy
Use a slotted spoon or spatula and dig under the candy to lift it out cleanly.
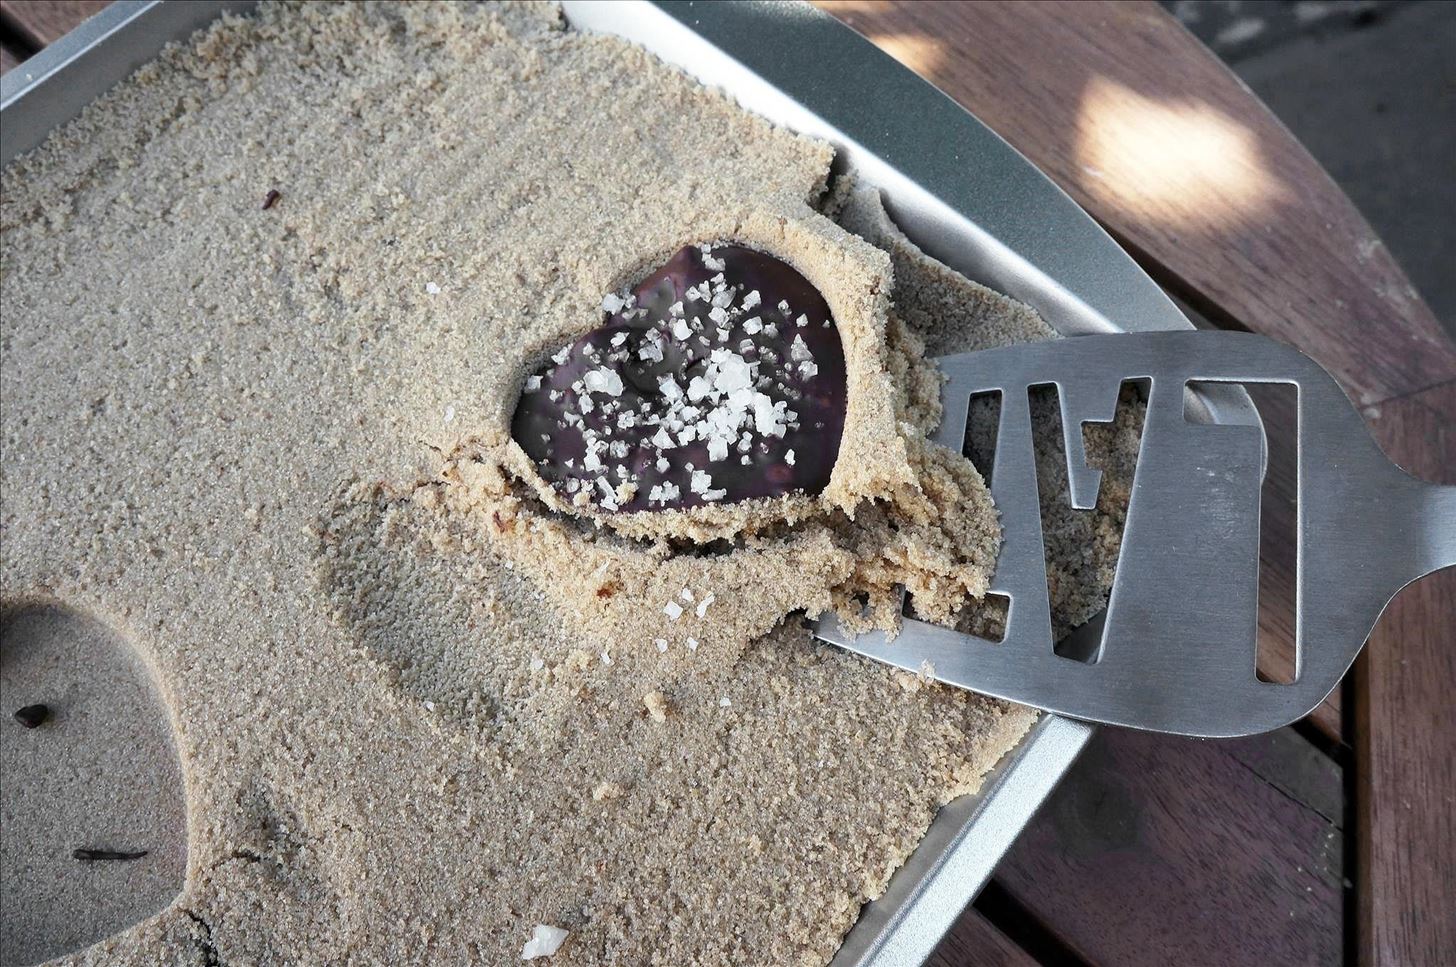
It'll have some brown sugar stuck on the bottom. You can use your fingertips or a pastry brush to remove it, but a fine layer might remain. I personally liked the contrast with the chocolate itself and the fleur de sel.
Enjoy the Fruits of Your Labor
Here's the cookie cutter and brown sugar-created chocolates just hangin' out, side by side. Little do they know that they're about to be eaten!

Get More DIY Candy Hacks
The best part about homemade Kit Kat bars is that can be any flavor, color, or size you want. Plus, get the recipe for super-easy and delicious homemade Butterfinger candy bars.
Just updated your iPhone? You'll find new emoji, enhanced security, podcast transcripts, Apple Cash virtual numbers, and other useful features. There are even new additions hidden within Safari. Find out what's new and changed on your iPhone with the iOS 17.4 update.


Be the First to Comment
Share Your Thoughts