
The idea of a no-churn ice cream seems like the ultimate dessert hack. But, in fact, this concept has been around for at least the past 100 years in what Italians call semifreddo.
The food linguist in you might think this dessert is just "semi" or "half " cold. Despite the confusion due to the name, this is a fully frozen dessert, one that's a lot easier to make than ice cream, and it doesn't require any special machines or tools, either.
Depending on where you are in Italy, semifreddo is made with any combination of whipped cream, custard, meringue, and a flavoring agent. On the face of things, this seems to be very similar to many ice cream recipes, excluding the meringue. However, another thing that makes semifreddos different from their ice cream cousins is their light, creamy, mousse-like texture—one that has an incredibly soft mouth-feel even when frozen solid.
Of course, you can always go the traditional method and make a custard or meringue. But why bother? The idea of a no-churn ice cream is to avoid breaking eggs, literally and figuratively, in the first place.
Thankfully, you can make your own semifreddo with just whipped cream, sugar, and the flavoring agent of your desire in four easy steps.
Step 1: Assemble Your Mise en Place
Mise en place is fancy French kitchen speak for "get yourself organized and ready to cook." But getting ready is something you should never overlook when it comes to most culinary or pastry endeavors. So even if you are using a coffee can (or even a bike) for ice cream, you still need to have your tools clean and ready to go!
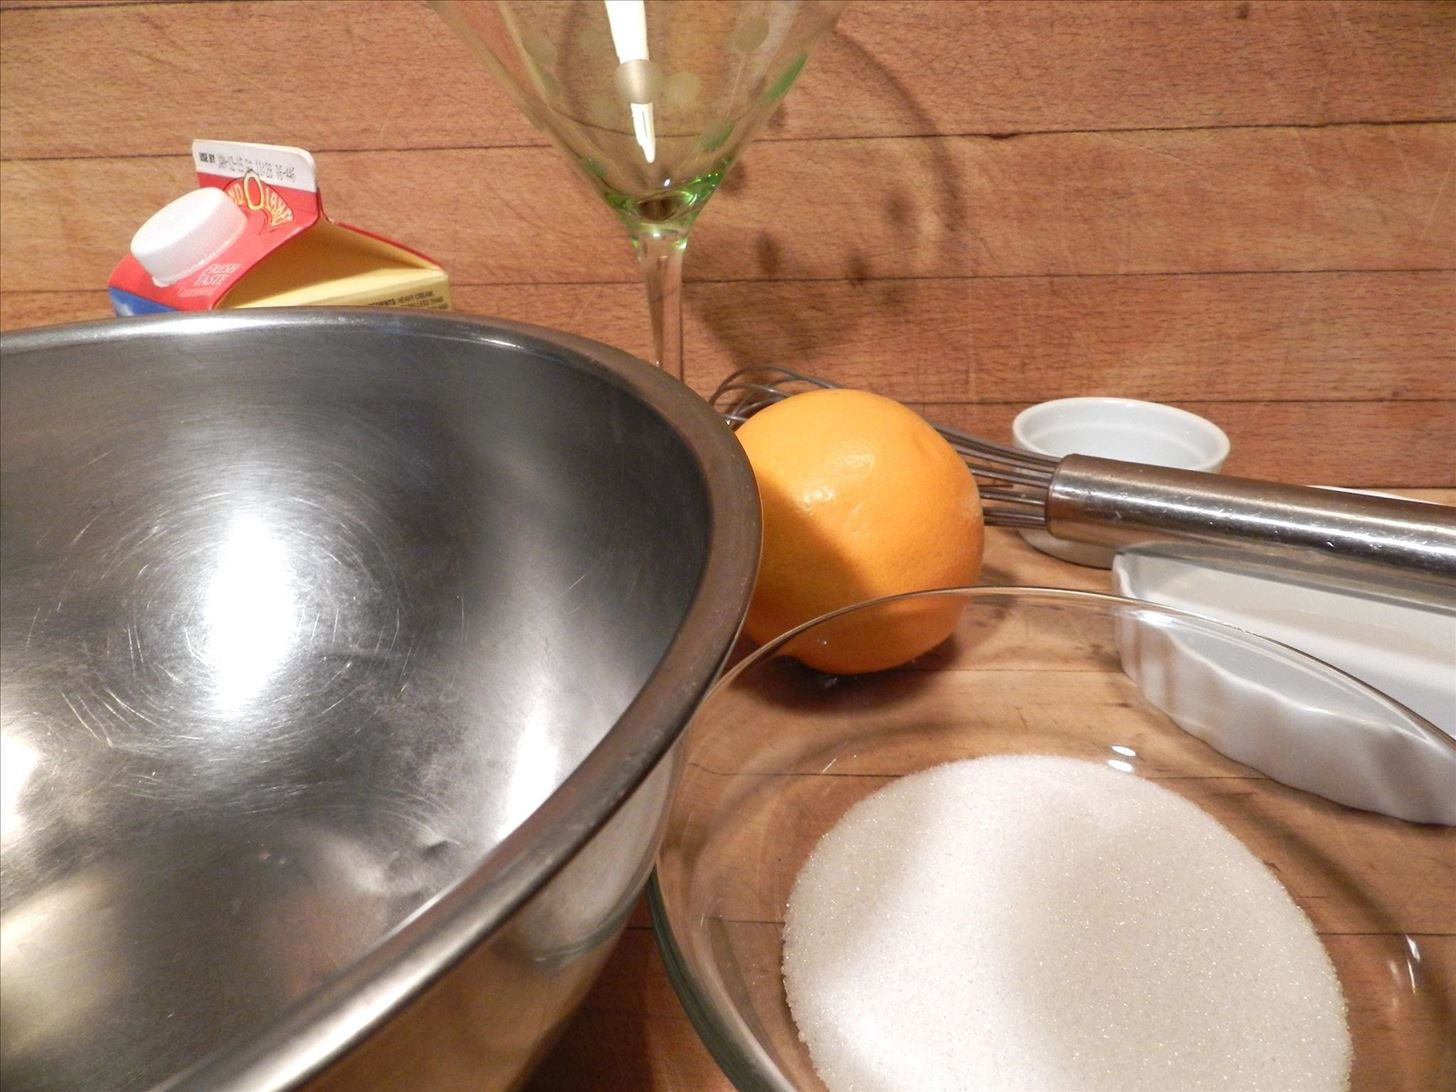
Making this dessert is very easy and will take less than 10 minutes from start to finish if you do some organizing beforehand. This is especially important when working with milk or cream products that require immediate refrigeration when your task is complete. As such, bring together your heavy cream, sugar, flavoring agents (in this case, the skin of one orange), a bowl, whisk, and serving vessels.
Step 2: Whip Your Heavy Cream & Sugar
I like whisking by hand. However, if exerting any energy is against your religion, by all means use a mixer.
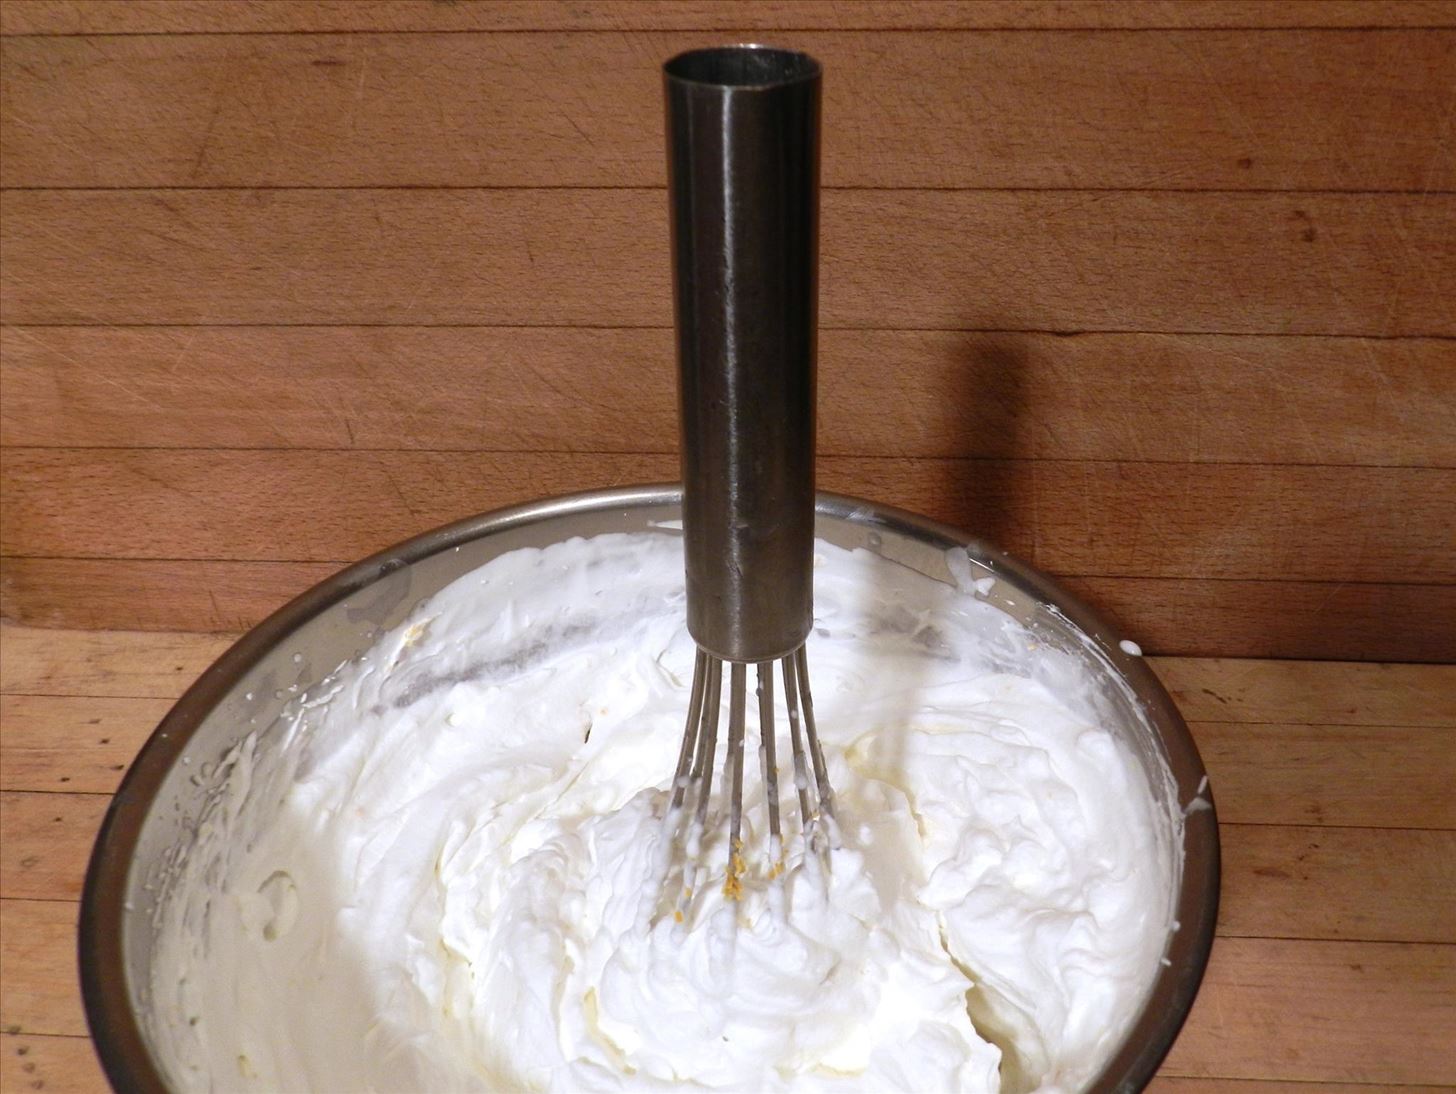
Simply put cream and sugar together and whip everything to the soft peak stage. Soft peak is a term cooks and chefs use when describing a whipped cream that has peaks which fall over.
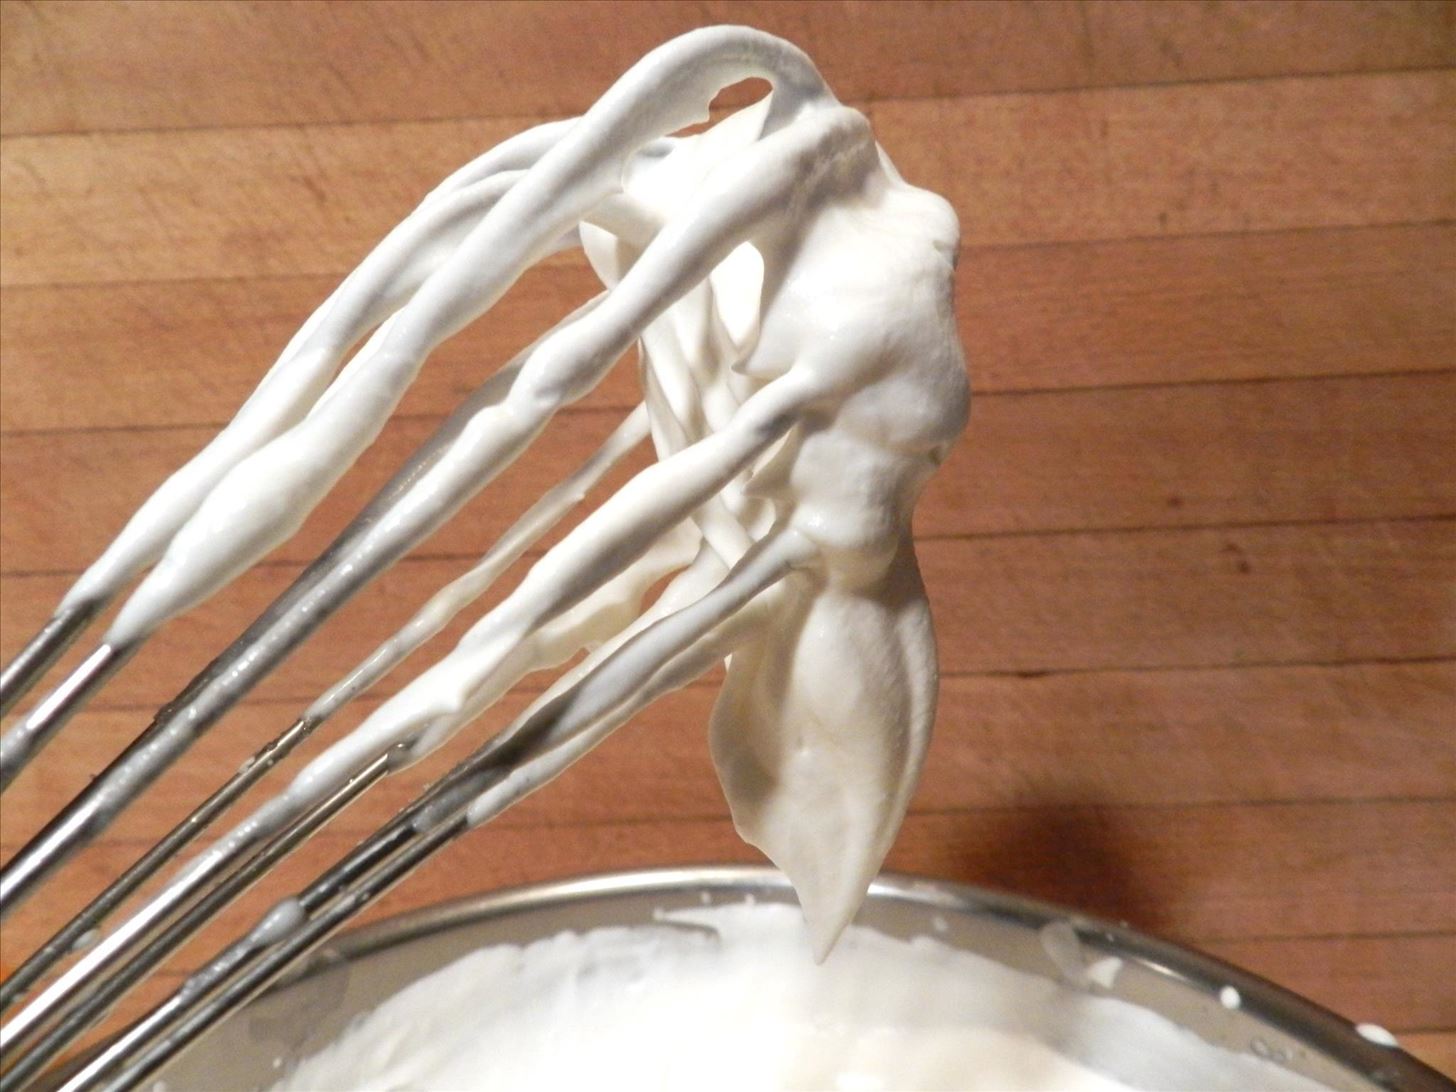
Hard peak, as you will soon see, is when you have whipped the cream to such a consistency you can stand a whisk up in the bowl. However, if you are using an electric mixer, do not walk away. If you do, in a matter of minutes, you will have made sweet cream butter and you can forget about dessert!
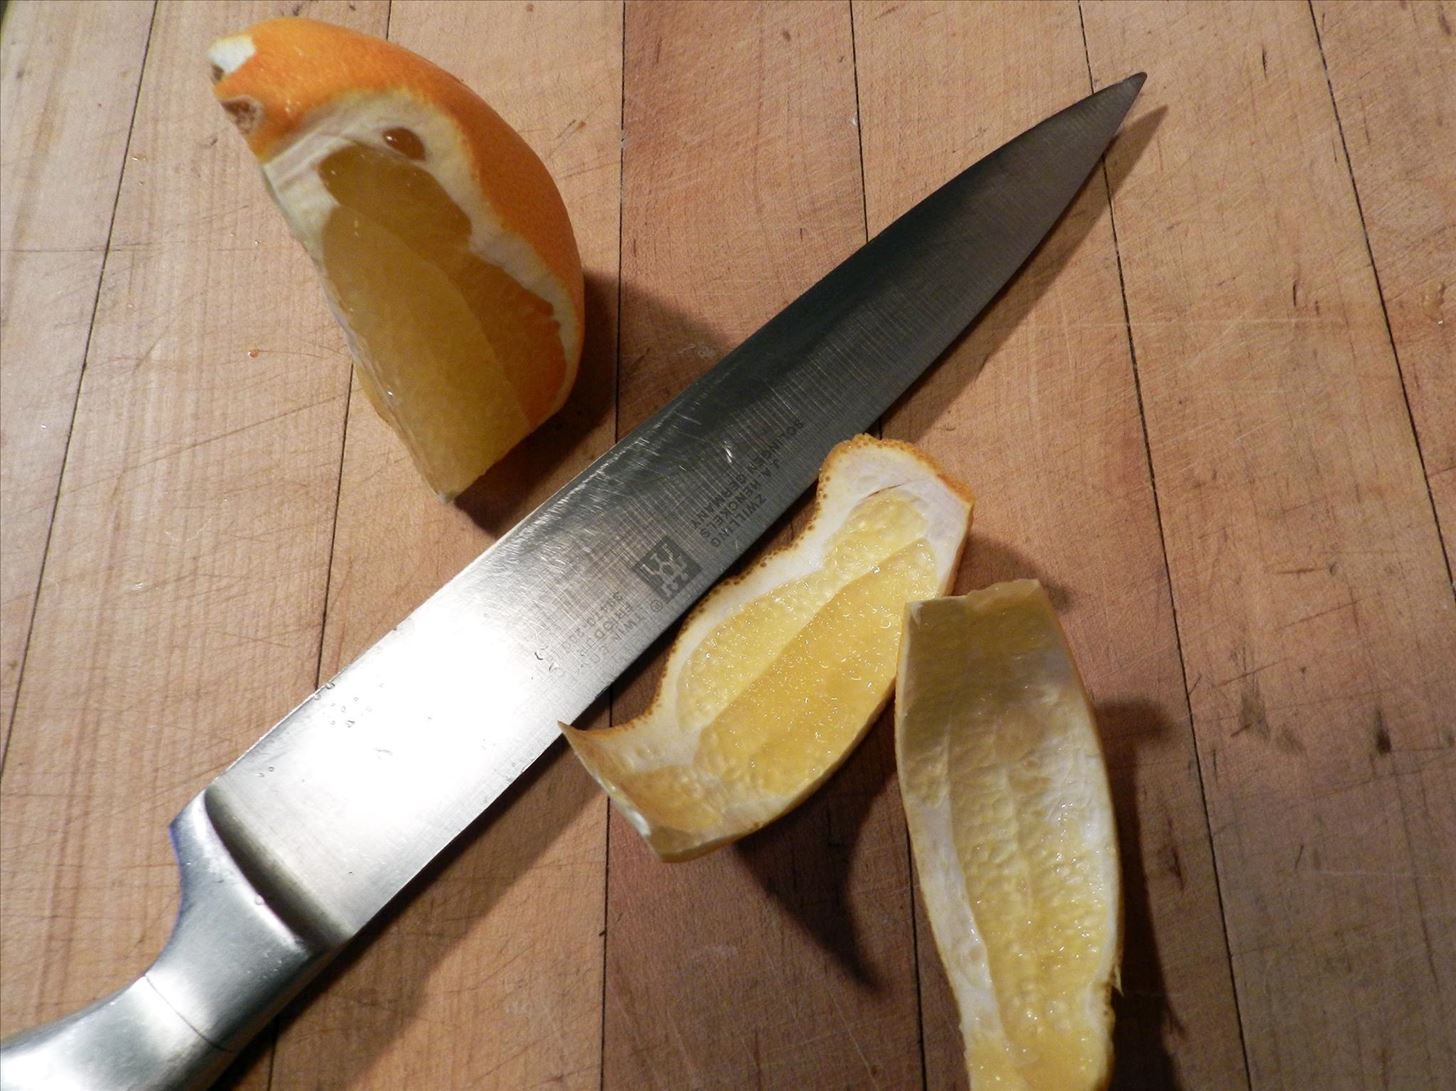
Step 3: Add Your Flavoring Agent
For those using a flavoring liquid or powder (like almond extract or cocoa), simply add the required amount, turn the mixer back on, and bring to a hard peak. If, like me, you are adding flavors of the more organic kind (such as orange zest) or others like buttermilk or mango, you need to do a little more work before mixing it in.
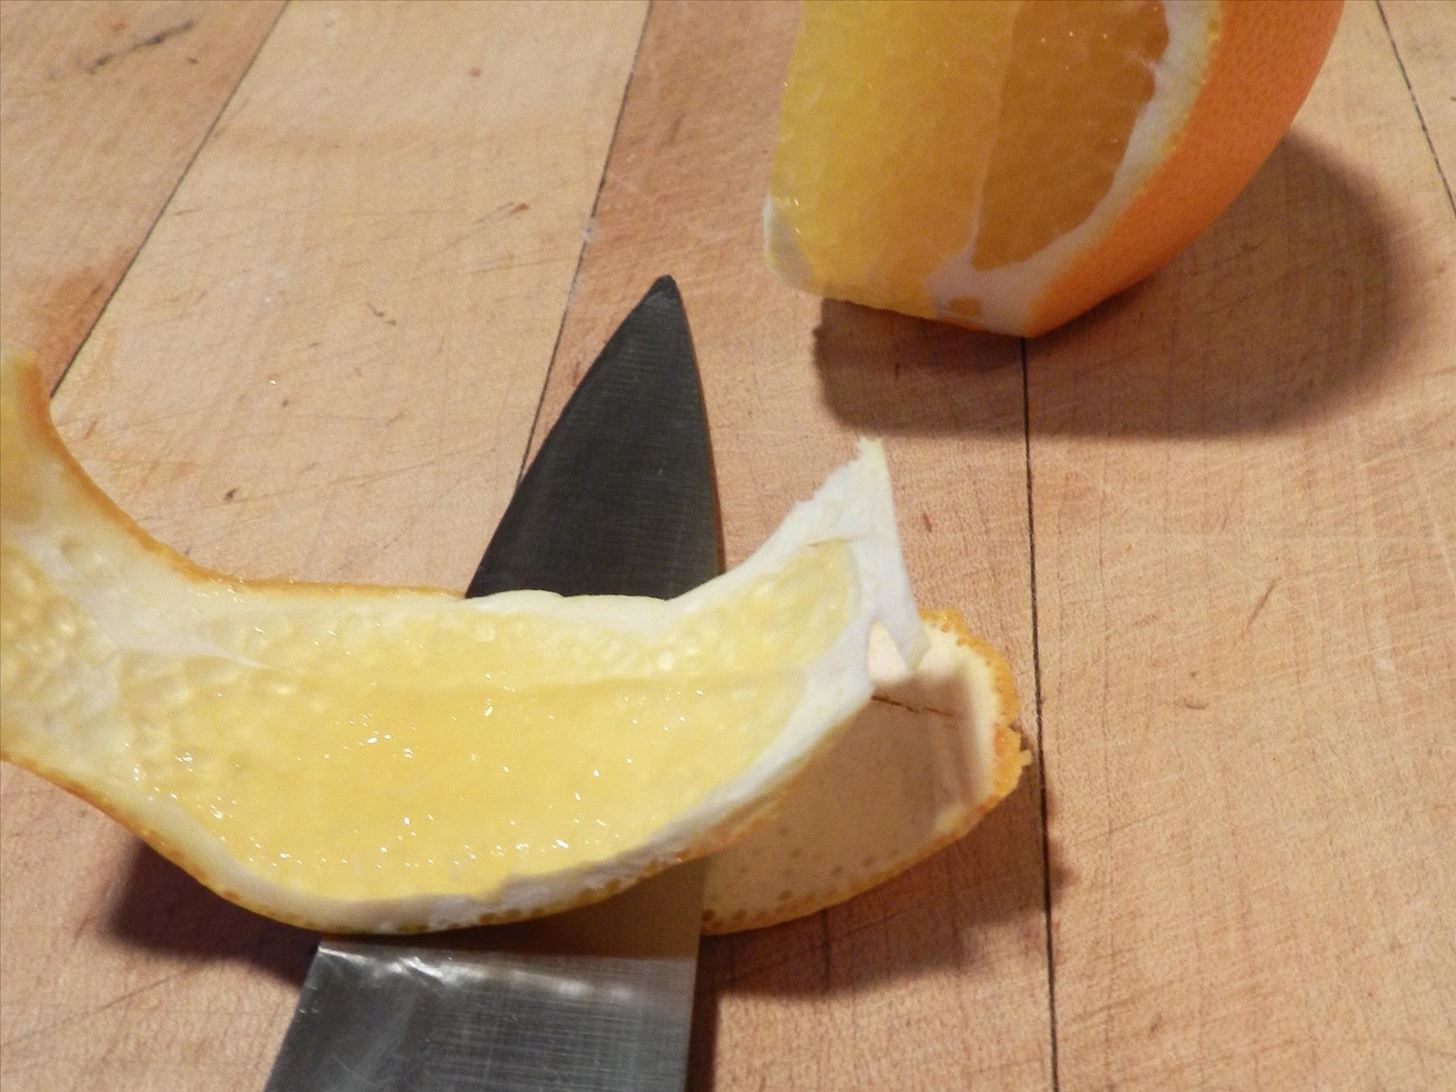
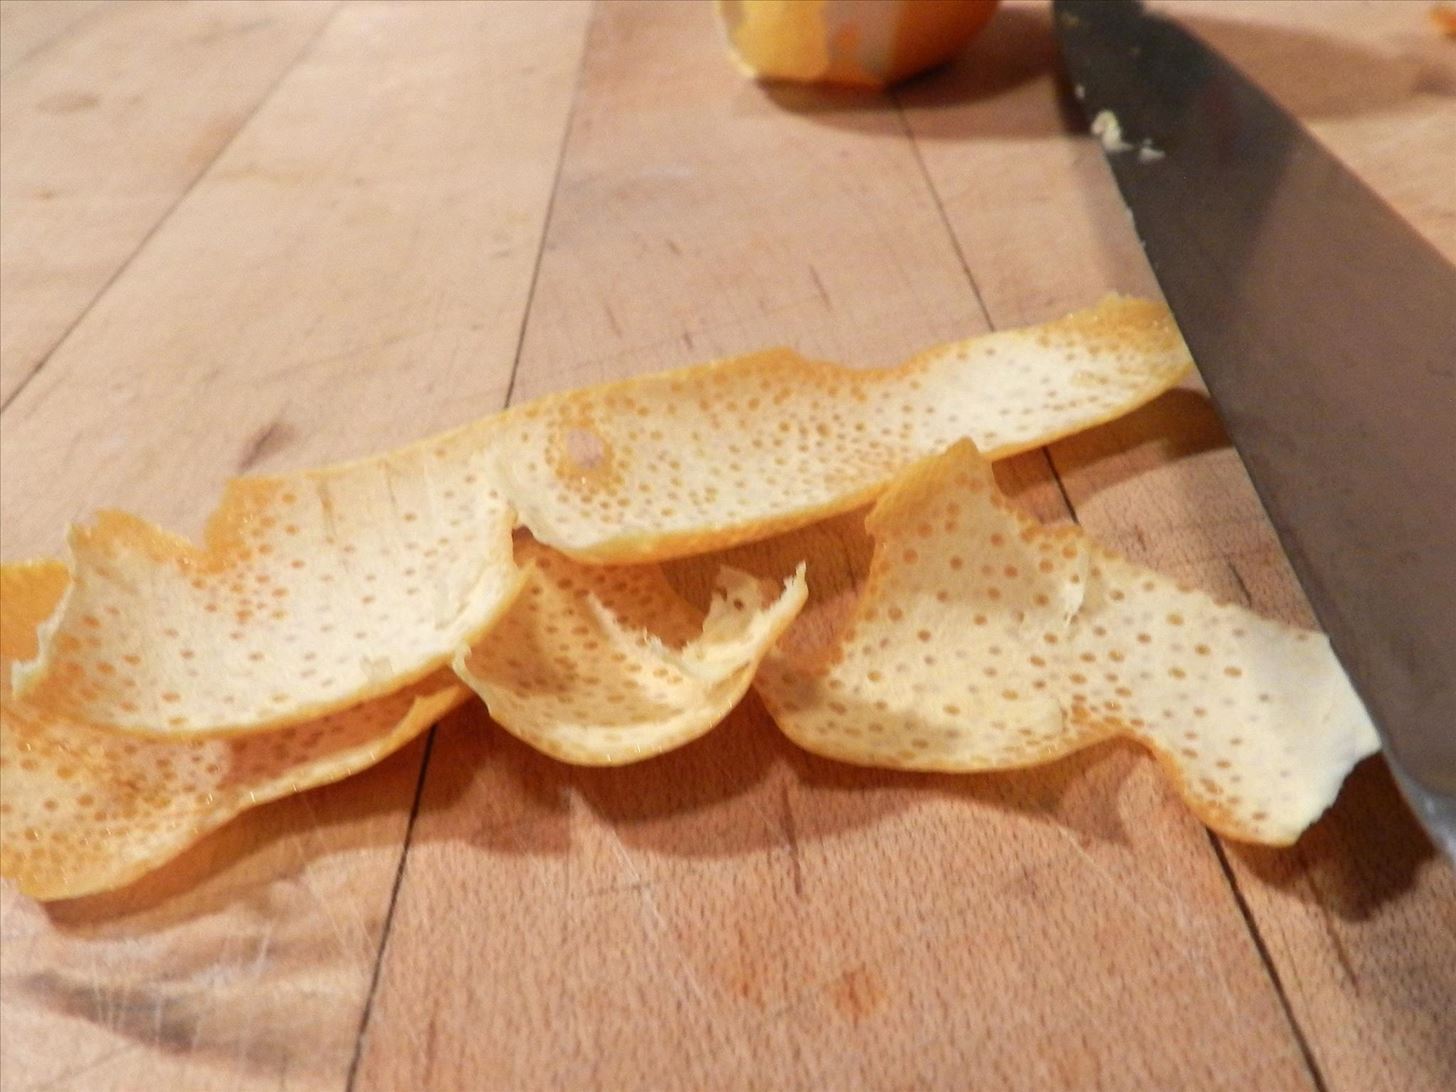
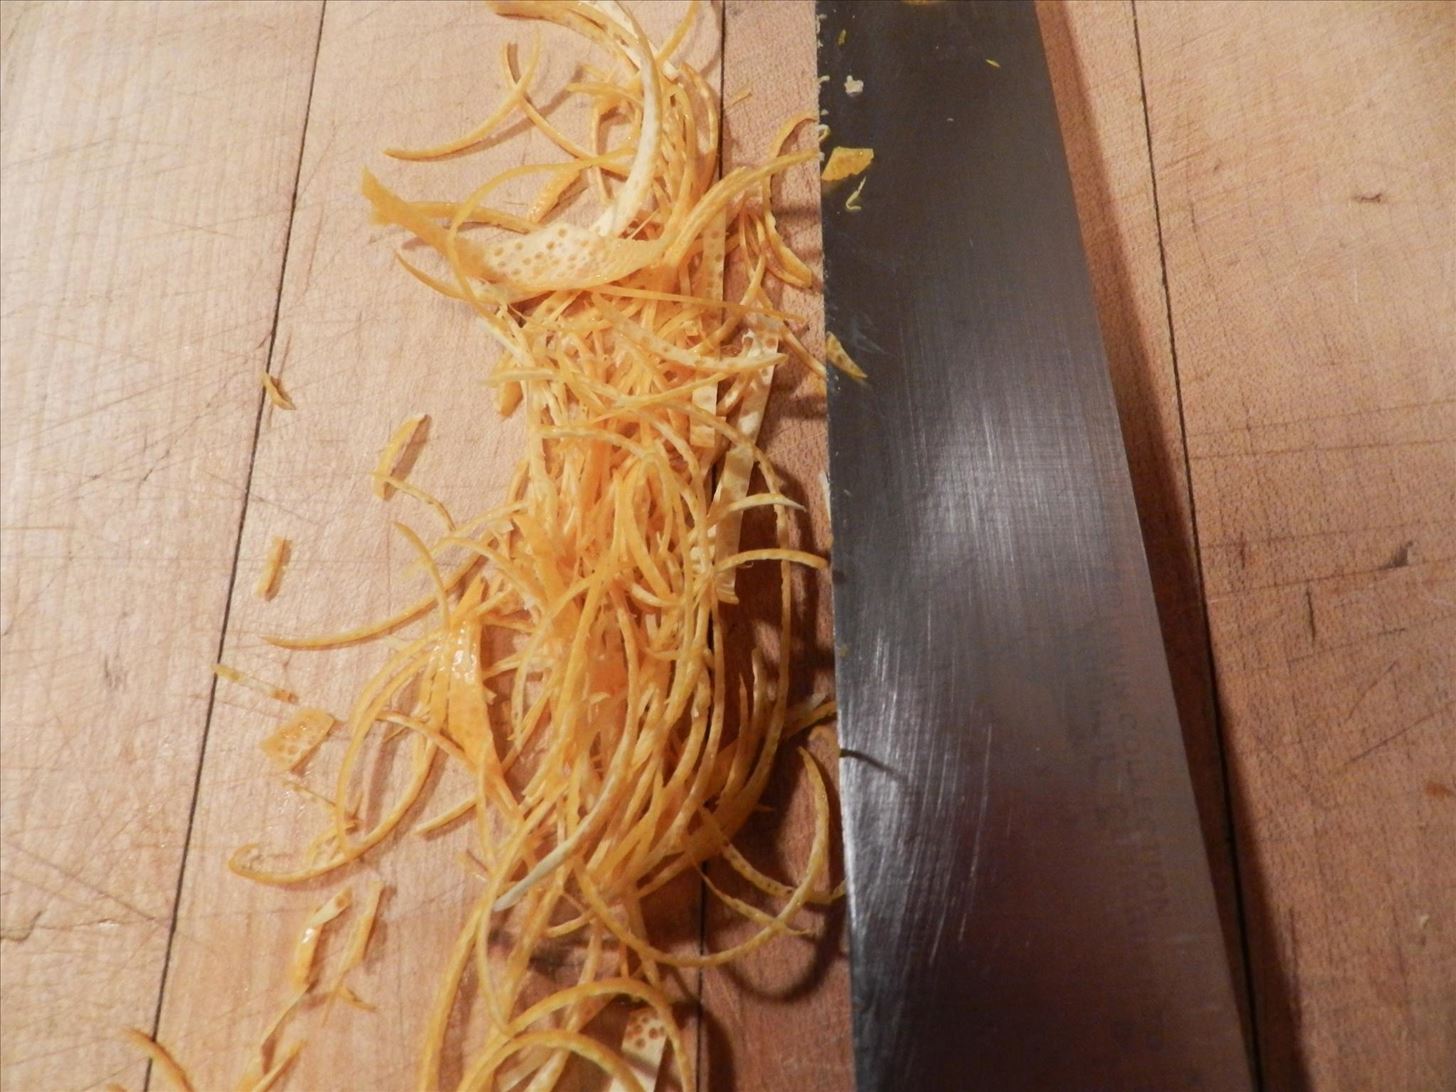
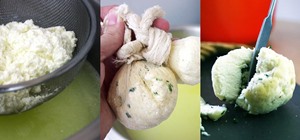
If you have a metal zesting implement in your home, this will work great. If not, you can simply cut the skin off the orange, lay the orange peel flat pith side up, remove the pith, finely julienne the peel, and make an extremely small dice. (If you need step-by-step instructions, you can get a full rundown on how to zest without a zester here.)
Then just mix it in with the cream and whip to a hard peak.
What Happens if You Add the Flavor Beforehand?
You may have noticed that I do not add the flavoring agent with the heavy cream and sugar in Step #2. The reason is twofold.
First, there are some liquid and powder flavoring agents out there that can either prematurely thicken cream before it has been sufficiently mixed, or not allow the cream to whip in the first place. In the first case, the seemingly "whipped" cream, due to chemical additives in flavoring agents, will not freeze correctly and the end result will be a gooey, unappetizing, semi-frozen mess. In the second case, all you end up with is a flavored liquid that is not mousse-like in texture and, if frozen, will have a texture and mouth feel similar to very hard ice cream that's a pain to scoop.
Second, if you add flavoring ingredients with texture such as orange zest, these bits will get caught up in and tangled around the wires in your whisk. Once the whisk is removed, you will be removing the flavoring you wanted in the first place. So, always make sure to add the flavoring agent after you've reached a soft peak.
Step 4: Freeze
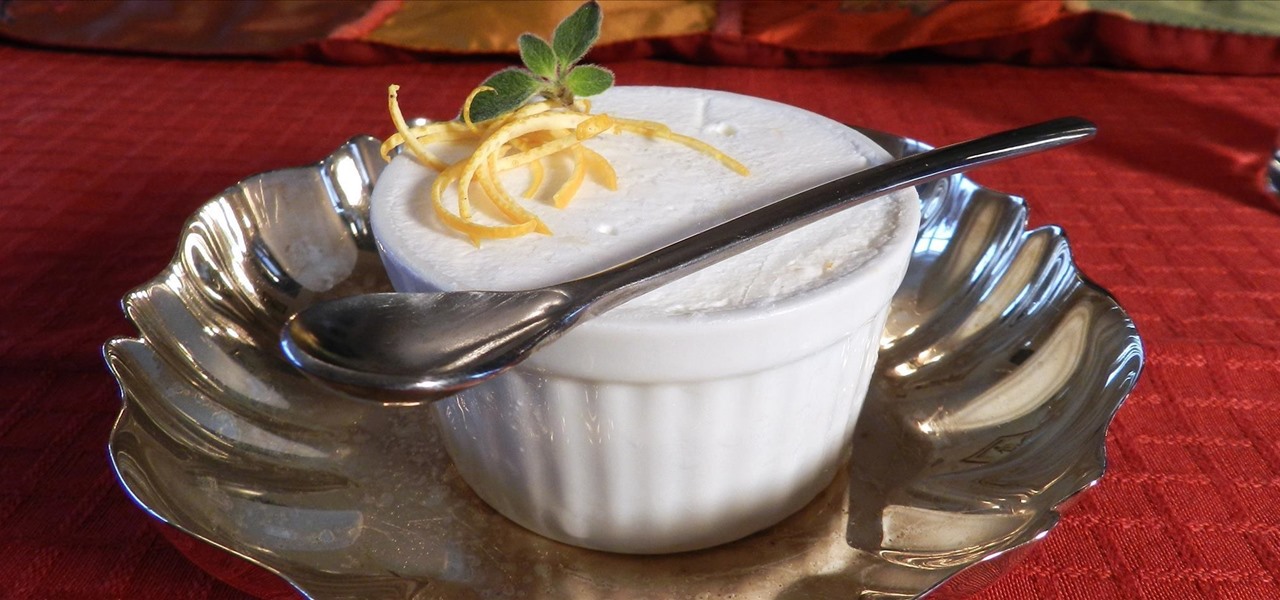
Once you have your mixture at hard peak, it is time to freeze everything. You have options in this regard. You can freeze the entire amount in the vessel of your choosing for scooping out the dessert as desired. You can even make ice cream sandwiches using your favorite cookie as the top and bottom. However, if you are planning to serve your new creation to friends at a small dinner party, you can portion out the mixture into small ramekins.
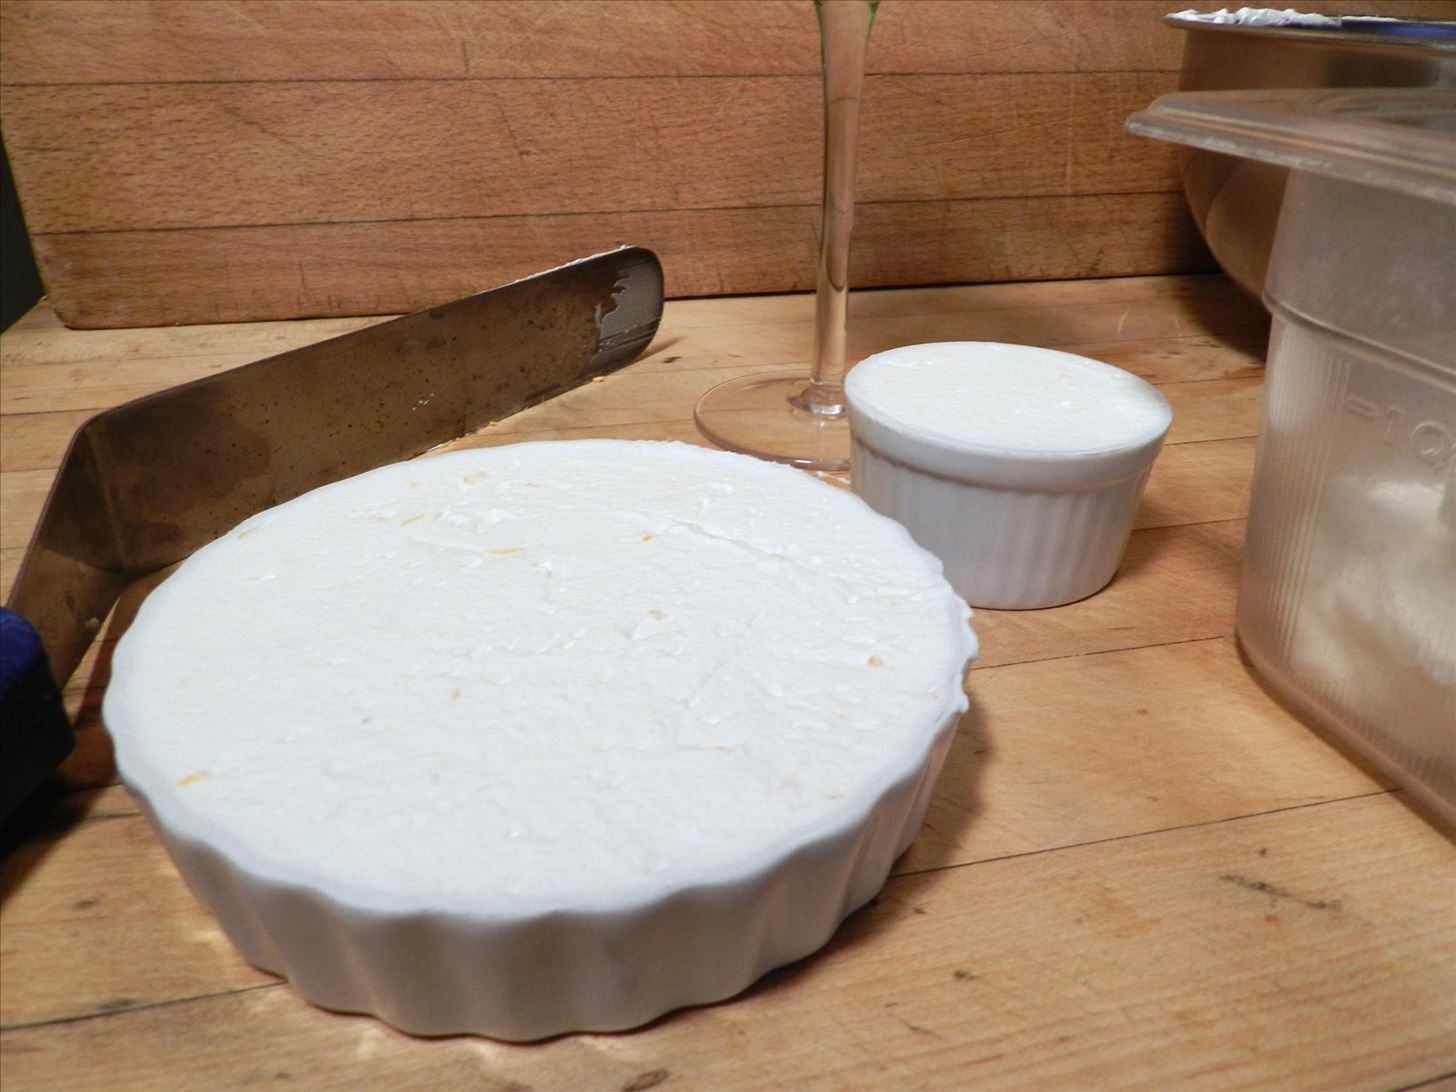
In any event, always wrap the ice cream in cling film (plastic saran wrap) and make sure the cling film is applied directly to the surface of the whipped cream with no air pockets. This will keep any ice crystals from forming, which denigrates the smooth mouth-feel. The protective cover also keeps your ice cream from taking on any unwanted "freezer flavors."
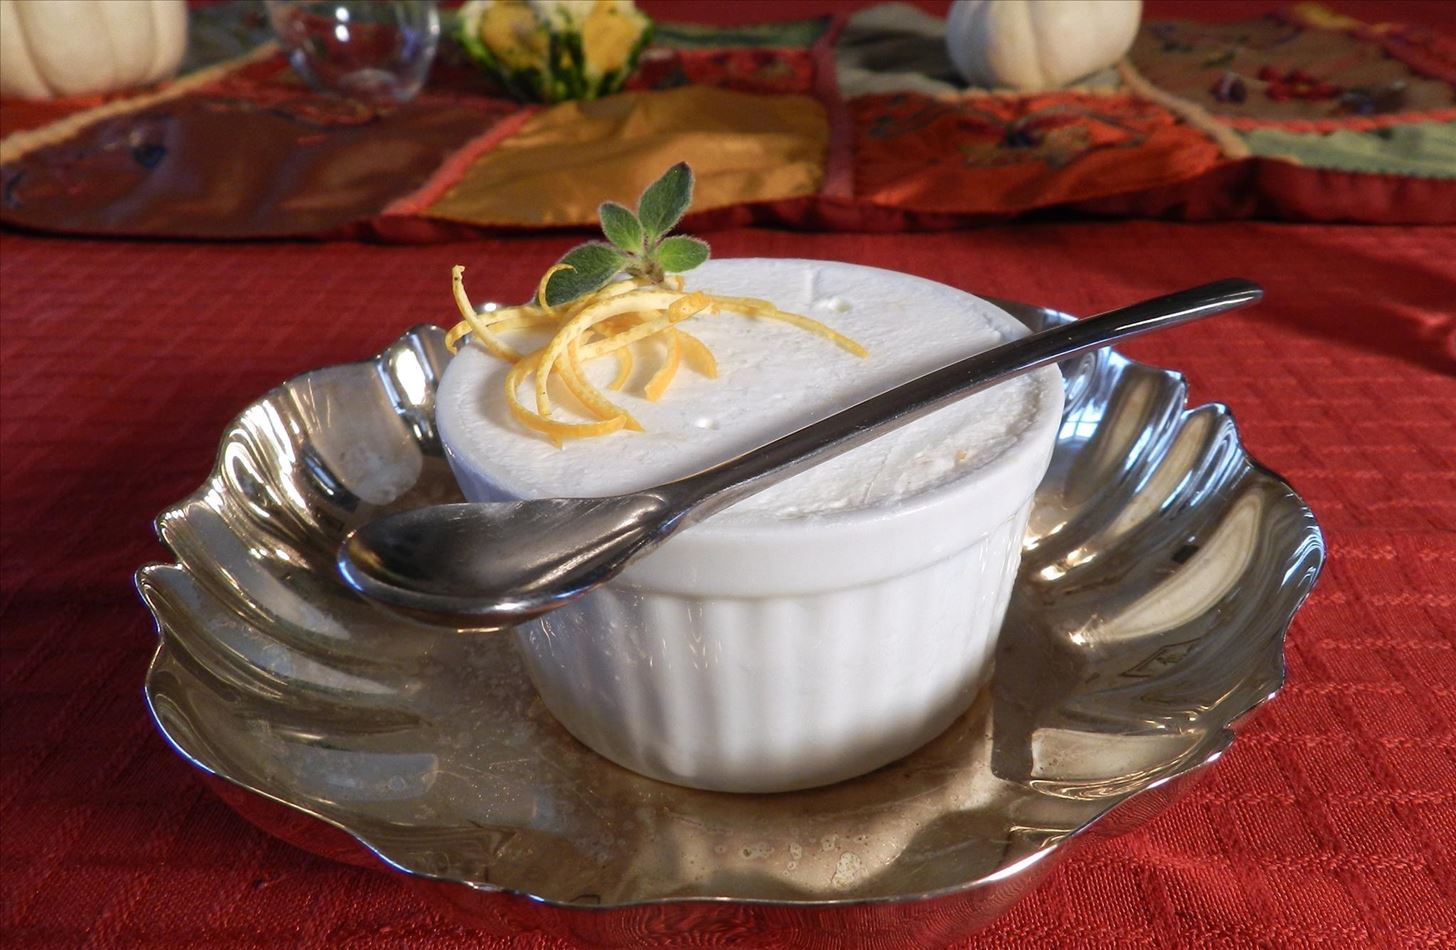
The ramekins are a nice way to mold your creation and will freeze faster than the bulk ice cream container, so when it comes time for service, all you need to do in place the ramekin and a spoon in front of your guest. It's great when no work is required to scoop and serve your frozen dessert! If you embellish each masterpiece with a mint sprig, edible flower, or other garnish, you will look like a pastry wizard and the results will have your friends asking for the recipe.
What's your favorite way to make ice cream?
Just updated your iPhone? You'll find new emoji, enhanced security, podcast transcripts, Apple Cash virtual numbers, and other useful features. There are even new additions hidden within Safari. Find out what's new and changed on your iPhone with the iOS 17.4 update.


Be the First to Comment
Share Your Thoughts