

Every year, when summer rolls around, I get excited because it's grilling season. And every year, when summer comes to a close, I get sad because grilling season is ending.
To me, nothing can beat being outside next to a hot flame or some coals, with a beer in one hand and some food in the other. After the final BBQ of the year, I don't want to wash my clothes for a month because I'm scared of losing that barbecue scent. In the winter, I always want to go to the beach and have a bonfire, just so I can have that smokey aroma again.
One of my favorite ways to combat BSAD (barbecue seasonal affective disorder) is with smoked salt. Smoked salt has the scent and the flavor of the grill, but can be used year round. There are two easy ways to get smoked salt: by spending way too much money at a specialty food store, and by making it. I choose the latter.
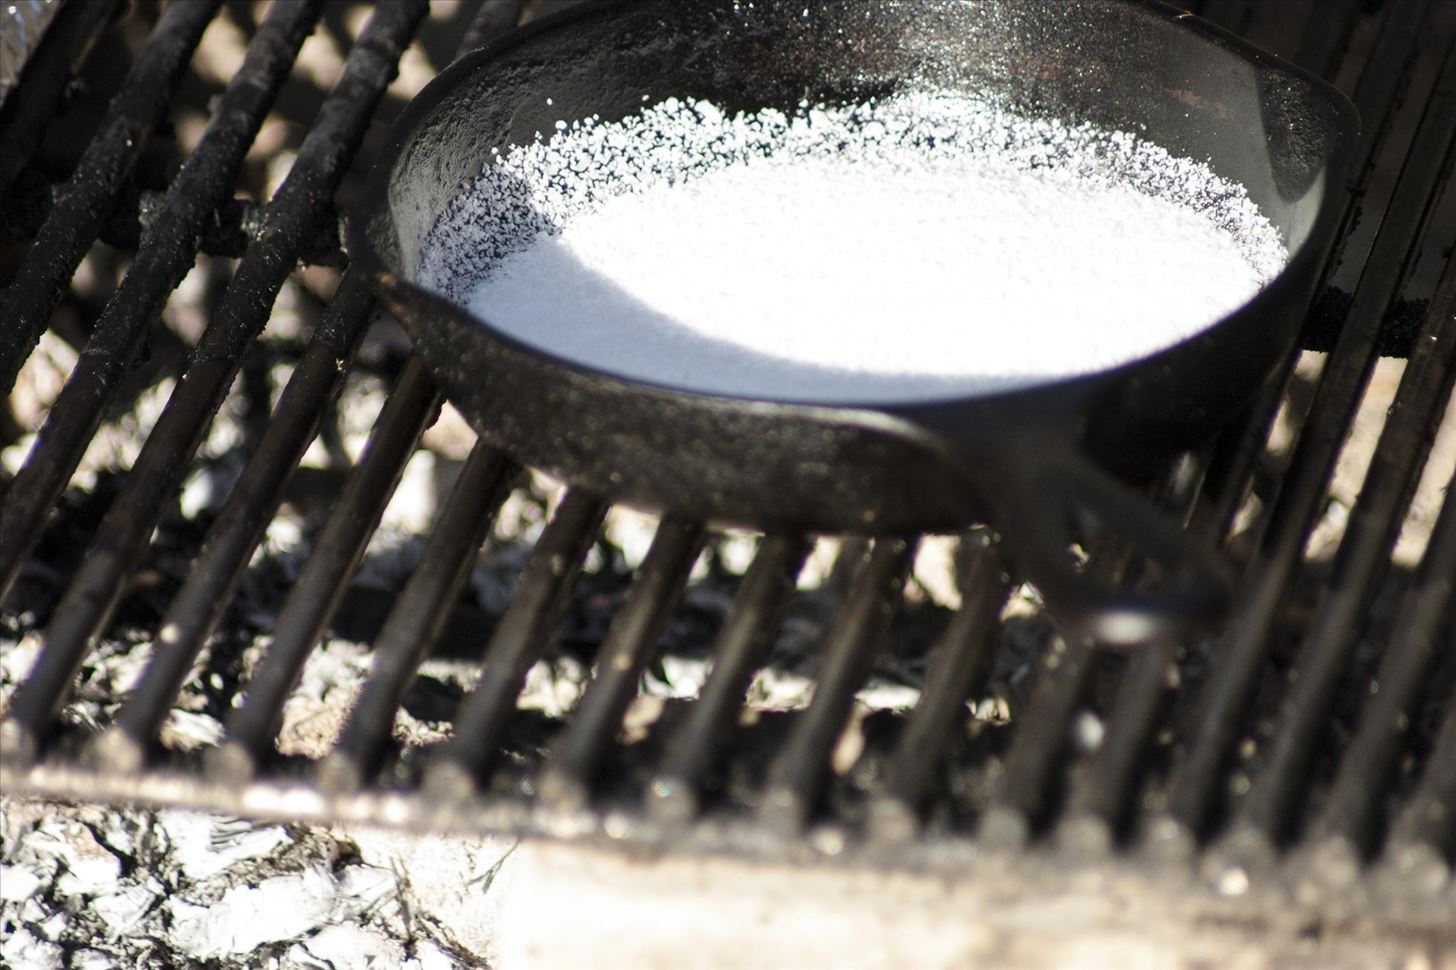
Step 1: Fill a Pan with Salt
You can use any pan you want for your salt, so long as it's okay to go on the grill. I've used roasting pans, pie tins, tinfoil, and cast iron skillets; they all work just fine.
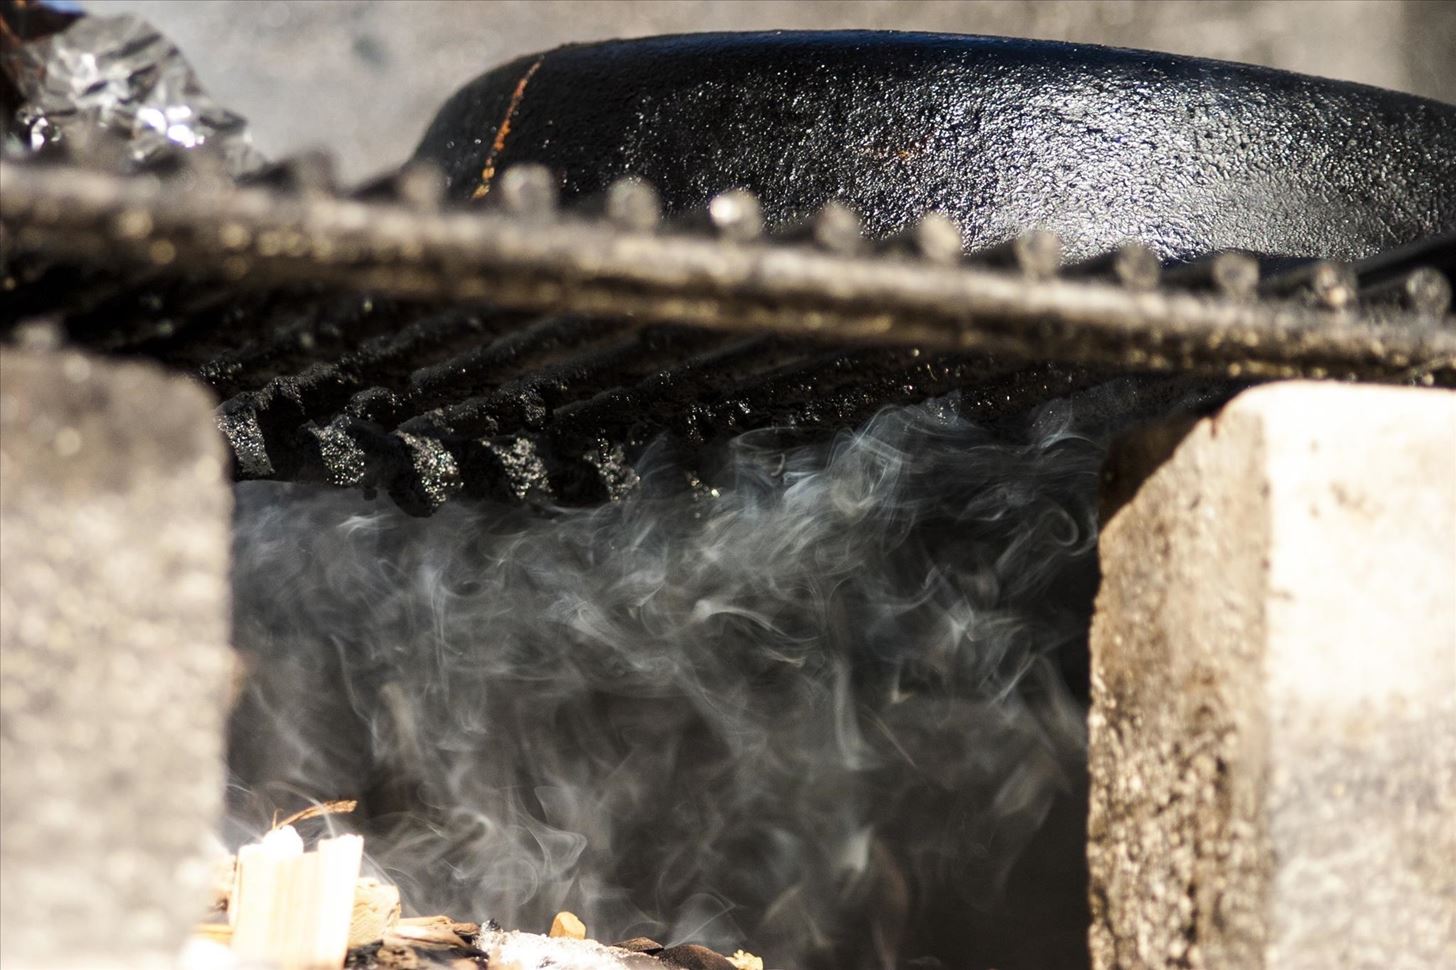
Step 2: Get Your Grill Smoking
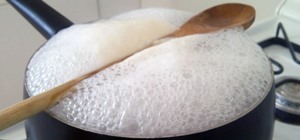
You can't get smoked salt without smoke, so heat up your barbecue, and add a copious amount of smoking chips. (If you don't have a grill, you can create an indoor stovetop smoking station.) Mesquite chips are strong and will get you the smokiest flavor, but I'm a fan of applewood chips, as they have a sweetness that complements the salt. The key is to get a large amount of smoke, and maintain it for about an hour.
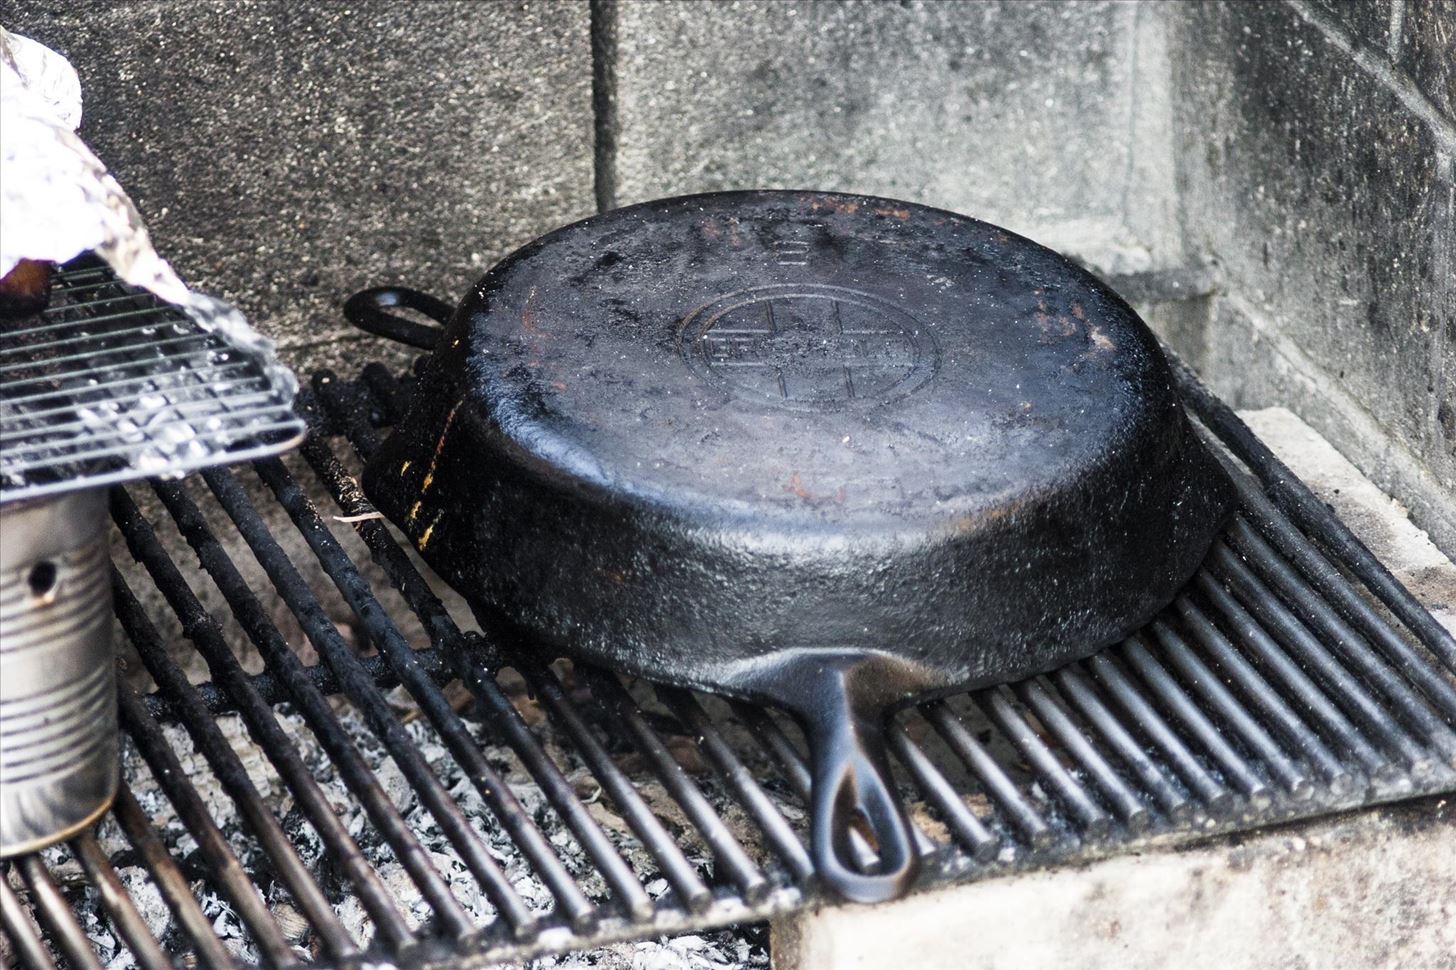
Step 3: Place Your Salt in Indirect Heat & Cover
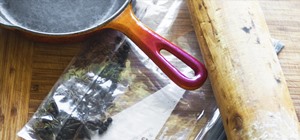
If you have a home grill, place your pan of salt in indirect heat and close the lid. This will create an incredibly smoky atmosphere that will flavor the salt very quickly. If you have a picnic style grill (or simply no lid for your home grill), use tin foil or a skillet to create a lid for your salt. Make sure smoke can still reach the salt, however; the goal is to get as much smoke in contact with the salt as possible, and then keep it there.
Step 4: Smoke for One Hour, Then Cool
After an hour, your salt will have taken on a distinct smoky flavor (for a stronger smoke flavor, you can go as long as 24 hours). If you get large salt crystals, you'll be able to see a color difference; you can't see the smoke very well with kosher salt, but I assure you that you can taste it!

If you want, you can add herbs to the smoking chips to amplify the flavor of the salt. But I have a trick I prefer: I put the fresh herbs in with the salt after the smoking, and let the herbs slowly infuse their flavor into the salt.
Once you're done smoking and cooling the salt, label it in an air tight container and put it on the back of the shelf; when November rolls around, and you're sad that you're not grilling, take out the salt. I promise you, you'll perk right up.
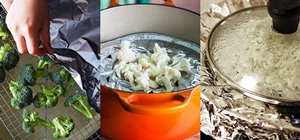
More Salty Hacks!
Don't like smoked salt? Then try some DIY Sriracha salt. (You won't regret it.) There's also DIY beef salt out there. (It's great on popcorn.) Looking to just elevate your everyday table salt? Then give fleur de sel a shot. (You can fake fleur de sel at home, too.) Can't get enough salt in your meals, period? You need a Himalayan salt block, asap.
Just updated your iPhone? You'll find new emoji, enhanced security, podcast transcripts, Apple Cash virtual numbers, and other useful features. There are even new additions hidden within Safari. Find out what's new and changed on your iPhone with the iOS 17.4 update.


Be the First to Comment
Share Your Thoughts