
For me, the smoky brilliance of a good barbecue can't be beat. The way the smoke flavor seems to permeate every part of the meat is, in my opinion, the closest thing we have to food magic. Throw a piece of meat in a smoker with some select wood choices, wait a few hours, and suddenly you have something rich, complex, and bursting with smoky flavors.
However, if you're an apartment dweller, you probably don't have a bulky smoker, or even a grill (a smokeless one won't work), with which to impart that flavor. Even if you do happen to have one, it's a very seasonal item, so using it when it's snowing out is not very fun. Luckily, there are a few indoor DIY options you can try.
There's the "pot smoker" which utilizes wood chips, aluminum foil, a pot, and a steamer basket to smoke foods on your stovetop, a method that I use frequently for fish. However, if you want that smoky flavor for any cooking method, cold smoking on the stovetop is the way to go.
What Is Cold Smoking?
Cold smoking adds that smoky flavor to your meat while not actually cooking anything. Traditional cold smoking is still accomplished in a smoker, usually with a separate vessel for creating the smoke, and takes a great deal of skill and precision to pull off safely since the meat is sitting for extended periods of time without enough heat to cook away bacteria. It also requires that the meat be cured, salted, or fermented beforehand to draw out the moisture that bacteria thrives on.
For those of us without the necessary equipment for professional-style cold smoked meats, there's a shorter and relatively safe method of doing this at home right in your kitchen, as long as you intend on cooking the meat right away afterward.
Important Safety Note
Before continuing, it's important to address the danger of leaving uncooked meat out at ambient temperatures. Rapid microbial growth occurs in uncooked meats between the temperatures of 40°F and 140°F, so it's best to minimize the time at which you keep your meat out—make sure to keep any meat you intend on smoking in the fridge until you're ready to use it. And, just to be safe, it's best if you don't serve meat flavored by cold smoking to very young children, pregnant women, or older people. The risk of contamination is minor, but it still exists.
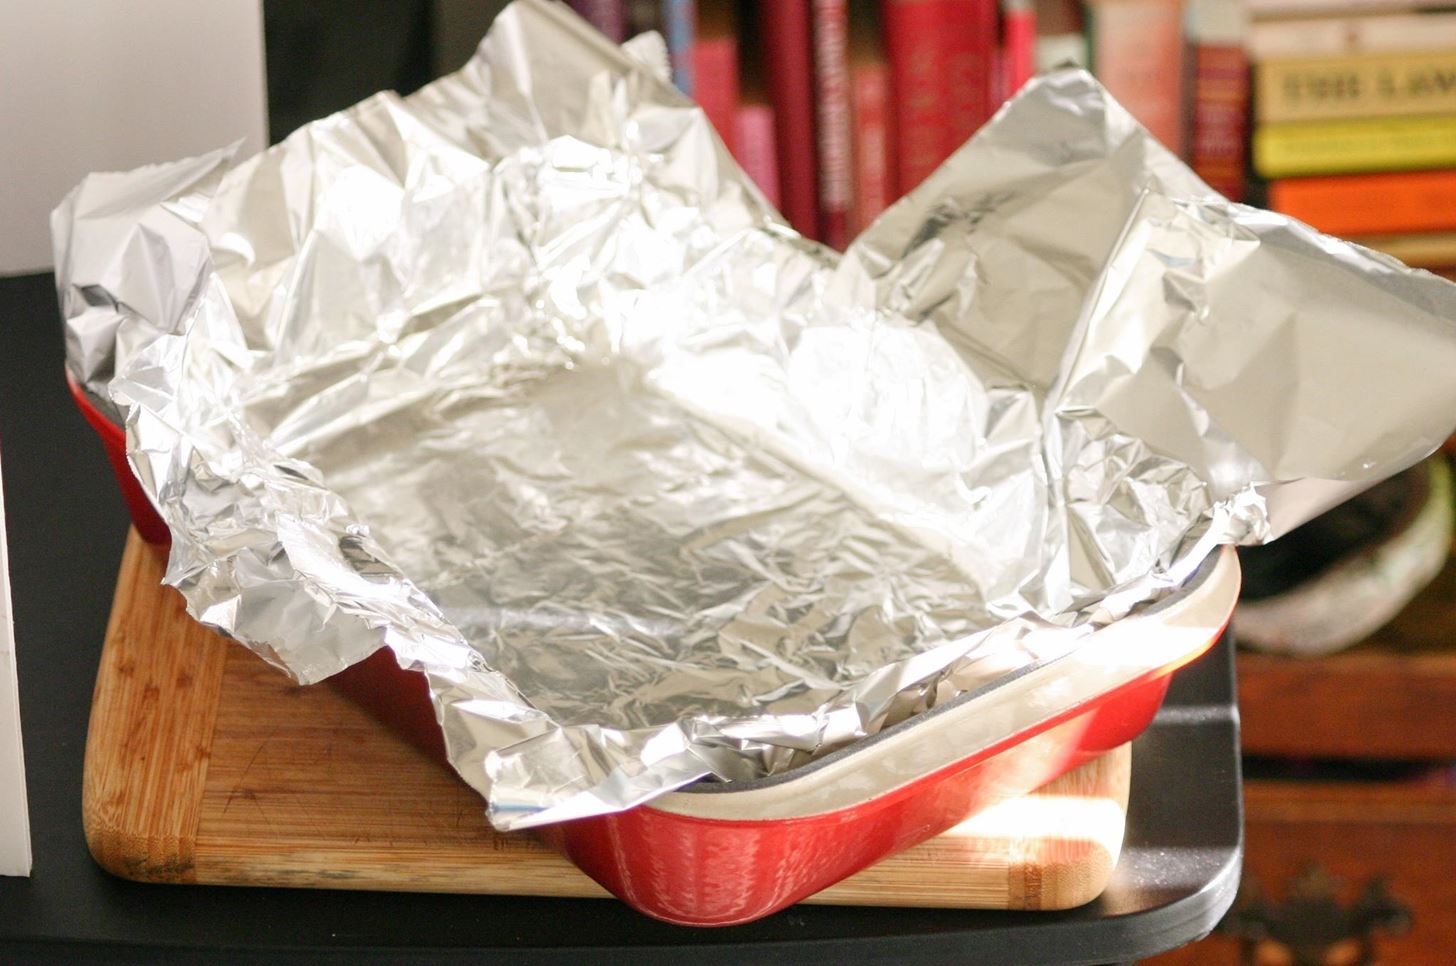
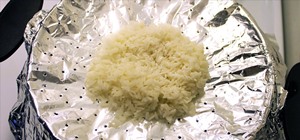
Step 1: Line a Baking Dish with Aluminum Foil
Get a sturdy baking dish or cast iron skillet, and line it with aluminum foil. Make sure you have far more aluminum foil than covers the bottom, as you'll need to be able to fold it over, like you're wrapping a present.
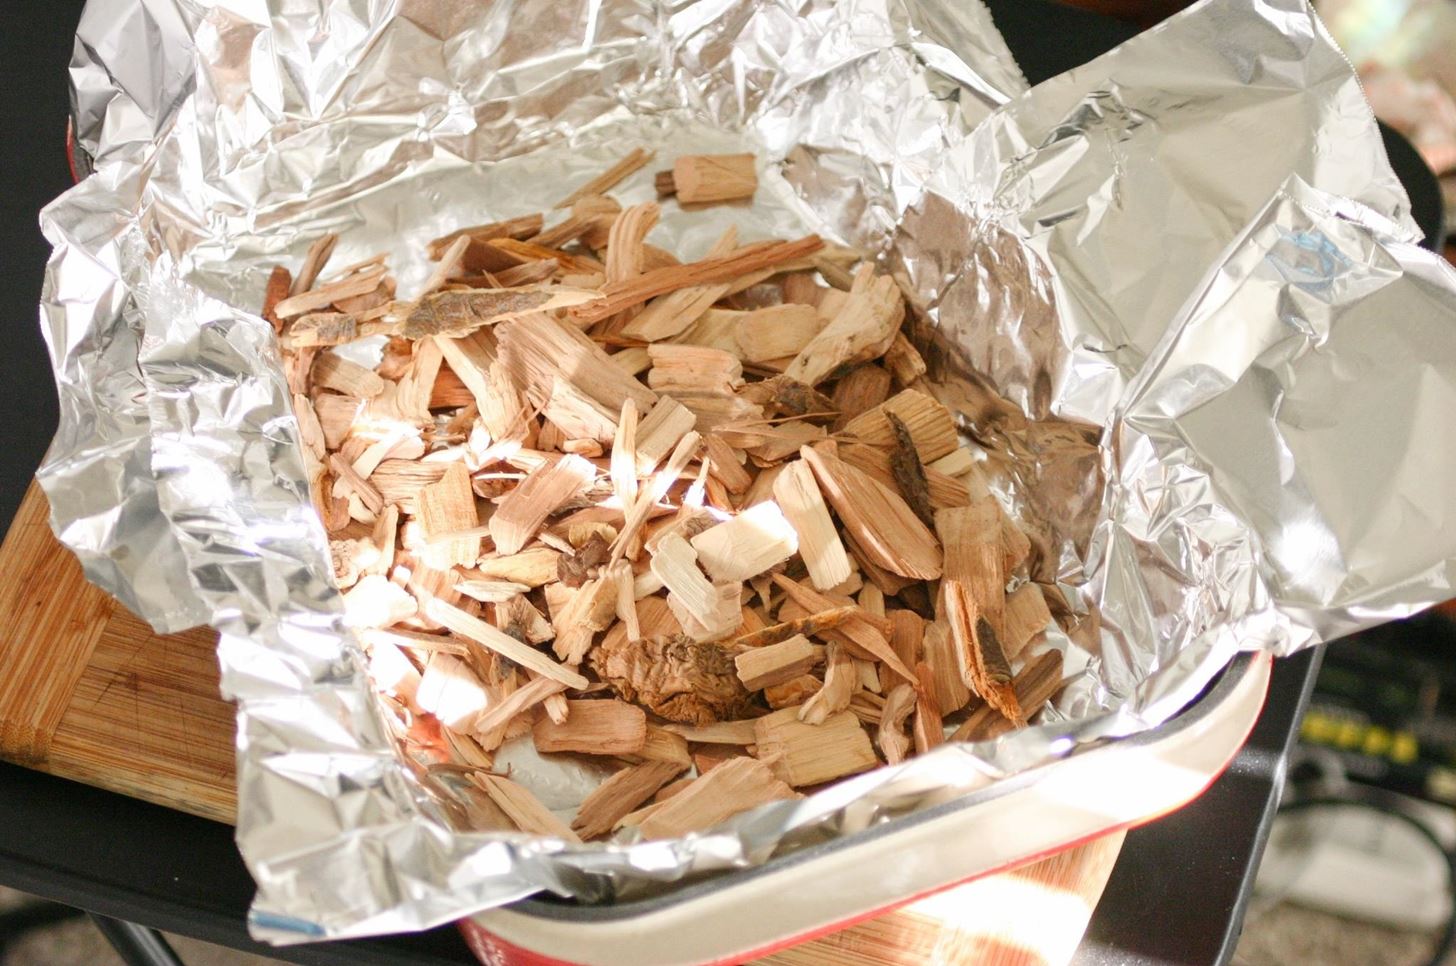
Step 2: Add Wood Chips
Put a few cups of wood chips in the aluminum foil. You can use whatever kind of culinary wood chips you prefer (I'm fond of apple or pecan). If you're having trouble finding wood chips, you can order them online, but you should be able to find them in grocery stores, butcher shops, or big-name hardware stores. It's best to soak your wood chips ahead of time, but you can use them dry as well.
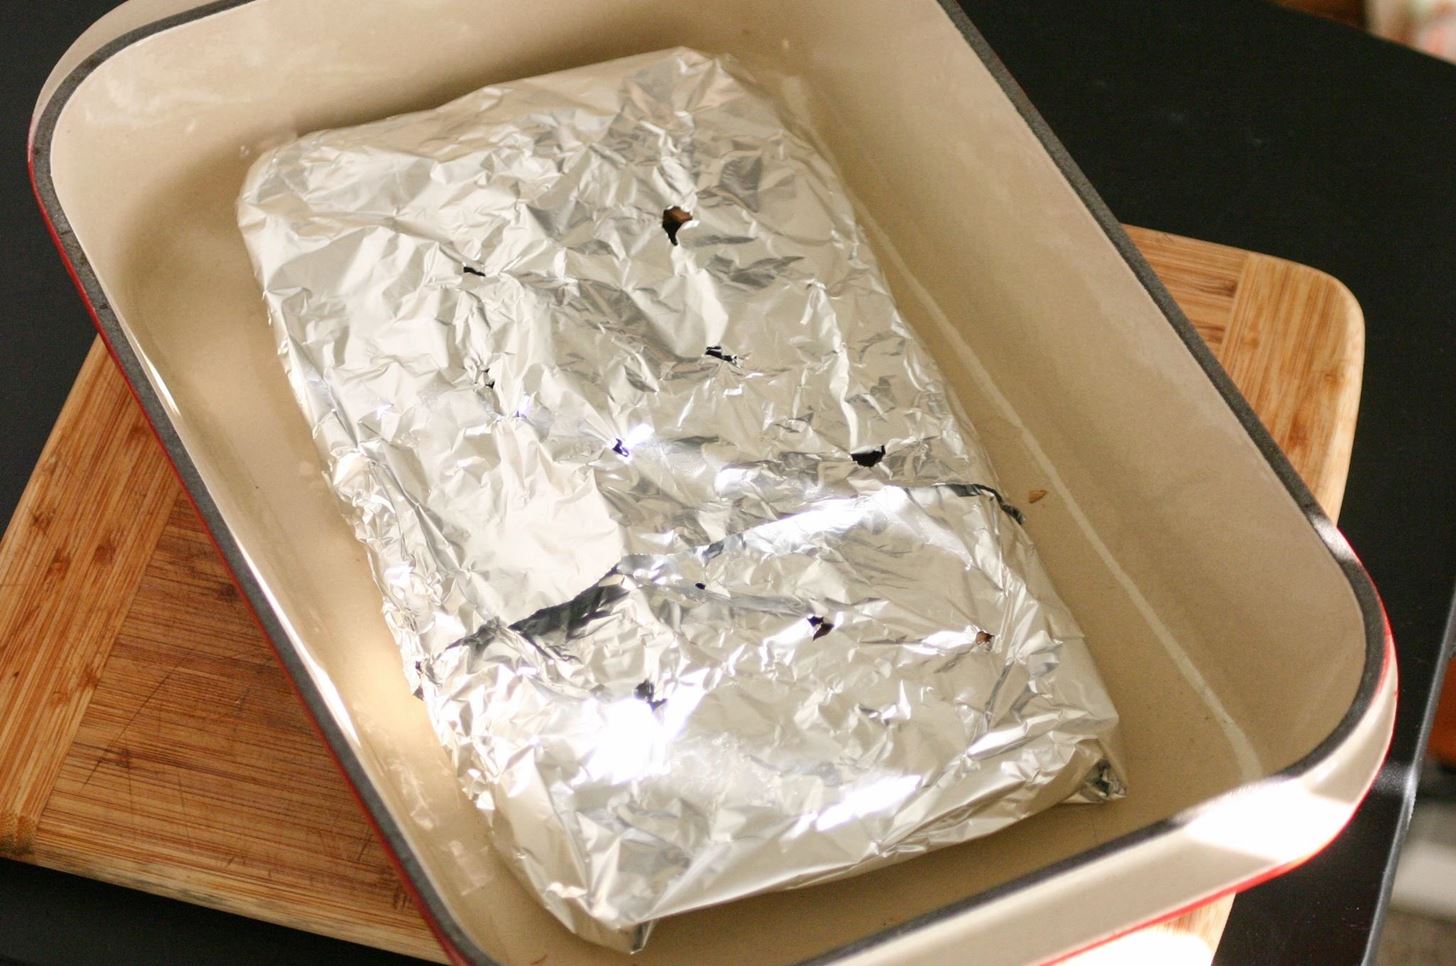
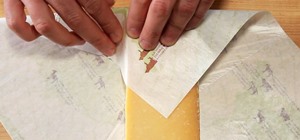
Step 3: Fold Your Foil & Add Perforations
Fold your tinfoil over the wood chips, being sure to make it as air tight as possible. Flip the package over (so the "clean" side is on top), and poke some holes in the foil with a paring knife (about 10-15 holes). These perforations will allow the smoke to slowly ease out of the package.
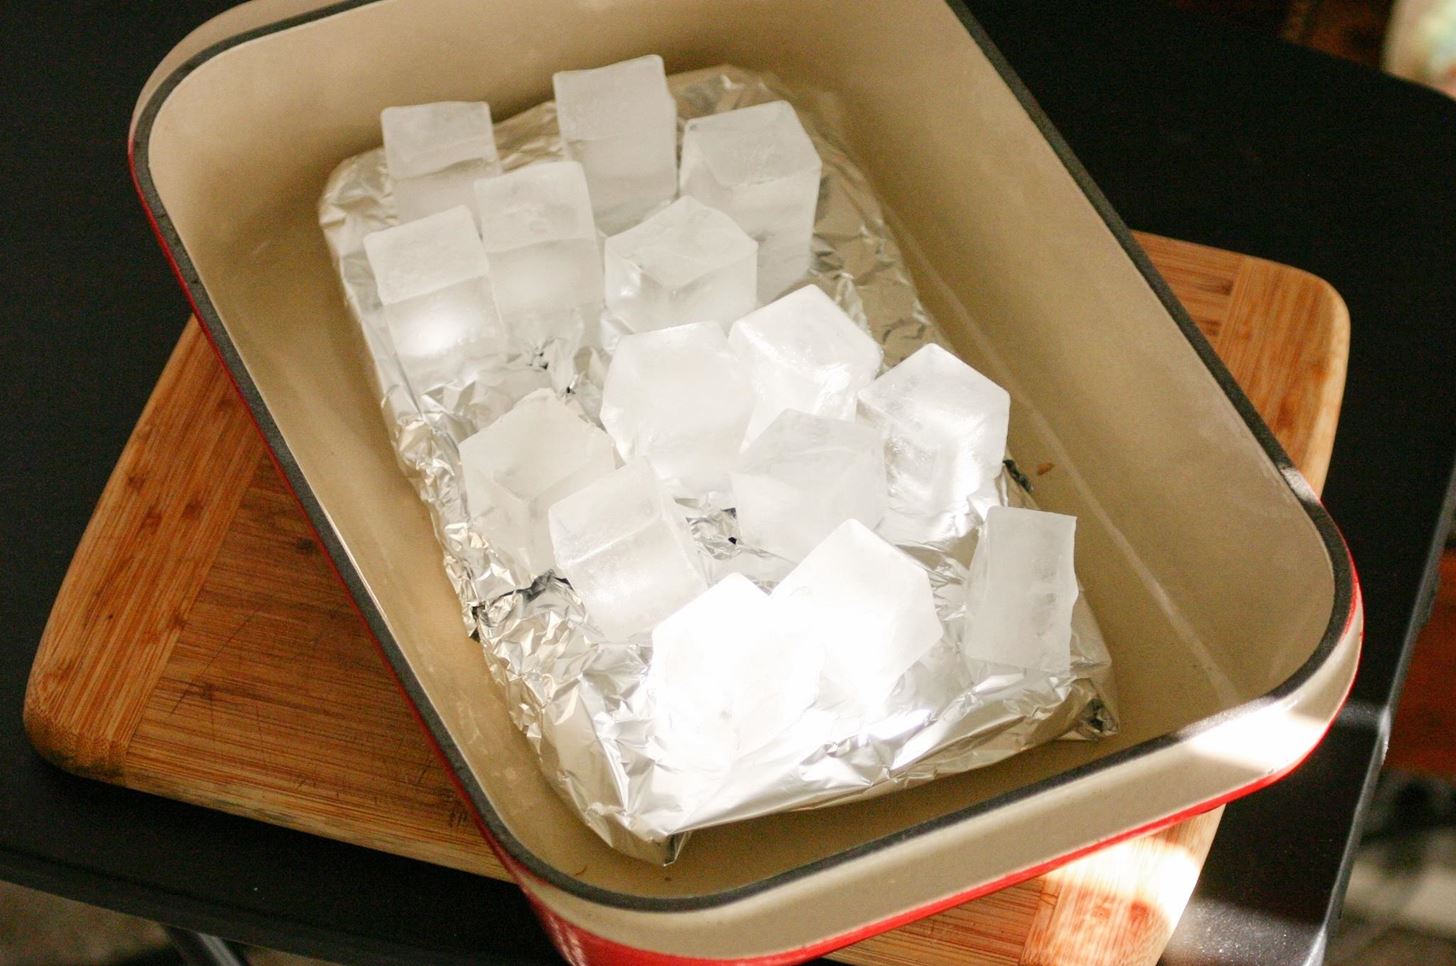
Step 4: Add Ice
Cover the top of the package with ice, and keep some on reserve just in case you need some for later, to help keep the cooking temperature low.
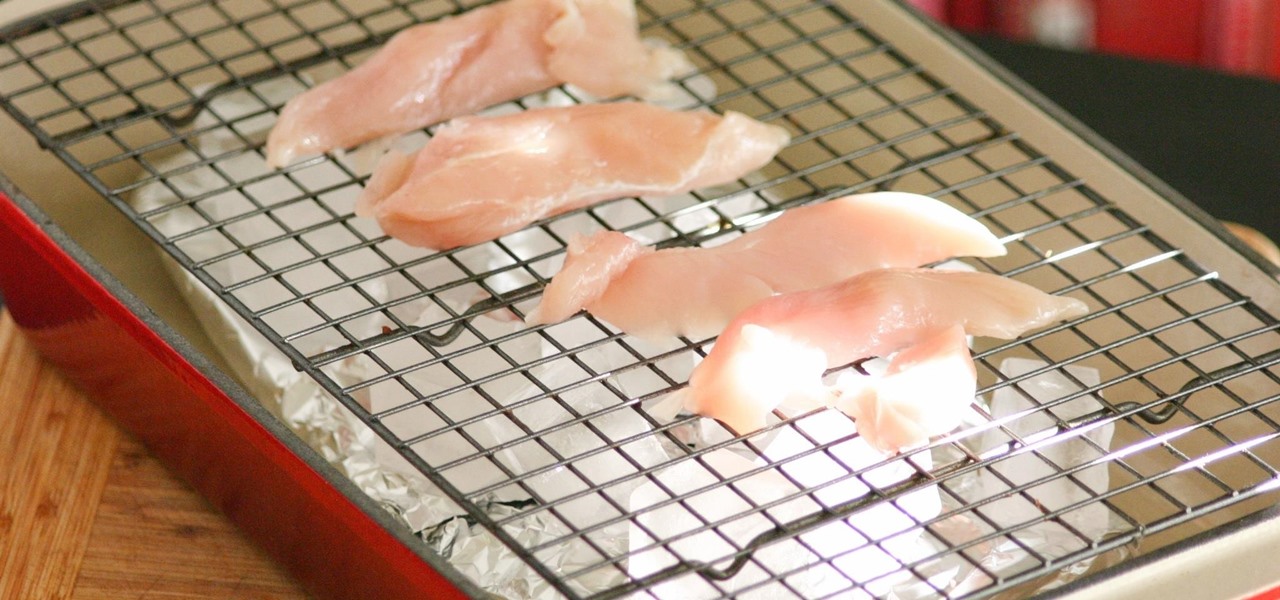
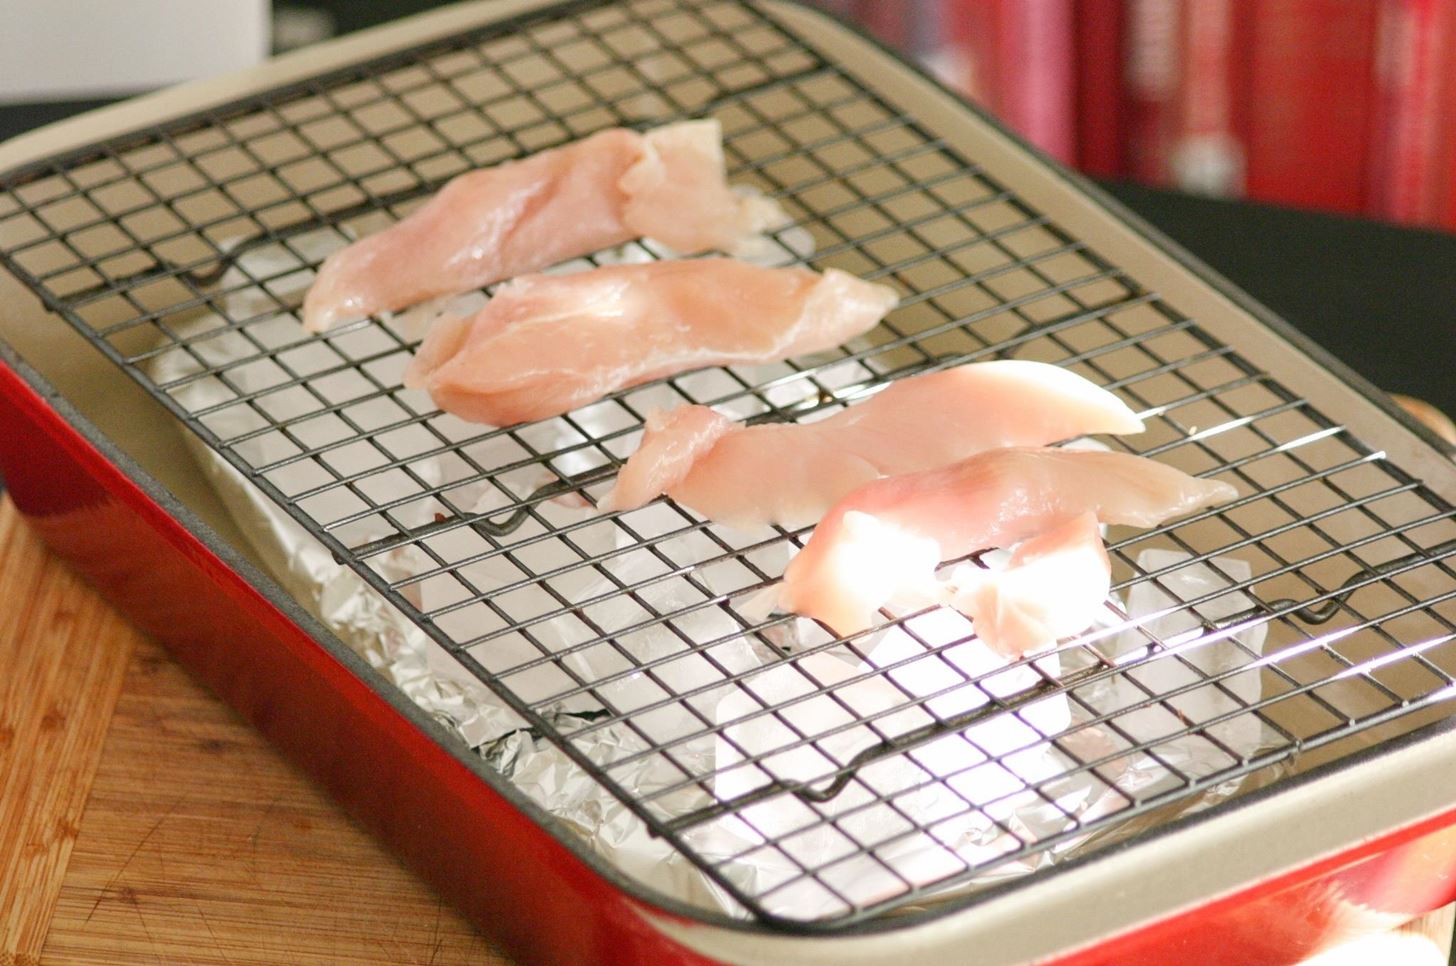
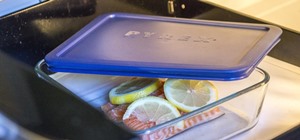
Step 5: Add Your Meat & Smoke
Place a cooling rack or meat rack on top of the ice, and then place your meat on top. Your cold smoker is now complete!
To use the cold smoker, place it over a burner (or two) on your stove, and turn it on medium heat for about 15-20 minutes, or until the ice has melted. As the wood chips heat, smoke will seep through the foil perforations and into the ice. The ice will cool down the smoke before it hits the meat, which allows the flavor of the smoke to land on the meat without the heat doing so. As a result, you'll have smoky raw meat, just ready to cook up.
You can go beyond 15-20 minutes if you want, but never go over an hour, especially if your raw meat has not been cured, salted, or fermented beforehand. To get really serious with this technique, you can make sure that the ambient cooking temperature (add a grill thermometer to the pot/pan before starting) never gets above 100ºF by adding more ice on top of the wood chips. But to play it safe, we recommend sticking to the 15-20 minutes if you plan on cooking immediately after.
To Cook Immediately or Save for Later?
It is important that you cook your meat as soon as you've finished smoking it, especially if you have not cured, salted, or fermented the meat beforehand. Again, this is to reduce the amount of time that your uncooked meat is at room temperature (and in that microbial danger zone).
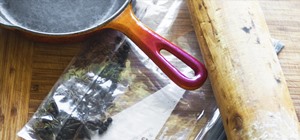
If you want to save it for later, however, you need to flash-freeze it, as placing the meat in the freezer will not bring the temperature down quickly enough. Don't worry—flash-freezing is not a lot of extra work!
Simply place your meat into a resealable plastic bag, remove as much air as possible from the bag before sealing it again, then submerge the bag in a bowl full of heavily iced water and let it sit at the bottom for at least 45 minutes. Then store the meat in your fridge or freezer (fridge if you'll be using it within a day or two, freezer if you'll be waiting any longer to use it).
Of course, nothing beats a true cold smoker if you have one. But most people don't, and even if you do, you probably don't want to spend hours smoking your food. So try DIY cold smoking; you'll be done in 20 minutes, and your food will be delicious.
More Hacks You'll Enjoy:
Just updated your iPhone? You'll find new emoji, enhanced security, podcast transcripts, Apple Cash virtual numbers, and other useful features. There are even new additions hidden within Safari. Find out what's new and changed on your iPhone with the iOS 17.4 update.


Be the First to Comment
Share Your Thoughts