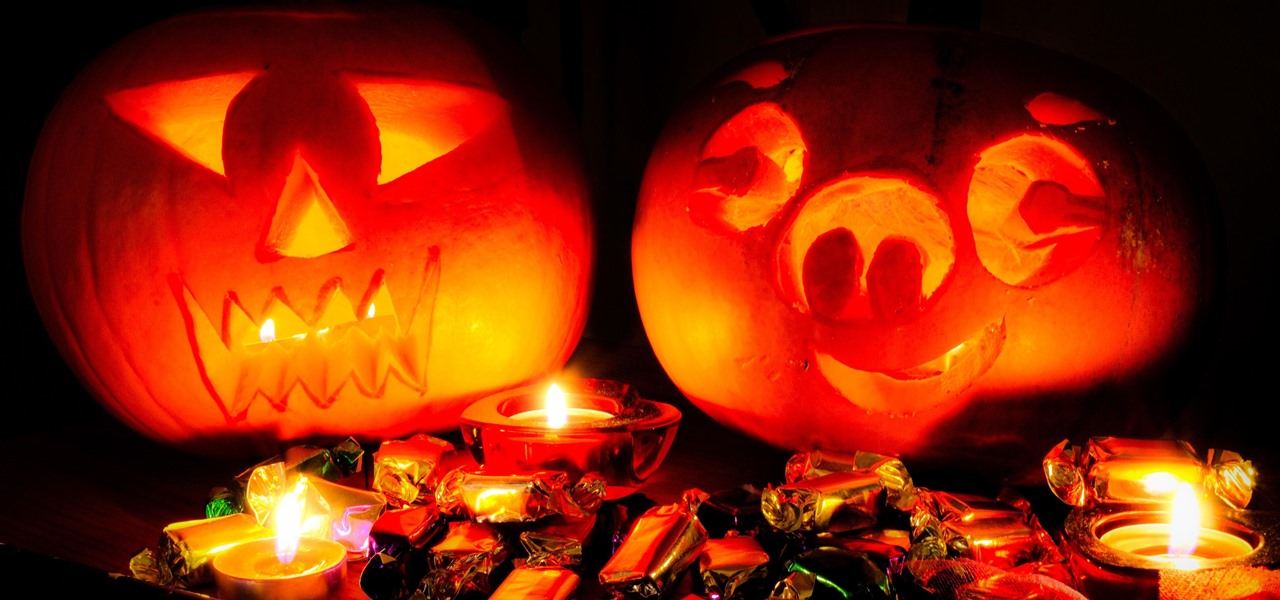

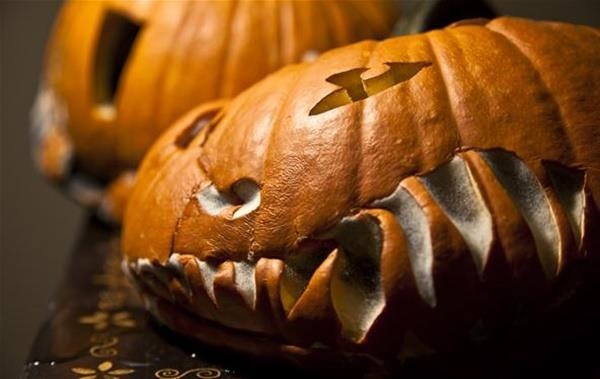
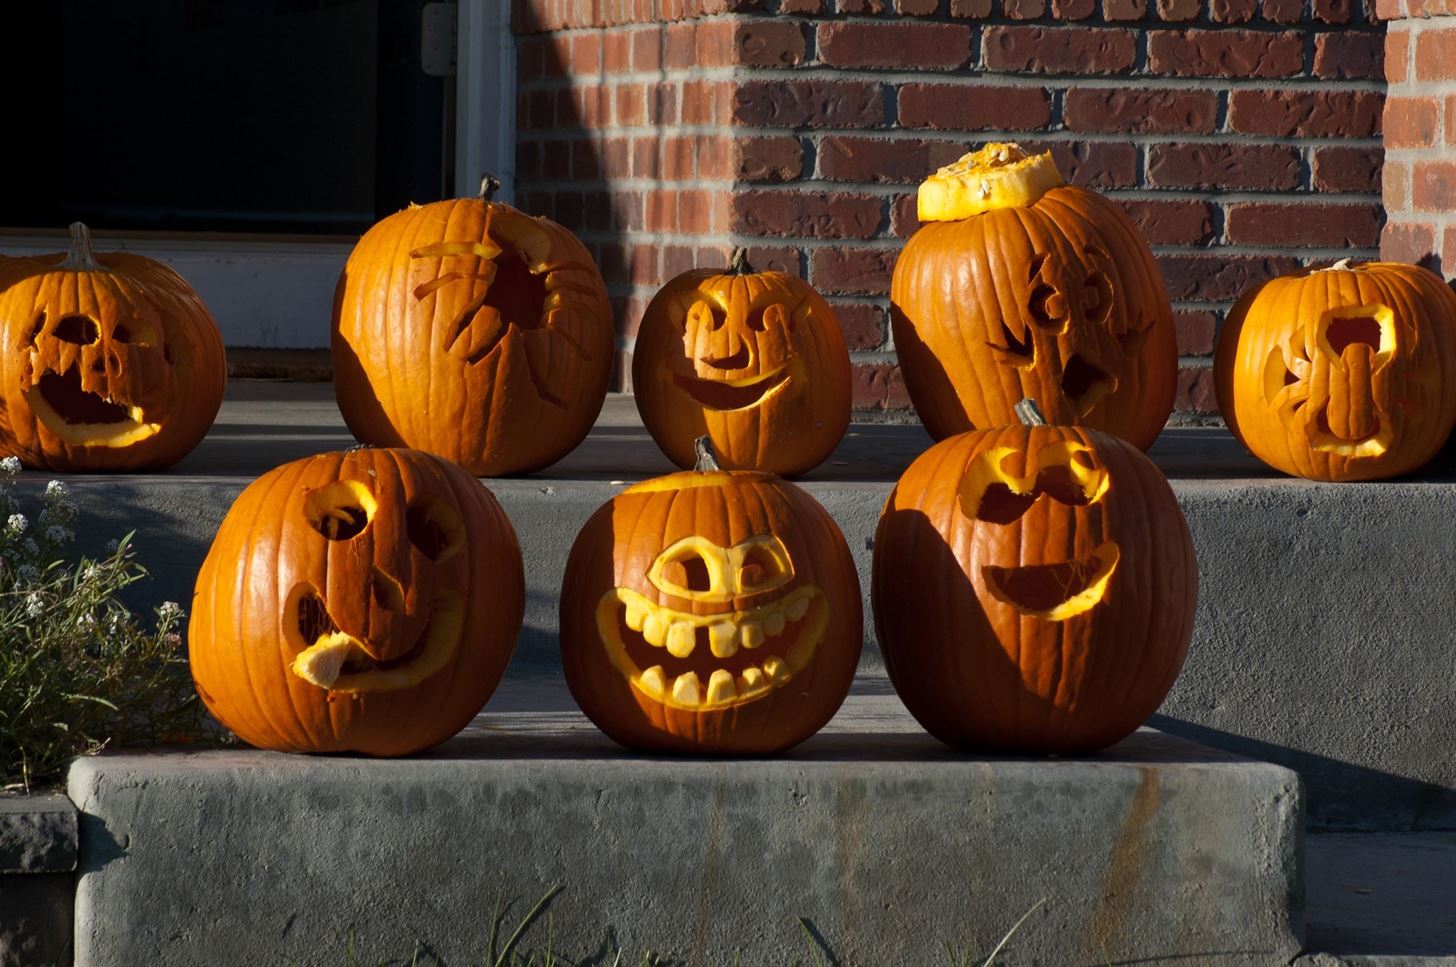
Pumpkin carving and decorating is a favorite October pastime. After you've carved an amazing design or face into a pumpkin or two, you want to show it off through your window or set it out on your porch for the neighbors to see.
But, without knowing the tricks to save your holiday pumpkins, they can turn slimy, moldy, and mushy in as little as three days.
Don't let that happen — let everyone see your original masterpiece, not a mushy, sunken, sad version.
So, we here at WonderHowTo scoured the web to discover all the tips and tricks to find out how to make your carved and uncarved pumpkins go the distance — to Halloween and beyond!
Read on to find out what worked best, what didn't, and how to have the best looking jack-o'-lanterns in your 'hood.
Just keep in mind that if you live in an area with high humidity or lots of rain, your carved pumpkins won't last as long as those in dryer environments.
Method 1: Soak It in a Bleach Solution (The Winner!)
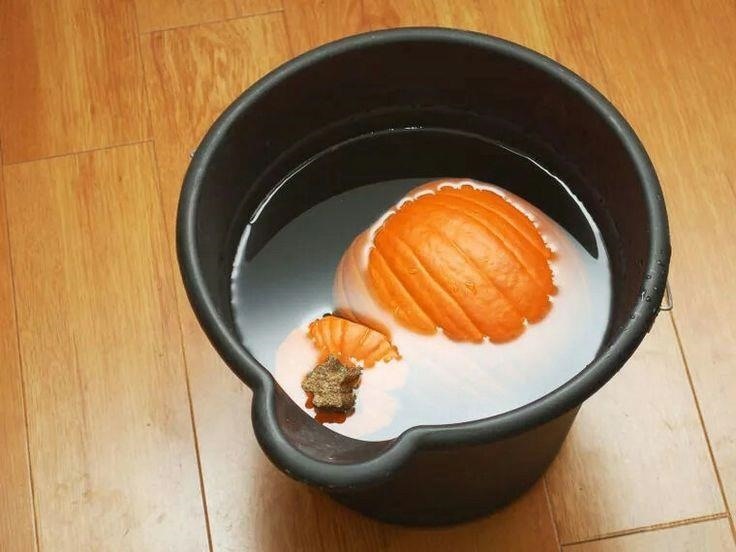
A dunk in bleach is an easy and effective way to keep your carved pumpkins from molding for up to seven days. The sodium hypochlorite kills microorganisms that make pumpkins rot and dries out the pumpkin.
You'll need:
- Bleach (buy on Amazon or Walmart)
- Water
- A bucket or container large enough for your pumpkin to fit inside (if you don't have something around the house, try these from Amazon or Walmart)
- Your carved pumpkin
The steps for making the solution are super simple:
- After you have carved your pumpkin, rinse it out with water to get rid of excess strings and gunk.
- Take a large bucket or tub and fill it with three gallons of water.
- Stir three teaspoons of bleach into the water.
- Dunk in the pumpkin. Be sure to hold it down as it will try to float. The entire pumpkin should sit in the solution for two minutes. You might want to wear gloves, too.
- Remove from the solution and let the pumpkin air dry.
You can find more information at Clorox's website. It's also interesting to note that over at My Science Project, a bleach-treated jack-o'-lantern lasted for up to ten days with only minimal decay.
Some people also spray their carved pumpkins with a bleach solution daily, instead of doing the big dunk. Regular spraying will also work, but your pumpkin will probably decay quicker. It won't rot as fast as an untreated pumpkin, but it won't last as long as one soaked in the bleach solution.
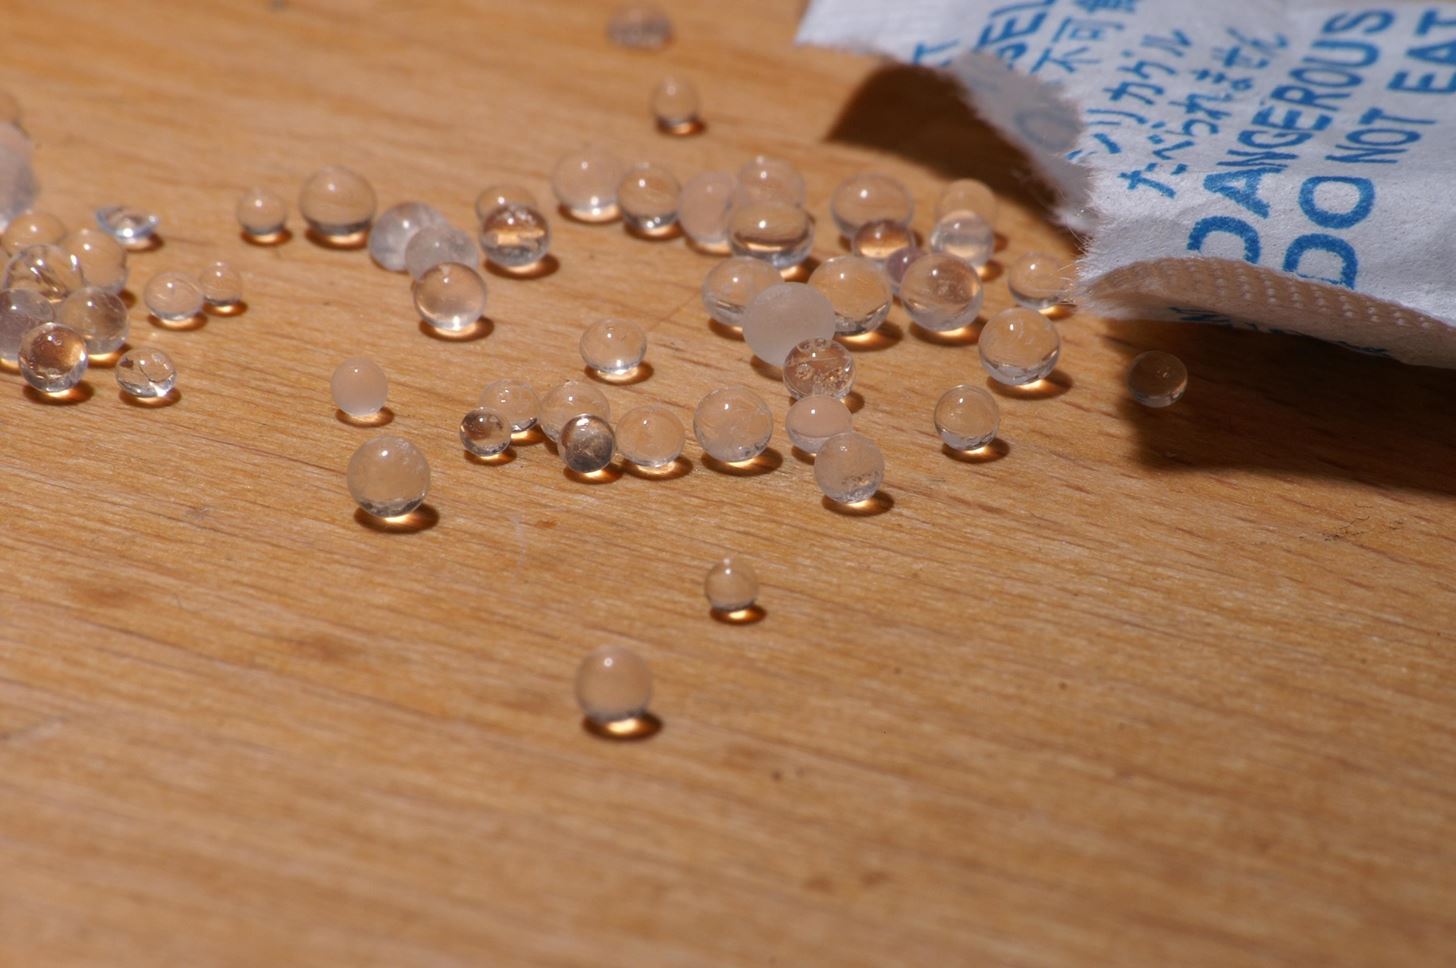
Method 2: Add an Opened Silica Packet (2nd Place)
While it may seem odd with so much airflow in a carved pumpkin, an opened packet of silica gel can keep the rot away from your jack-o'-lantern. Mental Floss compared a few of the methods on this list, finding that the bleach solution above and an opened silica packet were the best at prolonging the life of a carved pumpkin.
Since silica packets are a desiccant, it's no surprise they work well. They absorb moisture and keep things reasonably dry if it's humid out, and a non-moist carved pumpkin means less mold growth and less drooping.
Method 3: Spray It with ... Pumpkin Spray
Using a specialty designed pumpkin preservative is probably the easiest solution available. Pumpkin Fresh is specifically designed to prevent mold on your pumpkin, whether it's carved or whole. You can order it online or find it at your local pumpkin patch.
My Science Project describes the ingredients as containing "water, sodium tetraborate decahydrate (borax), and sodium benzoate (a preservative and fungicide). The label describes it as a 'fungicidal solution.'"
This solution is designed to keep carved pumpkins at their freshest, unlike some methods, which preserve whole pumpkins (see the final trick listed below). Just spray it all over the interior and the cutouts every day and enjoy a long-lasting jack-o'-lantern.
The Pumpkin Fresh website also offers some helpful tips to keep your pumpkins from deteriorating:
We recommend that you never display your carved pumpkin on concrete because concrete will draw out any moisture within your pumpkin which in turn will cause your pumpkin to age very quickly. It is also recommended that you use cool artificial lighting for illuminating your carved pumpkin. A lit candle used for illumination will dry out your pumpkin prematurely.
Method 4: Spray It with WD-40
Not only is WD-40 great for your squeaky doors, but it turns out it's also great for pumpkin preservation. How and why does it work? The company famously keeps its ingredient list a secret. However, WIRED Magazine sent a bottle of the stuff to a lab and broke down the ingredients within.
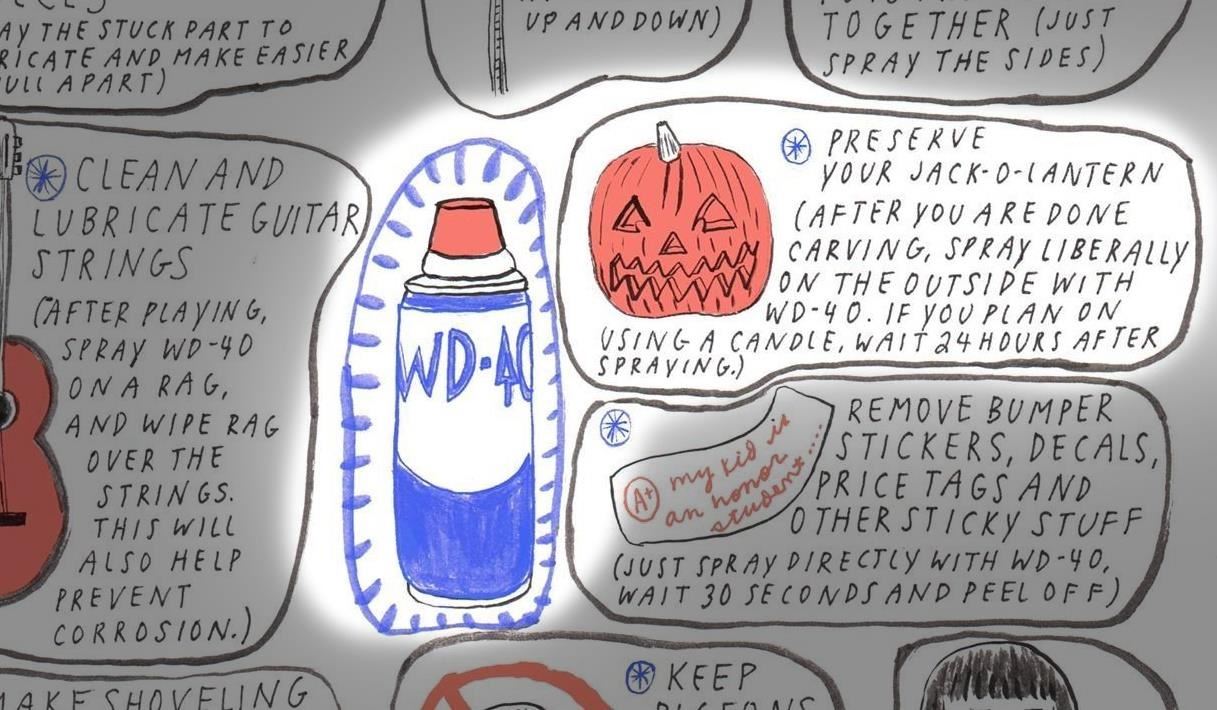
It turns out the main ingredient in WD-40 is mineral oil — the same stuff in Vaseline (see below). So that's what's keeping your pumpkins hydrated, protected from moisture, and fresh looking. It also contains several alkanes that are water-repellant and freeze-resistant. So go forth and use it to preserve both carved and uncarved pumpkins. The directions are simple:
- Grab some WD-40 (try Amazon or Walmart if you don't have any around the house).
- Spray all over your uncarved pumpkin to keep it looking shiny and new.
- For carved pumpkins, spray inside and outside, making sure every part is saturated.
Keep in mind that mineral oil is flammable, so you may want to be cautious about putting a lit candle inside. Some some folks say they've never had to deal with a jack-o'-lantern en fuego. But we recommend you play it safe and grab a battery-operated LED pumpkin light ($9.90 on Amazon) to light your jack 'o lantern.
Also, this method, along with the next few, won't work as well as the bleach and silica ones above, since there is more moisture present.
Method 5: Rub It with Petroleum Jelly (aka Vaseline)
Petroleum jelly is a great way to keep your carved pumpkins from drying out and getting that wrinkly look. It's water-repellant, so it seals in the natural moisture while keeping outside moisture away.
- Grab some petroleum jelly (try Amazon or Walmart)
- Spread the petroleum jelly inside your pumpkin and around all of the cut out areas.
- Reapply as necessary.
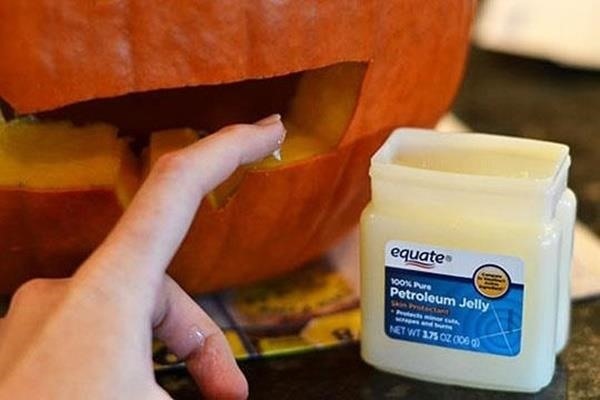
Extreme Pumpkins makes a good point, though: spreading petroleum jelly on a pumpkin is a pain. We suggest you put on a disposable latex glove so you don't have to goop up your hand, and you can slather the stuff on with minimal mess. That goes for the method below, too.
Method 6: Spread on Some Vegetable Oil
If petroleum jelly sounds unappealing to you, you can also use a vegetable-based oil such as olive oil to do the same thing.
Most of the oils you have in your kitchen, like almond, avocado, and sesame, are occlusive agents — meaning that they hold in moisture, just like petroleum jelly. Apply oil throughout the inside of your pumpkin and all of the cutouts. Reapply as necessary. As with petroleum jelly, we recommend using a disposable latex glove for application to minimize the mess.
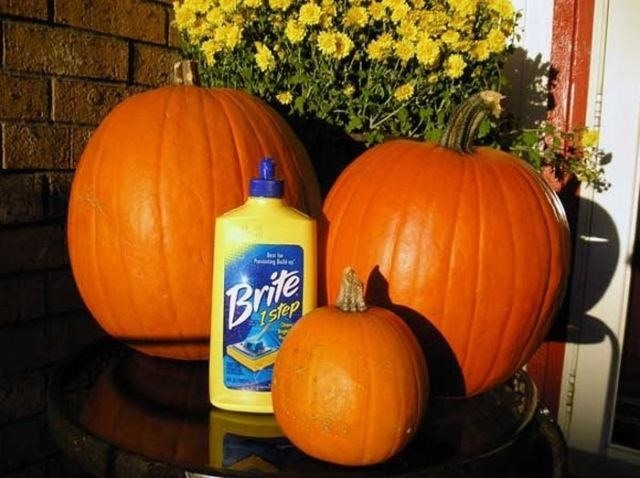
Method 7: Shine It with Floor Wax (Uncarved Pumpkins Only)
Yes, floor cleaner is an excellent preservative, but for uncarved pumpkins only. Waxing your pumpkin to a high-shine is a neat trick for those who like the look of whole pumpkin decor in your homes for Halloween and Thanksgiving. Floor cleaner will keep your pumpkins shiny and fresh for up to four weeks.
Many brands of floor wax will work to preserve pumpkins, as long as it's an acrylic liquid type of cleaner, at least according to the University of Nebraska at Lincoln. Just apply the acrylic liquid floor cleaner to a moist towel and gently wipe all around each pumpkin, leaving a thin coat.
You can't eat the pumpkin once you've treated it in this fashion, but would you have eaten it anyway? You're not likely to be using that bright-orange perfectly spherical pumpkin in cooking always. When we're talking pumpkin pie, what you're eating isn't the same kind of pumpkin as you'd put out on the stoop. But, the real differences between field pumpkin and that squash sold to you in a can of pumpkin is a matter of debate.
If you can't quite handle the thought of applying floor wax to a pumpkin, Stephanie Lynn has another solution for preserving whole pumpkins. Clean the pumpkin or gourd with a mild bleach solution (ten parts water to one part bleach) to kill any bacteria on the surface, then apply a little bit of petroleum jelly and buff the gourds to a high shine. You can also use plain old white vinegar and water to rinse the surface, too, since it's food-safe and kills the majority of viruses and bacteria.
Now that you have the best pumpkin preserving tricks on hand, you better get to carving! More fun Halloween food hacks await!
Just updated your iPhone? You'll find new emoji, enhanced security, podcast transcripts, Apple Cash virtual numbers, and other useful features. There are even new additions hidden within Safari. Find out what's new and changed on your iPhone with the iOS 17.4 update.


18 Comments
Damn it. I could've used this guide two days ago, stupid pumpkins.
There's always next year!
...or next pumpkin!
i just did the bleach today hopefully it last until after halloween
Just want to point out that the WD-40 option also keeps unwanted critters from eating your wonderful carved pumpkin. I started using WD-40 three years ago after squirrels and chipmunks were devouring my creations.....
ive personally tried the bleaching method before, works like a charm!
i wana try use petrlim jelly has anyone here tried it and did it work
just bought two very large ones today... its the only way to get them is to buy early... what should i do to ensure them lasting for 4 weeks?
Don't carve them right away. Not sure any carved pumpkin can last a whole month. Maybe two weeks.
ive had uncarved pumpkins last until after xmas. i used a lil bit of olive oil after a vinegar wash they were outside on my steps the entire time in all weather. sun, rain, and snow
I live in a very hot and humid place. I got my pumpkin yesterday, any ideas if keeping it whole will last at least till the 31st?
Kids also want to paint it would I need to wash it with vinegar before painting it? And after painting it can I use WD-40?
Would this work for pumpkins that have already started to get mushy?
Probably not. It might slow it down a bit, but once it's started going bad, it's better to just say goodbye.
If i do a bleach solution after carving the pumpkin, so how long does it last? I mean how long does it still look great? ????
What on to use wd-40 or bleach
After reading all these suggestions, I opted to try a liberal coating of cooking spray inside and on any exposed areas of the carved pumpkin. It should do the trick! I will post results after the season.
Would you please consider putting a disclaimer at the top to warn people not to use bleach if they're displaying their pumpkins where wildlife can access them? Pumpkin is a food to many animals and bleach would be very bad for them to eat
Bit of advice for anyone that uses the bleach solution. Make your hole in the bottom of the pumpkin/ gourd instead of the top. This prevents excess solution from sitting in the bottom of your pumpkin/ gourd causing it rot faster. Which is the problem I ran into.
Share Your Thoughts