
Once upon a time in America, there was coffee and there was decaf. That's it. No capuccinos. No espressos. And certainly no Starbucks. Coffee was just coffee, something that you bought at a gas station or donut shop. If you made it at home, it was either in a metal pot or instant coffee.
This isn't the case anymore, thank goodness. There are lots of coffee flavors to explore, including the things we add to it: milk, steam, foam, and whatever sweetener is in style. Sure some people think it's ridiculous to have so many flavors of coffee. Was there ever really anyone clamoring for a pumpkin spice chai latte? Apparently so. And that may not be a bad thing.
The bad thing is how much some places charge for what is essentially coffee and milk. Sure, the milk is heated and changed into foam, but does that really justify the extra three bucks some places charge? I know milk is expensive, but c'mon!
There's a quick way for you can do exactly what you're paying for at that fancy coffee shop, and you don't need a bulky espresso machine to do it. You just need some things that you probably already have. And the best part, the methods outlined below are useful whether you have a big kitchen or live in a small dorm room.
The Science of Milk Frothing
Milk is such a part of our lives that we rarely consider what it actually is. The secretion of the mammary glands of a cow, it's comprised mainly of fats, sugar, proteins, and bacteria.
For years we've been told that milk is good for you, fortified with Vitamin D, calcium, and potassium, but the natural sugar in milk, lactose, requires an enzyme to digest that many people don't have. These folks are known as lactose intolerant and there's a wide variety of alternatives that are available for them that come close in taste, texture, and mixability. These include soy milk, almond milk, and milk from other animals (like goat's milk).
For the purposes of this post, however, we will only focus on cow's milk since that contains the necessary fats for frothing. Lowfat and skim milk are apparently the best to foam with, but generally lack the creamier texture of whole milk. It's all a matter of taste, and I encourage you to experiment with the kind of "milk" that you like and can consume.
The fats in milk are only half of the equation. An equally important component is the temperature of the milk. At 95°F, the air in the milk is able to hold the bubbles.
No thermometer? No problem. The best description I've read to determine what is around 95°F is to feel the cup with your hands. If it's cold, it's below your body temperature. If it's hot, then it's right around your body's temperature of 98.6°F. If the cup is too hot to hold, then you've overheated your milk and the foam won't stay.
America's Test Kitchen recommends a minute in the microwave to heat milk to its right temperature. This is what I do every morning. While the milk heats, I grind my beans. You can also heat milk in a pan or pot, but be sure to keep stirring it otherwise a skin of fat develops on the surface. Stainless steel pots and pans work best because the metal is non-reactive, but beware of scorching the bottom. One site recommends leaving a tablespoon of water in the pot to keep the milk from clinging to the bottom.
Finally, remember that foaming is basically bubbles trapped in the milk. When we say foaming (or frothing), we're finding a way to introduce air and trap it within the milk. Our friends over at Serious Eats explain foam as a subcategory of dispersions, the evenly spread mix of one material into another. When a gas is dispersed into liquid, it's called a foam and it can be measured.
If you've ever had a pint of Guinness or a creamy milkshake, then you've felt the rich velvety texture of a foam that's less than 30 microns in size. Bubbles larger than that can feel grainy or, well, bubbly.
The viscosity of a liquid matters, as well. That's the force it takes to move a solid through a liquid. Think of molasses versus soapy water. None of this matters too much in your coffee, but keep all this in mind as you're making your foam. With practice you'll be able to see where you're going wrong just by looking. Remember, it's not the size of the bubbles that matter, but the magic inside them!
Take It East, Get a Frother
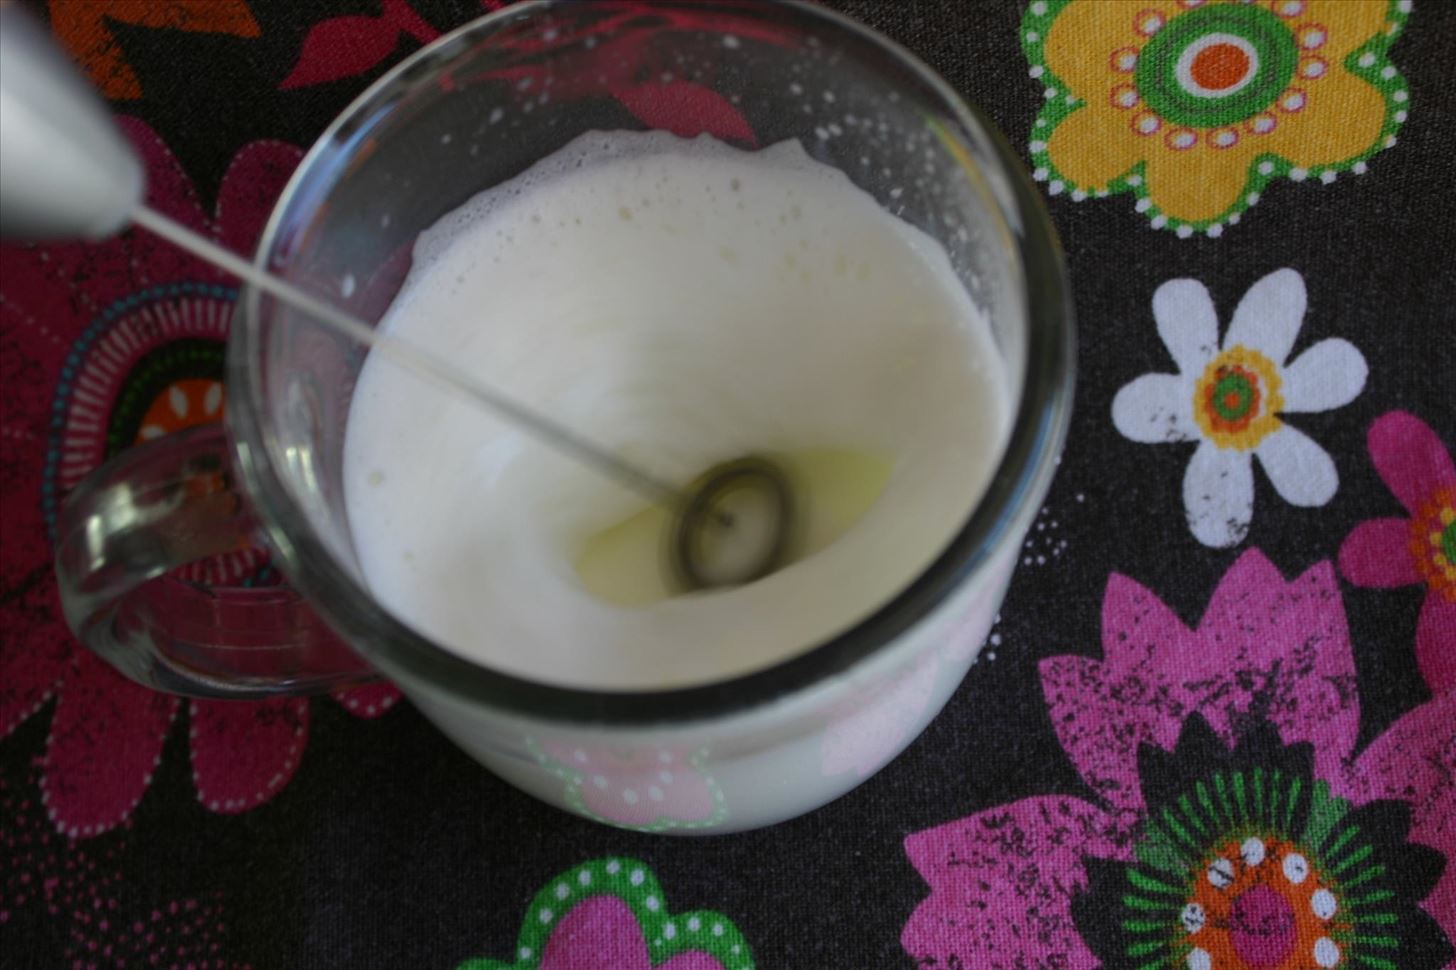
Let's get the easy one out of the way first. Assuming you've heated your milk to the right temperature—hot, but not too hot that you can't hold the cup—there's one simple tool that is now available in virtually every large grocery store, Amazon, Walmart, and even IKEA: a handheld milk frother.

They range in price from about $6 on up. Any are fine, and they basically work as a small but powerful whisk. In cooking, a whisk is meant to break down a liquid and introduce air as quickly as you can whip your arm. But with a frother, which is battery-operated, you can achieve your foam in seconds and then pour it into your coffee. There's also an electric milk frother that looks like a milk pot.

Your French Press Works, Too
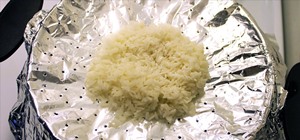
If you're lacking the space or desire to own a frother, there are other ways to froth your milk. One way is to use a French press. While there's some controversy as to whether or not a French press makes a good cup of coffee (I come down on not, since the resulting coffee has sediment that gets through the filter and leaves the coffee tasting bitter), it undoubtedly makes a great milk foam. You can pour the heated milk in or heat the milk in the glass flask. A few plunges and you've got your foam!
Shake It Till You Make It
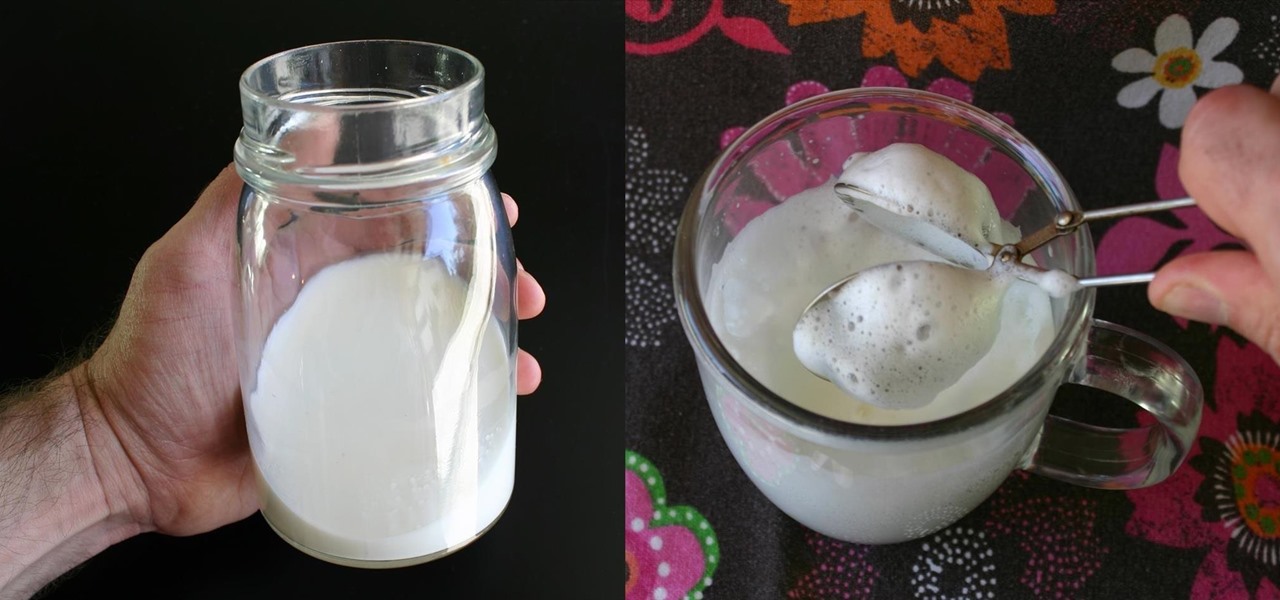
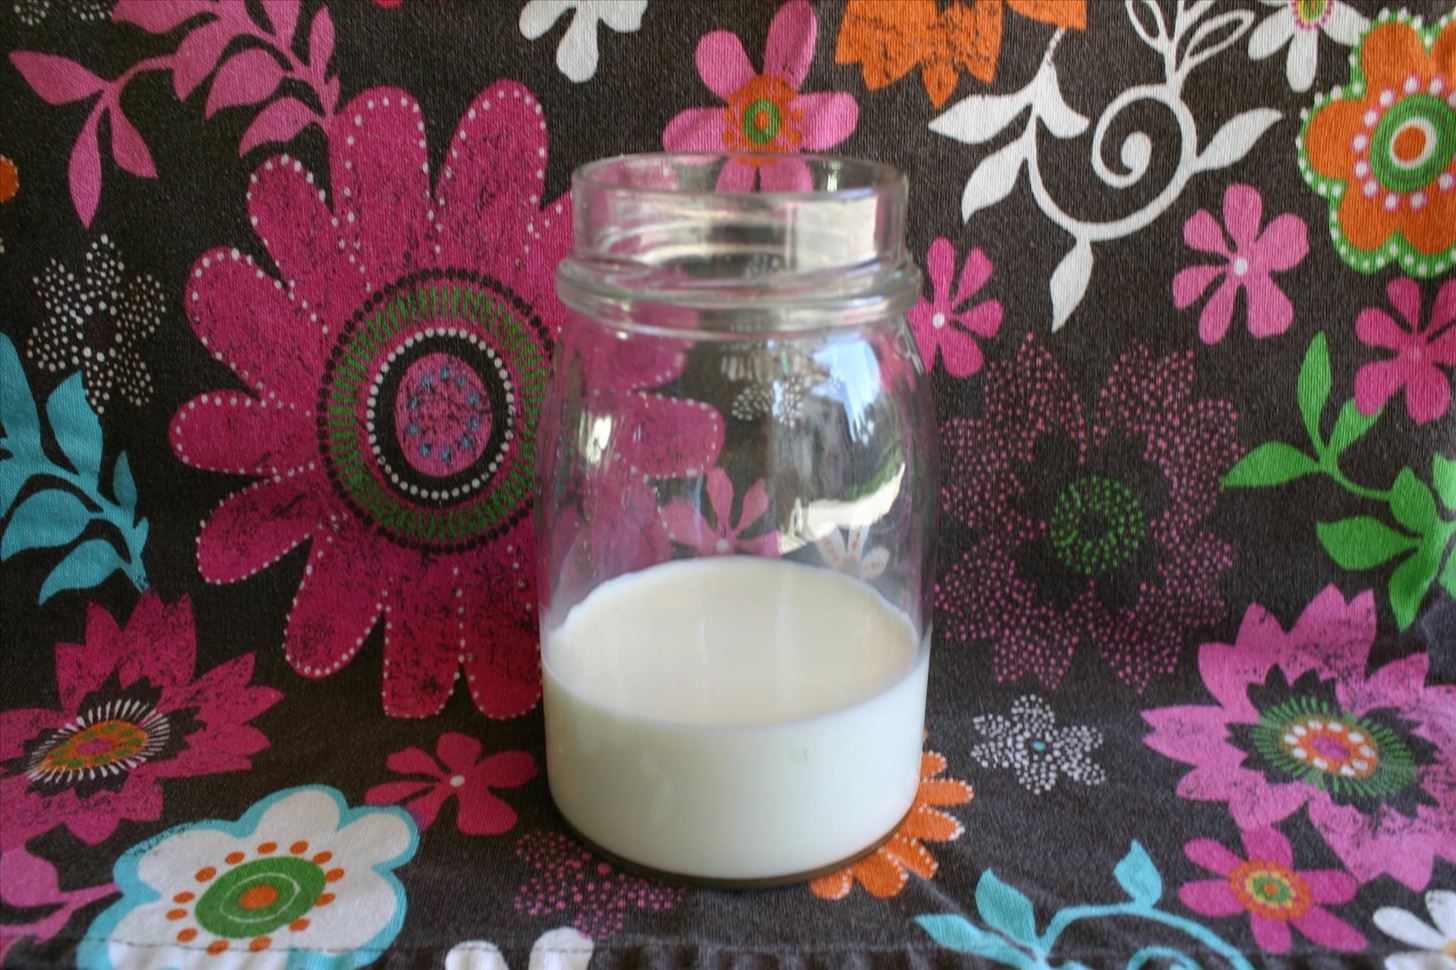
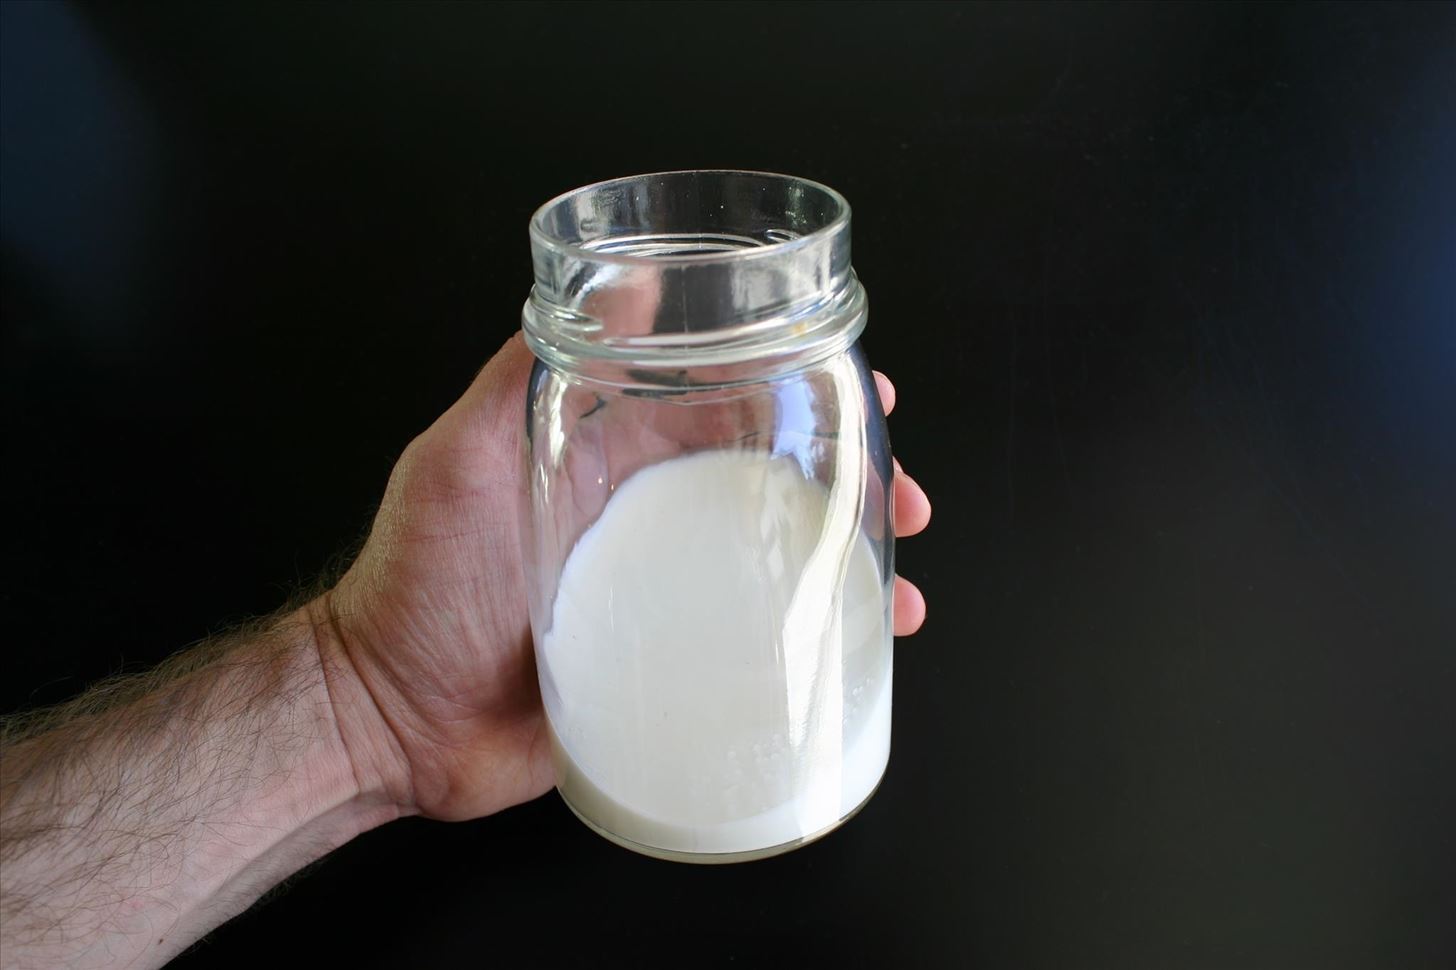
Perhaps the easiest way is to simply heat your milk in a microwavable jar and then cover it. Shake it vigorously and you'll get your foam. This is especially helpful if you don't care about putting the foam to top your coffee drink as in a cappuccino (which means "little hood" in Italian, the hood being the layer of milk foam) and just want the foamy consistency of the milk in your coffee. I've even purchased a 32 oz. mason jar with a handle and used this as my coffee mug. I shake the milk and then drip my coffee into the foamy milk.
Be a Baller
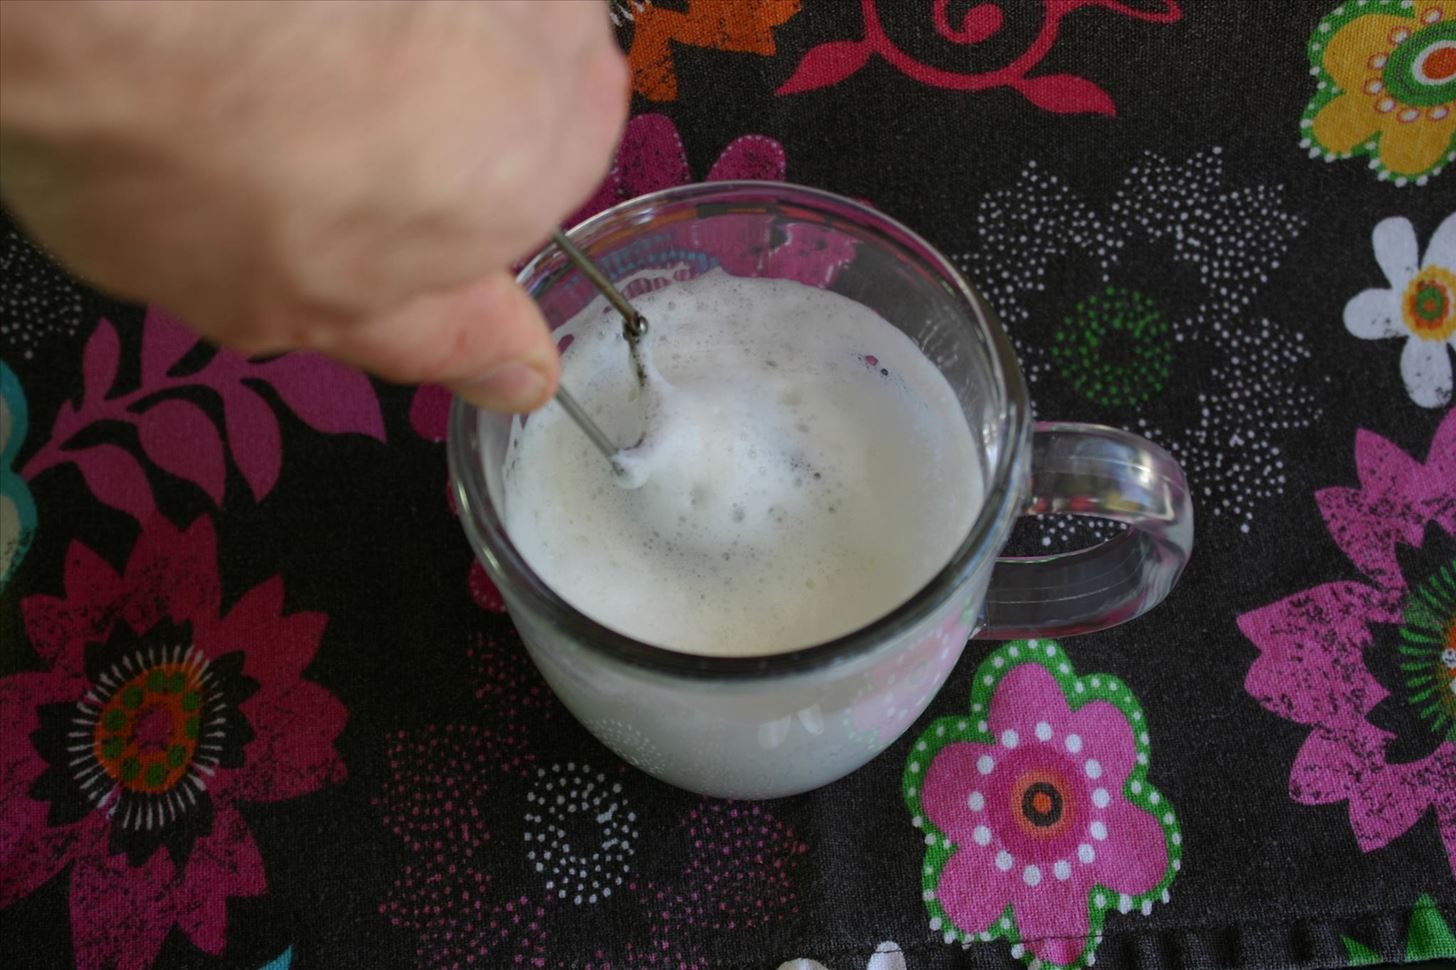
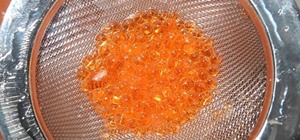
Another great frother is the squeezable tea ball infuser. This is the thing that you put tea leaves into and steep in your cup.
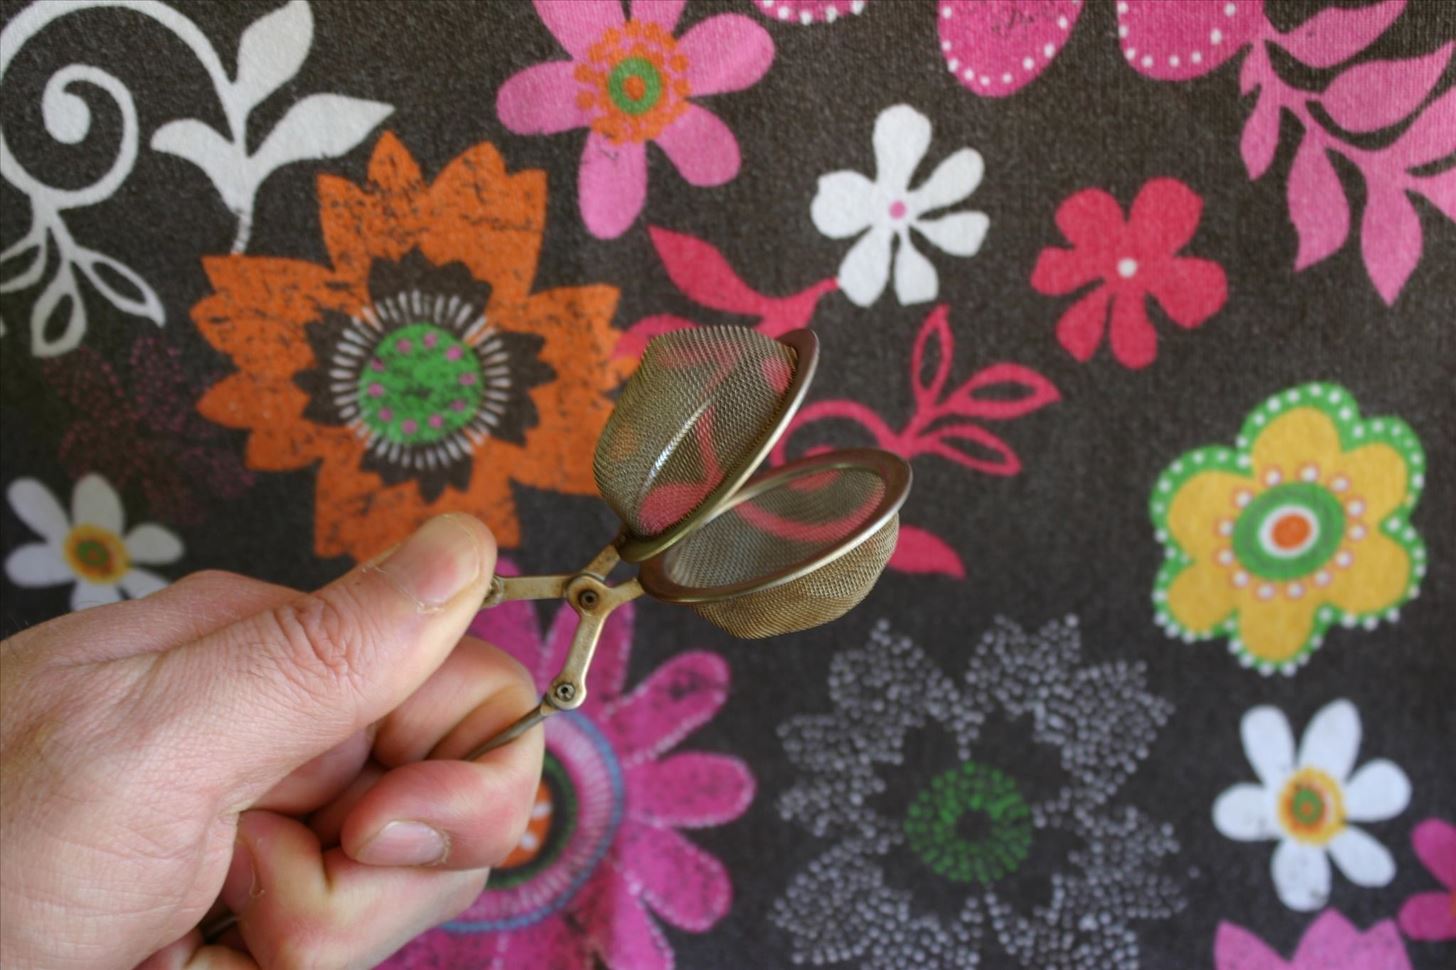
The holes work perfectly to break up the liquid and introduce air, just be sure to keep it clean as any leftover tea debris can affect the foam and the taste.

And, I'd be remiss if I didn't mention this:
Foam Makes a Great Addition to Cocktails
Especially dessert drinks and seasonal drinks. As a bartender, I've worked in many places that use milk foam as the perfect topping to coffee drinks with spirits in them. Just be sure to pair the milky flavor with other appropriate flavors. Chocolate, cinnamon, and certain fruit flavors are good, but stay away from bitters and citrus. Anything citrus will make milk curdle and that's pretty gross.
By doing any of these methods with simple tools you probably already have in your kitchen, you're opening up a world of coffee-based drinks that rival anything you overpay for at a coffee shop. And when you start to multiply it by the kinds of flavors you can put in your milk, or even by the kinds of plant-based milk substitutes that are out there, you won't even blink when your visiting vegan cousin asks for a strawberry soy machiatto. You'll just ask, "do you want extra foam with that?"
Just updated your iPhone? You'll find new emoji, enhanced security, podcast transcripts, Apple Cash virtual numbers, and other useful features. There are even new additions hidden within Safari. Find out what's new and changed on your iPhone with the iOS 17.4 update.


7 Comments
I knew about the jar method, and I've been using that for a year. But, an excellent pointer - to drip the coffee into the jar, instead of pouring the milk from the jar into the coffee! I might just try that! :) I was unaware of the infuser method, that's fantastic. And I just happen to have that infuser that I don't use for tea at all lol :D
Easiest way without needing any fancy equipment (save for a whisk) that I do:
And any milk seems to work. I use 1% milk
How do u make frothed milk using jar shake technique to use in latte art?
This certainly interesting, since I didn't know how to foam milk. Yet I must say that a french press makes a much better cup of coffee than drip. The sediment he talks about is minimal and really doesn't affect flavor at all if the beans are ground with a burr grinder and not an electric blade grinder, and at the right coarseness.
Hi
I have a frother in Uk and Spain.
Using fresh semi skimmed in both countries why please do I get 4 times the froth with Spanish milk?
Thanks
The factor is the quantity of protein found in the milk. The spanish milk must just have more. In order to make the best foam, use whole milk from Cravendale in the UK. It contains more protein than others.
My handheld electric mixer came with a whisk attachment and that froths milk perfectly.
Share Your Thoughts