
As a child, you probably spent some time trailing an adult at the grocery store. You lovingly eyed the aisle with brightly colored fruit snacks, reaching for the tempting boxes, placing them discreetly in the cart only to be told, "No! That's JUNK FOOD. You can't have it."
Fruit roll-up FAIL.
But what you really should have been doing is begging that adult to make you some homemade fruit roll-ups. They taste so much better than the store-bought stuff—and are way better for you—which makes saying "no" that much harder.
We've figured out how to reproduce these childhood delights in the comfort of our own kitchen, with the help of a sweet-savvy gal named Rachel, and you can follow along below to see how to make them yourself. You can then eat them yourself, or throw them in as a school lunchbox snack for your kids.
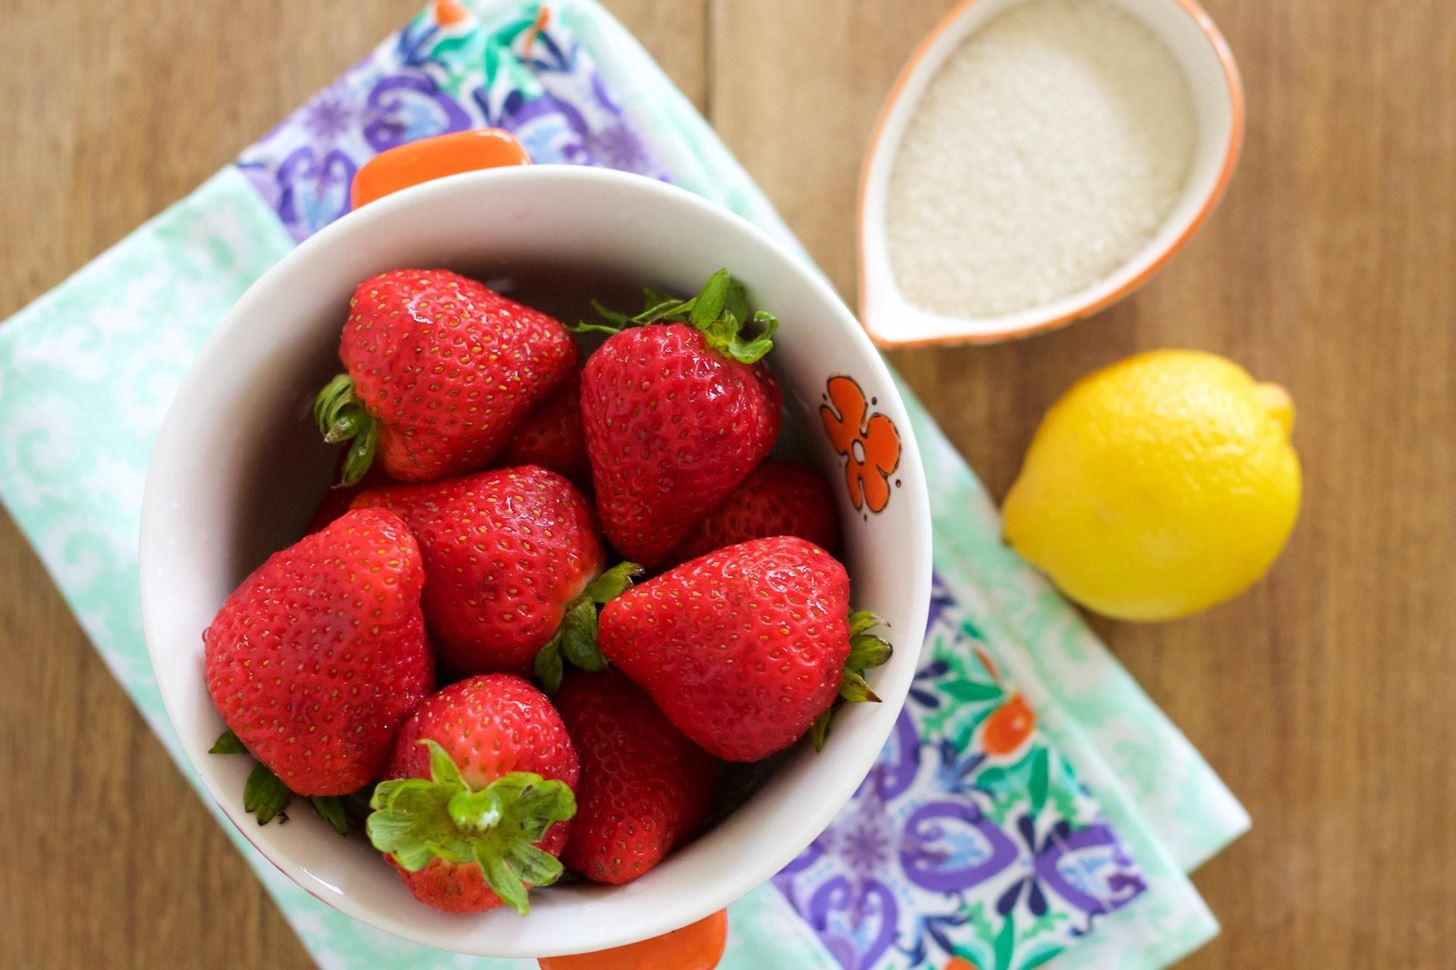
What You'll Need
- 2½ c. strawberries, hulled and cut into small pieces
- ¼ c. sugar
- 1 Tbsp. lemon juice
Step 1: Ready, Set, Mix
First, preheat your oven to 170°F. Line a 12 x 17 inch rimmed baking sheet (or, jellyroll pan) with parchment paper and spray it with cooking spray. Silicone baking mats will work well, too.
To prepare your ingredients for rolling, simply process all of them together in a food processor or blender until smooth.
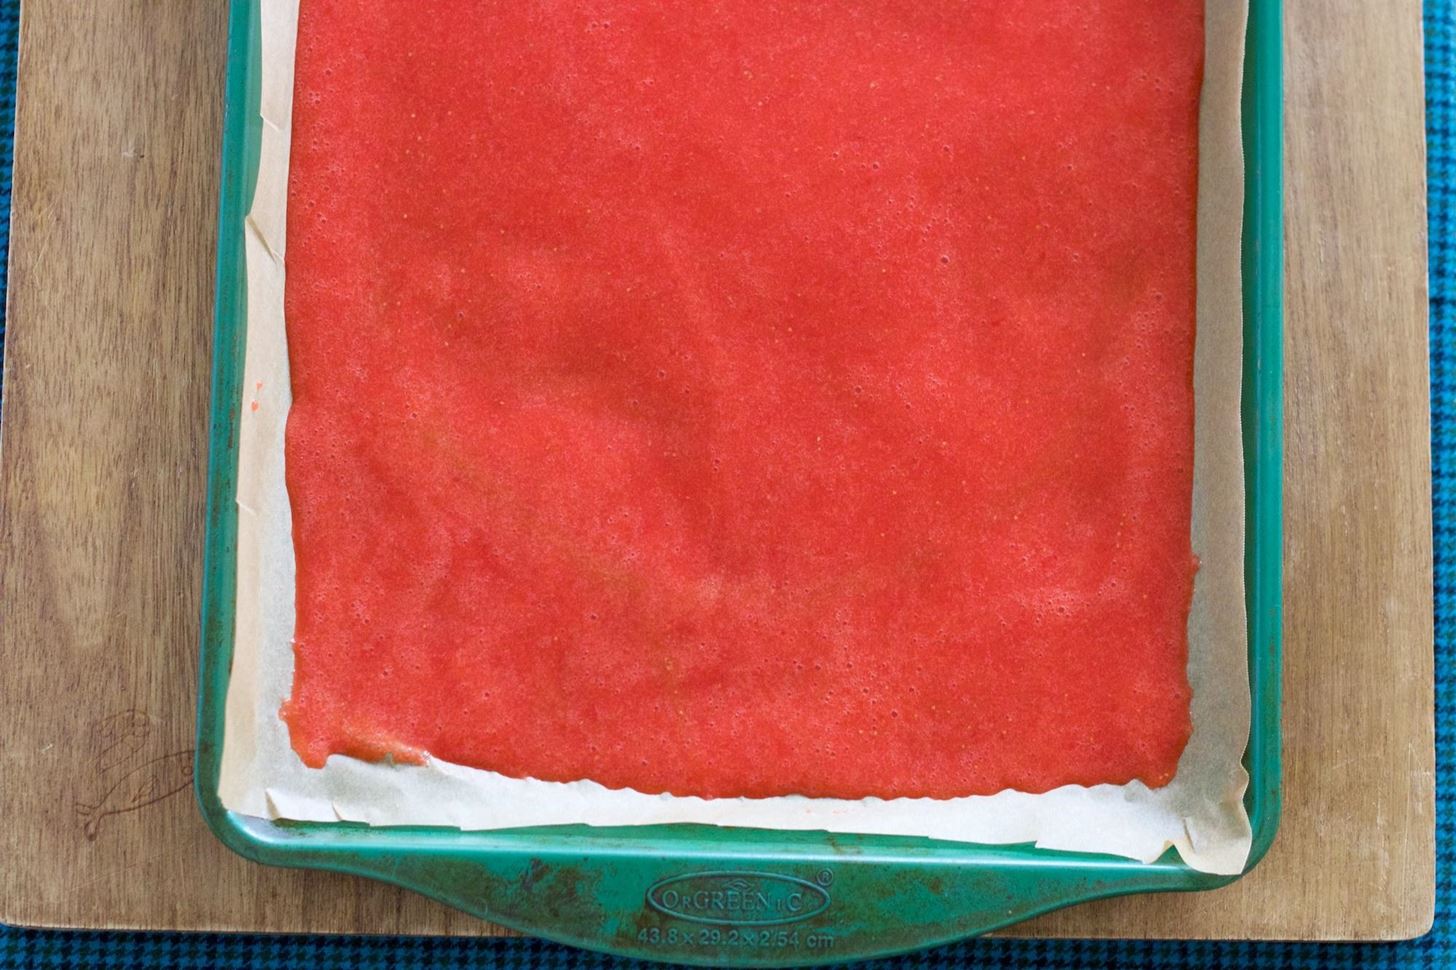
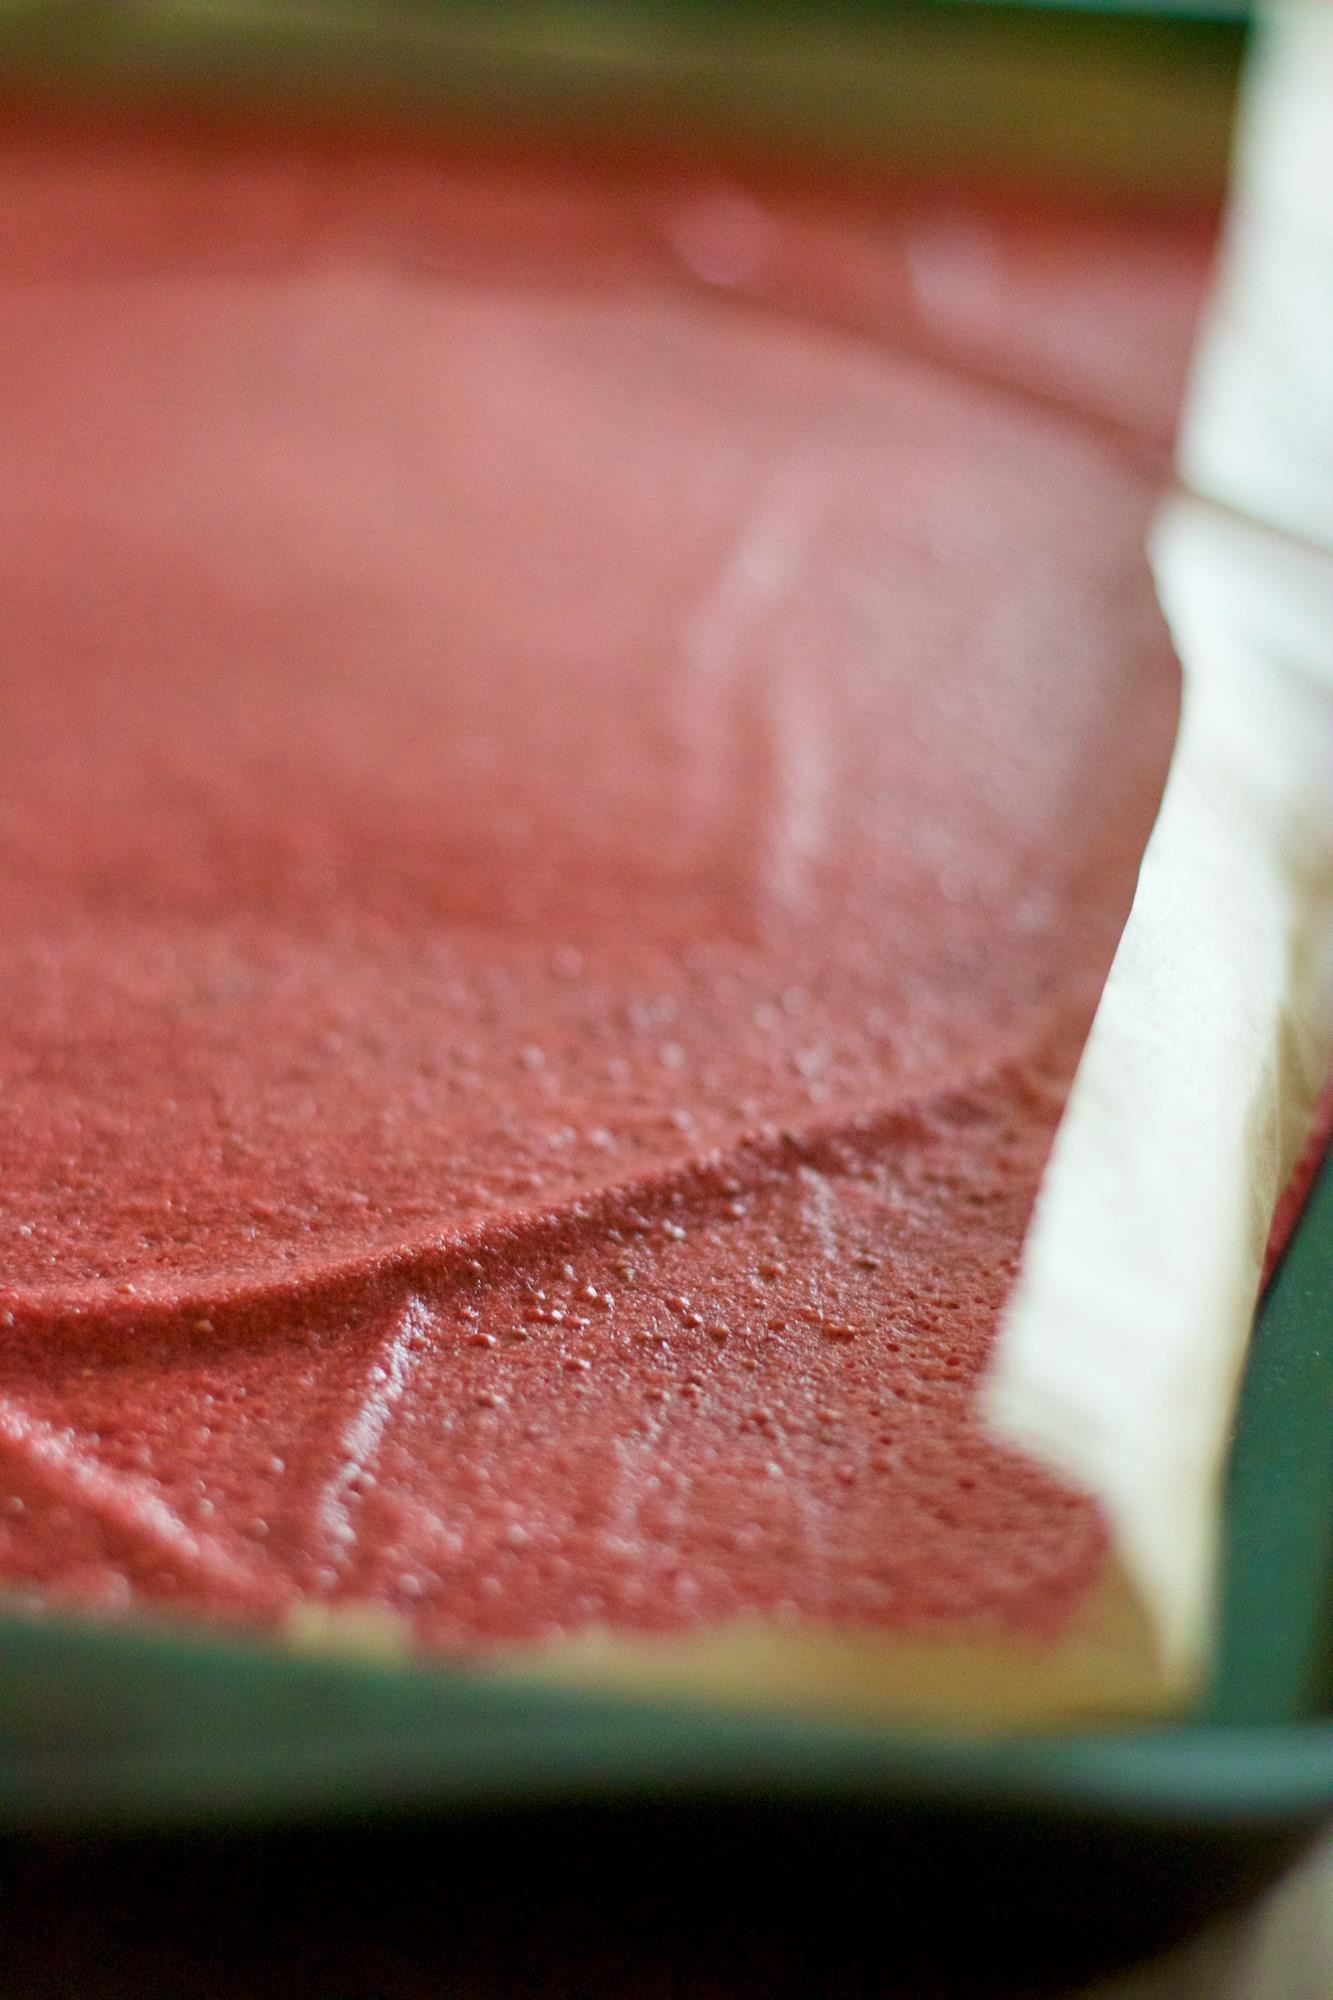
Step 2: Spread It Out
Pour your strawberry mixture onto your prepared, parchment-lined baking sheet. Make sure the layer is as even as it can be so you have a nice, flat roll-up. Using an offset spatula during this part works well to create the most even surface.
Step 3: Bake It Up!
Bake your fruit roll-up for 3 hours, until it is no longer sticky. Be forewarned that during this time, the aroma of your home may send you into a strawberry-induced haze.
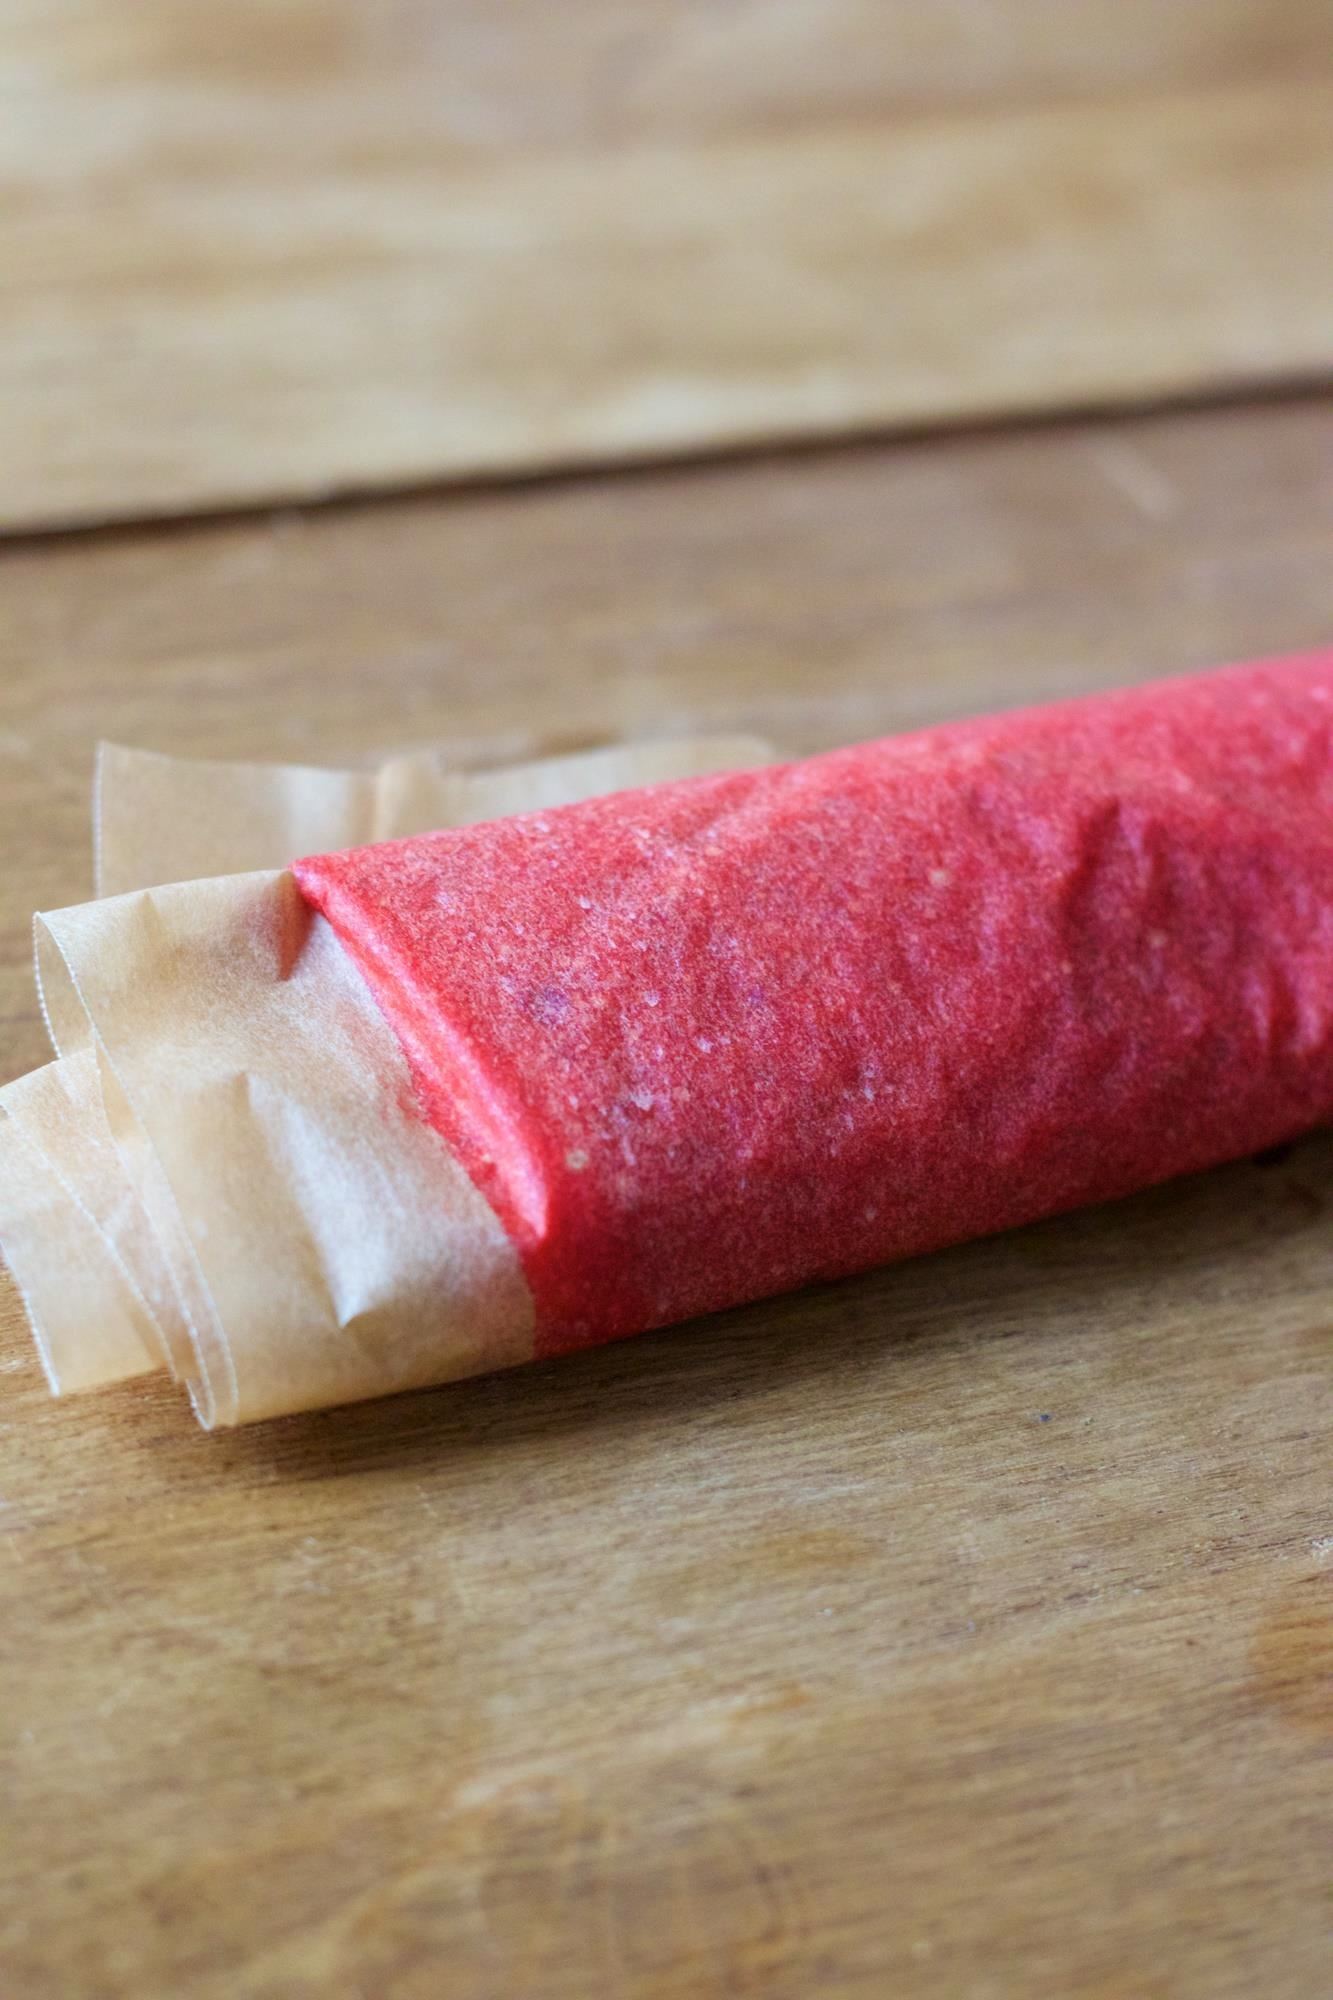
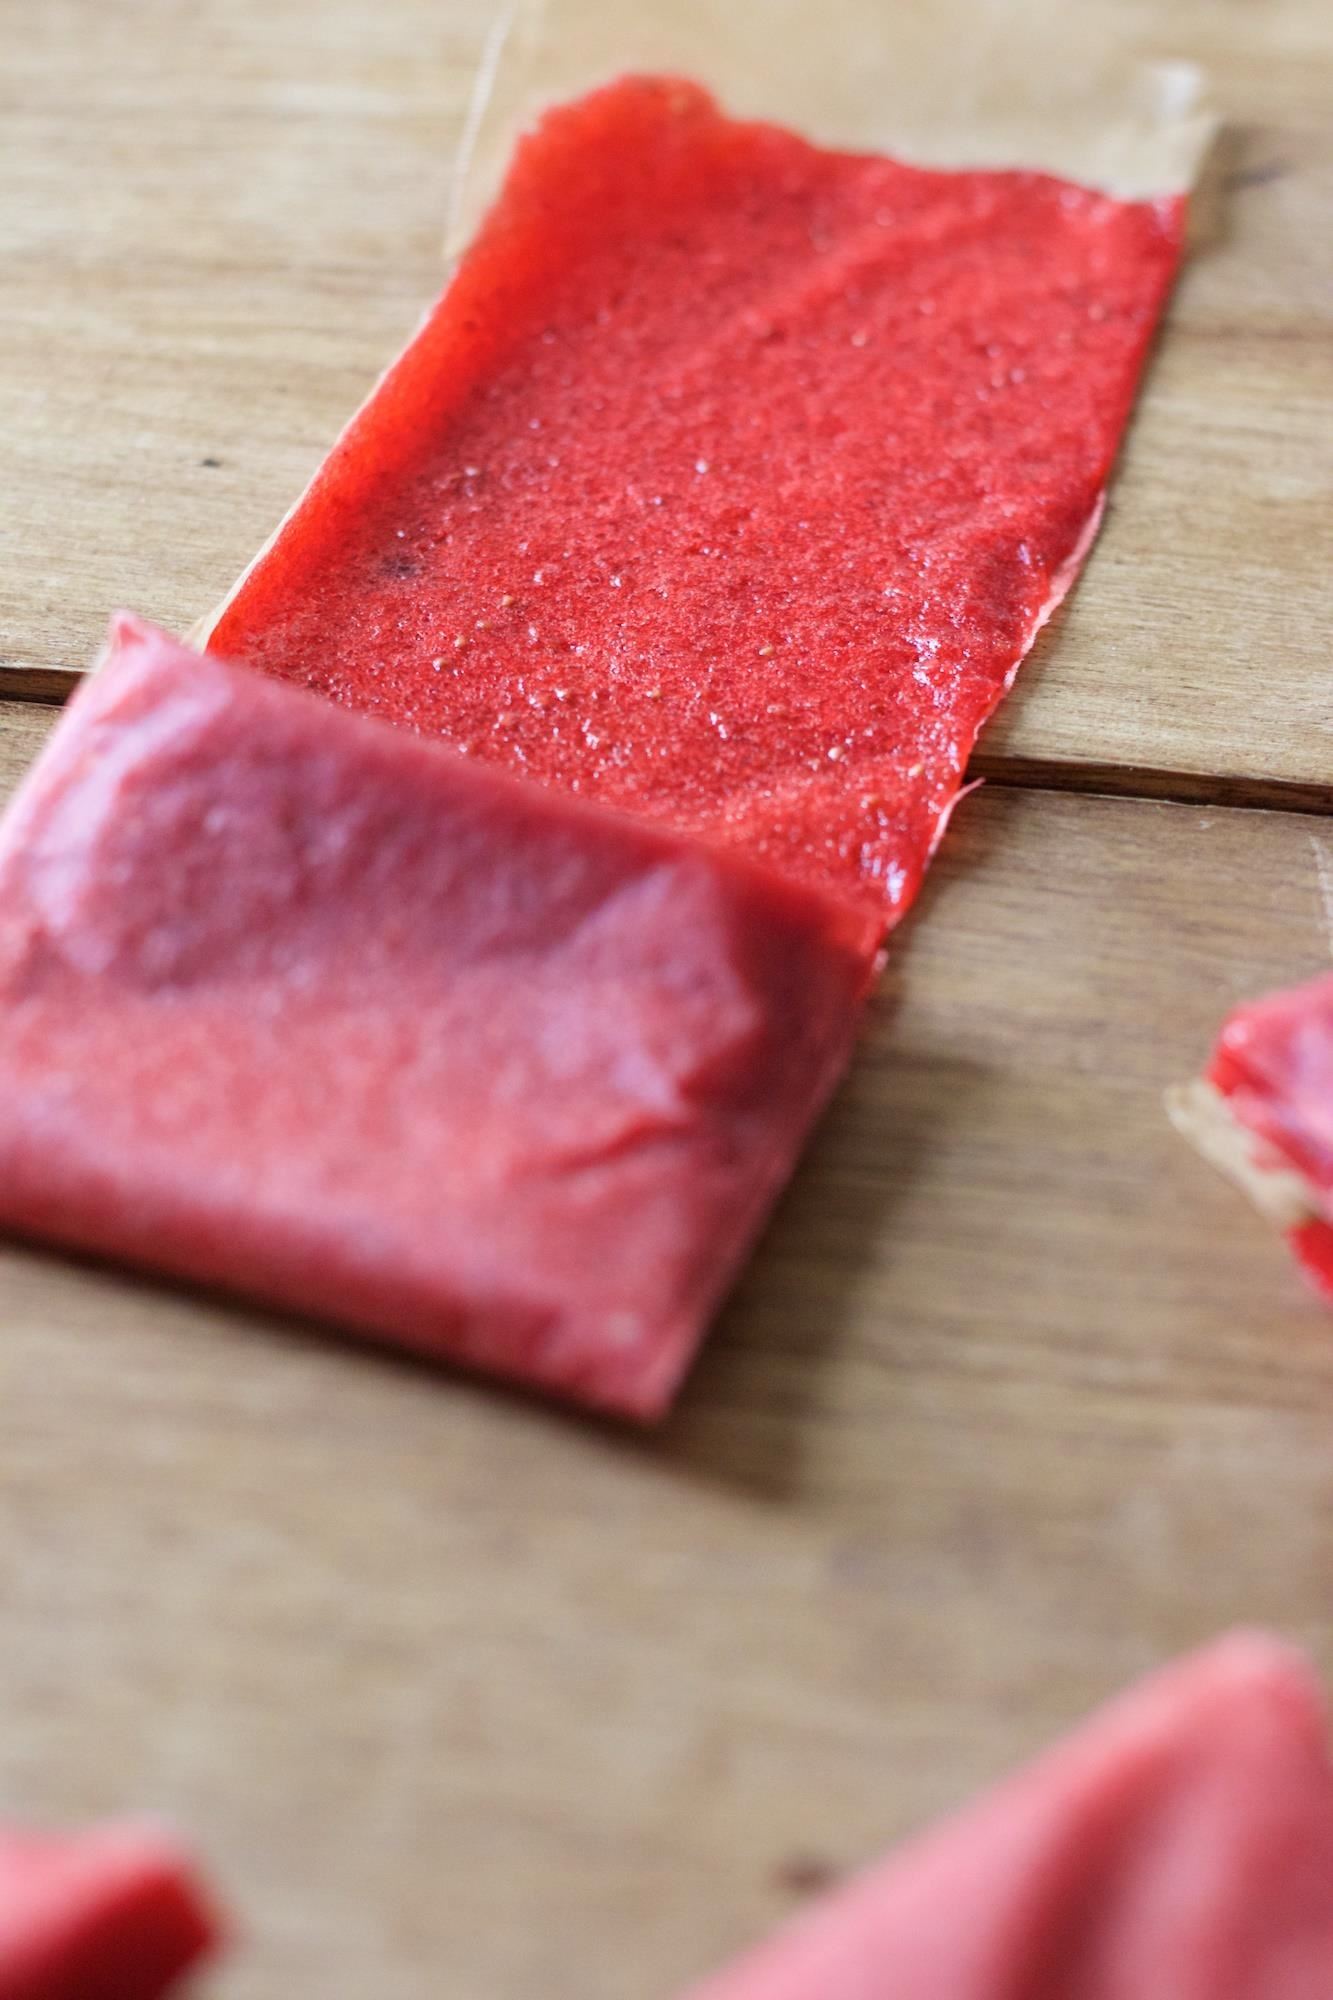
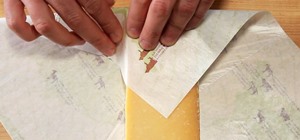
Step 4: Slice & Serve
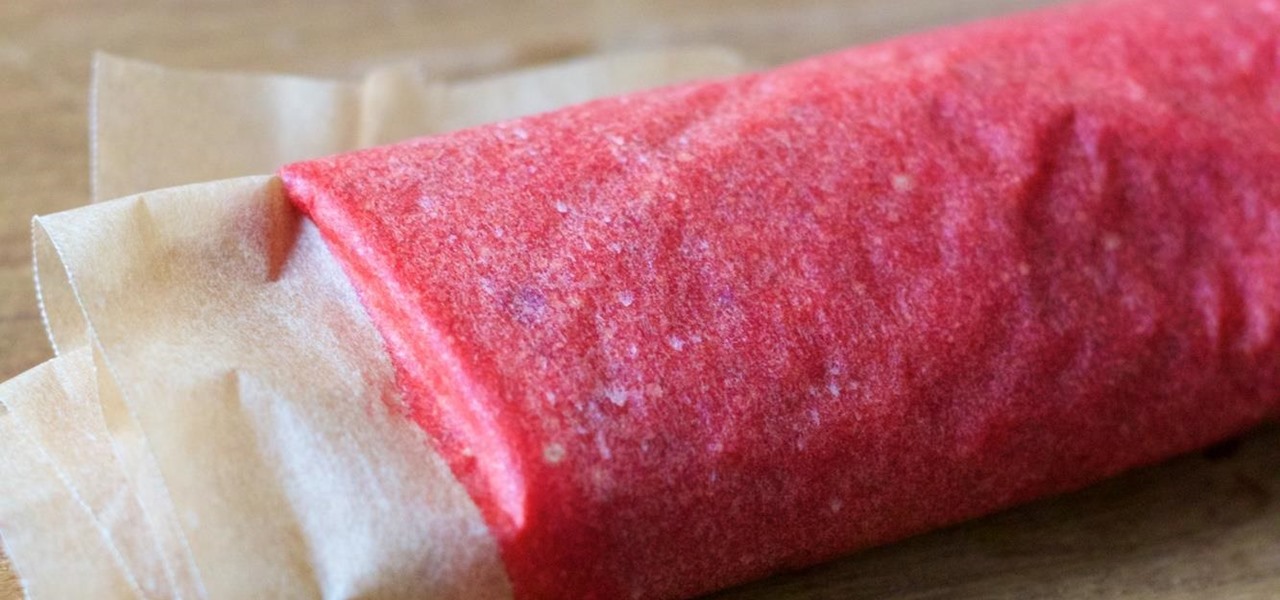
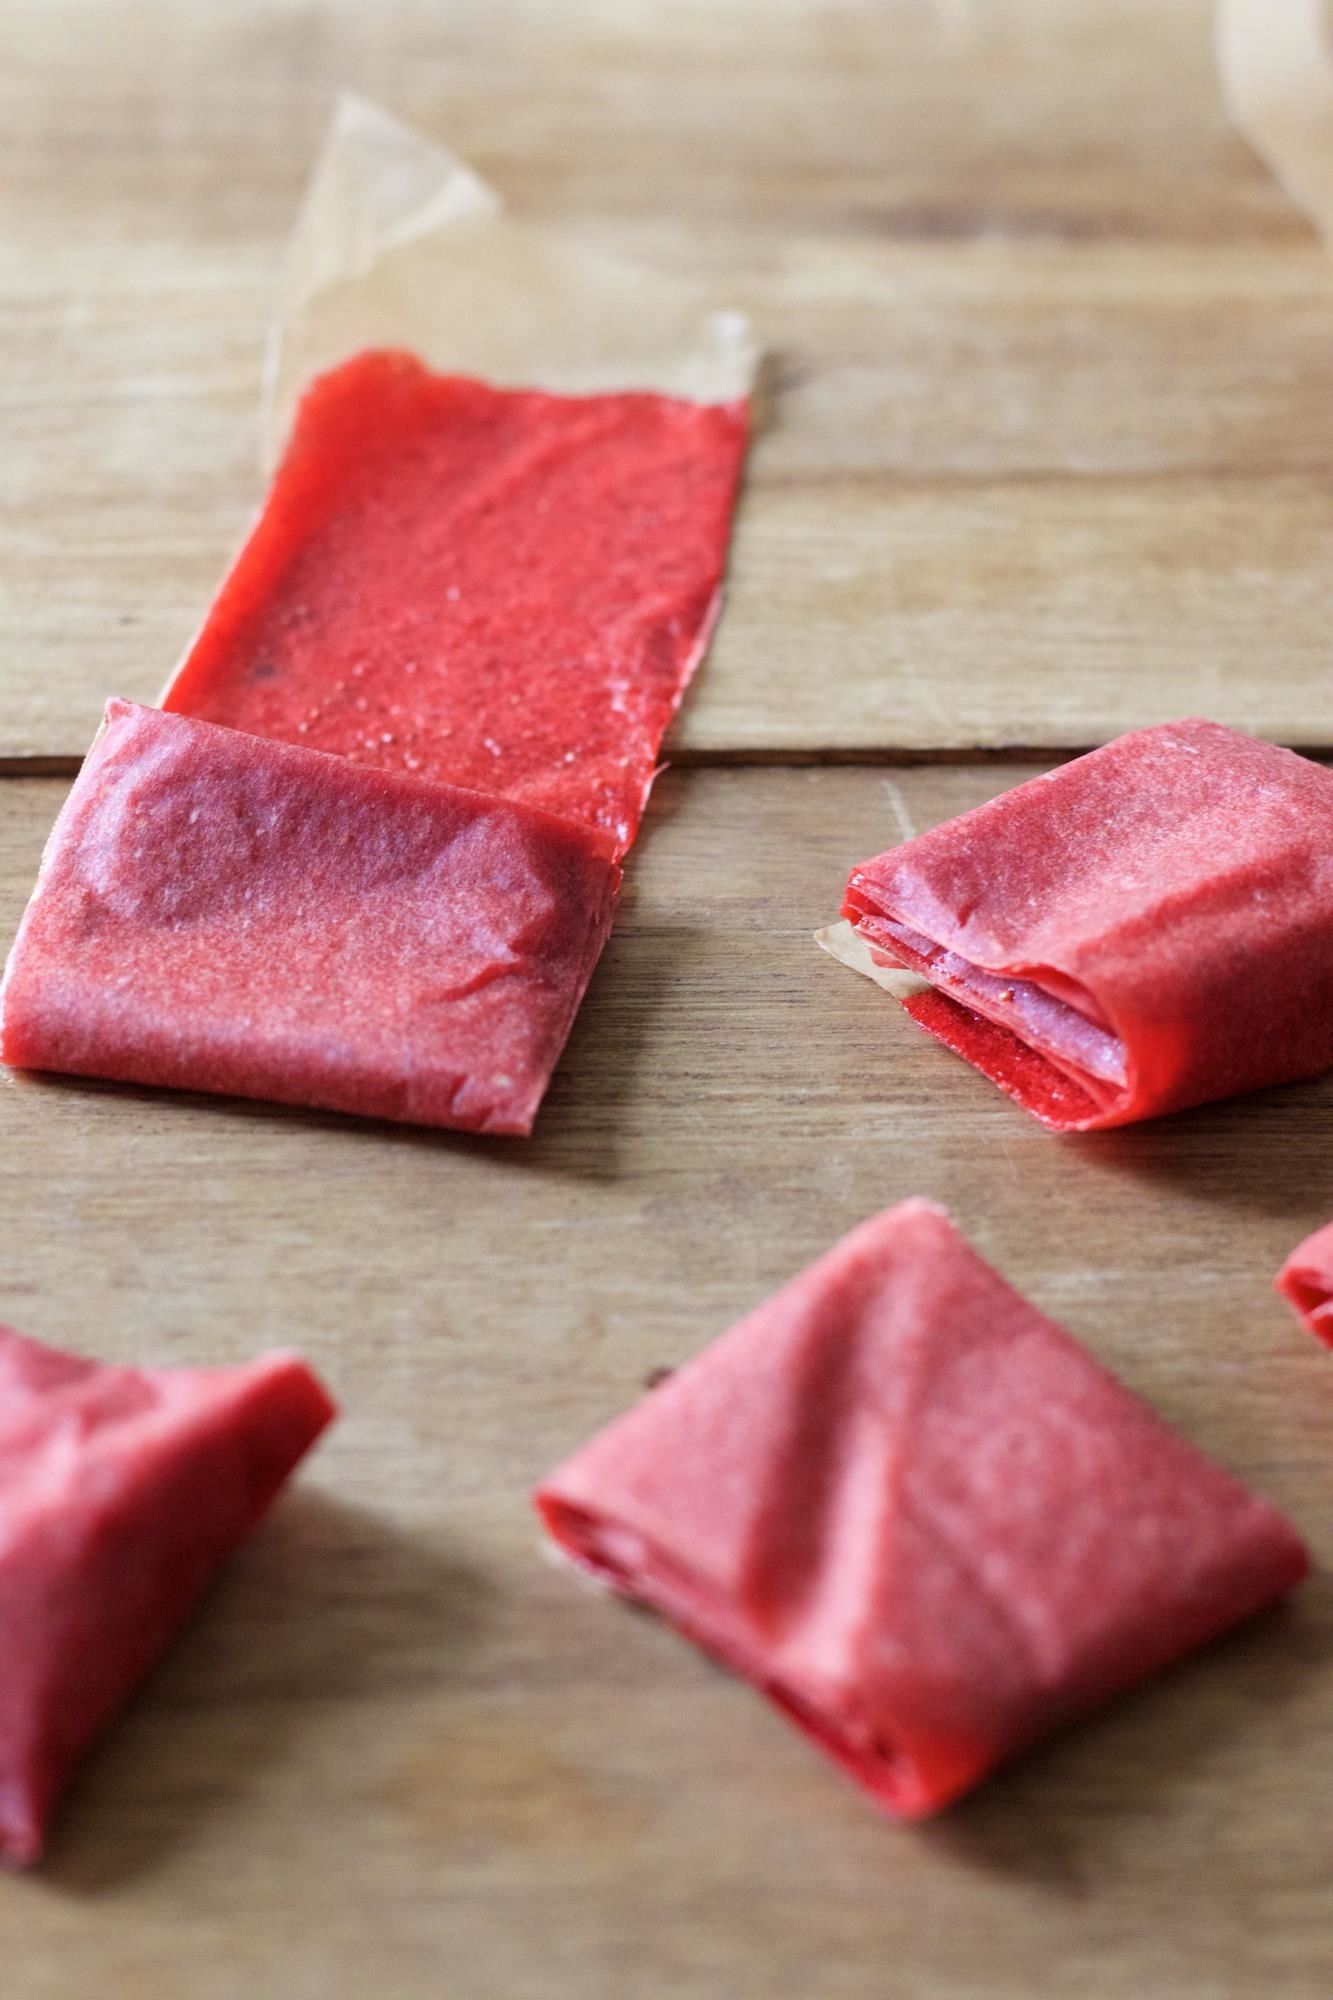
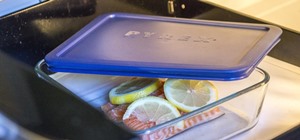
Transfer your sheet of fruit roll-up to a cutting board and slice it to your desired size (we like the traditional, long "tape" effect). Wrap it into rolls with wax paper or parchment paper (you can even use the paper you baked on), and make sure to store it in an airtight container to maintain freshness.
There you have it. Homemade fruit roll-ups are ridiculously easy to create and couldn't be tastier. Kids love them. Adults love them. We love them. And we're certain, you'll love them, too.
Ever made your own fruit roll-ups from scratch? Or have you hacked some other childhood fav food to be easier, healthier, or cheaper? Let us know in the comments below!
More Kid-Friendly Food Hacks:
Just updated your iPhone? You'll find new emoji, enhanced security, podcast transcripts, Apple Cash virtual numbers, and other useful features. There are even new additions hidden within Safari. Find out what's new and changed on your iPhone with the iOS 17.4 update.


Be the First to Comment
Share Your Thoughts