
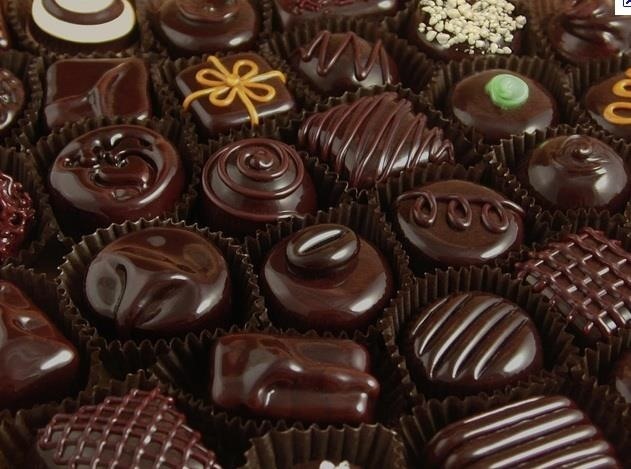
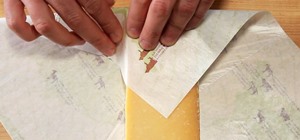
"Tempering chocolate" is one of those intimidating-sounding kitchen tasks that keeps novice cooks away from some really fun stuff like making candy, chocolate-dipped biscotti, and fruit.
It's really not as hard as it sounds, and although you can skip this step, it really makes chocolate-covered treats so much more special. Once you know how to do it, you'll be able to make chocolate-dipped strawberries that rival the finest chocolatier.
Why Temper Chocolate?
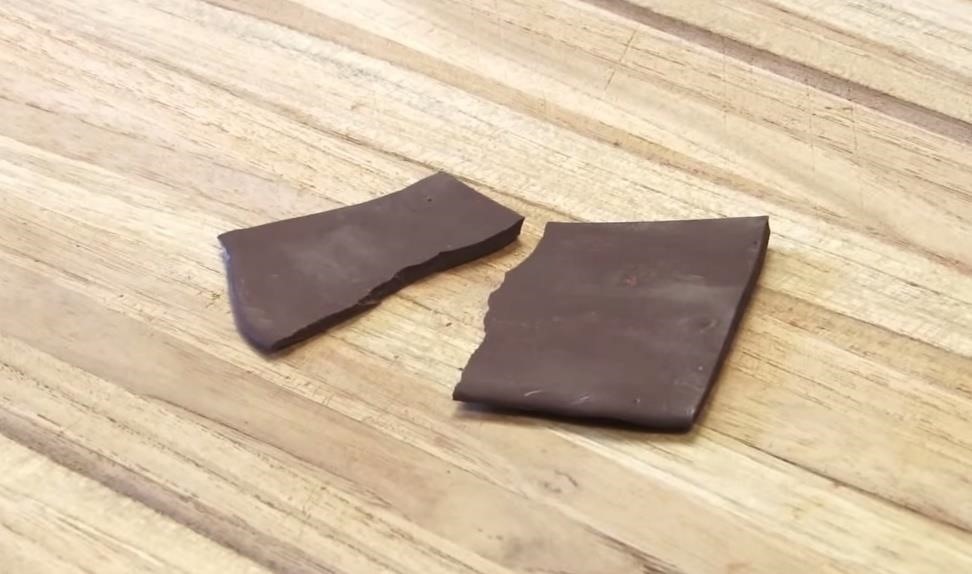
Mostly for appearance's sake. The cocoa butter in chocolate is composed of six types of crystals. When you melt chocolate, you change the crystal structure. If you cool it off at the right temperature, i.e., temper it, you get the "good" crystals, otherwise known as beta crystals, which allow the chocolate to retain its glossy sheen and crisp snap after it's been used as a coating.
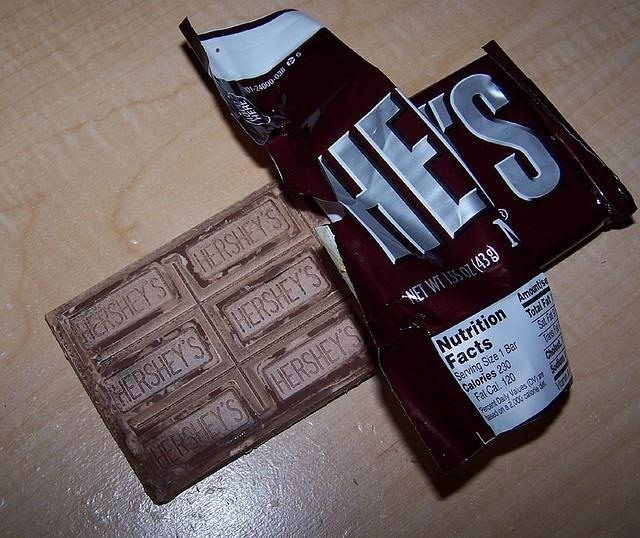
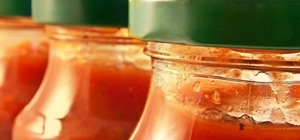
If you don't temper it, your chocolate coating will be an unappetizing looking mess. Have you ever unwrapped a chocolate bar or piece of candy with a whitish coating on it? That bloom is the cocoa butter or sugar that has risen to the surface. It's fine to eat it, but it's a sign that the chocolate has been exposed to extreme temperatures without being tempered.
It's Easier Than You Think
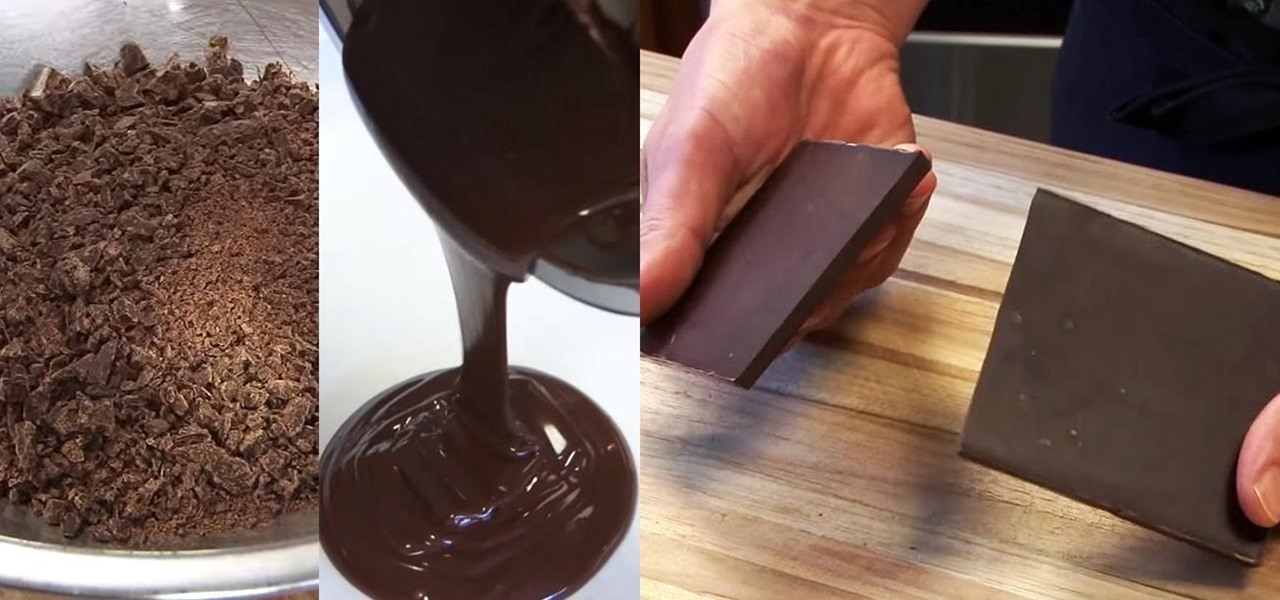
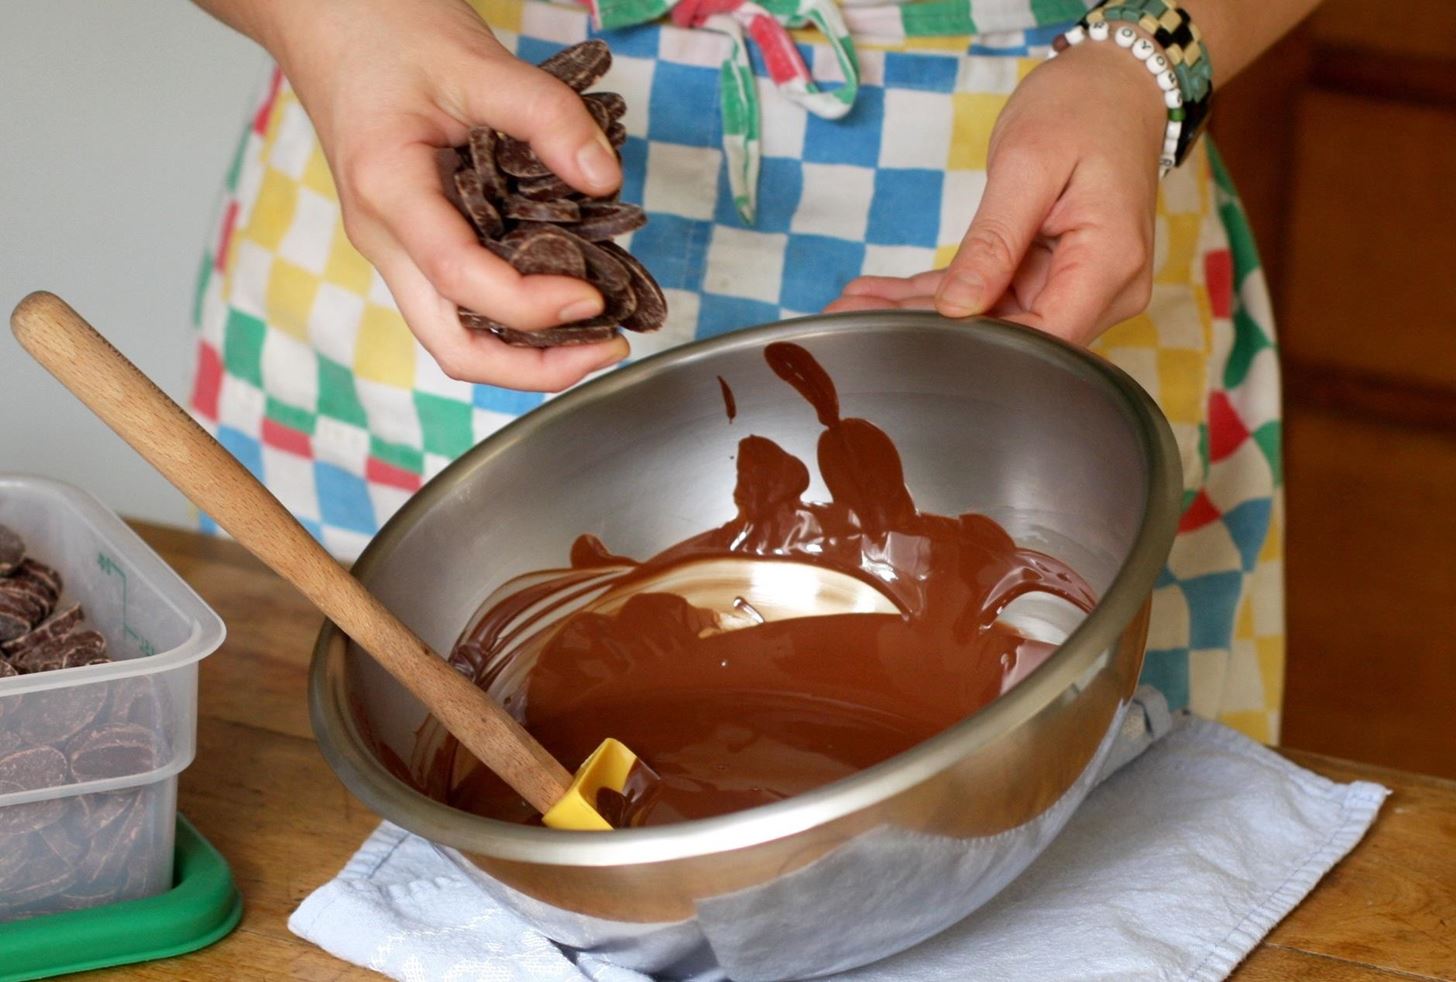
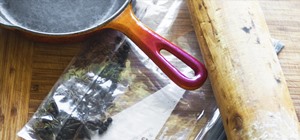
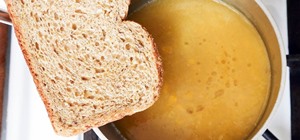
The first method, called "seeding the chocolate," involves melting chocolate over very low temperatures (Mark Bittman recommends between 110° and 115°F). Traditionally, the best way to do this is to use the double boiler or bain marie method.
Bring water to a boil and then turn off the heat. Set a metal bowl that holds two-thirds of your chocolate in the water. Stir the chocolate until it is melted, testing it at intervals with a candy thermometer to make sure it's the proper temperature. Be careful, though; as The Kitchn points out, you don't want to get water in the chocolate.
Next, remove the chocolate from heat and "seed" it with broken pieces of chocolate to help bring its temperature down to 91° or 92°F, using a candy thermometer for accuracy.
Beta crystals, as Shirley Corriher points out, don't form above 94°F. If you seed too much and the temperature drops into the 80s, you can apply a little heat until you get to the low 90s.
You can get the Cordon Bleu Cooking School's instructions on using the bain marie method here.
A Nifty Tempering Shortcut
However, as Fine Cooking points out, if the best temperature for beta crystal formation is 94°F, why not just temper chocolate by melting it and making sure it never gets hotter than that?
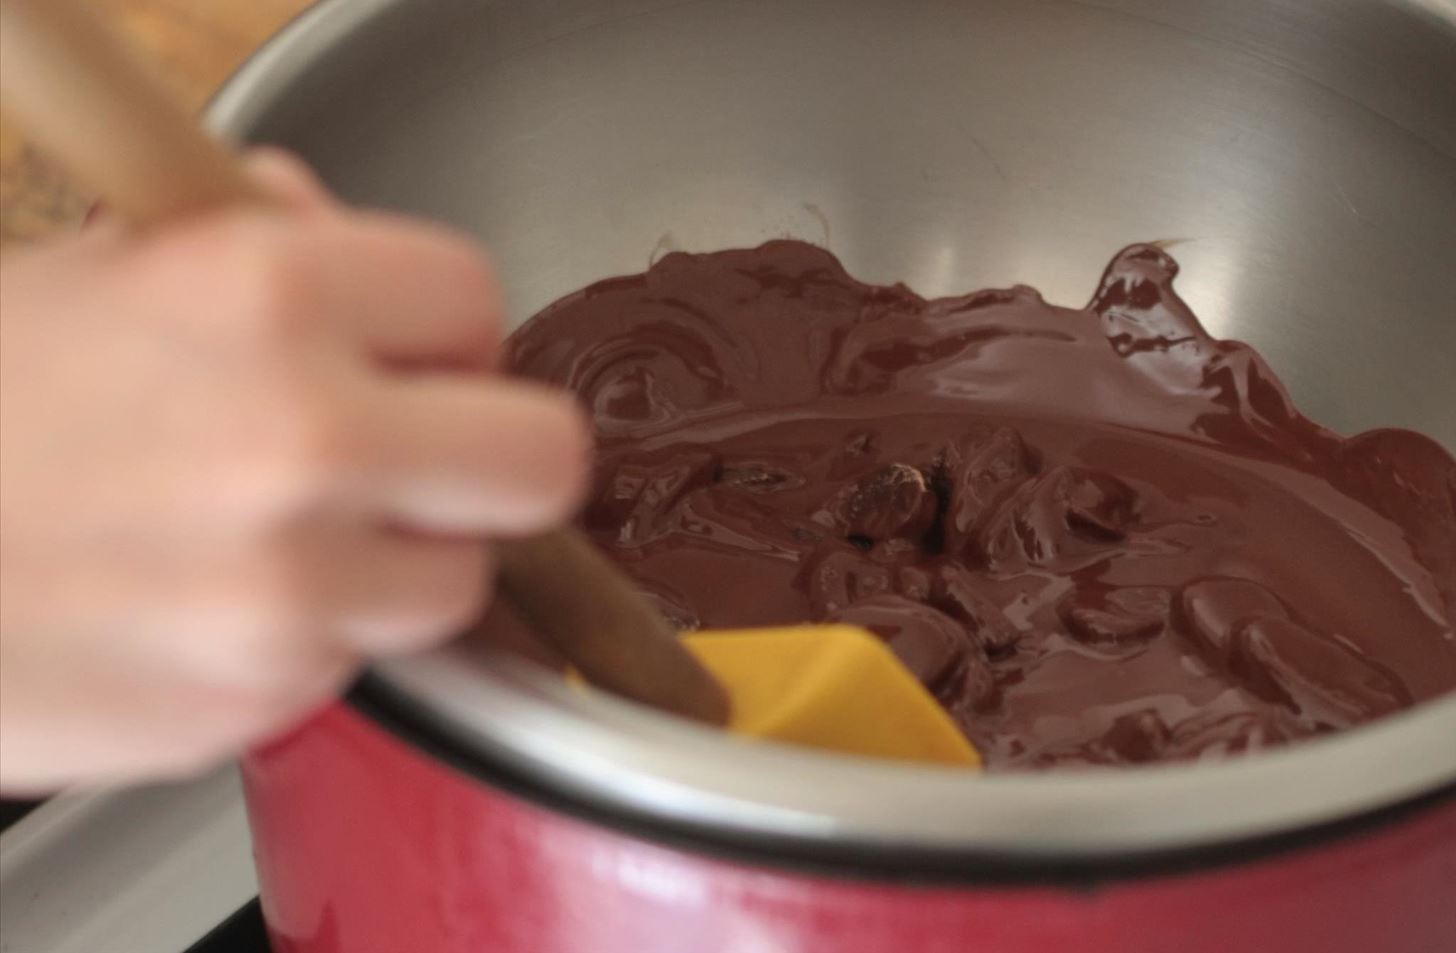
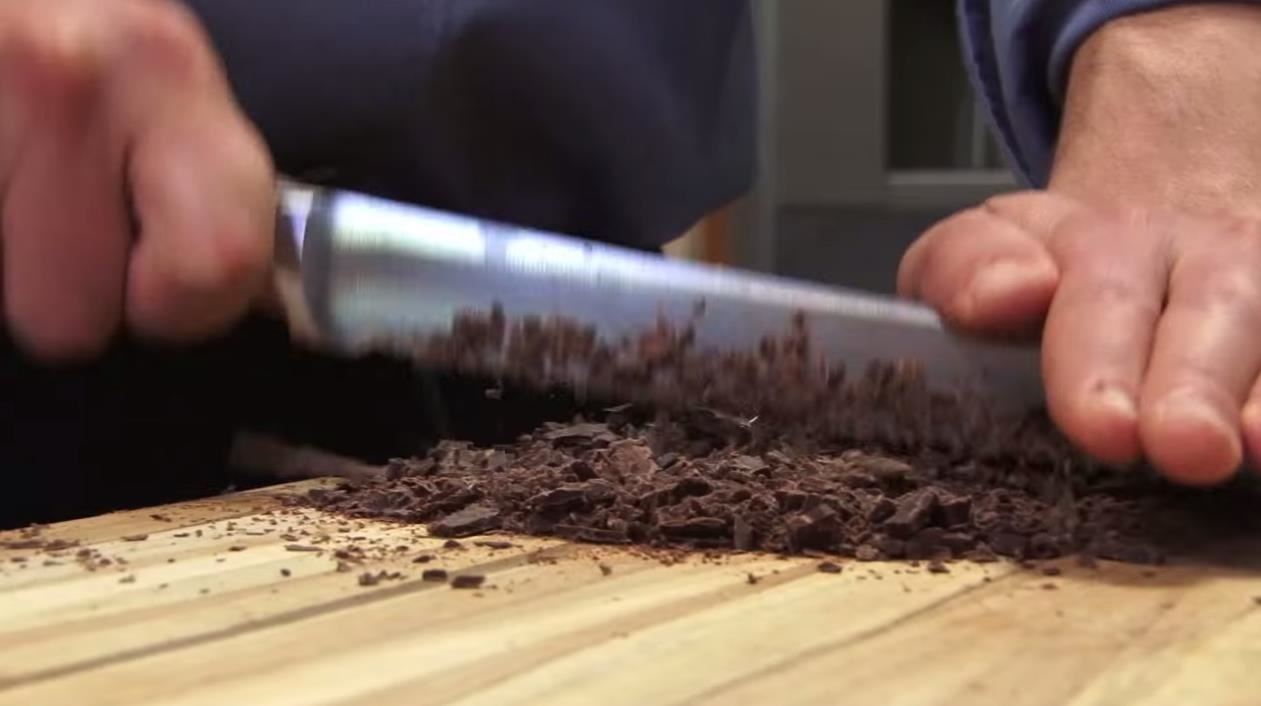
They point out that if you buy good chocolate that's already been tempered, this slow-melting process will keep that original temper intact. They recommend grating or finely chopping the chocolate, putting it in a metal bowl, and putting it over exceedingly low heat, like a heating pad.
I also recommend getting a cheap flame tamer, which adds an extra layer between your heat source and bowl so the chocolate won't get too hot.
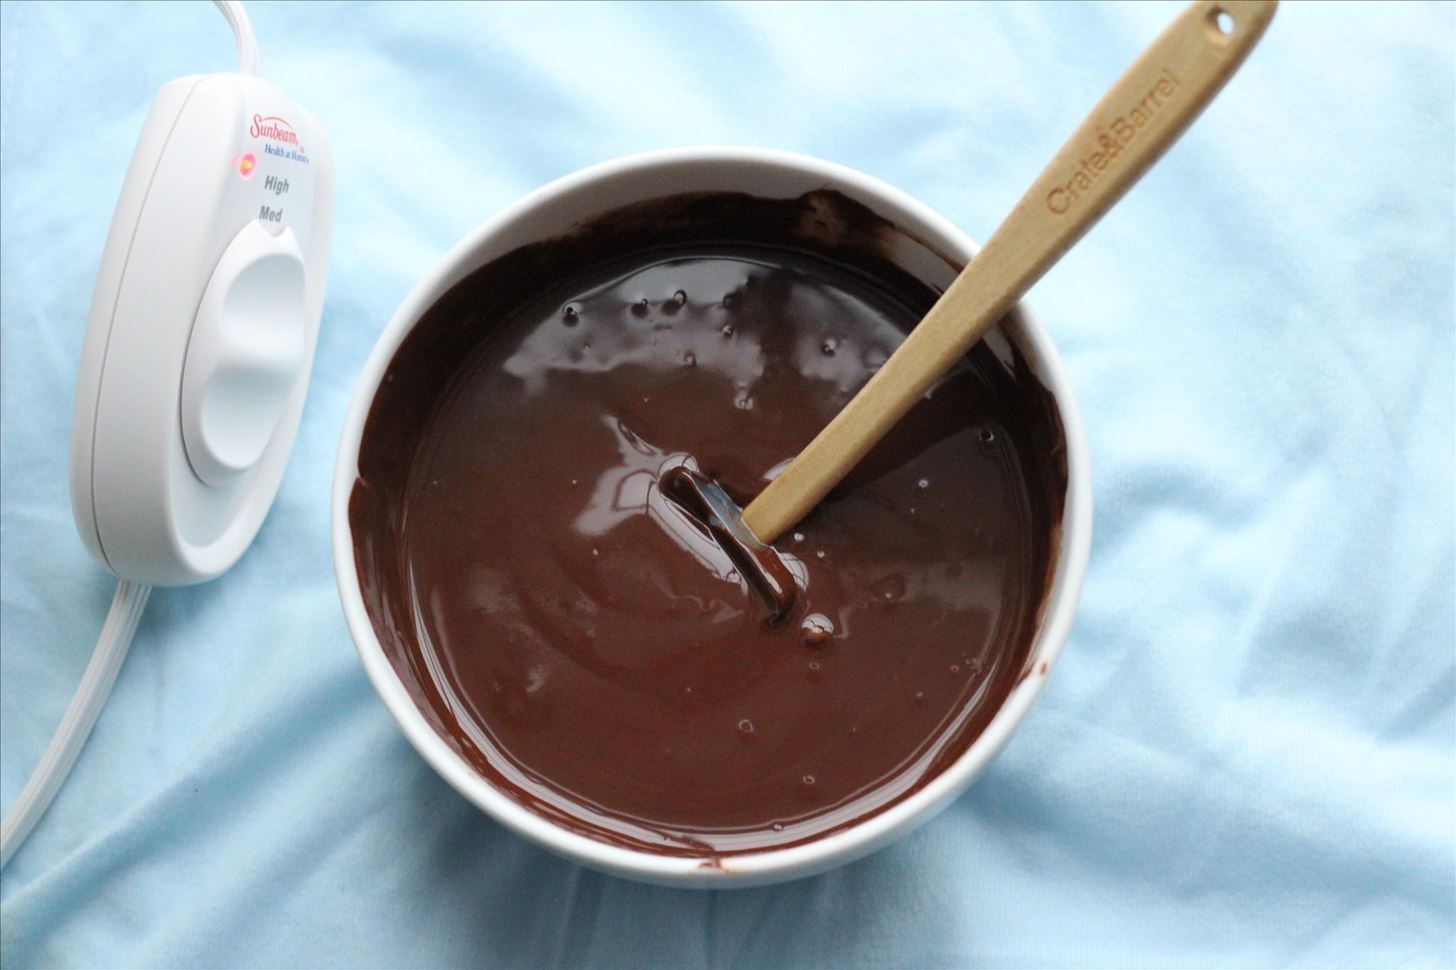
Then just keep stirring and checking with your thermometer to make sure all the chocolate melts.
Keep in mind that different types of chocolate have different desirable temperatures to achieve proper tempering. For dark chocolate, the optimal final temperature is 88° to 90°F; for milk, 84° to 86°F; for white, 82° to 84°F.
The Seed Method Sans Thermometer
However, many of us don't own candy thermometers and may not want to invest in one for occasional chocolate dipping. Thankfully, there is a way to temper chocolate that's a lot easier than this that comes to us courtesy of America's Test Kitchen. The results are not quite as shiny and perfect as the traditional method of tempering, but your chocolate coatings will still gleam and snap. And this method uses the microwave, so it's super-fast and easy.
The first part of the video is an in-depth explanation of the crystal structure of cocoa butter plus a demonstration of how those crystals work during the traditional melting process. The microwave method starts at 2:45.
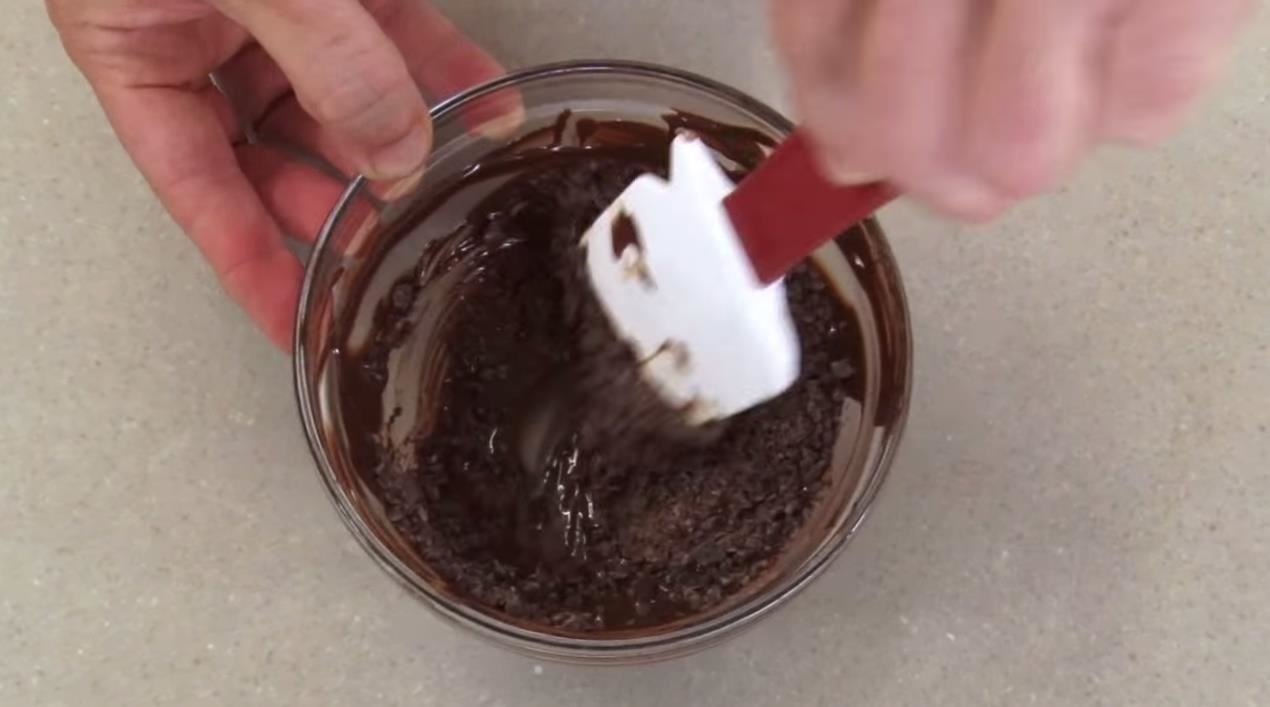
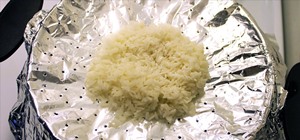
First, they took three-fourths of the chocolate they wanted to temper and chopped it into fine pieces.
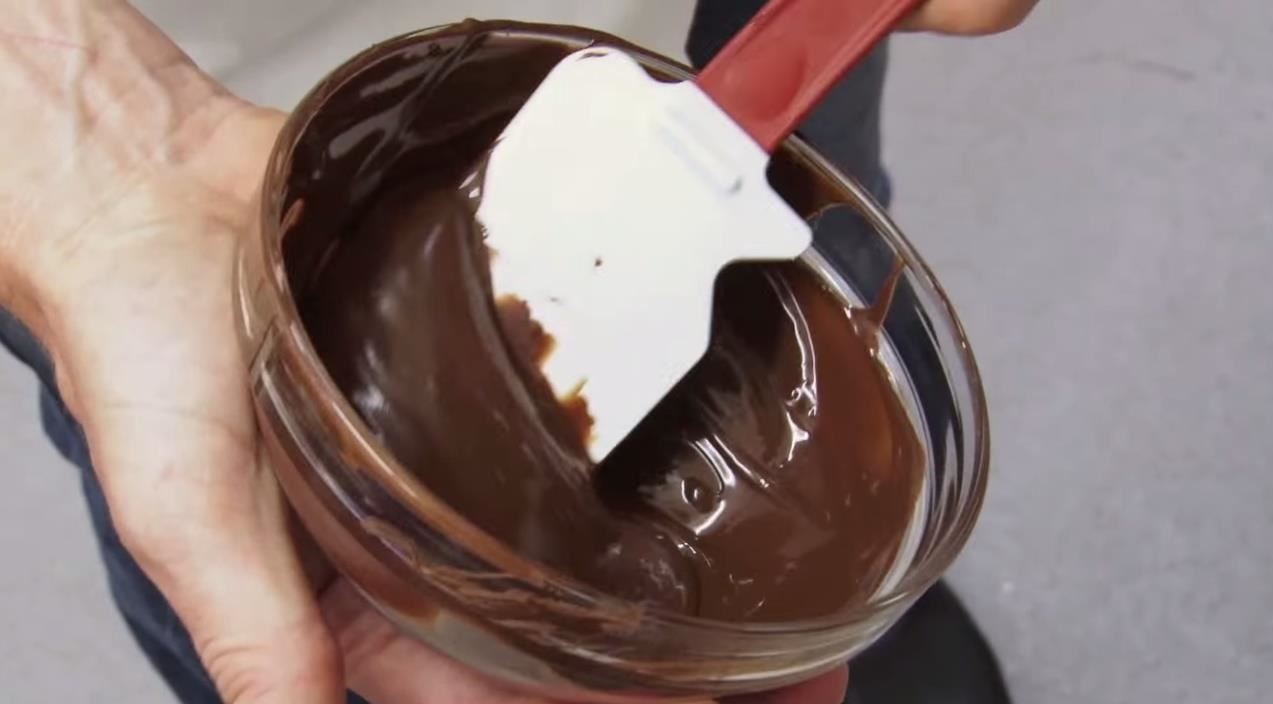
They then placed it in a glass bowl and microwaved at half power until it was nearly, but not totally, melted. Next, they removed the bowl to stir the chocolate.
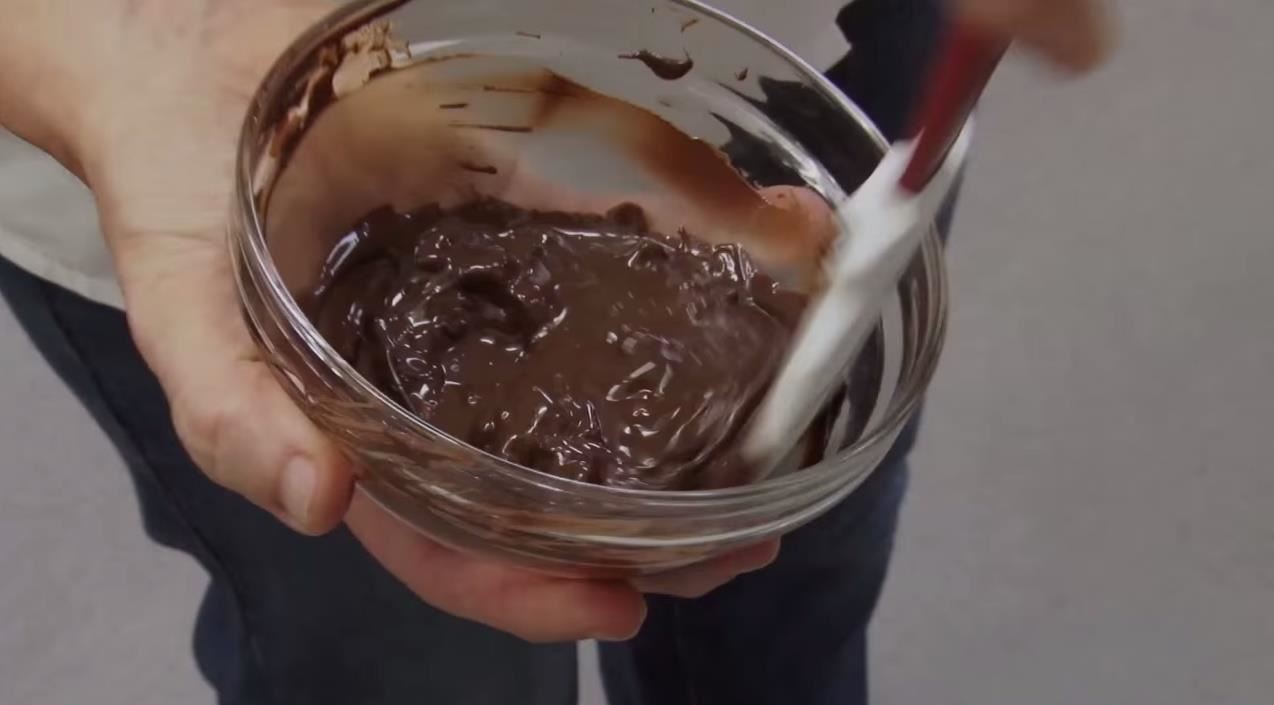
Next, they added the remaining chocolate (also finely chopped), stirred it well into the melted mixture, and microwaved it in five-second internals until it was completely melted.
Since the chocolate doesn't get too hot during melting, the beta crystals remain, just as they do in the tempering shortcut I mentioned before. Adding unmelted chopped chocolate with their intact beta crystals then act as "seed crystals" to ensure that the melted chocolate mixture forms even more beta crystals.
Meanwhile, the low temperature and small heating times mean that the chocolate stays near 88°F to prevent the less desirable and unstable types of crystals from forming.
And that's all there is to it. The microwave saves the day again.
Just updated your iPhone? You'll find new emoji, enhanced security, podcast transcripts, Apple Cash virtual numbers, and other useful features. There are even new additions hidden within Safari. Find out what's new and changed on your iPhone with the iOS 17.4 update.


2 Comments
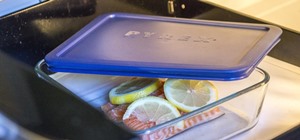
Try not to use glass in microwaving chocolate, it holds some of the temperature from the power phase and continues cooking the chocolate - I've had a batch of Callebaut pearls about that size in an identical pyrex burn on me.
Good to know...
Share Your Thoughts