
We like picnicking of all sorts, from picnics in bright, sunny weather to grey or rain-drizzled picnics. So it's not a stretch to say that we've become quite good at packing sandwiches to enjoy later. But we're always looking for a better way to do things, and that includes our sandwich making—and we think we've found the best way to make a sandwich ever.
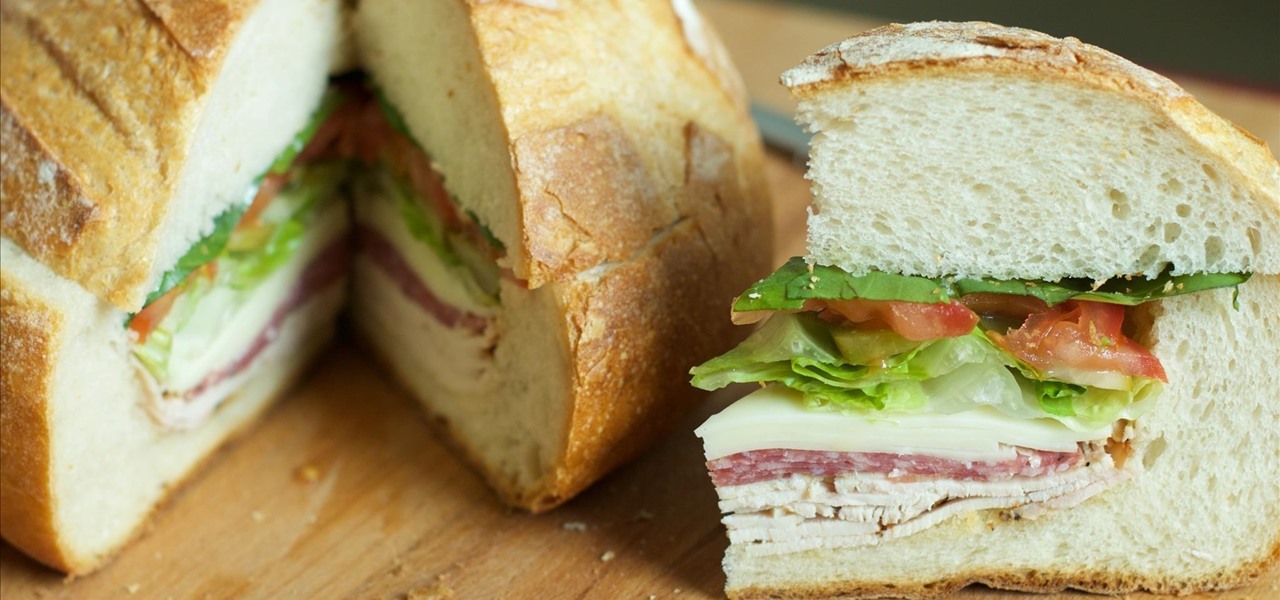
The picnic loaf is visually appealing, convenient, and delicious: it balances the ratio of filling to bread perfectly, it gets all of your lunch-making done in one fell swoop, and stuffs all of the best sandwich ingredients into an easily transportable loaf.
And the best part is that this crusty picnic loaf is much less prone to getting soggy than the structure of a regular sandwich, which makes it ideal for packing sandwiches the night before—an awesome idea for sandwiches that include oil or vinegar, since it allows the flavors to mingle and become even more delicious the next day.
Ingredients
As with any sandwich, the fillings are up to you—the only thing you can't switch out is the round loaf of crusty bread. We've listed the ingredients we used below:
Step 1: Slice the Bread
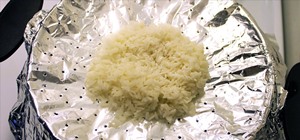
Slice off the top of your loaf of bread and set it aside for later. Then, hollow out the soft bread filling, leaving just the crust to form a shell. Make sure not to hollow out too much, as this will make the walls thin and the bread soggy. For us, we like to leave about 1 inch of soft filling (as you can see in the picture below).
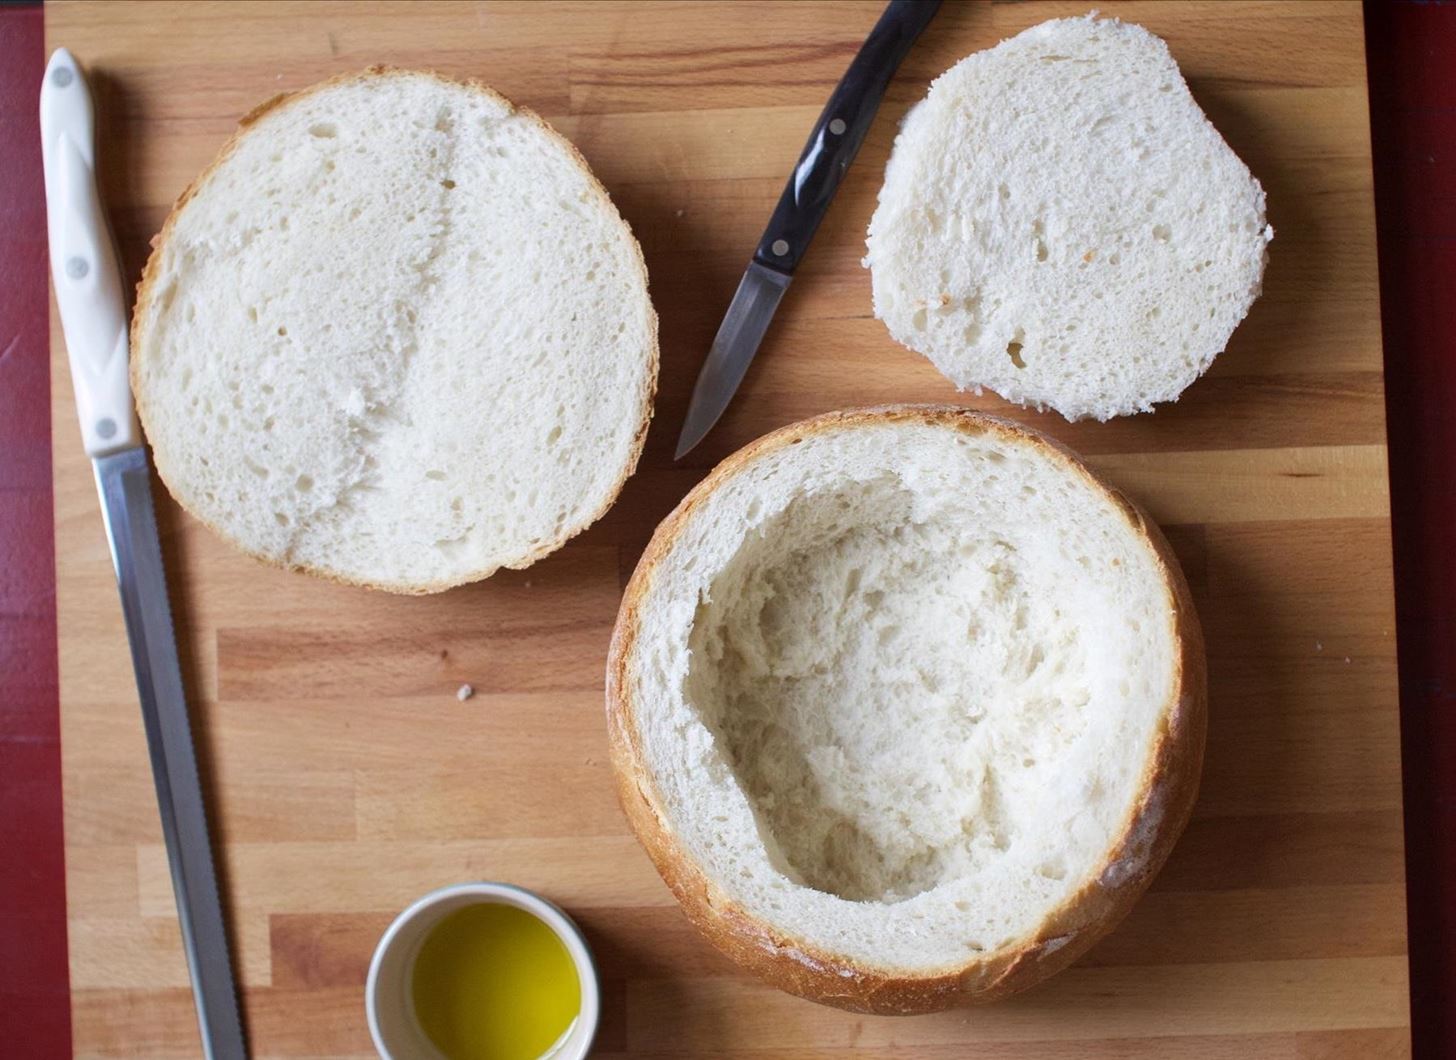
Don't toss out the soft bread filling! We like to save it for stuffing, crust-less croutons, and even breadcrumbs.
Step 2: Brush the Bread (Optional)
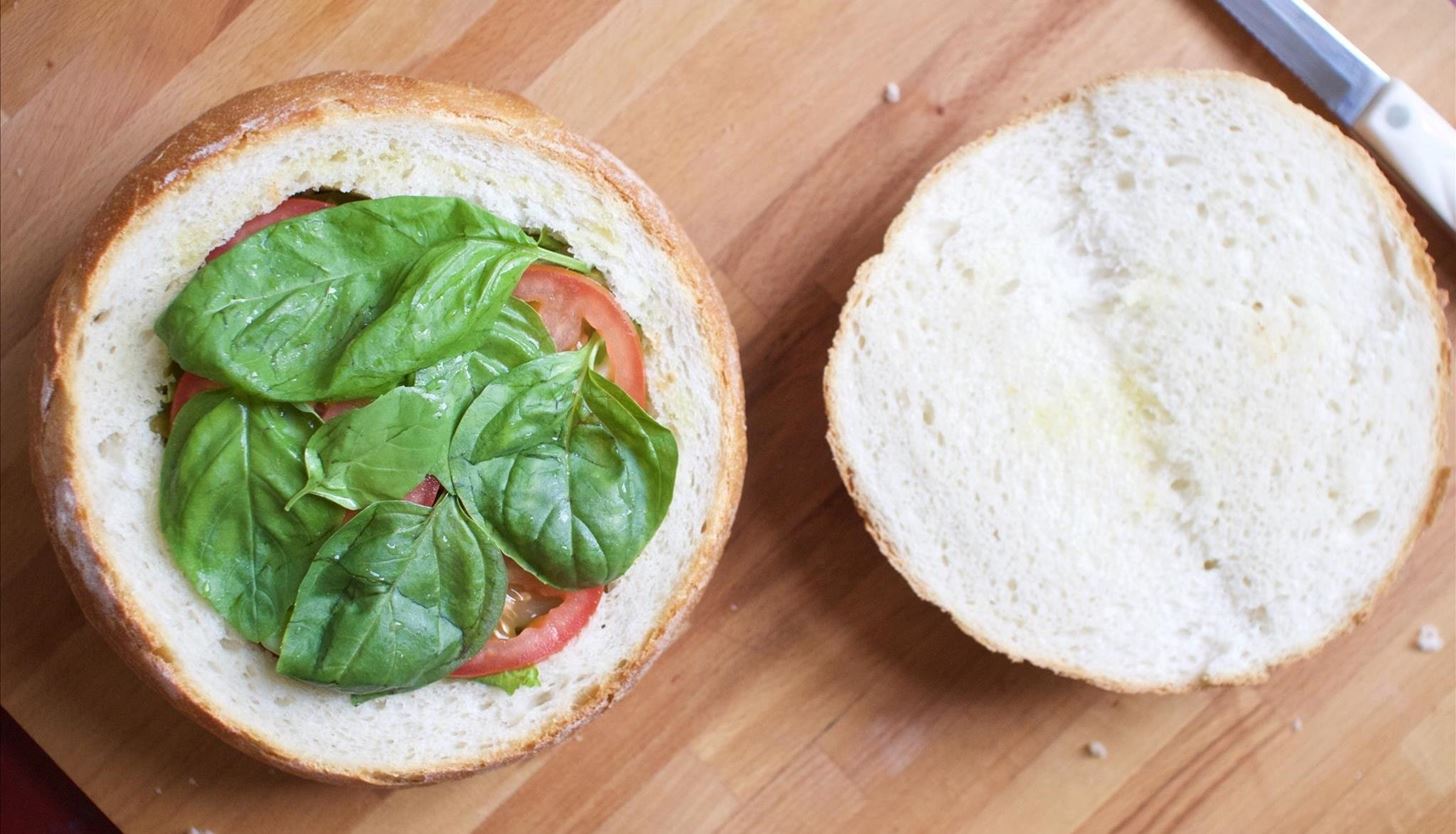
Brush the inside and top of the bread wall with olive oil. Pesto works well, too. If you want, you can totally skip this step too and go dry.
- Don't Miss: Our 5 Favorite Olive Oil Food Hacks
Step 3: Layer the Ingredients
Layer the loaf with salami, cheese, turkey, tomatoes, lettuce, and marinated artichokes, ending with the basil on top. Make sure to press down on each layer as you do so, to ensure a well-filled loaf. Just be careful about how much you stuff into your bread, as you don't want the fillings to go above your bread.
Something to keep in mind: if you like condiments such as mayo or mustard, you should add them between some of your layers of meat and/or veggies in order to keep your bread from getting soggy—a pro tip when packing a sandwich to enjoy later.
Step 4: Top Off Your Loaf & Pack!
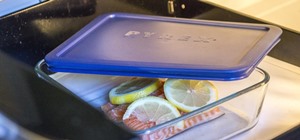
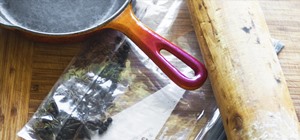
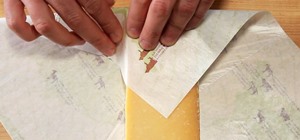
Once all of your ingredients are tightly packed into your bread bowl, add the top to your bread and wrap your sandwich in plastic wrap or aluminum foil to keep the sandwich together (and preserve it while you make your way to your picnic destination).
- Don't Miss: 12 Brilliant Kitchen Hacks with Aluminum Foil
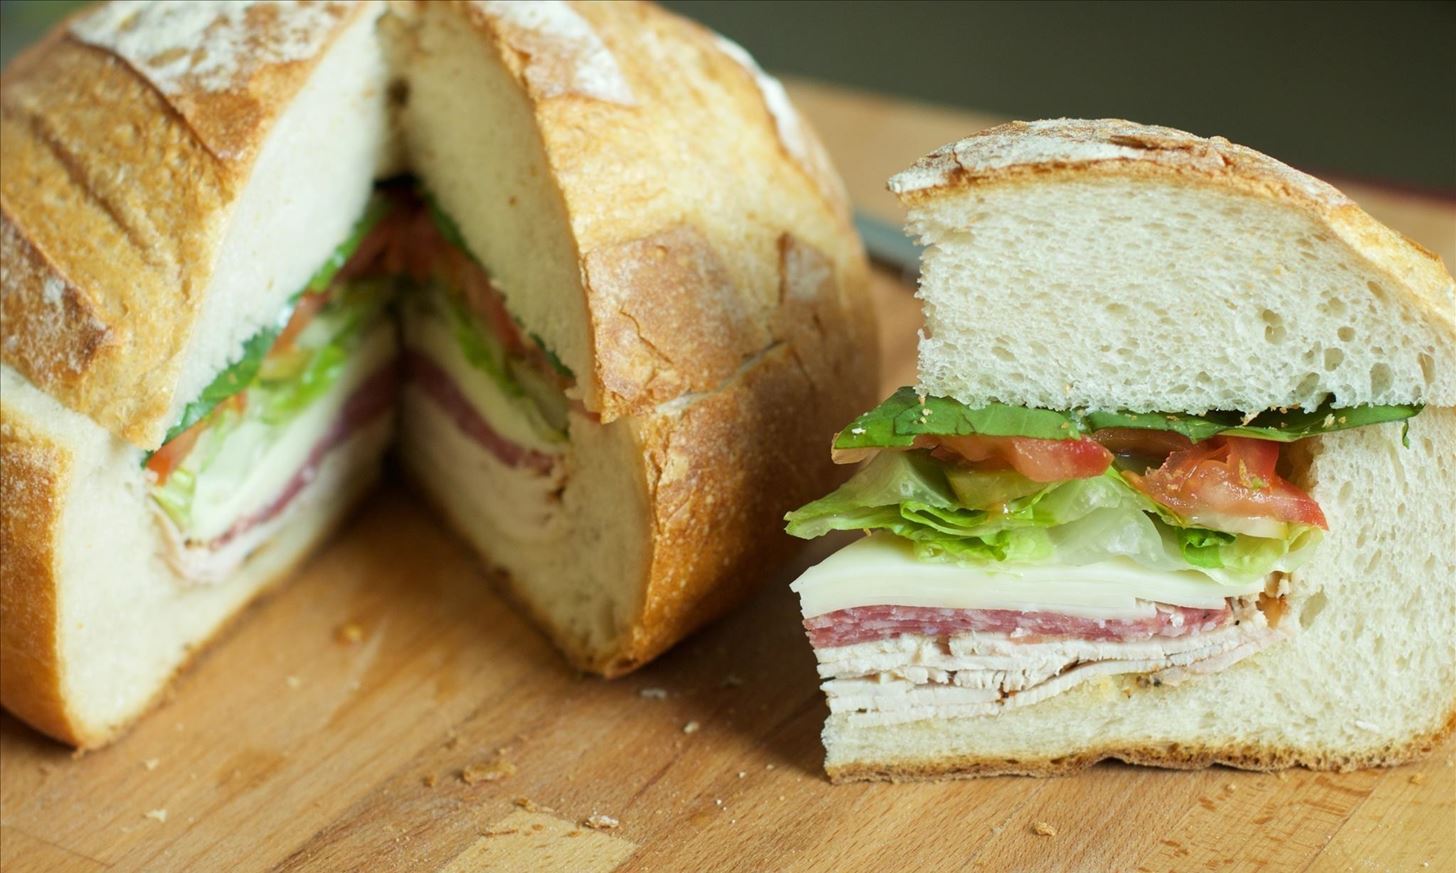
Step 5: Cut, Serve, & Enjoy
Once you've reached your destination, simply unwrap and cut your loaf with a sharp knife into slices, like cake. Get ready to fend off jealous stares from your fellow picnic-mates (or, if you're feeling generous, give them a slice).
Again, you can feel free to alter this tasty sandwich given your own personal tastes... or the size of the picnic you're having. Hollowing out a French baguette, for example, would give you a lovely meal for an entire group of people.
And while we refer to this sandwich as a picnic loaf, it's not just for picnics—it makes for a tasty and convenient meal-on-the-go anytime!
Have you tried making a picnic loaf for a group before? If so, let us know what your favorite ingredients are in the comments below.
More Awesome Sandwich Hacks:
- How to Make Lazy Grilled Cheese Sandwiches in Your Toaster
- The Ultimate Carb-Conscious Alternative to Sandwich Bread
- How to Engineer a No-Slip Sandwich
If you liked this article, follow us on Facebook and Twitter!
Just updated your iPhone? You'll find new emoji, enhanced security, podcast transcripts, Apple Cash virtual numbers, and other useful features. There are even new additions hidden within Safari. Find out what's new and changed on your iPhone with the iOS 17.4 update.


Be the First to Comment
Share Your Thoughts