
Imagine you're holding a cookout with family and friends. You're having a good time—the grass is green, the sun is shining, and the smell of the burgers sizzling on the grill is irresistible. There's creamy potato salad, mountains of golden brown chips, and a hefty watermelon chilling on the table, but you forgot something—the drinks!
You've got a few half-filled juice jugs inside the house, but other than that—you're in desperate need of more thirst quenchers. Panic sets in. What are you going to do? You need to find something quick. Wait? The watermelon!
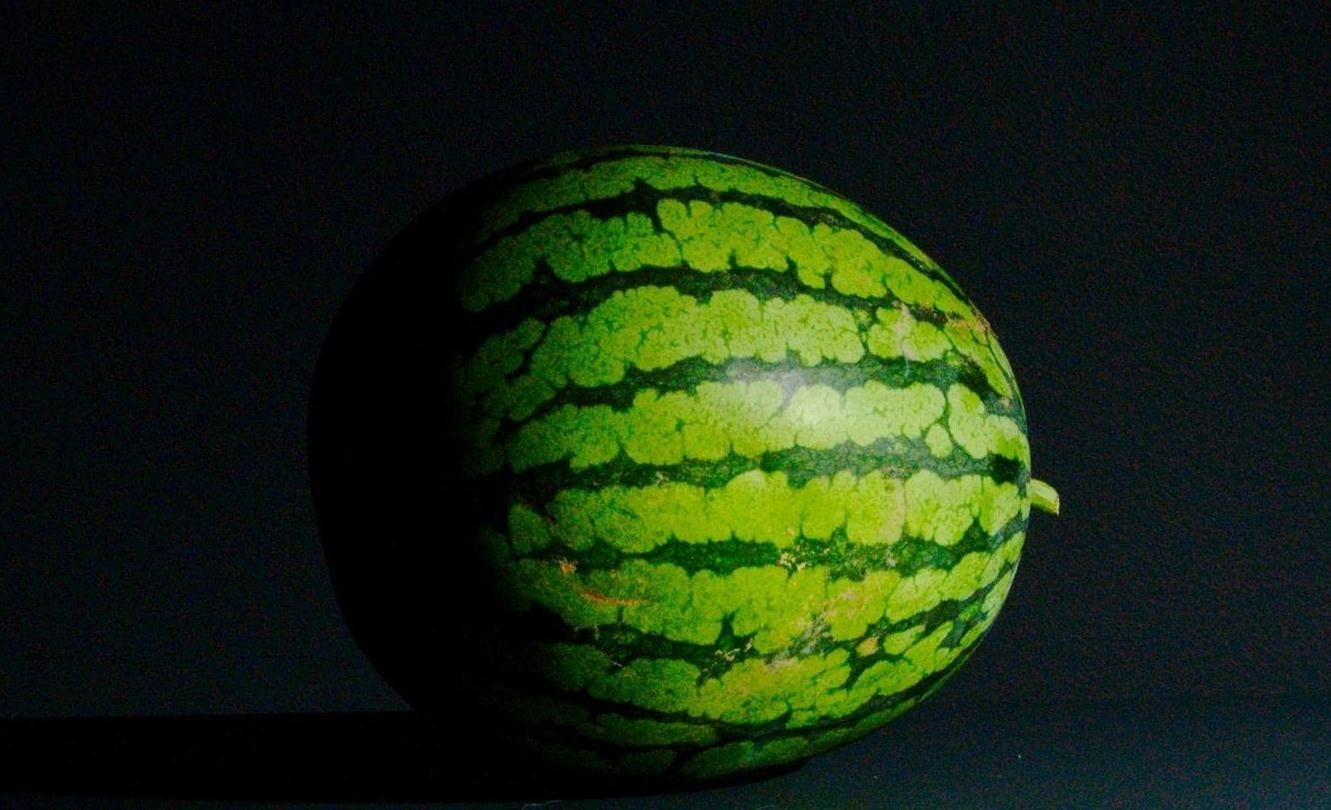
Photo by j / f / photos
You can easily turn a watermelon into not only a drink—but a drink container. A large melon is the perfect size for holding tons of liquid. And you can use those leftover fruit juices you have inside to mix with the watermelon.
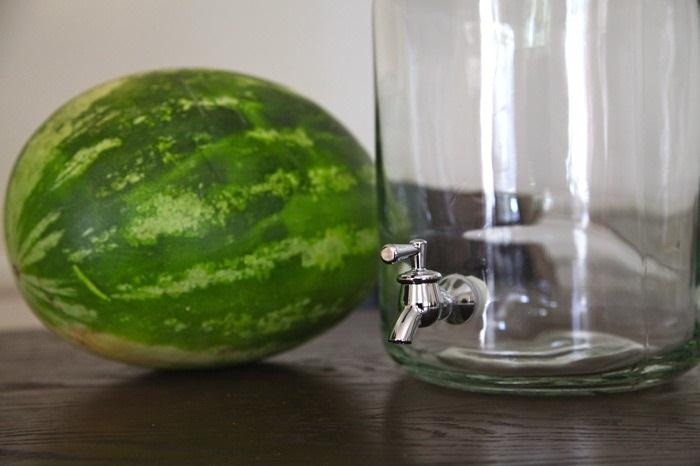
There's a couple different ways you can go about making a watermelon keg, but they're both relatively the same, the only real difference being the spout used. If you have a spare beer keg tap lying around, you can go with Brandi Bidot's tutorial on her DIY watermelon cocktail keg, or if you have a spare or busted water dispenser, you can transfer the spout over like Prudent Baby's tutorial on their watermelon keg.
Either way you go, these are the basic instructions.
Materials
- Watermelon
- Large knife
- Large spoon
- Drill
- 3/4 inch drill bit
- Tap or spigot
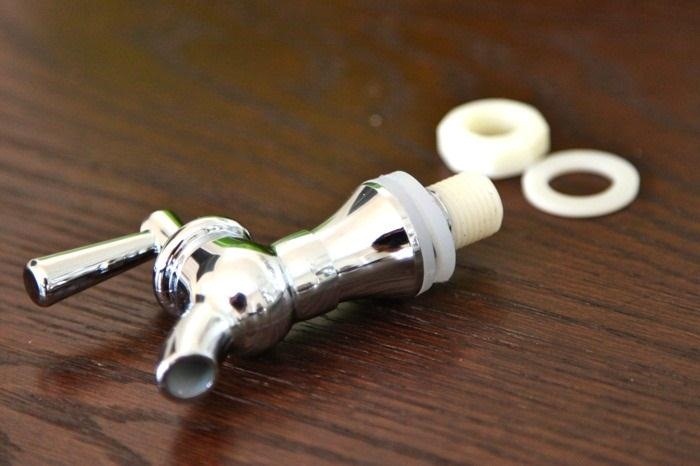
NOTE: For the tap, it should be noted that Prudent Baby just used the spigot off a normal drink container. They merely unscrewed it. Bidot used a tap set that goes to a beer keg. Whichever is easiest for you is the best option, as both work just fine.
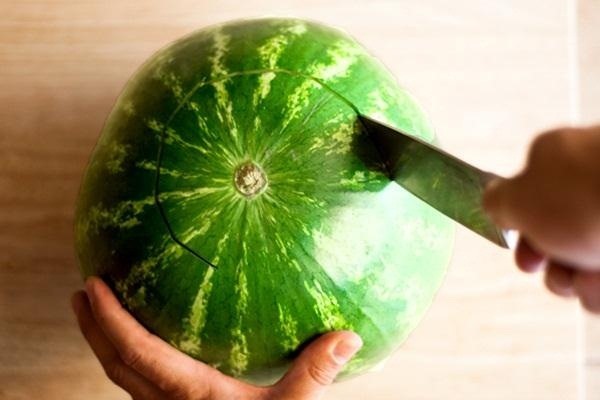
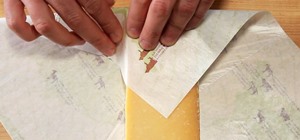
Step 1: Cut Melon
The process is very simple, as I said above. To begin, you simply cut a bit off one end (just enough to hold it in place, you shouldn't even see the inner fruit) of the melon using your knife. This is so that the melon will stand on its own when you're finished.

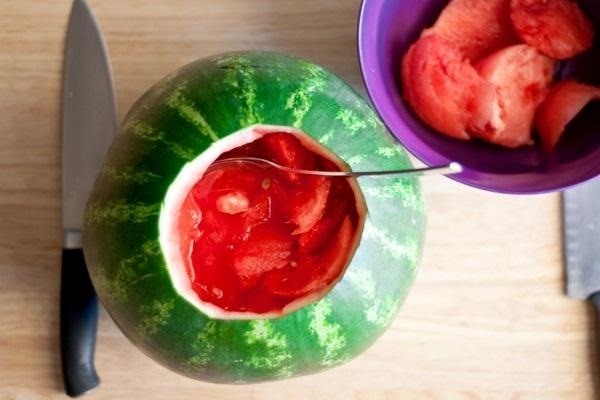
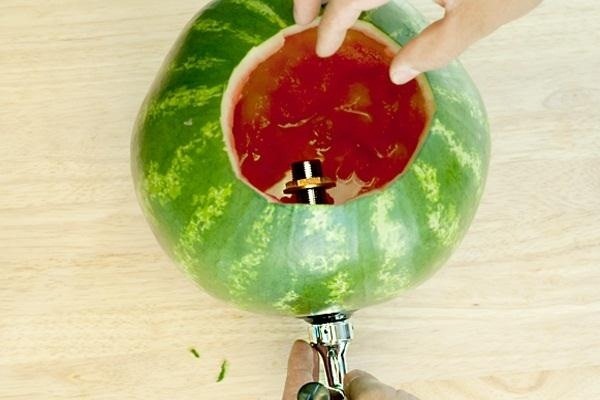
Step 2: Scoop Out Insides
Then, you cut the other end.
Scoop out the innards of your melon with the spoon. They didn't mention this in either tutorial, but I think a good way to do it would be to score the melon into a grid pattern with your knife so you can scoop little cubes out.
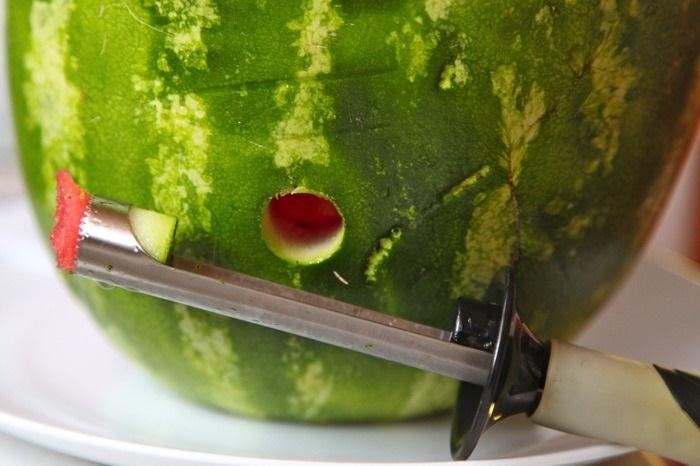
Step 3: Cut Spigot Hole
Next, you have to cut the hole that the spigot fits in. You will want to keep in mind that the spigot has to fit snugly to avoid leakage, so cut the size of your hole according to whatever tap you use. Prudent Baby used a sort of melon baller to cut their hole, while Bidot used a drill. Again, do whatever is easiest for you.

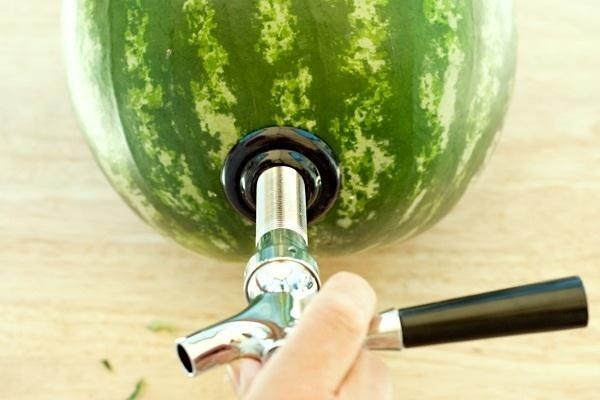
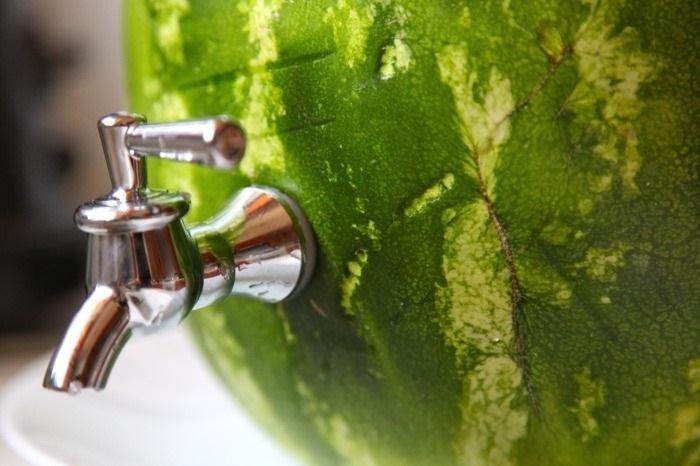
Step 4: Attach Spigot
Then, gently push your spigot into the hole you made. You don't want to force it, or the melon could crack.

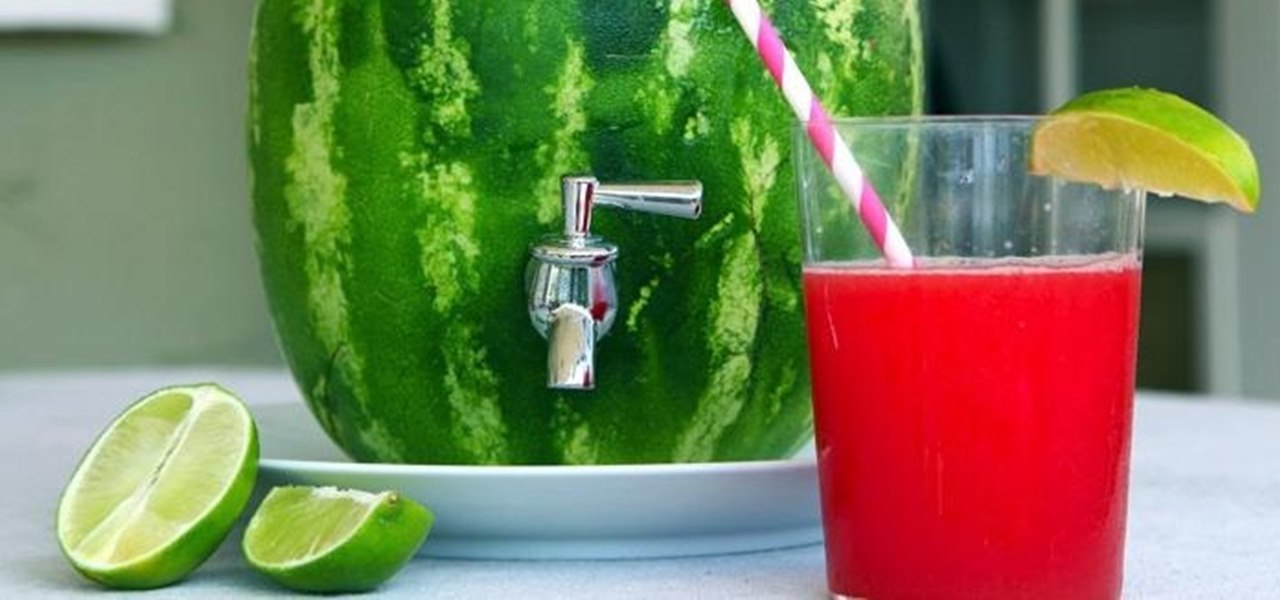
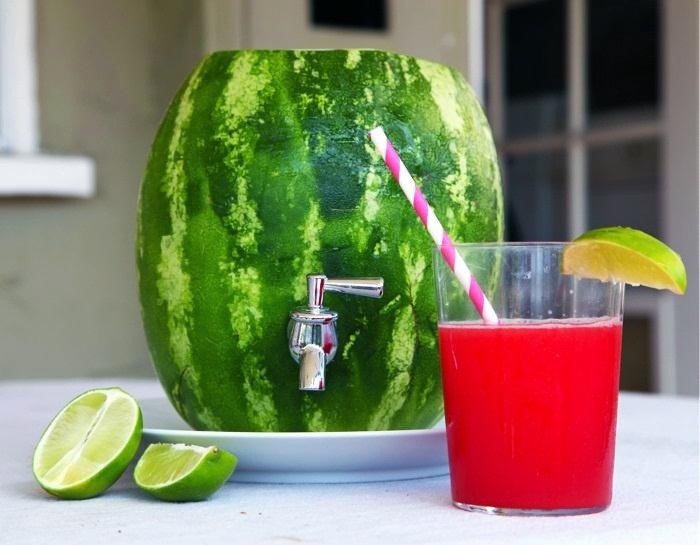
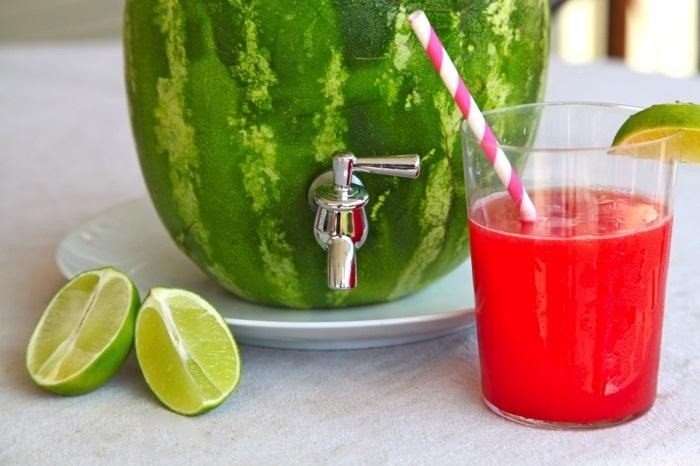
You're All Finished Now!
Just fill your melon up with your beverage of choice and take it out to your stunned guests.
Can you think of anything else that would work well for this application in place of a watermelon? Tell us about it below!
Just updated your iPhone? You'll find new emoji, enhanced security, podcast transcripts, Apple Cash virtual numbers, and other useful features. There are even new additions hidden within Safari. Find out what's new and changed on your iPhone with the iOS 17.4 update.


2 Comments
A coconut could work as a smaller dispenser?
How about durian?
Share Your Thoughts