
A stack of light-as-air pancakes can make a weekend morning truly golden. While fluffy pancakes may not seem like rocket science, the reality is that there are many little details that can contribute to a pancake fail that's either too dense or too crumbly.
Luckily, there are ways to easily improve your pancake game, and we've got 10 foolproof tips that are guaranteed to make your pancakes the star of any weekend brunch.
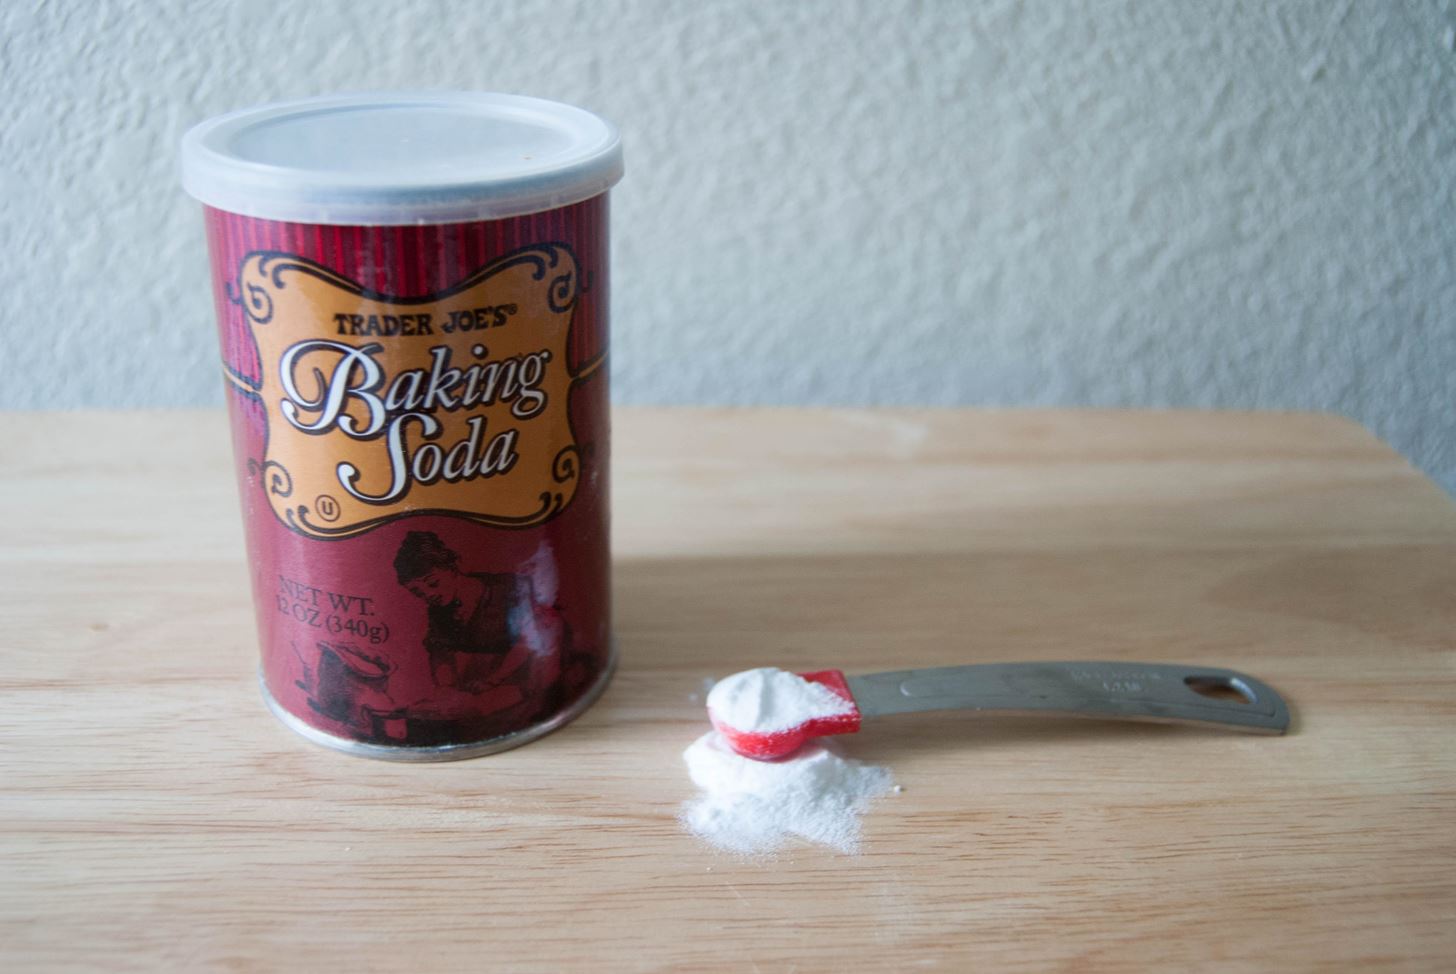
1. Avoid Using Old Baking Soda
Baking soda is an ingredient that's often not given a second thought in the pancake making process. However, it is quite essential because it's responsible for giving pancakes their fluffiness. Not sure when you purchased your baking soda? Use a simple test to determine if it's time to toss it.
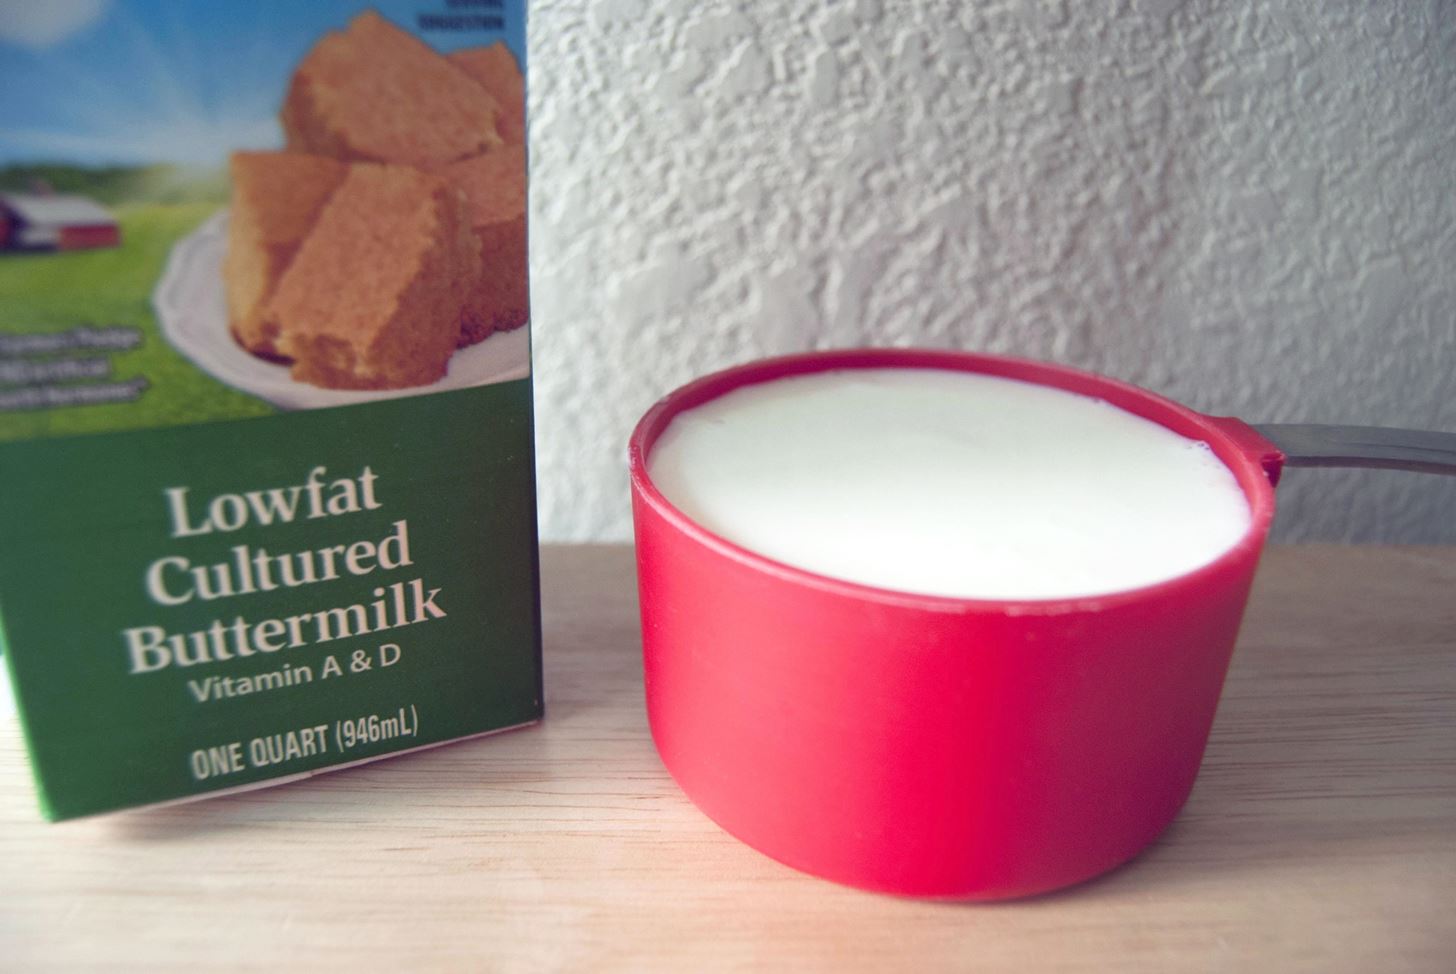
2. Use Buttermilk for Proper Acidity
Along with having fresh baking soda, adding an ingredient like buttermilk will help maintain the proper acidity level and give your pancakes the extra oomph they need to be fluffy. Don't have buttermilk on hand? Substitute milk with a squeeze of lemon for the same effect.
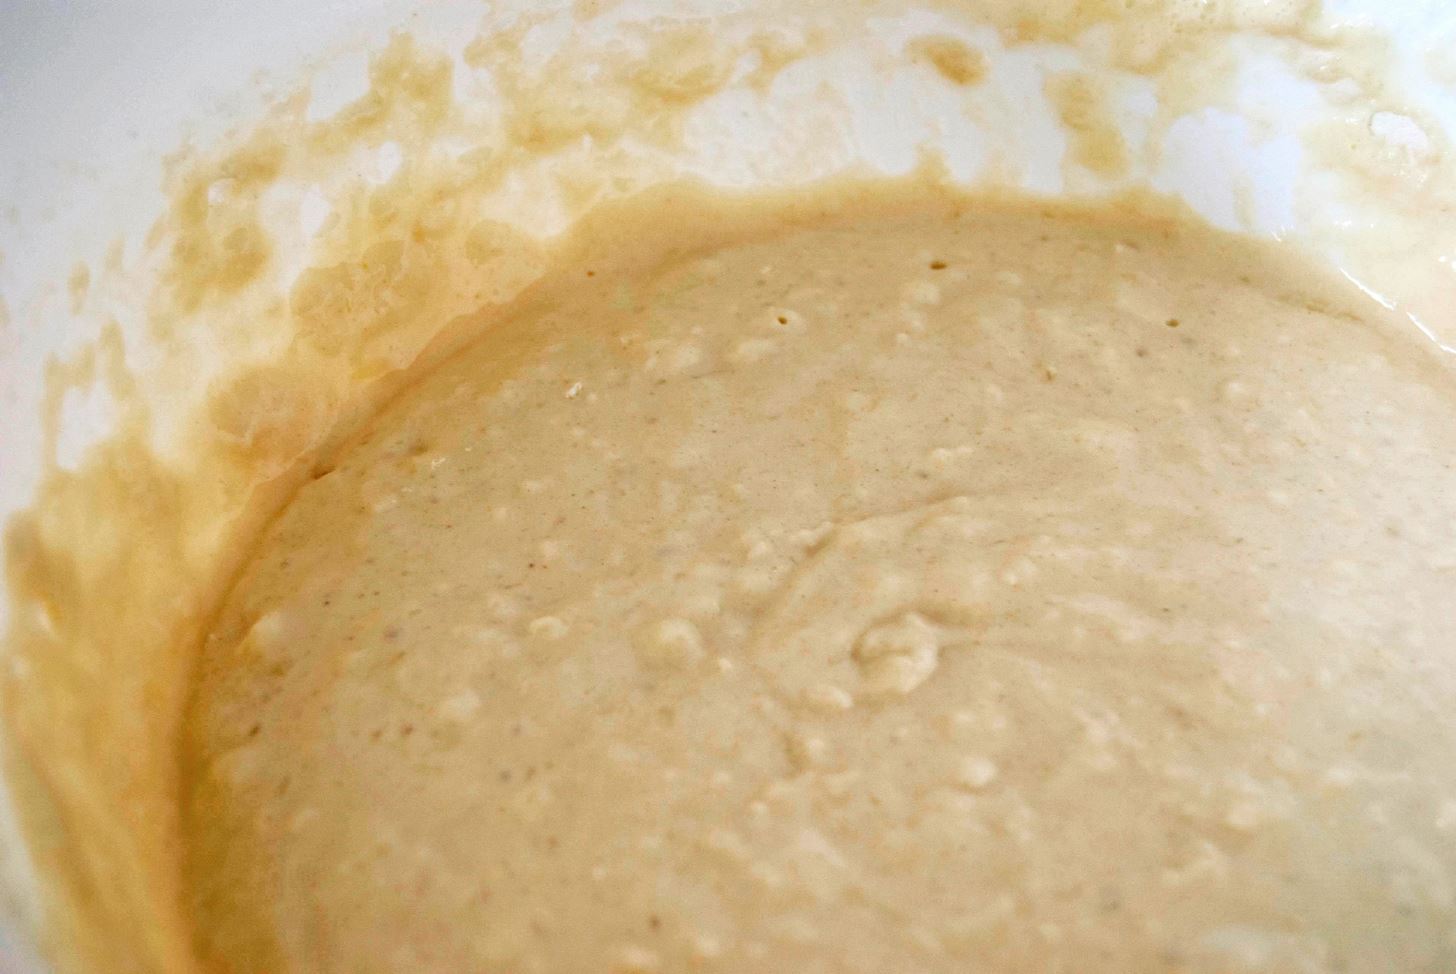
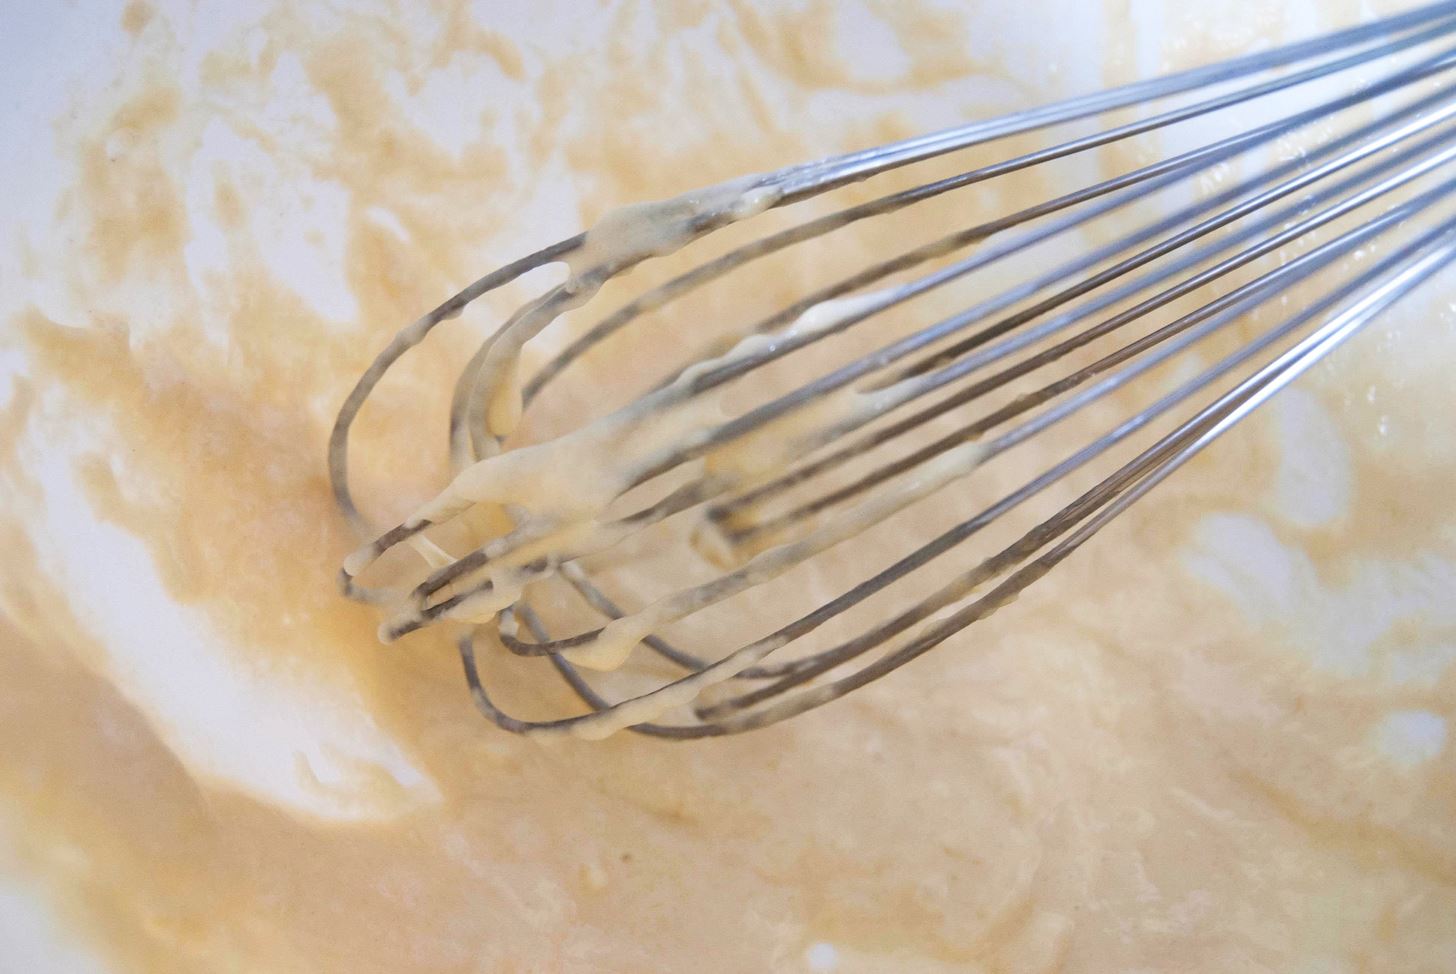
3. Try Not to Over-Mix the Batter
An important pancake-making PSA: lumps are fine when it comes to the batter! That means just mixing the batter until all the ingredients are barely incorporated, and there is no sign of dry flour. That's it! Your arms will thank you.
If you overmix the gluten it will begin to separate from the flour, and give your pancakes that dreaded chewy texture.
4. Do Not Pre-Make It
Making your batter the night or even hours before is a big no-no, because the baking soda and buttermilk will lose their effectiveness quickly when added together. For optimal fluffiness, it's best to prepare the batter right before you are ready to make the pancakes.
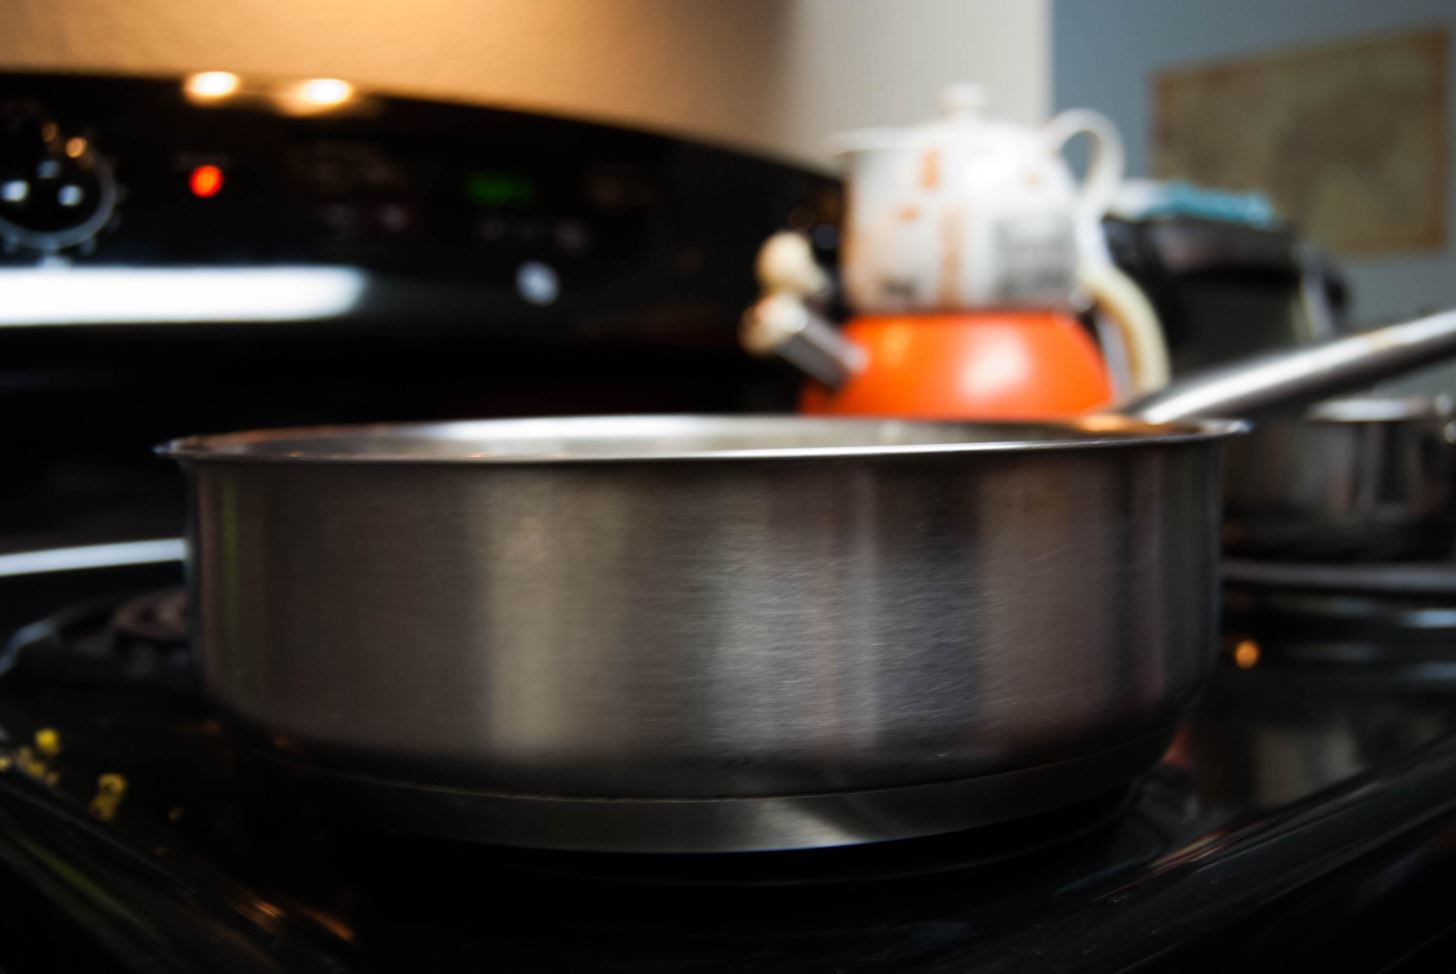
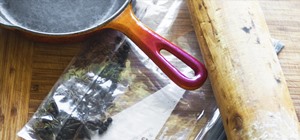
5. Use the Right Pan
A pan with a sloped surface is not your friend when you are making pancakes. Look for a griddle or a heavy-bottomed pan instead. It's important that your pan is not thin or your pancakes will most likely burn. Make sure your pan is also wide enough that you will have enough room to flip properly.
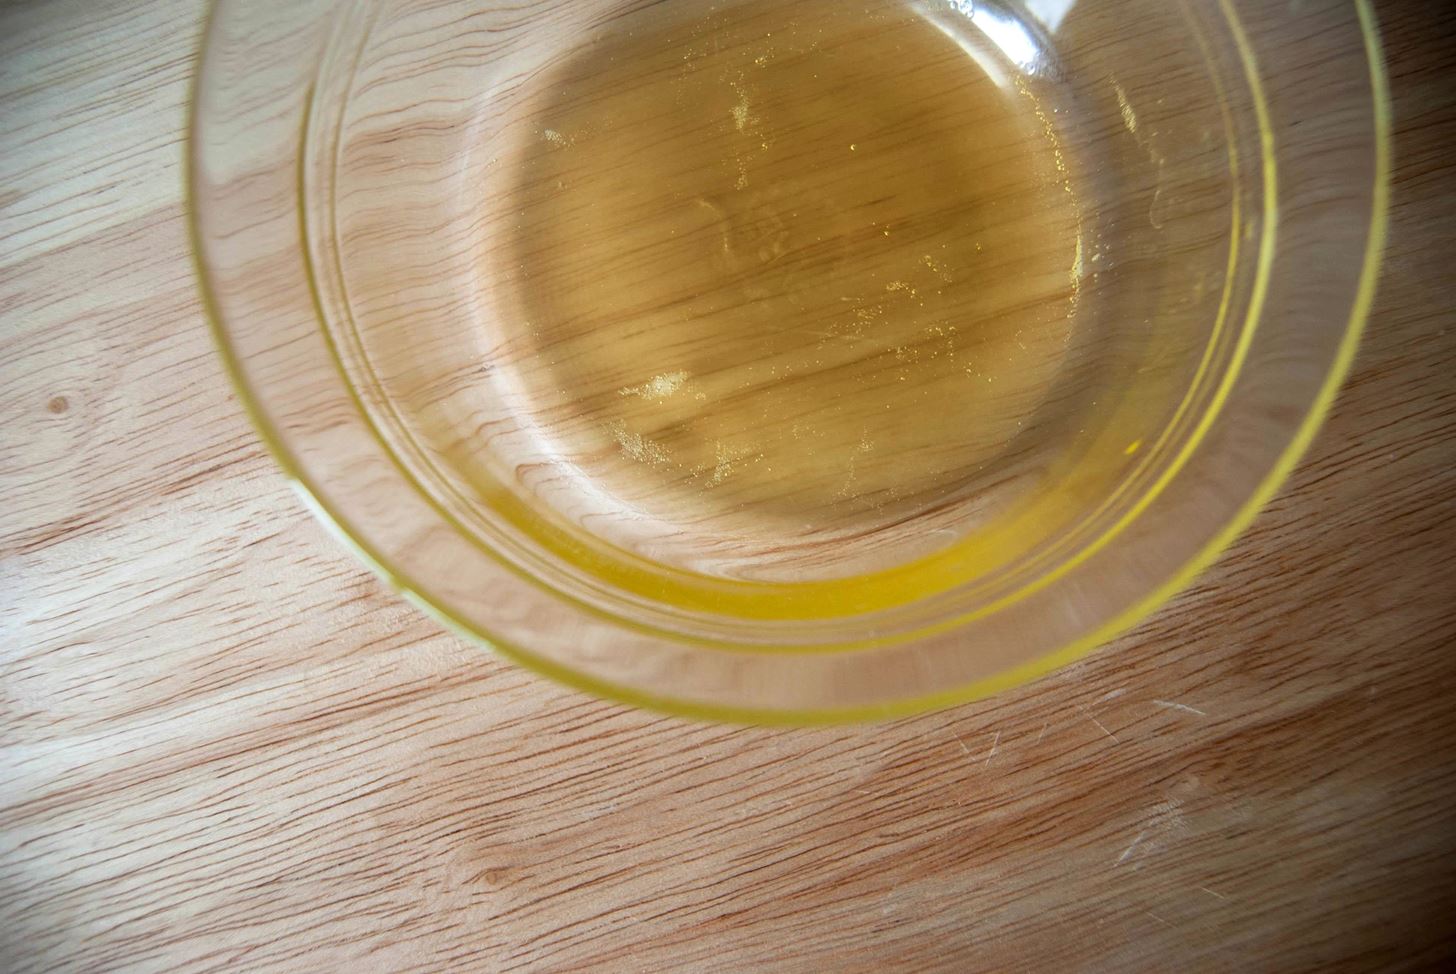
6. Use Clarified Butter to Oil the Pan
Butter and oil can easily burn, especially when exposed to heat for the duration of your pancake-making sessions. To avoid this, use clarified butter that does not have the milk solids present (which are responsible for the quick burning).
7. Test Out the Pan with a Test Batch
Do not be afraid to sacrifice a few of your initial pancakes as guinea pigs for the rest of your batch. Having a "test run" will allow you to identify if your pan is at the correct temperature and whether it has any cold spots. If so, that can easily be remedied by rotating the pan around throughout the cooking process to heat it more evenly.
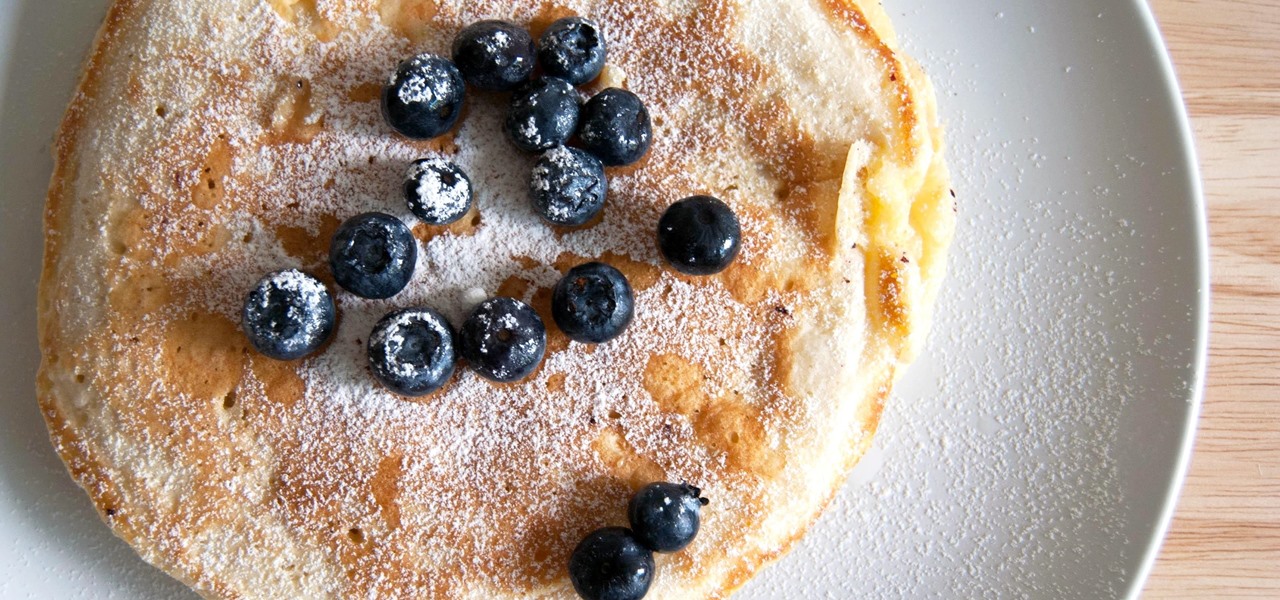
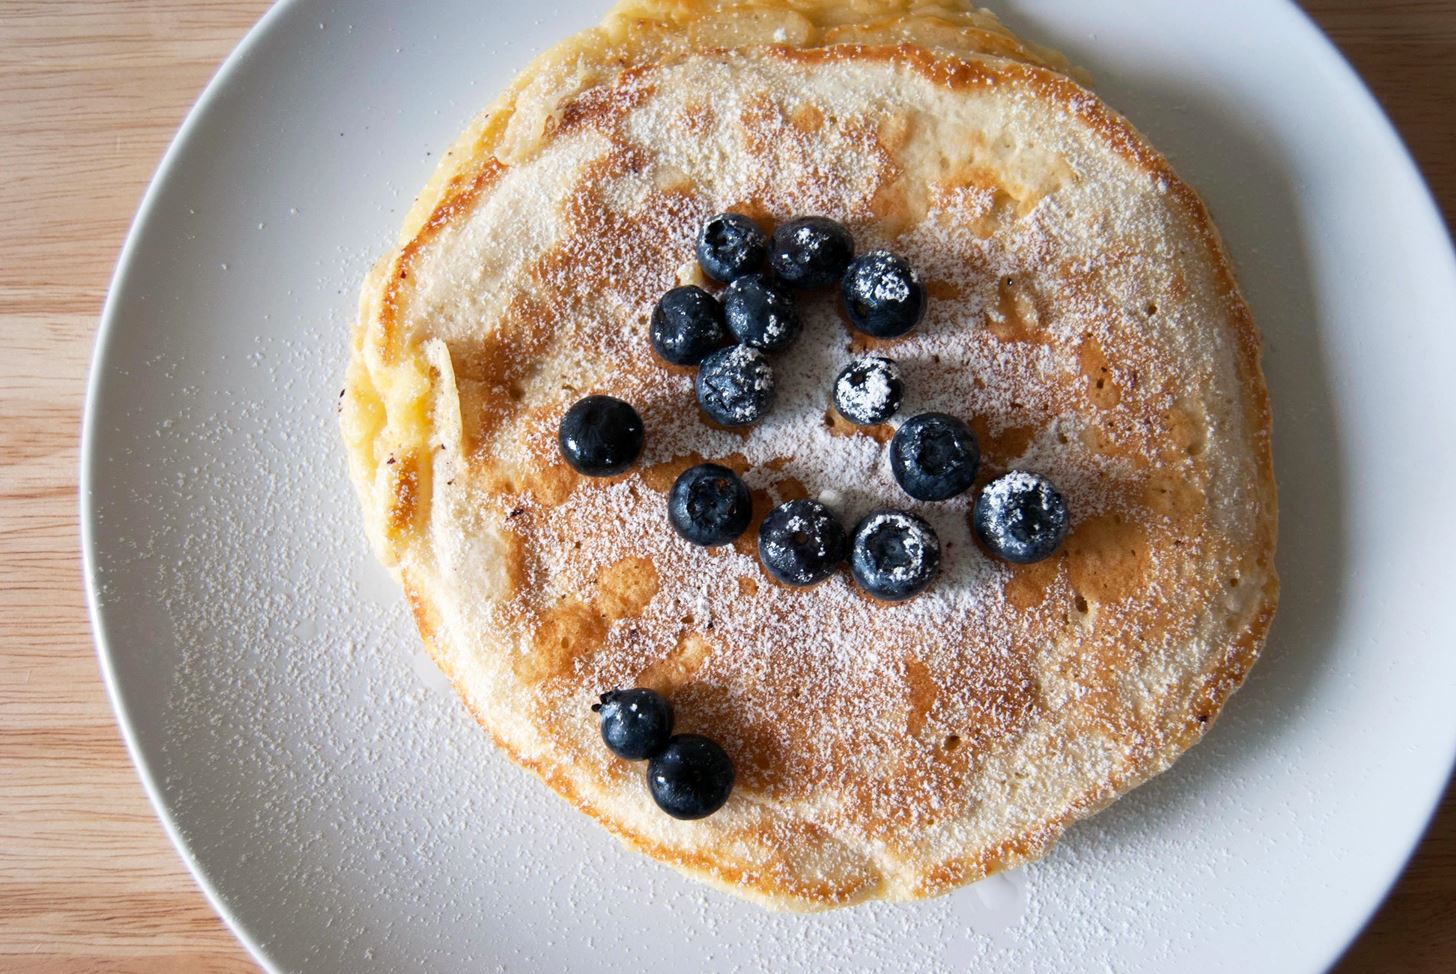
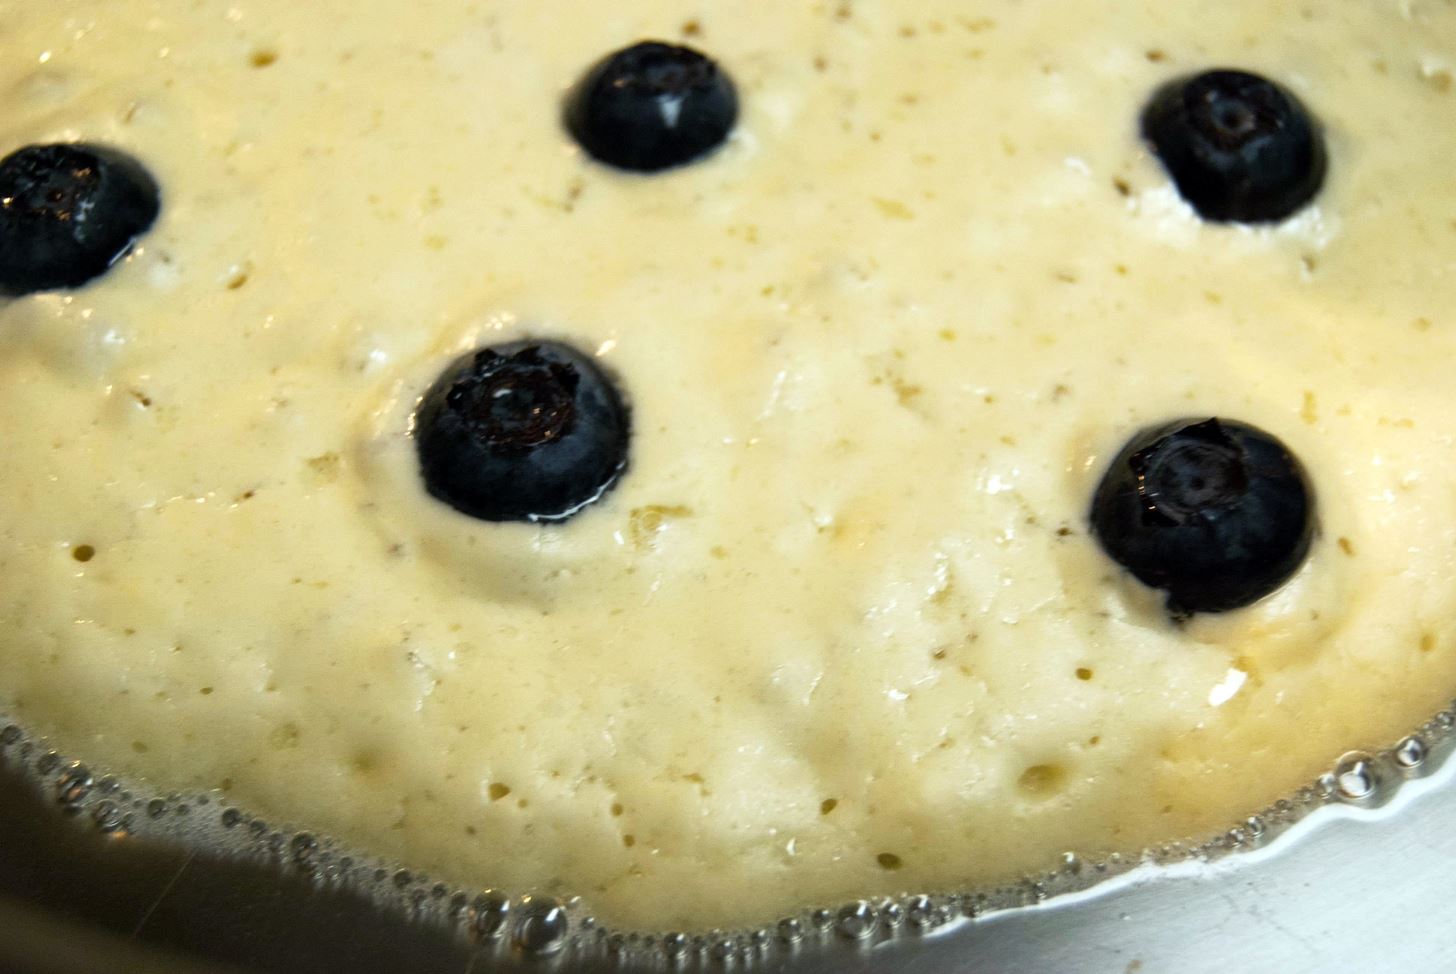
8. Add Berries to the Pancakes, Not the Batter
One of the great joys of pancake-making is customizing them to your personal taste by adding fruit and/or chocolate. The problem is that berries and chocolate are more dense/weighty than the batter itself, and when they are dolloped onto a griddle with the rest of the pancake, they sink to the bottom. This means they have more contact with the heat source, therefore heating up faster than the pancake itself. Burn city!
To avoid this snafu, place your berries and chocolate pieces in each pancake by hand after it is in the pan or on the griddle, instead of adding them into the batter. Because the bottom of the pancake will already have begun to set ever so slightly, everything will cook more evenly. No more feeling the burn!
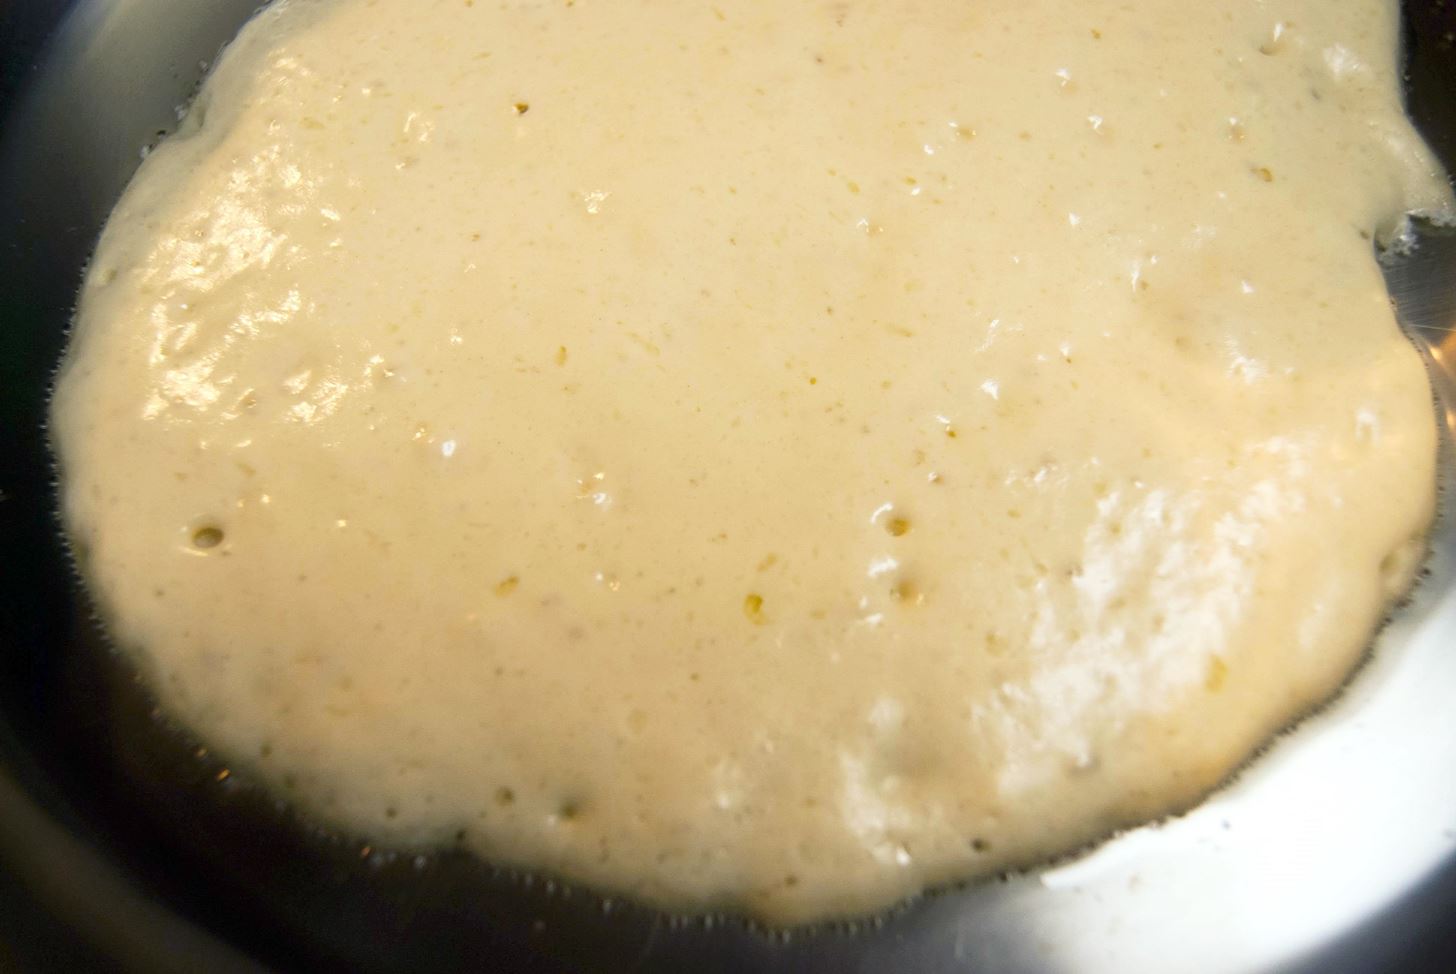
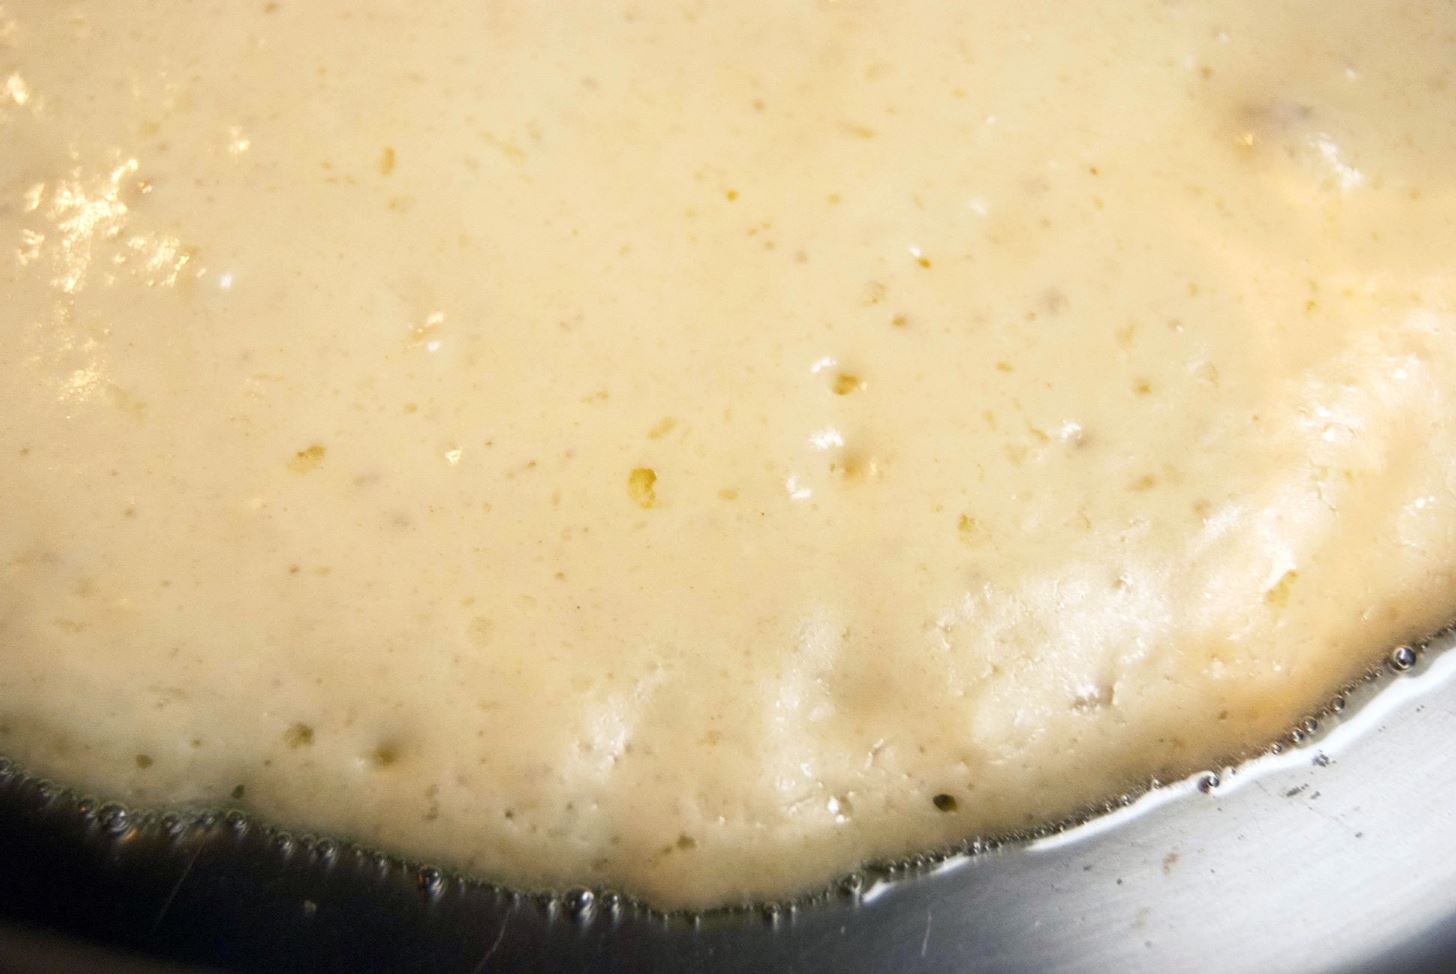
9. Know the Right Time to Flip
It can be tempting to flip your pancakes at the first sign of air bubbles, but hold off until the bubbles do not fill in with batter. You want to make sure your pancakes are filled with stable air pockets that will contribute to their fluffiness.
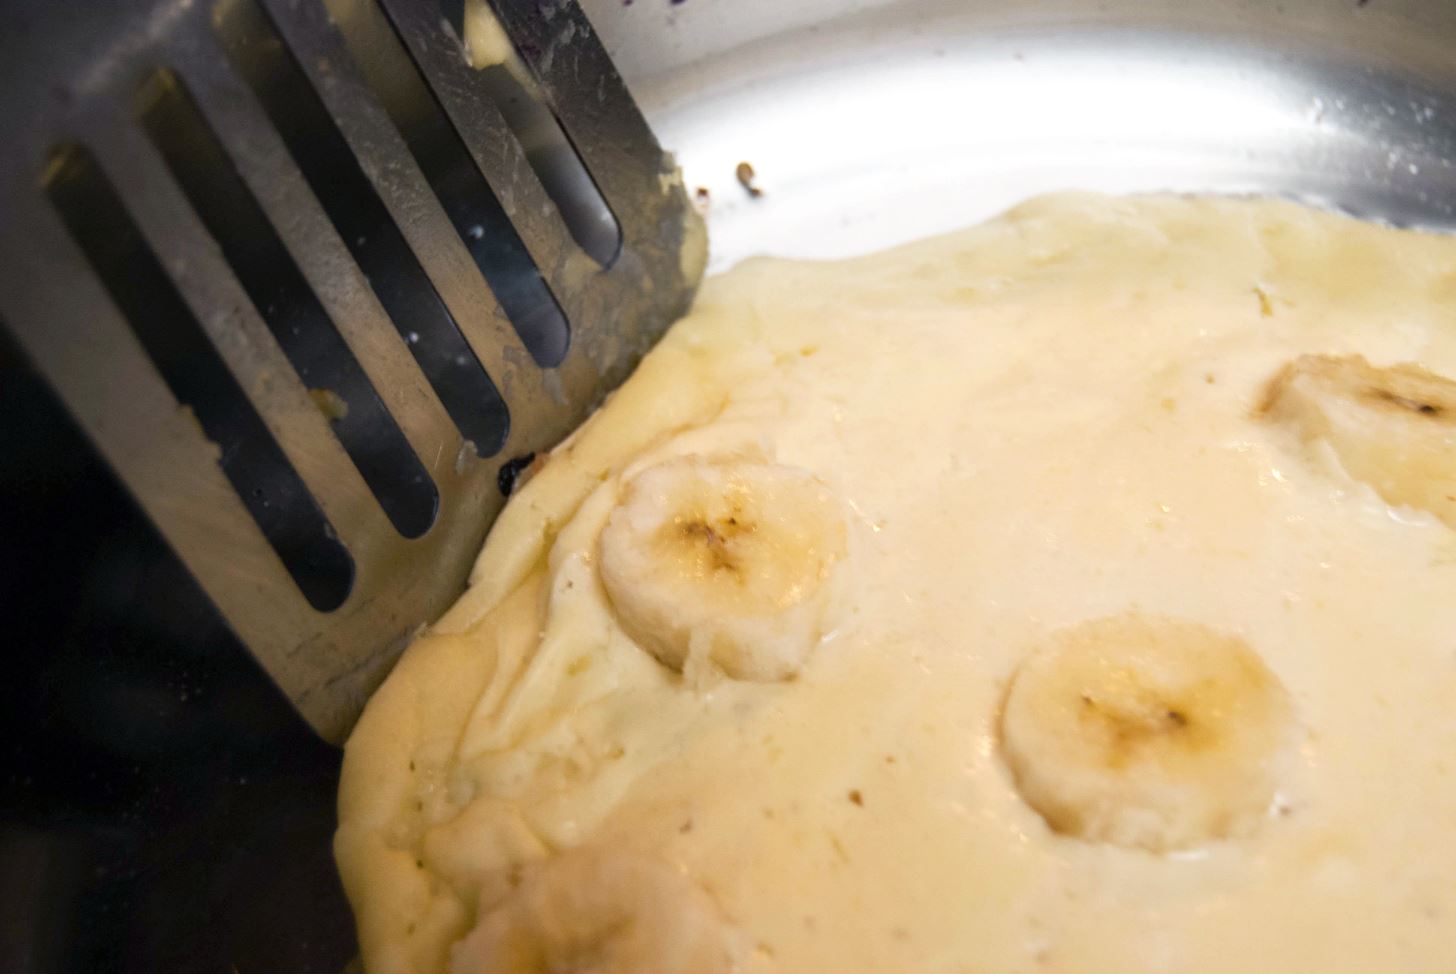
10. Learn How to Flip Properly
If you have been guilty of a messy flip, you are not alone, my friend. The common misconception is that you need your whole arm to flip. Instead, slide your spatula under the pancake, lift it about three inches above the pan and, with a subtle flick of the wrist, turn it over. Smear-free forevermore!
Now that you know all the secrets for making foolproof, fluffy pancakes, your weekend brunches will never be the same. You are now a pancake master!
Let us know in the comment section below how your next batch turns out.
More Perfect Pancake Hacks
Just updated your iPhone? You'll find new emoji, enhanced security, podcast transcripts, Apple Cash virtual numbers, and other useful features. There are even new additions hidden within Safari. Find out what's new and changed on your iPhone with the iOS 17.4 update.


Be the First to Comment
Share Your Thoughts