
Let's set the scene: you're at home, it's late in the evening, and you have a hankering for those deliciously decadent chocolate-wrapped squares of ice cream goodness. You could drive to the store and pick up the usual pack of Klondike Bars in the ice cream aisle... or, you can easily make these babies in the comfort of your own home with only three ingredients for a fraction of the cost—in any flavor you want!
The choice is obvious. So, without further ado... Ready, set, Klondike!
Ingredients
- ½ lb. dark chocolate
- 1 cup coconut oil
- a pint or box of your favorite ice cream (we used classic vanilla)
Step 1: Cut Your Ice Cream
First, make sure you use good ice cream. Can't substitute quality!
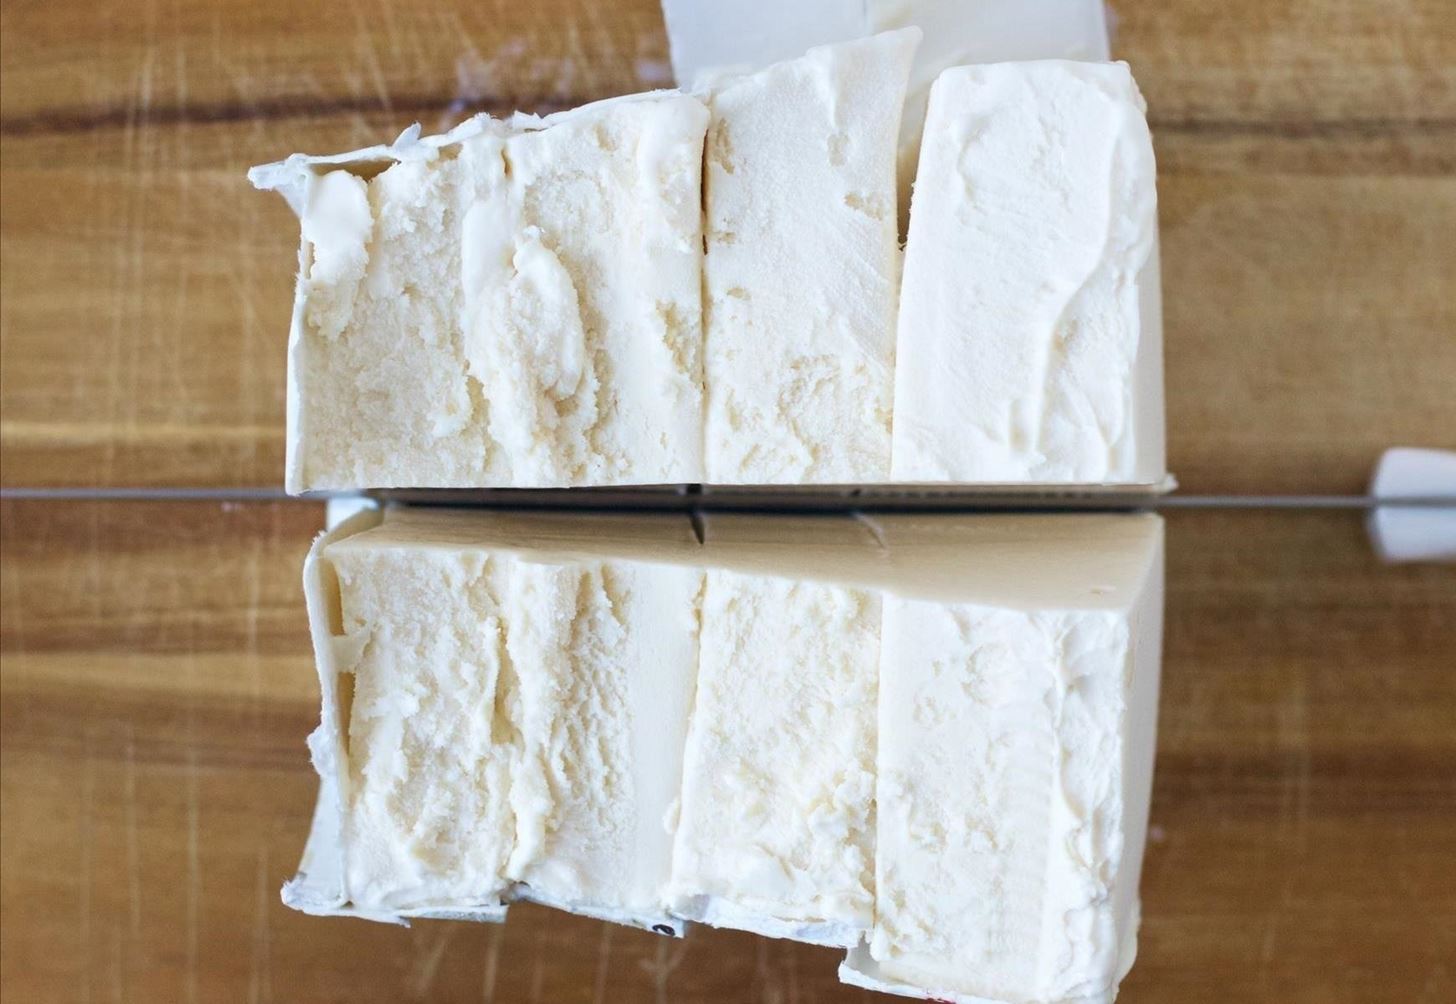
Take your ice cream out of the freezer, making sure it's nice and hard. Then, use a warm, sharp knife to slice the box down the middle. You'll have to move quickly at this point so your Klondike bars don't turn to Klondike soup.
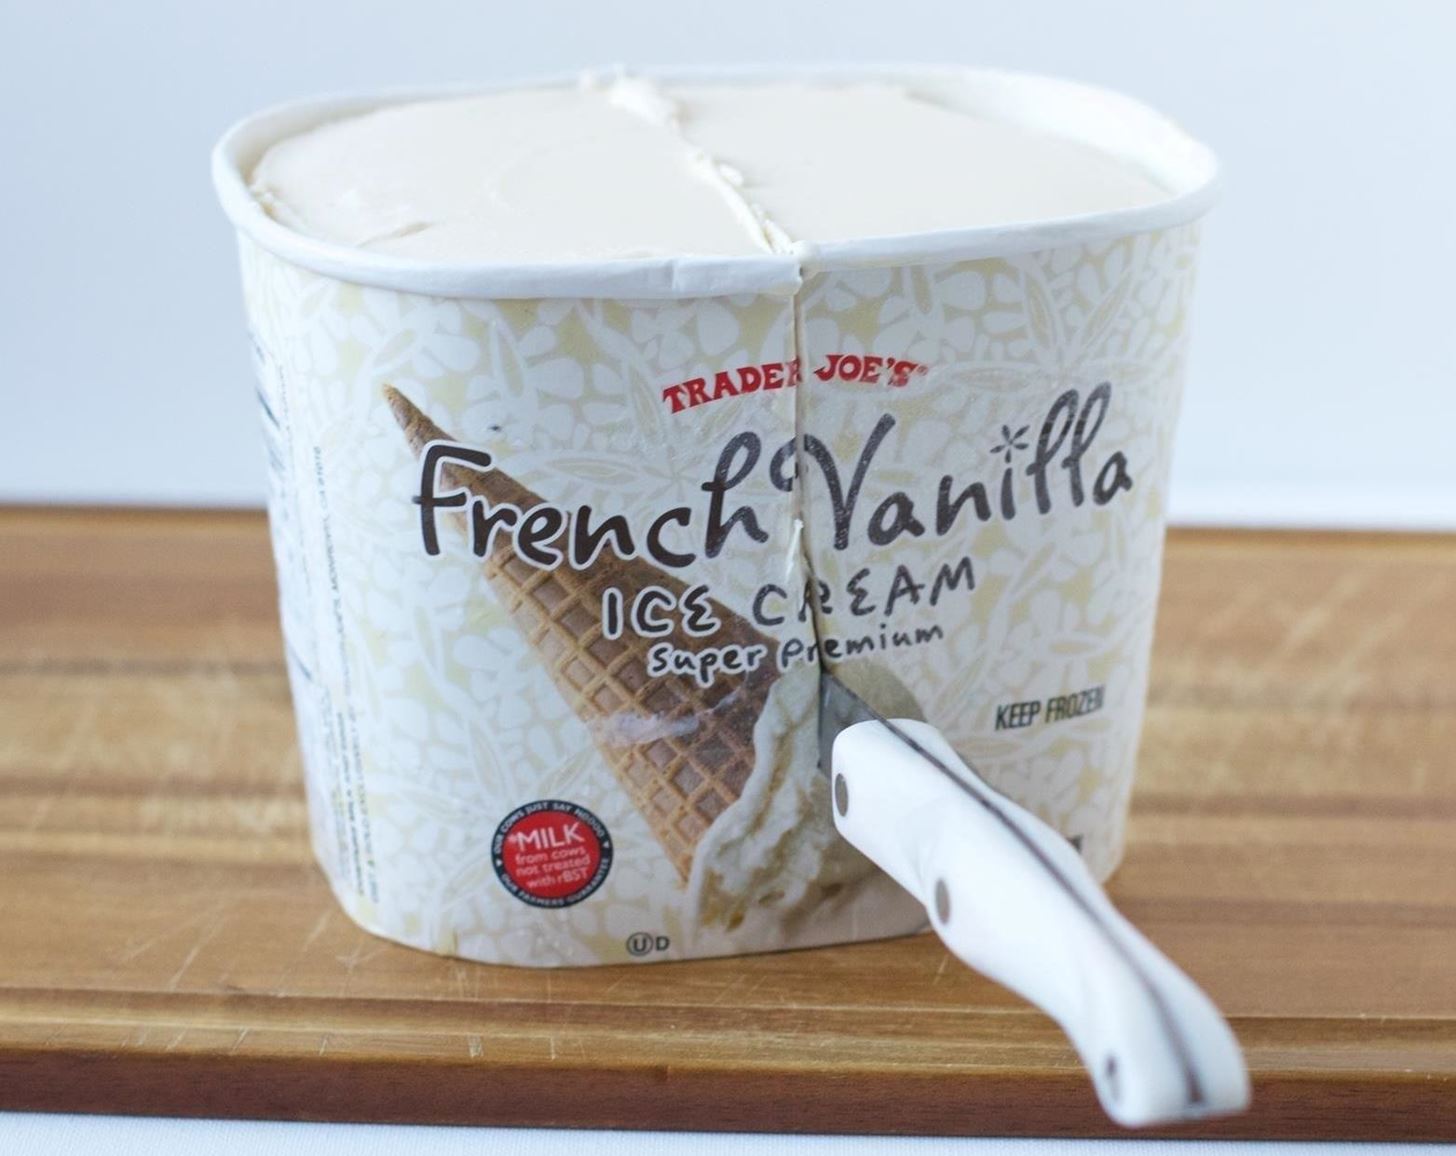
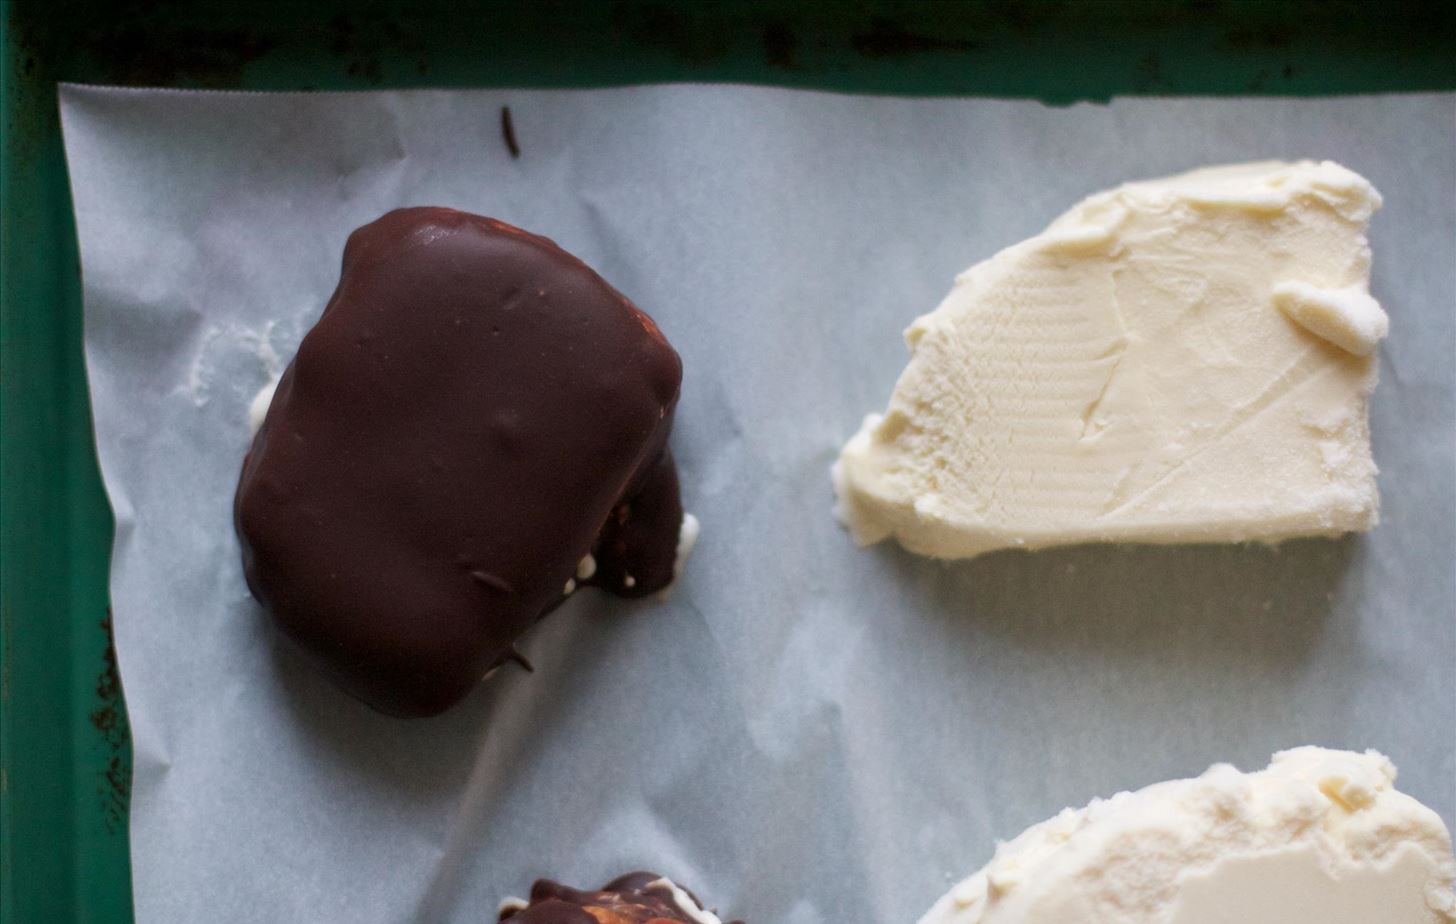
Next, take your half ice cream box and turn it on its side, then cut the piece into fourths, as shown below.
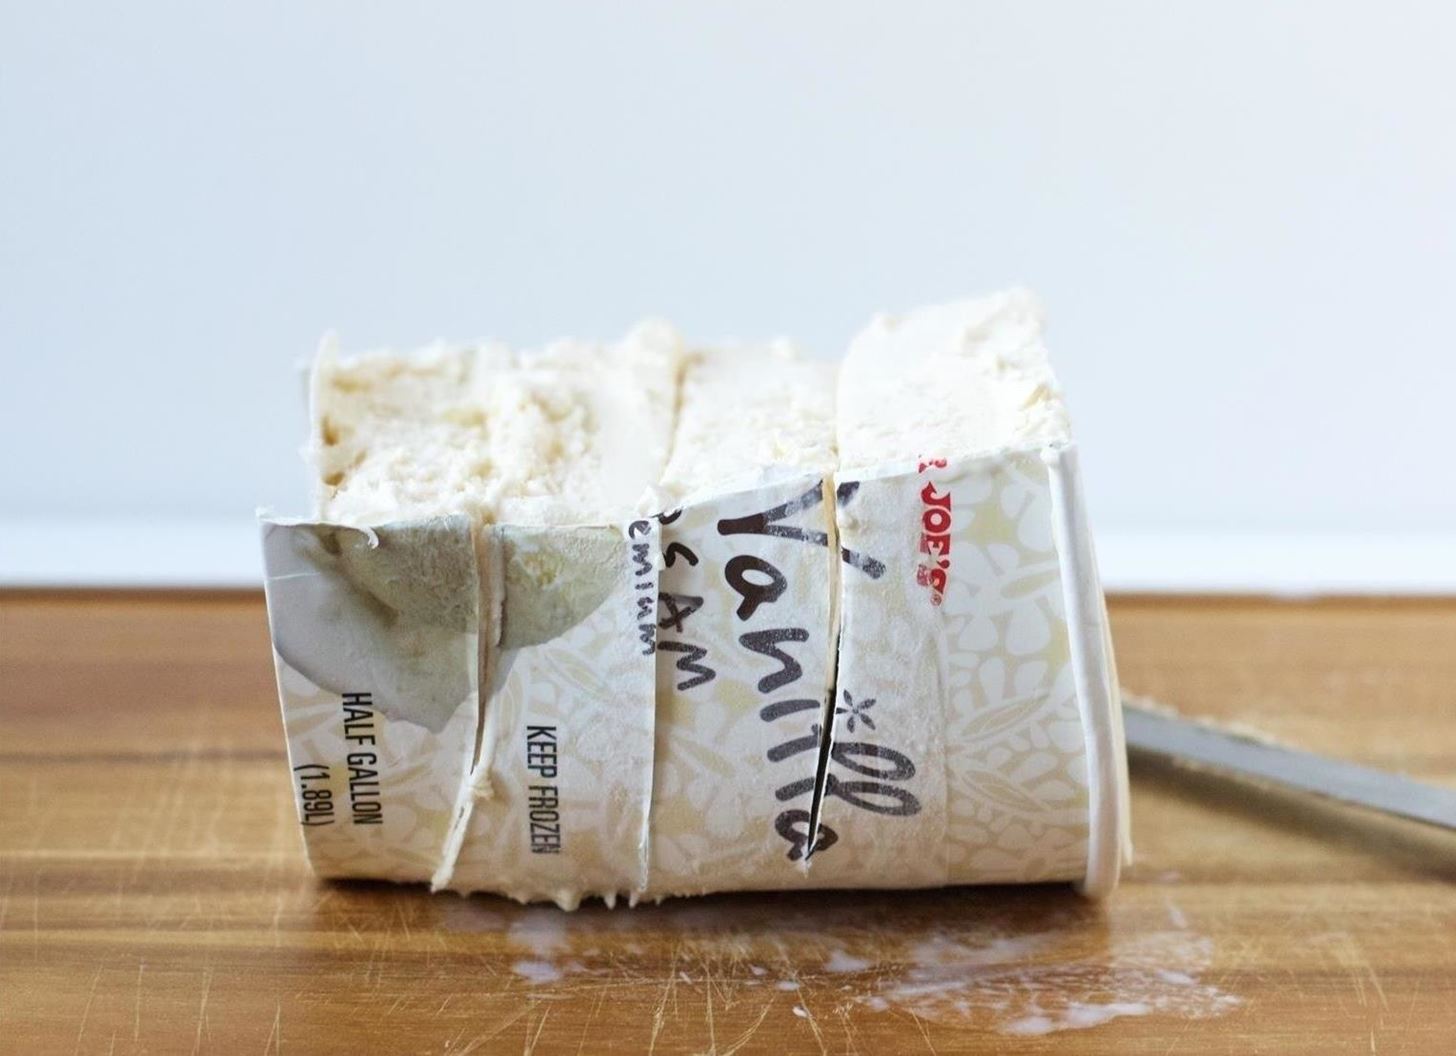
Lastly, make a cut that is perpendicular to your previous cuts to divide the ice cream block into 8 pieces. (If you use the entire ice cream package, you'll have 16 Klondike bars in total.)
Note: If you prefer to make your own ice cream, you can achieve the perfect squares that regular Klondikes are known for. Simply spread your ice cream in a pan, let it freeze, then cut it into squares.
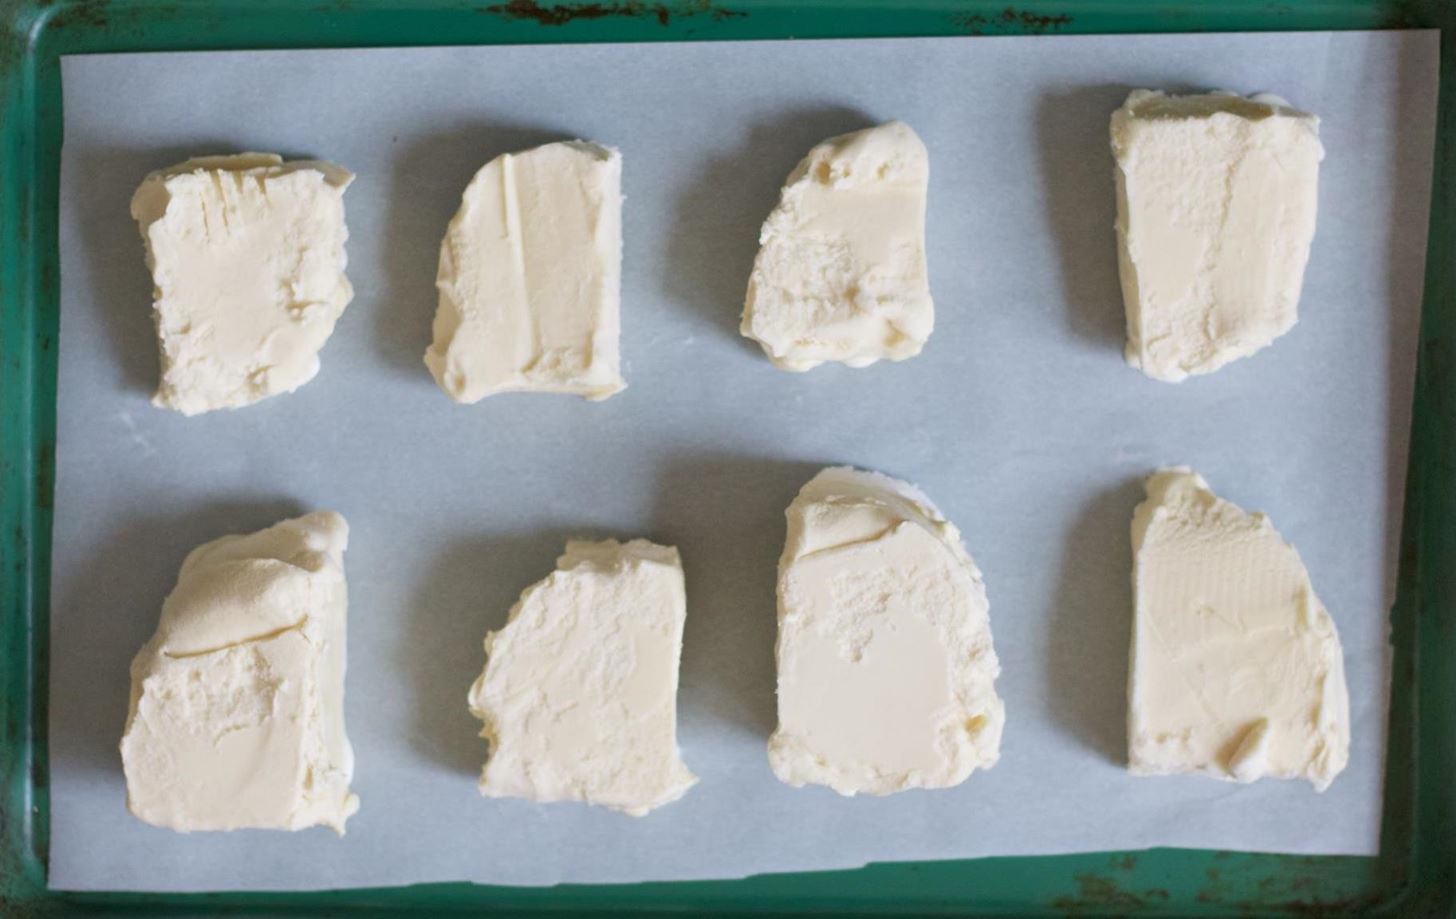
Step 2: Put Your Ice Cream Back into the Freezer
Place your ice cream "squares" in a single layer on a parchment-lined baking sheet, then toss them back into the freezer to harden them up while you prepare your chocolate sauce.
- Don't Miss: Cook Like a Chef & Use Parchment Paper Lids
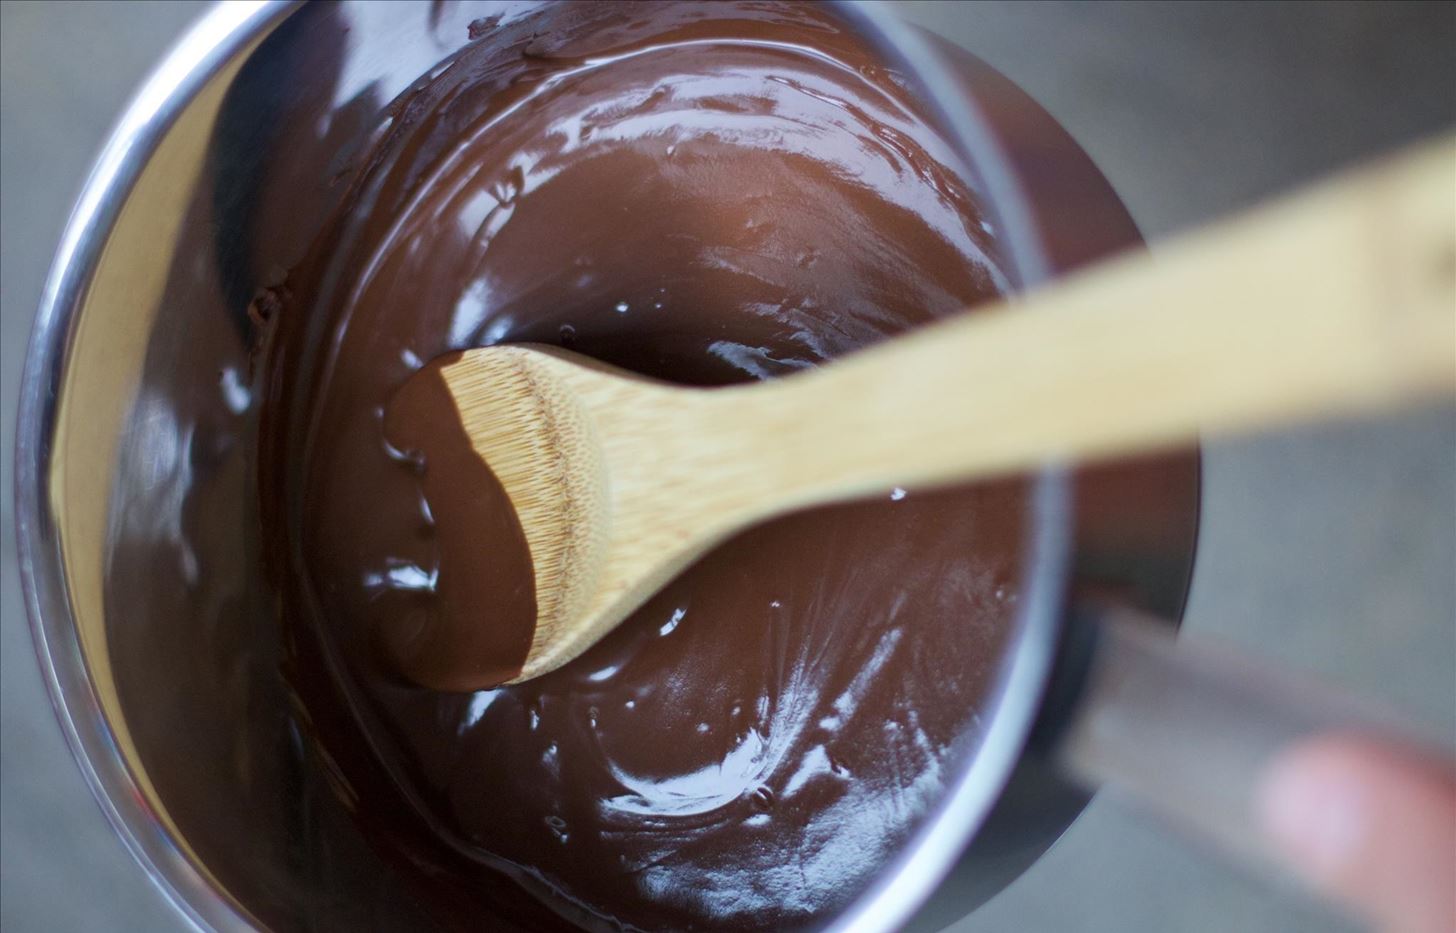
Step 3: Make Your Chocolate Sauce
This glorious chocolate sauce which will soon become the rich, tasty shell for your bar.
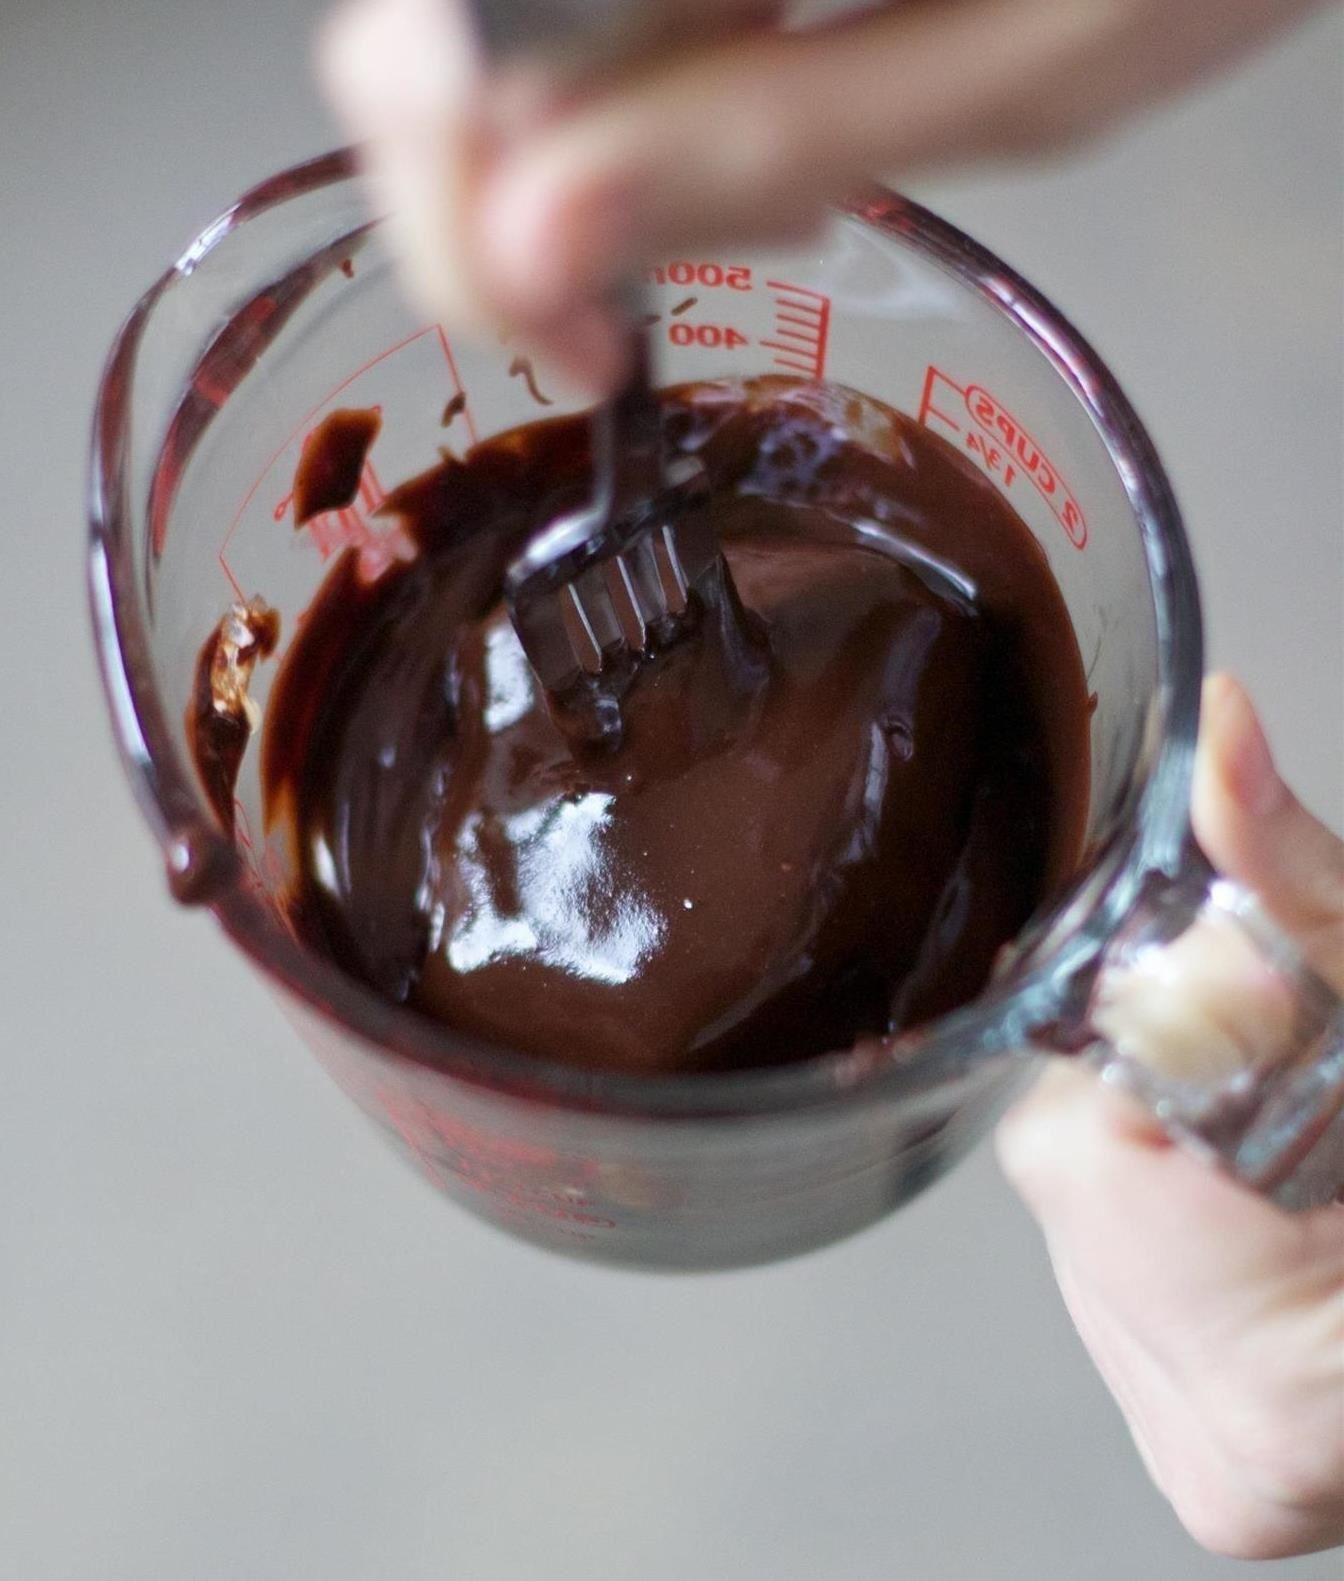
First, melt your dark chocolate with coconut oil on low heat in a medium-sized sauce pan, making sure to stir frequently (do not let your chocolate burn). It may seem like a lot of sauce, but we guarantee that it will be much easier to dip your bars with this amount.
- Don't Miss: 5 Delicious Reasons to Bake with Coconut Oil
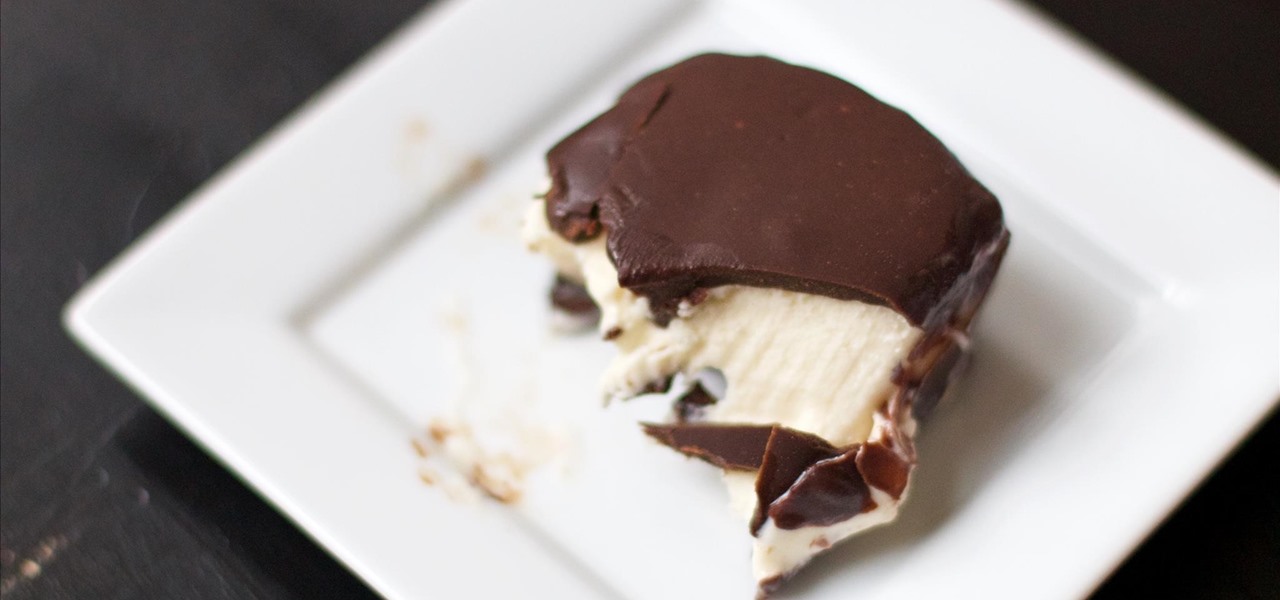
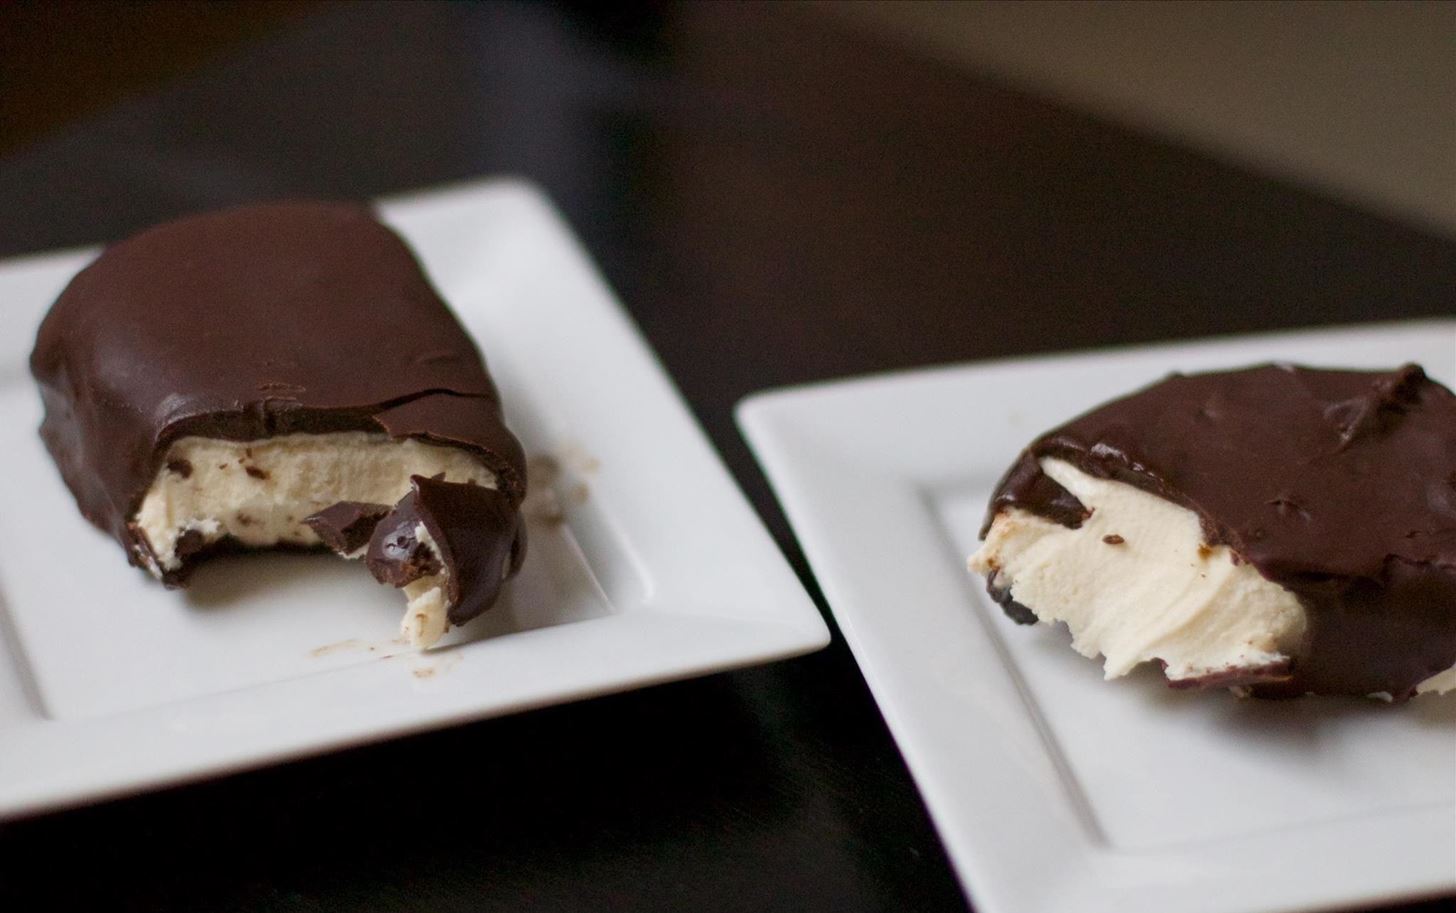
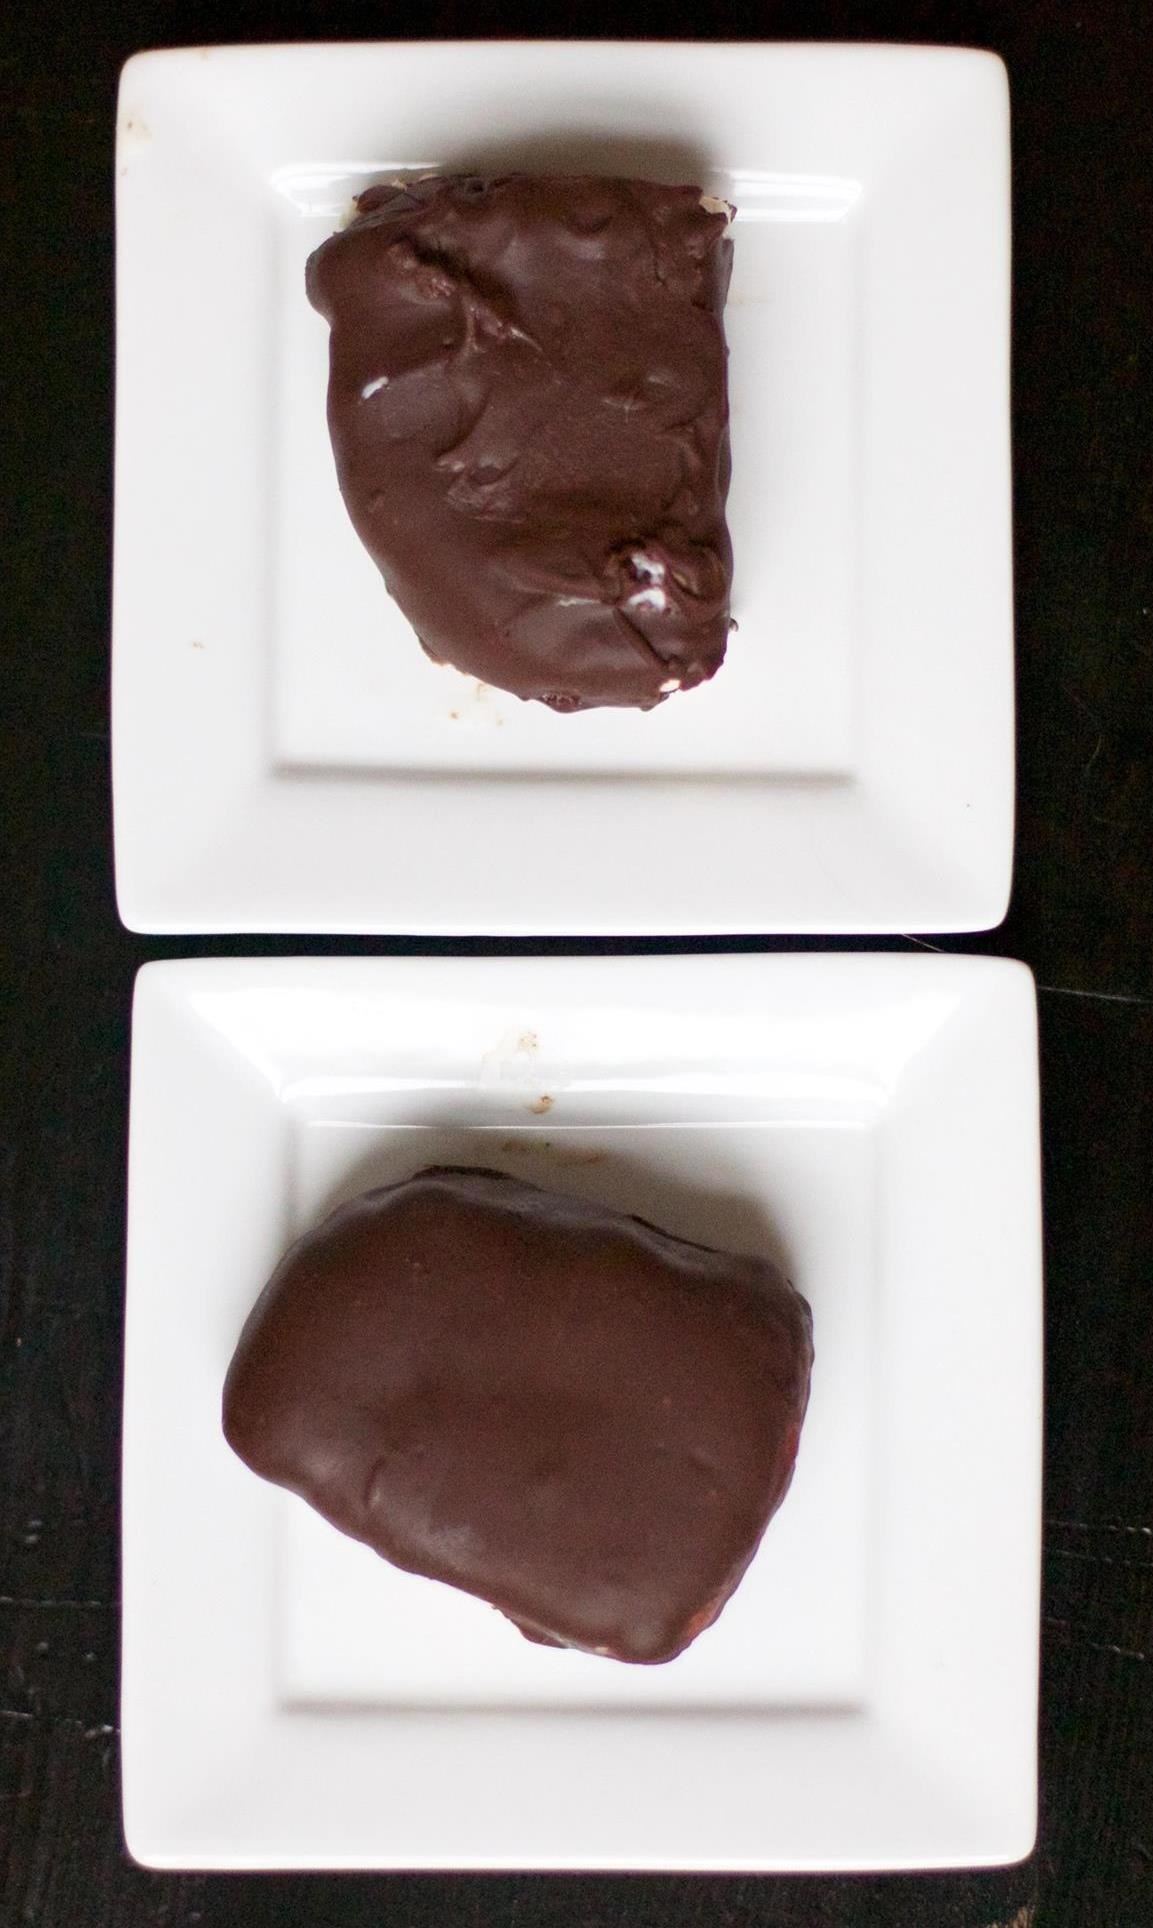
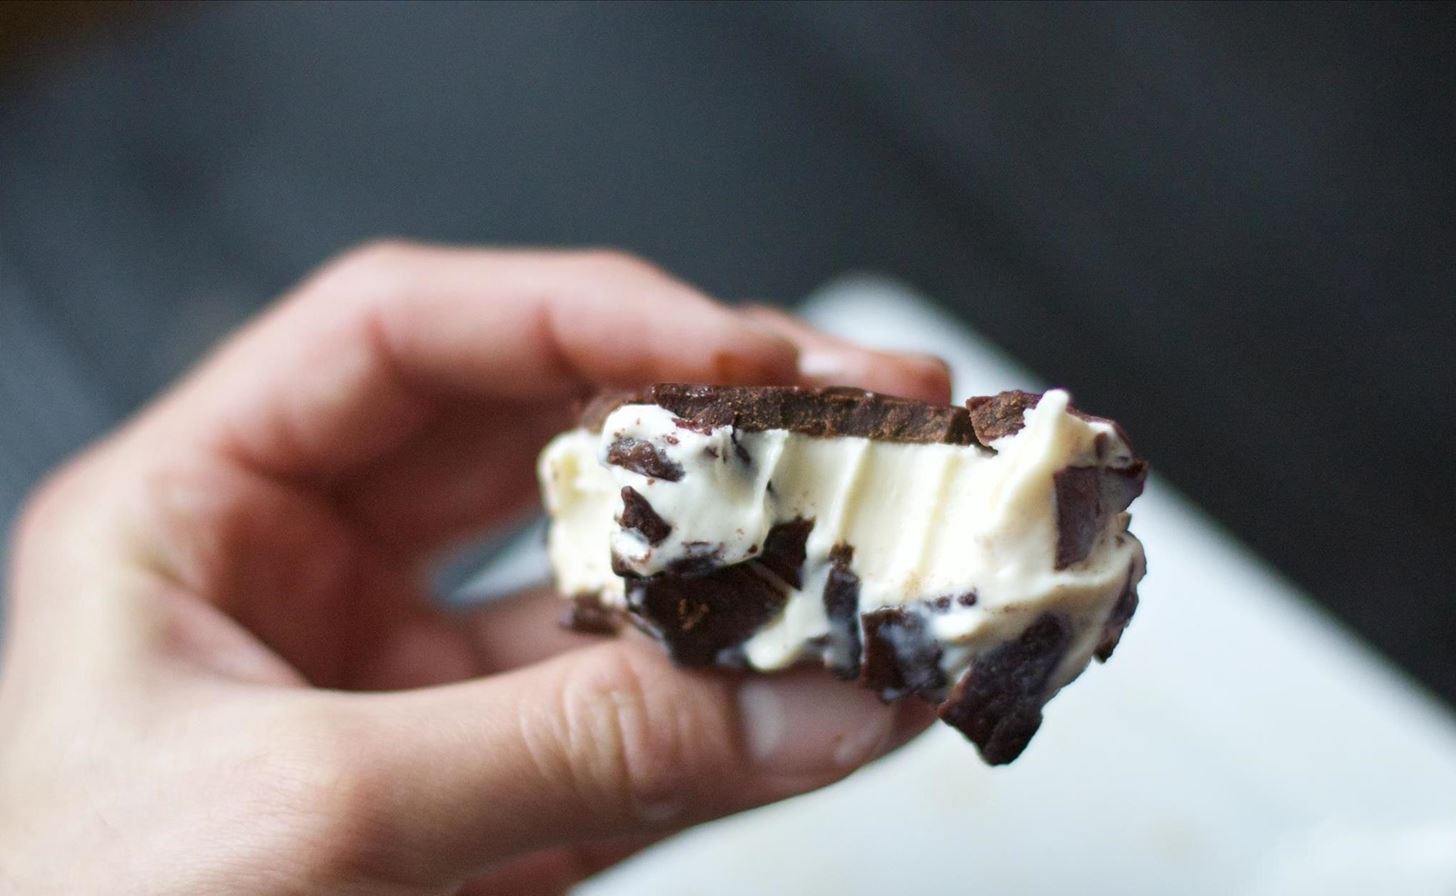
Step 4: Dip Your Bar
Check your freezer to make sure the ice cream has fully hardened again. Then, take them out of the freezer one at a time, stick a fork or popsicle stick in them, and dip them into your chocolate sauce. Rotate the bar so that the extra chocolate can drip off. It should take about 30 seconds to harden like a magic shell and attain a matte appearance.

Step 5: Put It Back into the Freezer
Put your completed bar back onto the parchment paper in the freezer, working quickly to exchange it with an uncoated bar.
Step 6: Dip & Repeat
Dip your next square and repeat until all of the squares are completed. Place them all back in the freezer and wait about 30-45 minutes to let the shells completely harden.
(We know it's tough, but trust us—the end result is worth the wait!)
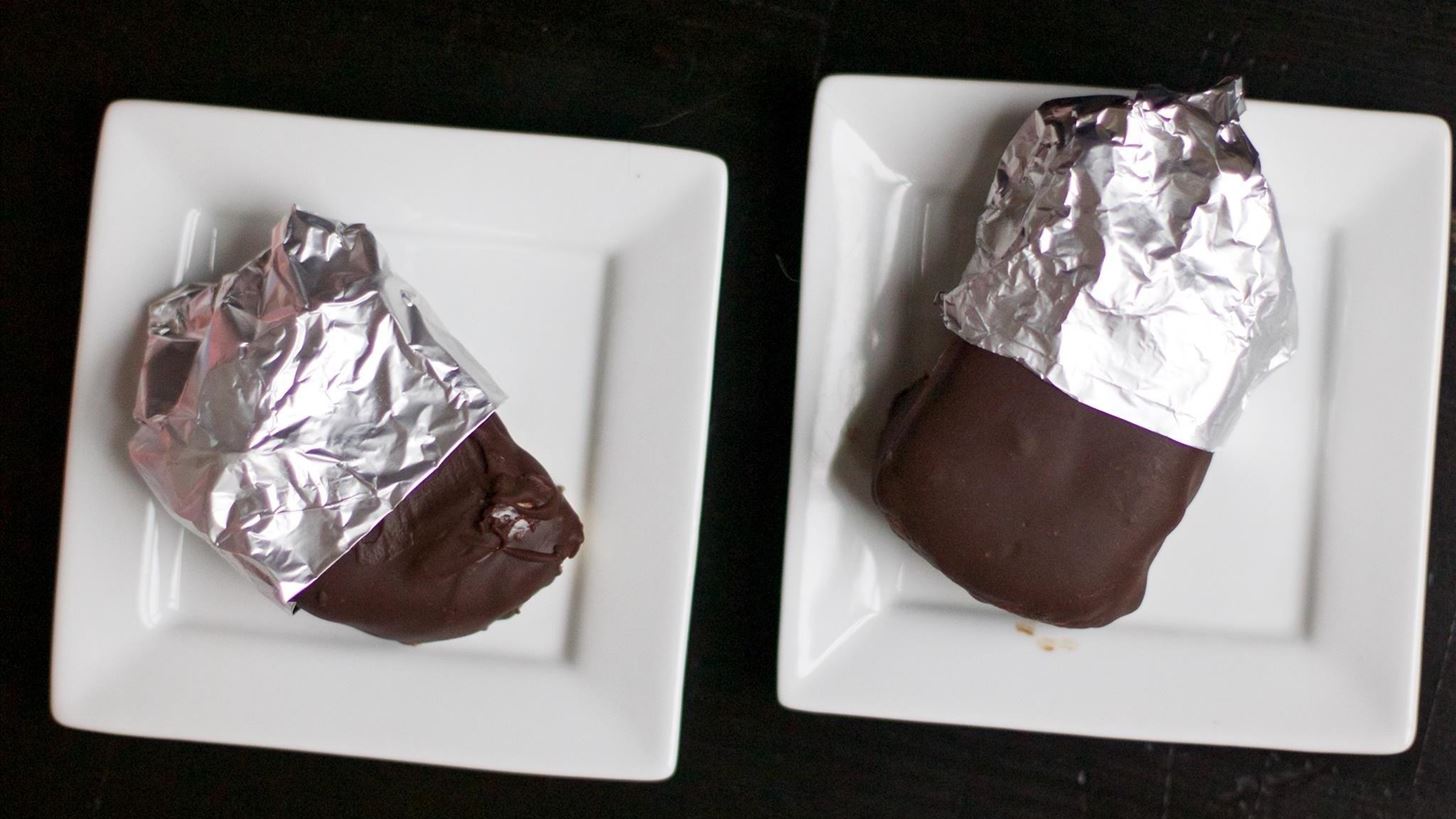
Step 7: Wrap Them in Foil
Remove the homemade Klondikes from the freezer, wrap them in foil, and let the ice cream party ensue.
- Don't Miss: 12 Brilliant Kitchen Hacks with Aluminum Foil
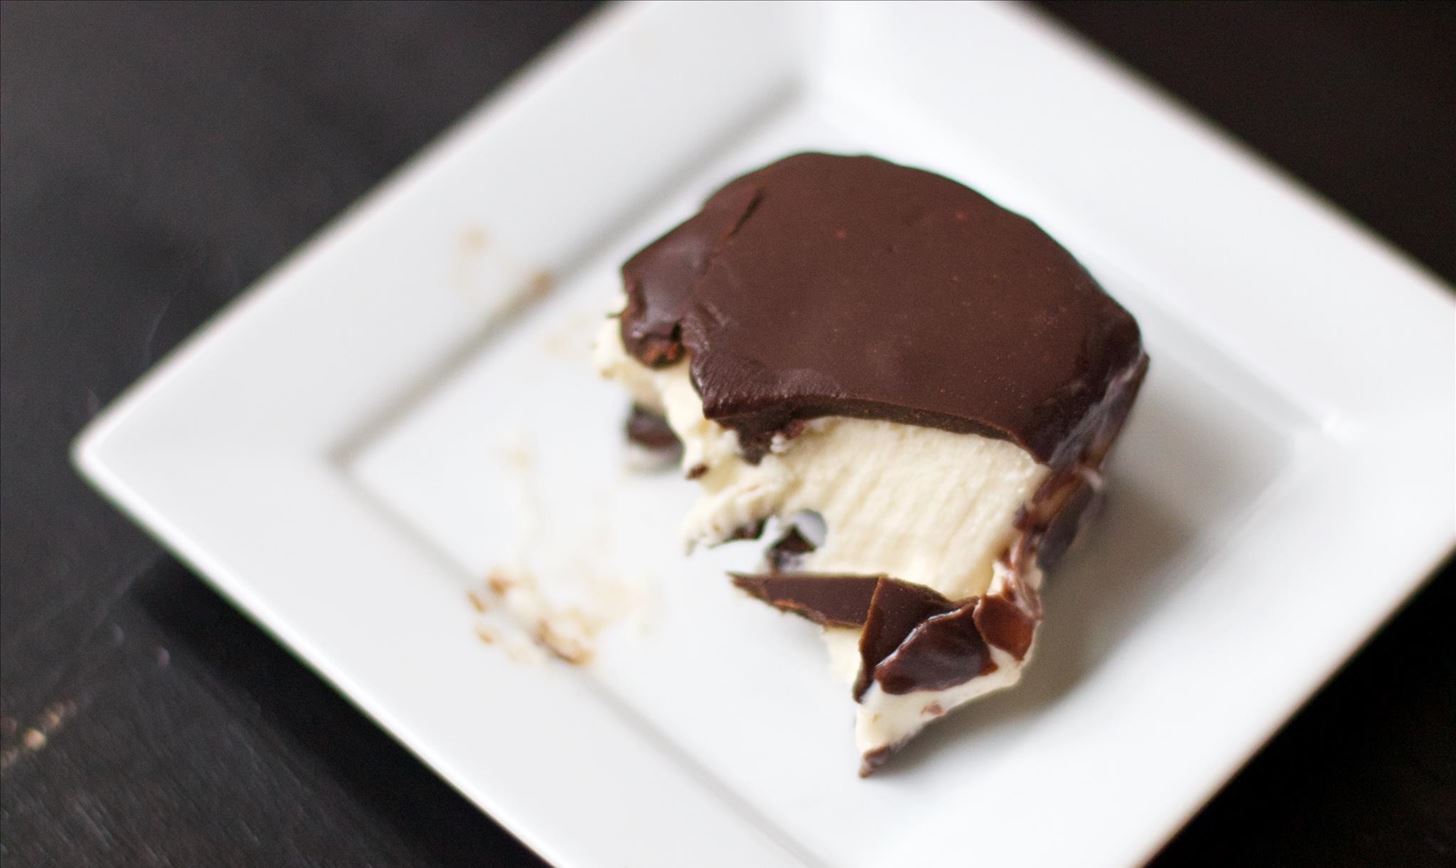
So—how do these measure up to the store-bought version? We find them to be tastier than the originals, actually. There's more depth, more richness, and the coconut oil adds a thickness to the chocolate that is velvety smooth. But don't take our word for it... try this easy recipe for yourself.
Now that you've satisfied your craving, the next question is this... what would your friends do for one of your amazing homemade Klondike bar? The power of this question lies in your own two hands.
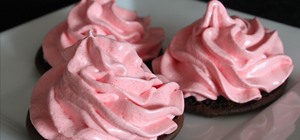
Get Creative!
Now that you know how to make the well-loved classic, try new things with your subsequent bars: top your bars with sprinkles, nuts, pieces of toffee, gold dust—anything you can dream of. Just allow your chocolate coating to drip off all the excess coating, then dip them in your preferred topping and follow the rest of the steps.
Your mouth will thank you.
Do you have any experience making homemade Klondike bars, or any fantastic dip and flavor combinations? Share it with us in the comments below!
If you liked this article, follow us on Facebook and Twitter!
More Excellent Ice Cream Hacks:
- 10 Reasons Why an Ice Cream Maker Is a Must-Have in Your Kitchen
- How to Make a No-Bake Ice Cream Sandwich Cake in 10 Minutes
- The Easiest Way to Make Guilt-Free Ice Cream
- Make Super Colorful Bread for One-of-a-Kind Ice Cream Sandwiches
- How to Turn a Pint of Ice Cream into a Freakin' Loaf of Sweet Bread
Just updated your iPhone? You'll find new emoji, enhanced security, podcast transcripts, Apple Cash virtual numbers, and other useful features. There are even new additions hidden within Safari. Find out what's new and changed on your iPhone with the iOS 17.4 update.


1 Comment
Some additional flavors that come to mind are taking some peanut butter,(organic) that is always separating from it's oils, and stir just well enough to make an oily peanut butter to dip the ice cream in, put in freezer, then dip in chocolate. A Reese's ice cream bar. Also put mint ice cream slightly softened, into an icing bag with a fairly wide tip. Put a light strip down the middle of one side of vanilla ice cream and refreeze. Repeat for other side. Then dip in Chocolate and refreeze. Peppermint patty bar. Use chocolate ice cream bars w/ a stick in middle of end and freeze. Then dip in chocolate. Brown mule.Endless possibilities.
Share Your Thoughts