Whether you call it chicken-fried steak, country-fried steak, Milanese, wiener schnitzel, or breaded cutlet, there's something irresistible about a piece of meat that's been treated until it's thin and tender, dredged in beaten egg and flavorful bread crumbs, then fried until the coating is crisp enough to shatter when you bite into it.

Check out the rabbit Milanese from Esquire's chef of the year (2012), Robert Donna. Yum.
Alas, most of us fall down when it comes to creating really delicious chicken-fried steak at home. It's disheartening to work on a dish only to have the coating taste bland, soggy, or not cover the meat evenly. Fortunately, amazing breaded cutlets are well within reach. You just have to know how to make them.
Get That Meat Thin
Even if the meat you've purchased is already pretty thin, you want to use a mallet (or a heavy cooking pan) to pound to a uniform thinness. Not only does this mean you'll get more surface area for more crunchy coating and soften the protein fibers within the meat, the meat will cook more evenly if there are no lumps and bumps. Check out the video from CHOW to see how it's done sans mallet
Bonus: this is a great alternative to having road rage.
Season Well, Season Often
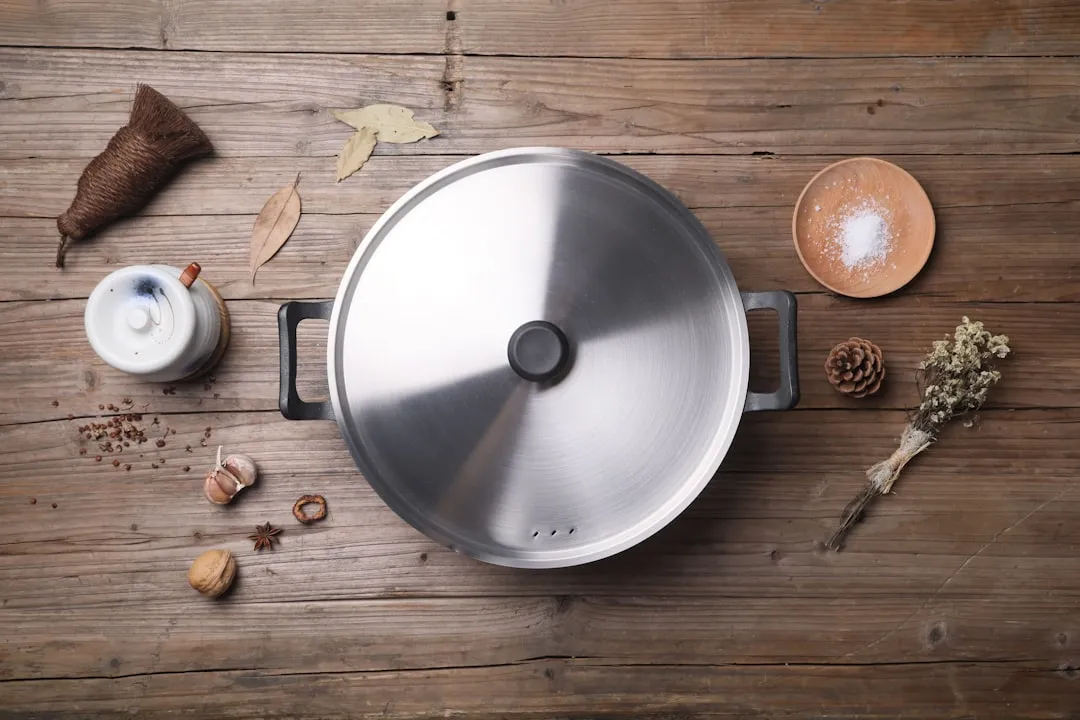
The beauty of the breaded cutlet is that you can use a cheap cut of meat (in fact, you should use a cheap cut of meat—breading really prime beef would be a crime). That means you have to be careful about seasoning your breaded meat in several layers—the more layers of seasoning, the more tasty the overall effect once you cook and eat it.

This stuff, added in several stages, is essential for a great breaded cutlet.
I like to season the meat right after it's been tenderized, then I like to add a little more seasoning to the coatings. I also like to add a little more salt after it's been fried. More on that below.
Coat the Meat Multiple Times
To get to crunchy perfection, you have to have multiple layers of coating on your meat to make sure the breadcrumbs will really adhere to the surface. You want to coat it in three substances in this order: flour (you can use cornstarch, tapioca starch, or potato starch if you're avoiding gluten and/or wheat), beaten egg, and breadcrumbs (good gluten-free subs include any kind of nut flour, cornmeal, or quinoa flour.)

Almond meal or flour makes a great, protein-packed alternative to regular bread crumbs.
If you decide to season the meat with salt (aka brining) prior to dredging it in flour, make sure you blot it dry. Any excess moisture = sogginess once it hits the frying pan.
I like to add a pinch of salt and some paprika to the flour, which I feel adds depth to the taste as well as a beautiful color. A little dried thyme is nice, too. A tablespoon of grated Parmesan or a teaspoon of mustard powder mixed in with the breadcrumbs adds even more of a kick in the pants.

Paprika is used often in Hungarian cuisine, but hails from various provenances.
If I'm out of those ingredients, I usually just season the meat, blot dry, then add a pinch of salt and pepper to the flour and breadcrumbs for extra flavor.
Coat Thoroughly, but Without Excess
Place the cuttlet in your bowl of flour, pack it down and make sure it's in every crevice. Repeat on the other side. The cutlet should have a fine, even coating of white dust. After you dredge your meat through the flour, make sure there aren't any clotted or caked-on areas. If you have excess flour in certain areas, just pinch each corner of the meat between your forefingers and thumbs and shake it off over the bowl or sink.

Make sure you put your flour in a big dish or bowl so you can put the entire cutlet in there.
Next comes the egg. Dip each side of the meat into the beaten egg (you can add a little water or milk if the egg by itself seems too thick and viscous, or if you don't have quite enough egg to coat all your cutlets). Make sure to hold up the meat and then let the excess drip off. You want just enough egg to make sure the next layer, the breadcrumbs, really stick, but not so much that it'll keep your cutlet from getting nice and crispy.
Which brings us to the next tip from Serious Eats: have your plates of coating lined up one after the other, assembly-line style. It'll make the process a lot easier.

Setting up an assembly line keeps thing organized and fast.
Really Press the Meat into Your Crumb Coating
Have your breadcrumbs arrayed in a thick, even layer in a dish that's bigger than your cutlet. This really saves on frustration and helps you make sure the breadcrumbs cover the entire surface of your cutlet easily.
Lay your cutlet atop the crumbs and then use your hand to press the meat firmly into the crumbs so they stick. Then switch and do the other side, pressing again. Really press 'em! If I'm cooking more than one cutlet, I actually go back and do this whole breadcrumb routine a second time starting with the first cutlet, just to make sure I don't have any empty spots.

You can use your fingers or the palm of your hand to really press the cutlet into the crumb coating.
Pro Tip: Use Different Kinds of Crumbs
While using regular breadcrumbs or panko (an exceptionally light, crispy variety of breadcrumbs from Japan) is always tasty, you can make your breaded cutlets even more fun by using potato chip, tortilla chip, cornbread, pretzel, or even biscuit crumbs. I keep a freezer bag and throw all the "crumb dust" from various chips, etc. in there and use it as an all-purpose breading source.

Rich, eggy, and decadent, brioche is great bread for eating and to turn into crumb coating, too.
Use a Good-Quality Cooking Oil with a High Smoke Point
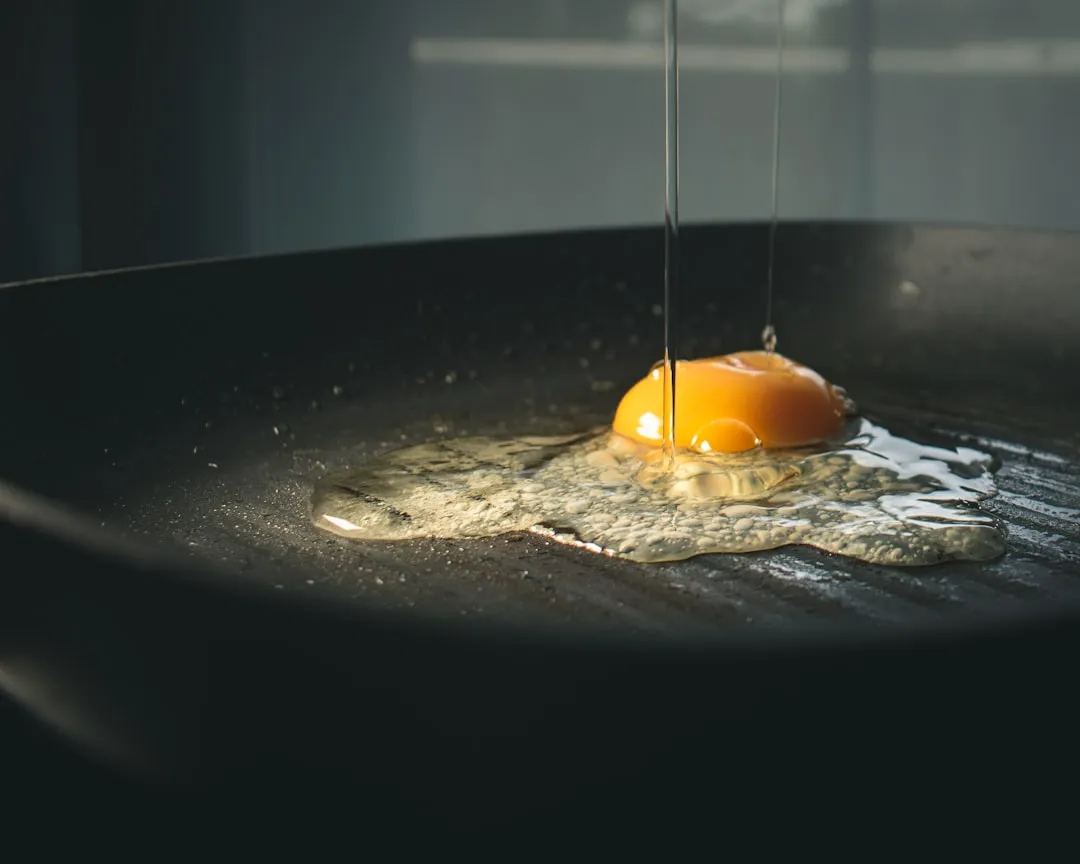
A neutral-tasting vegetable oil that can get pretty hot without smoking is key, here. Without high heat, you won't get the crispy brownness that's so key with a breaded cutlet. Serious Eats recommends pouring in enough oil so that it comes at least halfway up the sides of your cutlet.
A couple of other great points: don't add your cutlets until the oil is ready (dunk a piece of bread or even a cheap wooden take-out chopstick in the oil; if it sizzles and bubbles, the oil is hot enough).

See? Those takeout chopsticks have a lot of uses.
Also make sure not to crowd your cutlets, even if it means you cook them one at a time. There are many reasons for this. It's harder to flip food without mishaps when your pan is crowded. Plus, too many items in one area means more moisture, which means your food sautés rather than fries. Also, if you have many items in one pan, your cooking oil will be absorbed more quickly, which means you'll have to add more.
If you want to avoid the whole splattered-with-oil conundrum, then skip the spatula and use tongs or chopsticks to flip the meat.
Drain, Drain, Drain
When I first made breaded cutlets, I didn't drain them. Why? Because I love fat, I hate using up paper towels, and I might be an idiot. Alas, this meant that my first take at country-fried steak tasted mostly like grease.
So after you're done cooking, make sure you put your beautiful, golden-brown breaded cutlets on something absorbent so they can drain. If you've got brown paper bags or clean scrap paper handy, you can use those if you don't want to use up too many paper towels.

Don't be distracted by the beautiful crispy coating. The paper towel is there for a reason.
And as mentioned above, a little salt on these cutlets after you've cooked 'em makes a big difference, too.
What are your secrets for breading and frying meat?
Cover image of traditional wiener schnitzel via The Kitchen Project



Comments
Be the first, drop a comment!