Making bread from scratch is extremely difficult. Painstakingly following instructions does not necessarily guarantee successful results. Baking delicious homemade bread takes practice, skill, and frankly, a level of real culinary artistry.
Enter the no-knead method. First popularized by Jim Lahey, owner of Manhattan's Sullivan Street Bakery, the no-knead method requires truly minimal effort. You need 24 hours to create a loaf, but as Lahey promises: "The method is surprisingly simple—I think a 4-year-old could master it—and the results are fantastic."
I bought Lahey's book. I baked the bread. And Lahey is right—it's essentially dummy-proof. The results are strikingly good, considering the effort required. The best part? It only takes approximately 10 minutes of manual "work". Time does all the real work.
So, why exactly does the no-knead method work? In a NYT piece on Lahey's bread back in 2006, Mark Bittman asked Harold McGee—breadmaker and author of On Food and Cooking—for a scientific explanation of the process:
"It makes sense. The long, slow rise does over hours what intensive kneading does in minutes: it brings the gluten molecules into side-by-side alignment to maximize their opportunity to bind to each other and produce a strong, elastic network. The wetness of the dough is an important piece of this because the gluten molecules are more mobile in a high proportion of water, and so can move into alignment easier and faster than if the dough were stiff."
The no-knead method wasn't invented by Lahey—in fact, it has been around for some time. So, why isn't it more widespread? Try it. It works. It's amazing.
Below, Mark Bitmman demonstrates how to make the basic no-knead bread; scroll further down for my slight adaptation of Lahey's recipe (also available here).
Ingredients
- 3 cups flour
- 1½ cups water
- ¼ teaspoon yeast
- 1¼ teaspoon salt
- olive oil
- extra flour (for dusting)
Equipment
- 2 medium mixing bowls
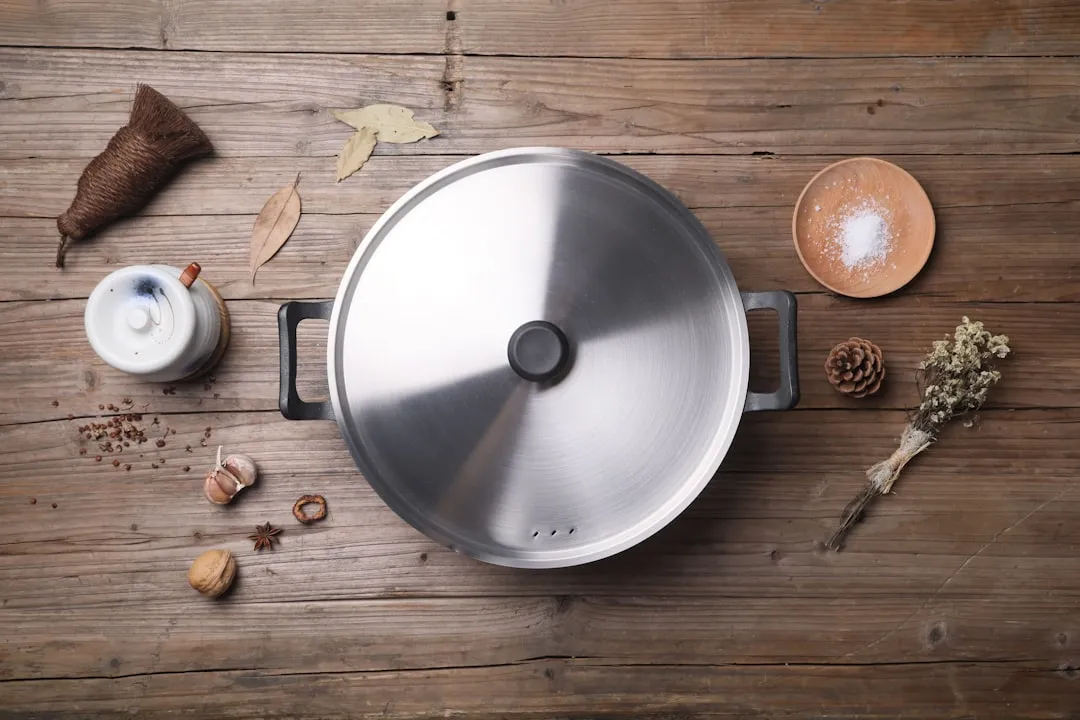
- 6-8 quart pot with lid (I use a Le Creuset cast iron pot)
- wooden spoon or spatula (optional)
- plastic wrap
- 2-3 cotton dish towels
Measure and mix together all your dry ingredients in a medium bowl. Slowly add 1½ cups of room temperature water, as you mix with your hand or a wooden spoon. I found my hand worked better than the spoon. The dough should be well mixed—not uneven or clumpy. Lahey says to only mix for 30 seconds to 1 minute. I obeyed this at first, but found that I needed extra time for proper mixing (perhaps 3-4 minutes). Once your dough is mixed, cover with the bowl with plastic wrap, and let it rise at room temperature for the next 12 hours.
After 12 hours have passed, remove the dough from the bowl and fold over once or twice. Shape into a ball, and generously sprinkle a dish towel with flour. Place the dough seam side down on the floured towel, and dust the top with flour. Cover the dough with a slightly damp kitchen towel, and let rise agin, but this time for only 1-2 hours at room temperature, until the ball has doubled in size.
Preheat your oven to 450°F. Place your cast iron pot in the oven for 30 minutes prior to baking. Take the preheated pot out of the oven after 30 minutes, and place the ball of dough in, seam side up. Cover with lid, and put back in the oven for 30 minutes.
WARNING: If your pot has a plastic handle (like the Le Creuset), unscrew the plastic top, and replace empty screw hole with the screw itself, or stuff foil inside to block the heat from seeping out.
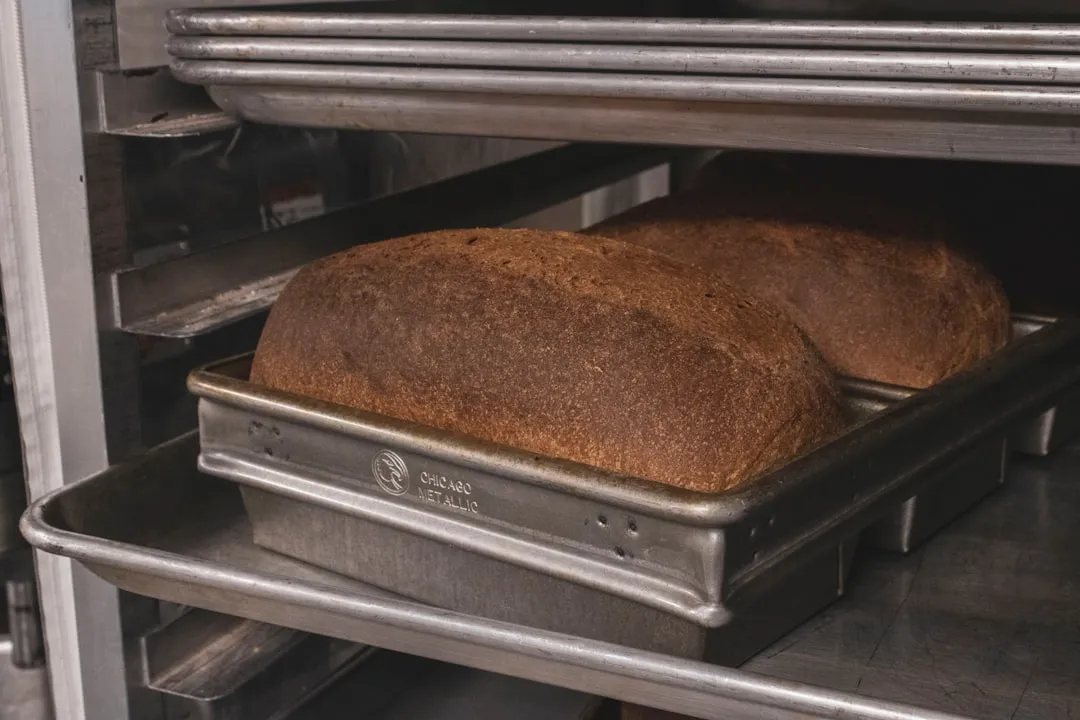
After 30 minutes has passed, remove the lid form the pot, and bake for another 15-30 minutes until the loaf is nicely browned.
Feel free to post any questions below.
Photo by daisybush








Comments
Be the first, drop a comment!