Chicken breasts have gotten a bad rap. Dry, flavorless, boring... poor white meat gets no love, and dark meat gets all of the credit for being sinfully flavorful and delicious. But the truth is, even though chicken breasts are lower in fat and calories, they can also be incredibly versatile and full of flavor... if they're prepared correctly.
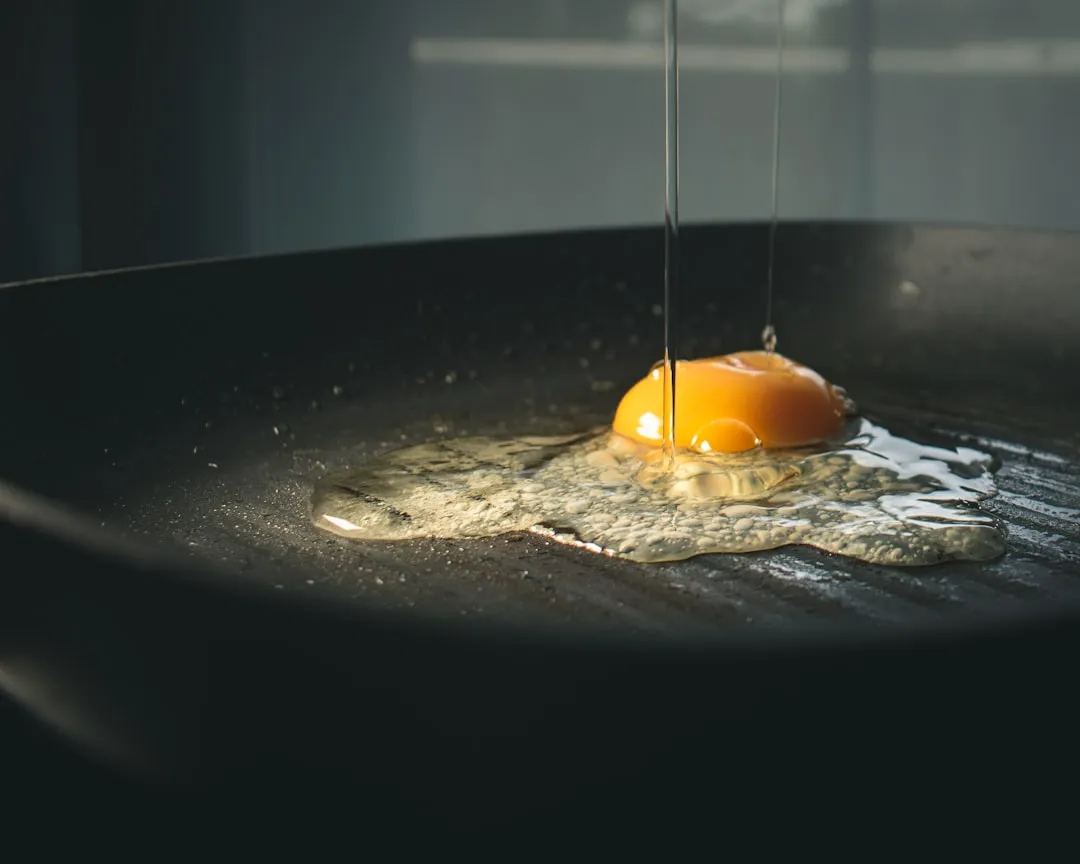
You're probably familiar with poaching, which is a technique that gently cooks more delicate meats such as chicken or fish fully submerged in a liquid bath at temperatures ranging from 160°-180°F. (Even if you're not familiar with poaching chicken, you're definitely familiar with poached eggs!)
However, dry poaching, also known as oven poaching, is easy and quick—and much less fussy. You're guaranteed juicy chicken breasts that are ready to be eaten as-is or used in a variety of recipes.
Inspired by The Kitchn, these chicken breasts are practically begging you to turn them into a plethora of delicious dishes you can throw together no matter how little time you have.
Ingredients & Supplies
- boneless skinless chicken breasts
- olive oil
- lemon(s)
- salt and pepper
- dried herbs (I use a mix of basil, oregano, rosemary, thyme, and tarragon)
- glass casserole or non-reactive baking dish that will fit the chicken breasts with a little room in-between each
- aluminum foil or parchment paper
Seasoning
Preheat your oven to 400°F. Drizzle the casserole or baking dish with the olive oil; it should coat the bottom but not much more than that. Using a handheld juicer or a lemon reamer (or just a fork, a knife, or even a pair of tongs), juice in to the casserole half a lemon for every two chicken breasts you are poaching. Add the salt, pepper, and herbs and mix well.
Arrange Them in a Baking Dish
Add the chicken breasts (you don't need to rinse them) and toss to coat with the oil/lemon/seasonings mix. Make sure that the breasts are smooth-side-up when you are done.
Dry Poach!
Cover with aluminum foil or parchment paper and bake for 35-40 minutes, depending on the size of the breasts and the number you are cooking. You can tell that they are done cooking when you stick a fork into the meatiest part of the breast, and the juices that come out are clear. Let the chicken breasts cool for a few minutes before slicing or shredding them.
Well, You See...
There is no Step 4!
However, if you aren't planning to use the chicken right away, I suggest slicing or shredding it and adding it back into the juices that accumulated while you cooked. You can then store it in the casserole (fewer dishes to wash—yaaaassss!) or put it in a container, and it will still be nice and moist when you want to use it. The cooked chicken can safely be stored in the refrigerator for 3-4 days and the freezer for up to 6 months (according to foodsafety.gov).
Now you have the perfect jumping-off point for easy midweek meals. You can use these succulent chicken breasts to make chicken enchiladas, chicken and broccoli Alfredo, and more delicious dinners. If you want something you can easily bring for lunch to work, whip up some chicken salad or a quick chicken and roasted pepper sandwich.
Make these perfectly poached chicken breasts on Sunday, and you'll be cooking on Easy Street all week long!







Comments
Be the first, drop a comment!