


There's something magical about homemade foods, especially when they're items that most people don't make. Even the simplest bread tastes divine when you've mixed it yourself, kneaded it yourself, and gotten the dough stuck underneath your nails.
So if a simple food tastes amazing when homemade, it goes without saying that the greatest foods taste nothing short of heavenly when you craft them in your own kitchen.
- Don't Miss: Make Quick, Easy Cheese Using Only 3 Ingredients
Enter bacon. It's hard to imagine that bacon can get better, but that's exactly what happens when you make it yourself.

Get Your Ingredients
Making bacon requires two specialty ingredients.
Pork Belly
Without pork belly, you can make beef "bacon" or turkey "bacon," but you can't make real bacon.
Pork belly isn't particularly hard to find; you usually won't find it at standard grocery stores, but nearly every high-end market will have it. I get mine at Whole Foods, where it's $5.99 a pound (and considering that a pound of store-bought bacon costs $6.11, that's a pretty good deal). If you can't find it at a high-end market, a butcher will always have it, and it's a staple item at Asian and Latino markets.

This pork belly still has ribs in it. You can bone them out or ask the butcher to do it for you.
The pork belly I used is folded over in most of the pictures in this article (you can see the two lines of fat in the middle, and a line of meat on both the top and bottom).
I did this for three reasons: first, because I bought a large piece of belly and didn't have a big enough ziplock bag for it; second, because I have a picnic-style grill and was afraid I'd get the fat too hot if it wasn't protected; and third, because I wanted to make a point that curing bacon is easy and flexible. You don't need special equipment or a ton of space. There's a lot of leniency to make it work, so if this is something you want to try, just do it!
Curing Salt
Curing salt is often referred to as "pink salt" or "Prague powder," and you can find at specialty stores, at many butchers, and online.
Curing salt is 93.75% salt and 6.25% sodium nitrite, and it serves a dual purpose in bacon making: it kills any bacteria in the pork, which keeps the meat from developing mold during the curing process, and it maintains the pork's pink color.

Many people are opposed to nitrites, and understandably so: they have been linked to many serious health concerns. My opinion here is an age-old adage: everything in moderation. That said, please be careful with curing salt: it is toxic if directly consumed, especially raw. Make sure your curing salt is labeled, always keep it out of reach of children, and always follow the recipe's recommended amount. Or, if you'd like, you can make nitrite-free bacon.
Optional: Liquid Smoke
You may also want to have a bottle of liquid smoke handy if you plan on finishing your bacon in the oven to give it the necessary flavor. If you plan to smoke it on your BBQ, the liquid stuff isn't necessary, but you will want to buy smoking chips (more on that below).

Flavor It Up
The beginning is where you can get creative. Everyone has different flavors they love in bacon; some are suckers for sweet bacon, and others for spicy. I say why not both? The only important thing to remember is the salt: roughly ½ teaspoon pink salt, and 1½–3 teaspoons kosher salt for each pound of pork belly.
After that, the world is your oyster: make a mix of any spices, herbs, and sugar sources that you want. My favorite combination is brown sugar, chili flakes, garlic, and rosemary.

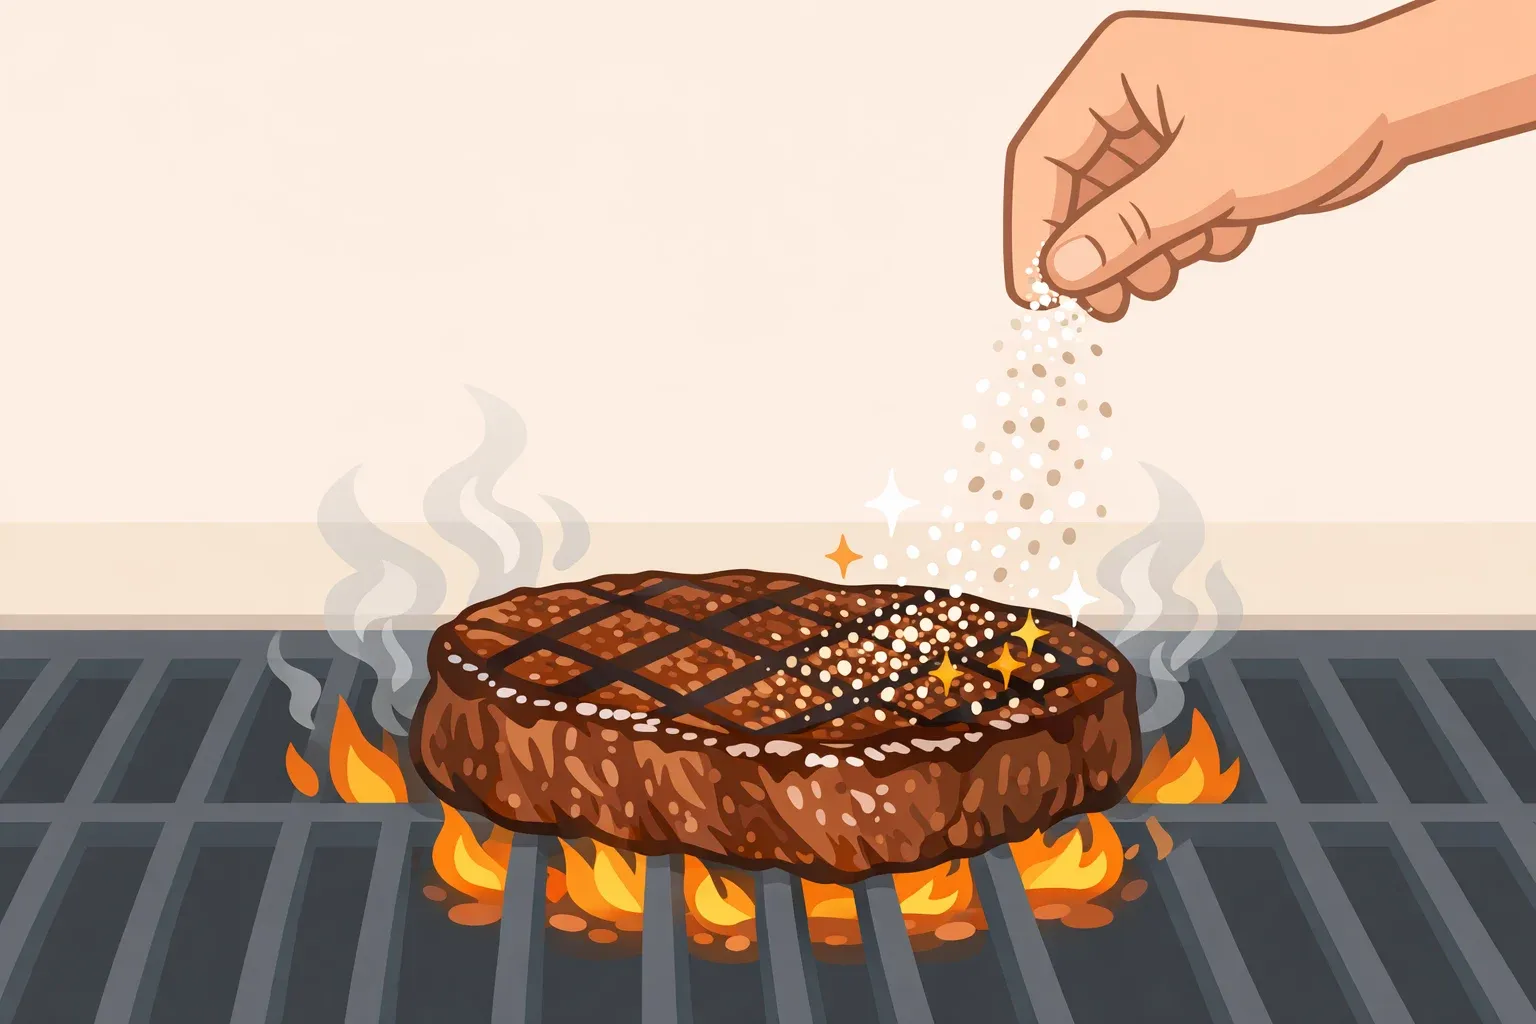
Curing bacon with honey, molasses, sugar, chili flakes, rosemary, and smoked paprika.
Next, make sure to rinse off your belly (err, your pork belly, that is), and pat it dry. Then rub all your seasonings into the meat, making sure to cover every crevice.
Bag It
Once your meat is well coated, throw it in a ziplock bag. Alternatively, you can do the mixing directly in the bag, which is a great way to keep your hands clean (you can just massage the seasonings onto the meat through the plastic). But I like to get my hands dirty when cooking!

Make sure that you get all of the air out of the bag before sealing it. You can use a drinking straw to help with this task.
Cure It for a Week
Now comes the hard part: waiting. Put your pork belly in the fridge, fat side up (and make sure it is lying flat). Be sure to label the bag, so you know when it went in.

Every two days, turn the bag over. The salt will draw out liquid from the pork, so don't be concerned when there's juice in the bag. Each time you turn the bag over, rub the excess juice on the meat.
After seven days, check the firmness of the meat; it should have the same feel as a cooked steak. If it is still extremely soft, let it cure another two to three days. When it's ready, you'll see that the meat has firmed up, like so:

Rinse It Off
Now that the belly has absorbed all those good flavors, give the meat a good rinse, then pat it dry. This will keep any ingredients from burning on the outside of the meat, and will remove excess salt.

Smoke & Cook It
Bacon has an inherent smokiness, and there are a number of ways to achieve that flavor in your meat. The easiest is by using liquid smoke and an oven. To do this, slather a layer of liquid smoke on your meat, and then roast it in the oven, on a rack, at 200°F until the meat is 150°F in the middle.
The harder—but more delicious—way is to smoke it on the grill.

If you have a home barbecue, create a two-zone setup, so that you can smoke the meat on indirect heat. Then add smoking chips (my choice is applewood, but there are lots of kinds available, including Jack Daniels-flavored), put down the lid (for maximum smokiness), and let your meat cook until it is 150°F in the middle.

I only have a picnic-style grill, so I don't have a way of trapping the smoke. To combat this, I used aluminum foil to tent the pork belly and trap as much smoke as possible. The result is bacon that's less smoky than I would ideally wish for, but still damn delicious.

The Fun Part
Now for the best part: eating! Before you eat your bacon, trim any bits that are burnt. You can also trim the entire belly to make it more traditionally shaped, but I'm never in favor of wasting meat, let alone bacon. Finally, many people suggest removing the skin at this step, but I think it's delicious left on.

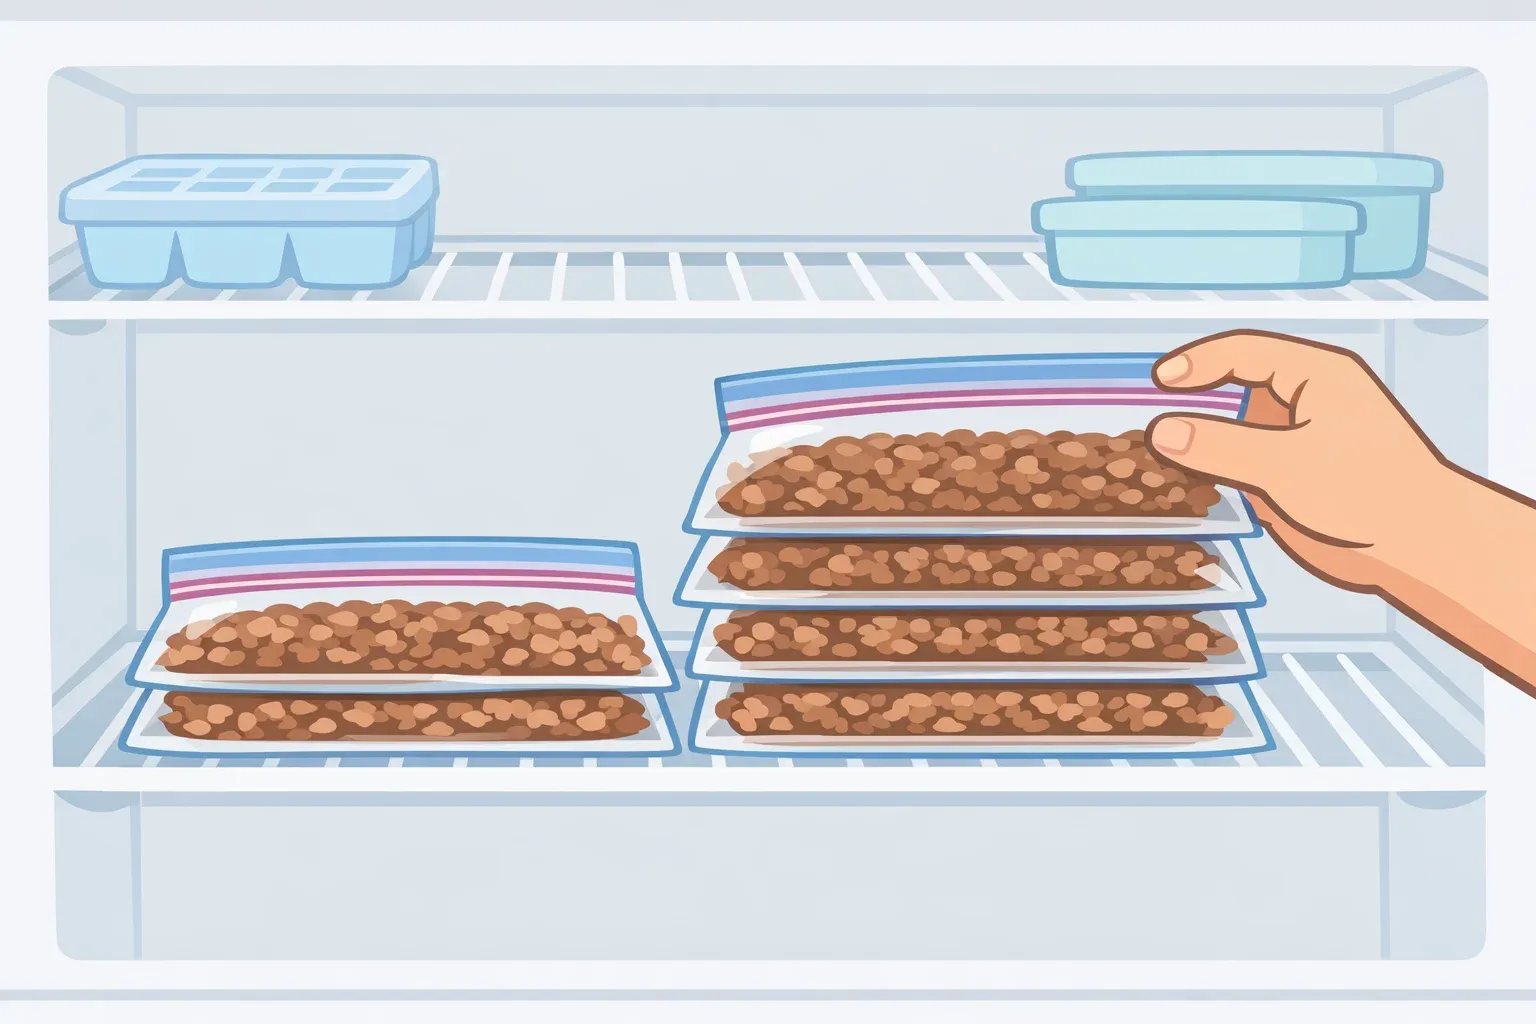
Slice your bacon, and cook it with your preferred method (I'm a big fan of using the oven for bacon). Whatever's left over can be stored in the fridge for a week or the freezer for a few months.

If you want to increase your popularity, simply invite some friends over, or give away homemade bacon as a holiday gift. You'll be loved forever.
More Fun with Bacon
Now that you've made DIY bacon, it's time to make DIY bacon booze. And always save any leftover bacon grease: it has so many uses. If you want crispier, less fatty bacon, here's how to make a roasting rack out of tinfoil for your oven-cooked bacon.
Photos by Brady Klopfer/Food Hacks (unless otherwise specified)


Comments
Be the first, drop a comment!