College Food Hacks: Transform Your Dorm Eating From Survival Mode to Satisfying
Difficulty: Novice
Time: 2-60 minutes per recipe
Cost: Free with meal plan to $6 per serving
You've got a microwave, a mini-fridge, and maybe access to a dining hall that serves the same rotation of bland meals. Sound familiar? Whether you're tired of cafeteria food or just want to stretch your meal plan budget, mastering a few simple food hacks can transform your college eating experience from survival mode to actually enjoyable.
I learned this the hard way during my sophomore year when I was surviving on instant ramen and vending machine snacks, spending a fortune and feeling terrible. That's when I discovered that developing a solid list of quick and easy go-to dorm-appropriate snacks is crucial for those marathon study sessions. The game-changer was realizing you can make most dorm food ideas with either no appliances or just a microwave or fridge. Plus, many college students seek alternatives to dining hall food that are both convenient and healthier. Here's how to hack your way to better meals without breaking dorm rules or your budget.
Quick microwave meals that actually taste good
Difficulty: Novice
Time: 2-10 minutes per recipe
Cost: $1-5 per serving
Your microwave isn't just for reheating pizza—it's a surprisingly versatile cooking tool that can save you from another depressing frozen dinner. The secret is understanding that microwaves cook by agitating water molecules, which means you need to control moisture and heat distribution for success.
Let's start with the game-changer: microwave omelets. Make an entire omelet in the microwave using a mug, two eggs, spinach, milk, salt and pepper, and feta. Here's the crucial technique—crack your eggs into a microwave-safe mug (ceramic works best for even heating), add 2 tablespoons (30ml) of milk and your ingredients, then microwave in 30-second intervals, stirring between each round until fluffy and set (about 90 seconds total).
Why it works: The intervals prevent overcooking by allowing heat to distribute evenly, while stirring breaks up the proteins before they become rubbery. The milk adds moisture that creates steam for fluffiness.
For late-night study fuel, try the hot cocoa mug cake. This mug cake uses a hot cocoa packet, one egg, and one spoonful of yogurt, topped with whipped cream. Mix 1 hot cocoa packet with 1 beaten egg and 2 tablespoons (30g) of plain yogurt in a microwave-safe mug. Microwave for 60-90 seconds until it springs back when lightly touched. The yogurt adds moisture and protein, making this more satisfying than empty-calorie snacks.
Don't overlook microwave "baking" for real meals. Bake a russet potato in the microwave and top with sour cream and shredded cheese for a filling meal under $3. Pierce the potato 8-10 times with a fork (this prevents explosion by allowing steam to escape), microwave for 5-7 minutes for medium potatoes, flipping halfway through. You'll know it's done when it gives slightly to pressure.
Safety First
- Always pierce potatoes and sausages before microwaving to prevent bursting
- Use microwave-safe containers only—no metal, no plastic containers not labeled microwave-safe
- Let food stand 30 seconds after cooking to allow heat distribution
Troubleshooting
Problem: Rubbery eggs → Fix: Use shorter intervals and add more milk for moisture
Problem: Uneven heating → Fix: Stir halfway through and arrange food in a ring pattern
Dining hall ingredient mixing magic
Difficulty: Novice
Time: 5-15 minutes
Cost: Free (with meal plan)
The breakthrough moment comes when you stop seeing the dining hall as serving complete (often mediocre) meals and start viewing it as your personal ingredient warehouse. This mindset shift opens up endless creative possibilities using ingredients you're already paying for.
Start simple with bagel pizzas. Take a bagel from the breakfast station, top it with sauce from the pasta bar and cheese from the salad section, then microwave until gooey for an instant pizza that beats frozen options. The key is timing—hit breakfast for fresh bagels, then swing by other stations for toppings. Microwave for 45-60 seconds until cheese melts.
Level up with international fusion using a simple peanut sauce that transforms everything. Combine peanut butter and soy sauce packets, add a dash of sriracha, then dip everything into this mixture. Use 2 parts peanut butter to 1 part soy sauce, plus sriracha to taste. This works amazingly with steamed vegetables from the hot bar, grilled chicken, or even dinner rolls. It's basically Thai peanut sauce that costs nothing extra.
The master-level hack transforms watery soup into substantial meals. Fill a bowl halfway with pre-prepared soup, walk to the salad bar and add beans, vegetables, rice or potatoes, and pasta, then microwave until hot. I call this "minestrone upgrading"—you're adding fiber, protein, and nutrients while creating a meal that actually fills you up. Heat for 60-90 seconds to ensure everything reaches 165°F (74°C) for food safety.
Pro Navigation Tips:
- Timing: Hit less popular stations first (salad bar, condiment station) while lines are shorter
- Efficiency: Scout all stations before committing to avoid backtracking
- Storage: Bring small containers for sauces and toppings to mix later
Safety First
- Always microwave mixed ingredients to 165°F (74°C) for food safety
- Check expiration dates on condiment packets
- Avoid cross-contamination by using clean utensils for each station
No-cook solutions for busy schedules
Difficulty: Novice
Time: 2-5 minutes active prep
Cost: $2-6 per serving
When you're rushing between classes or pulling an all-nighter, no-cook meals save both time and mental energy. These recipes work because they rely on smart ingredient combinations that develop flavor without heat.
Overnight oats are your grab-and-go breakfast foundation. Measure yogurt, milk, chia seeds, rolled oats, maple syrup, and cinnamon and put in a Mason jar in the fridge overnight for overnight oats. My go-to ratio: ½ cup (45g) rolled oats, ½ cup (120ml) milk, ¼ cup (60g) yogurt, 1 tablespoon (15ml) maple syrup, 1 teaspoon (2g) chia seeds, and ½ teaspoon (1g) cinnamon. Make five jars on Sunday for the entire week.
Why it works: The overnight soaking softens oats naturally while chia seeds absorb liquid and expand, creating a pudding-like texture. The protein from yogurt keeps you satisfied longer than sugary breakfast options.
For energy-dense snacks, try the date candy bar hack. Get a few dates, remove the pits, insert peanut butter, top with chocolate chips and honey, and freeze for a few hours to make a DIY candy bar. Use 6-8 Medjool dates, 2-3 tablespoons (45g) peanut butter, and mini chocolate chips. These store in your mini-fridge freezer for up to a month and cost about 60% less than store-bought energy bars.
Transform basic fruit with apple nachos. First, cut up an apple, spread some peanut butter on each slice, then add your preferred toppings. Slice one apple into 8 wedges, spread 1-2 teaspoons peanut butter per slice, then top with granola, mini chocolate chips, coconut flakes, or chopped nuts. The combination of natural sugars, healthy fats, and protein prevents the energy crash you get from processed snacks.
Meal Prep Strategy:
- Sunday: Prep overnight oats and date bars
- Wednesday: Refresh perishables and check supplies
- Daily: Keep backup ingredients for 5-minute assembly meals
Smart shopping and storage strategies
Difficulty: Novice
Time: 30-60 minutes weekly
Cost: Variable, saves 30-40% long-term
Your mini-fridge real estate is precious—every inch needs to earn its keep. Smart shopping starts with understanding that you're buying ingredients, not just individual meals, which multiplies your options while stretching your budget.
First, master storage fundamentals. Many fruits and vegetables can just be put in the fridge, though sometimes it's nice to let some fruit like apples and peaches ripen in a wire basket on the counter. But here's what'll save you money: produce that should never go in your fridge unless you want some unpleasant changes in texture, include lemons, limes, bananas, tomatoes and potatoes. Counter storage frees up precious fridge space for items that actually need refrigeration.
Think strategically about ingredient overlap. Buy ingredients across multiple meals and consider shopping at wholesale clubs to maximize value. If you buy peanut butter, ensure it works in overnight oats, apple nachos, and dining hall peanut sauce. Split bulk purchases with roommates—that 5-pound bag of oats or giant container of yogurt becomes affordable when shared.
Stock your shelf-stable foundation. Canned food items are good options when fresh food is not available, and they don't consume fridge space. Focus on versatile staples: canned beans (protein + fiber), tuna (affordable protein), diced tomatoes (instant sauce base), and broth-based soups that can anchor multiple meals.
Materials
- Food storage containers with tight-fitting lids
- Mini fridge thermometer (keep at 40°F/4°C)
- Permanent marker for dating items
- Wire basket for counter storage
Shopping Strategy:
- Plan: List meals using overlapping ingredients
- Shop: Hit sales for non-perishables, buy fresh items twice weekly
- Store: Label everything with dates, organize by expiration
- Track: Monitor what you actually use to refine future purchases
Storage Tips:
- Tip: Store herbs in water like flowers to extend freshness by 3-5 days
- Note: Keep your mini-fridge at 40°F (4°C) or below—use a thermometer to verify
Level up with simple appliances
Difficulty: Moderate
Time: Varies by appliance and recipe
Cost: $20-100 initial investment, saves money long-term
Once you've mastered the basics, strategic appliance additions can dramatically expand your capabilities. The key is choosing tools that build on techniques you already know rather than complicating your setup.
Invest in plug-in cooking appliances like rice cookers or hot plates to help whip up meals quickly without needing a communal kitchen. A rice cooker isn't just for rice—it's essentially a hands-off steamer and slow cooker combined. Cook grains in the bottom while steaming vegetables in the basket, or make one-pot meals by adding protein and seasonings. I've made everything from oatmeal to pasta to soup in mine.
Maximize your allowed basics. It's pretty standard to allow a mini-fridge, microwave and coffee maker into student housing, so think creatively about multi-use applications. That coffee maker produces hot water on demand for instant oatmeal, upgraded ramen (crack an egg into the hot water), or even steaming vegetables in a heat-proof bowl placed over the hot plate.
Before investing, remember restrictions on appliances are due to fire hazards. Always check your specific dorm policies first. When in doubt, ask your RA—they've seen every creative setup and know what passes inspection.
Safety First
- Verify appliance approval with your RA before purchasing
- Never leave cooking appliances unattended
- Ensure adequate ventilation—crack a window when using heating appliances
- Keep cooking areas clean and clear of flammable materials
- Know the location of the nearest fire extinguisher
Recommended Starter Appliances:
- Rice cooker with steamer basket ($25-40): Hands-off cooking, multiple functions
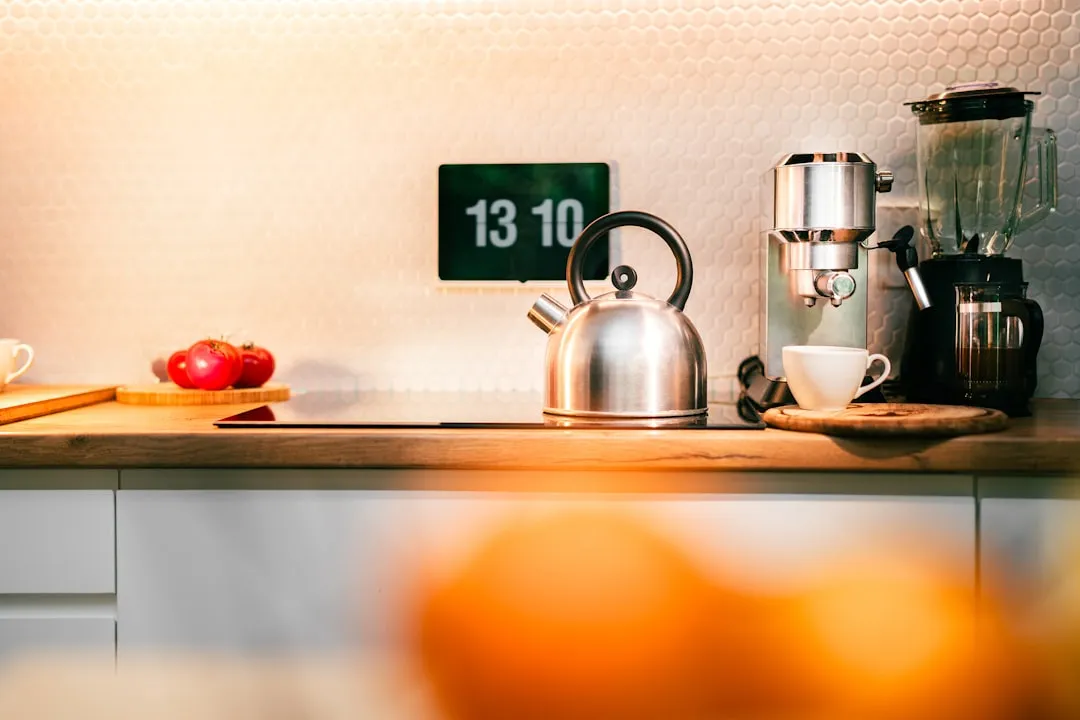
- Electric kettle ($15-25): Fast hot water for multiple uses
- Mini blender ($20-35): Smoothies, sauces, food processing
- Hot plate (if allowed) ($30-50): Expands to real pan cooking
Advanced Applications:
- Use rice cooker for pasta by adding boiling water and letting it sit on "warm"
- Electric kettle can soft-boil eggs—place eggs in kettle, cover with water, bring to boil, then let sit 6-8 minutes
- Mini blender creates custom salad dressings and marinades from basic ingredients
Your path to better college eating starts now
These hacks prove that eating well in college doesn't require a full kitchen or trust fund—just strategic thinking about ingredients and techniques. Learning to cook in college helps build independence and confidence, and can save time, money, and stress, which you definitely need during the chaos of college life.
What makes these techniques powerful is their progressive nature. Start with microwave basics, then apply creative thinking to dining hall ingredient sourcing, build no-cook meal prep systems, optimize your shopping and storage, and finally add appliances that multiply your existing skills. Each step builds on the previous ones rather than starting from scratch.
Planning ahead is important for students to manage meals and snacks due to busy schedules, and these connected techniques make planning manageable rather than overwhelming. Begin with one technique that addresses your biggest food frustration—maybe microwave omelets for rushed mornings or dining hall ingredient mixing for dinner variety. Master that, then add the next layer.
Before you know it, you'll be the friend everyone asks for food advice, and you'll have transformed your relationship with college eating from survival to satisfaction. Your taste buds, your wallet, and your energy levels will thank you for making the effort to work smarter, not harder.










Comments
Be the first, drop a comment!