When given the choice between canned and dried beans, many of us are guilty of reaching for cans. They're much more convenient than investing 5-6 hours of your time to make dried beans edible.
Unfortunately, while canned beans are convenient, they're certainly not better. They're often packed with sodium and preservatives, and are much more expensive than dried beans on average—sometimes 2-3 times the amount of its equivalent in dry beans alone.
The variety of flavors in which you can purchase dried beans is limited as well: other than varying levels of salt, you have no control over the infused flavor with which your beans are cooked with. And if you prefer your beans with a little more chew, then you're out of luck, as they're always the same level of softness out of the can.
Fortunately, there is a solution that keeps you far away from the canned goods aisle while sparing you the hours of soaking and cooking associated with dried beans—pressure cookers can fully cook your beans in about 1 hour from start to finish while still giving you full control over their taste and consistency. And you an easily store the remaining cooked beans for later.

Look nice? Yes. Edible? Well, not yet.
- Don't Miss: Cut Your Cooking Time with a Pressure Cooker
First, More on Pressure Cookers
There are two types of pressure cookers on the market—stovetop and electric—but I personally think electric pressure cookers in particular are an investment worth making. These impressive little machines will cook your beans in a fraction of the time it would normally take you with absolutely no 'babysitting' involved.
All you have to do is turn it on, adjust the settings, and the pressure cooker will do the rest of the work. This means that you'll be able to kick up your feet and relax or get work around the house done without having to pay those beans any attention.
If you use a stovetop pressure cooker instead, however, I should warn you that the level of involvement is a bit higher. Stovetop pressure cookers require attentiveness, as the pressure on them must be manually adjusted at the correct times. Miss Vickie is a good place to get more information on how to best utilize your pressure cooker, as well as suggested cooking times for various ingredients.
The extra work aside, the amount of cooking time for a stovetop pressure cooker will be identical to that of an electric pressure cooker—so either way, it's well worth the investment.
Add Beans, Water, Oil, & Seasonings into the Pot
A batch of pressure-cooked beans is generally made of up 1 lb. of dried beans and 8 cups of water. In addition to the beans and water, add 4 Tbsp. of oil to the pot. Adding oil will cut down the amount of froth or "bubbles" that form during cooking.
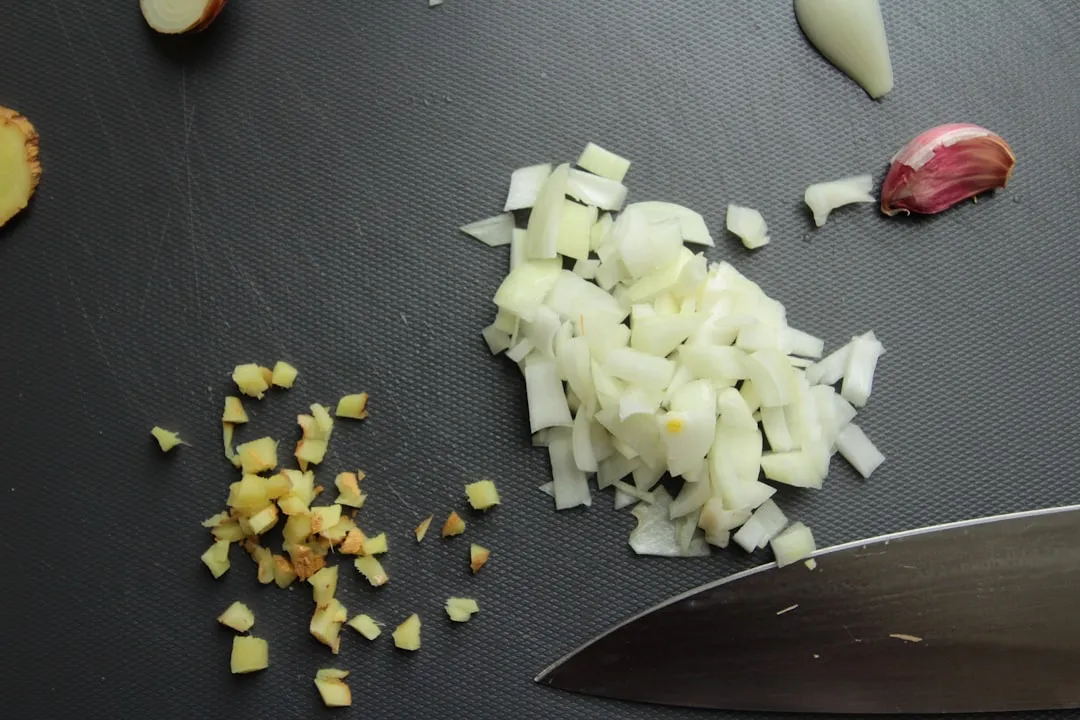
You can also add seasonings such as bay leaves, garlic, ginger, and cumin. The Kitchn has a handy resource for flavor combinations of beans, herbs, and spices.
Whether or not you decide to season, just make sure that you do not add salt, as it will cause the beans to be tough.
Set the Pressure Cooker & Press Start
Lock the pot into place and set the pressure cooker to "high pressure" for 25 minutes, a good general time for most types of beans. (Some legumes will need more or less time, and cooking times should be increased for higher elevations.)
Keep in mind that it takes 10-15 minutes for the pressure cooker to get up to pressure prior to the 25 minute "full pressure" cook time. After the cook time is up, you will need to allow another 15-30 minutes for the pressure to be released. In total, your beans will be cooked in a little over an hour.
Store Them in the Fridge or Freezer
Since it is unlikely that you will use an entire batch of cooked beans at once, it is important to properly store the beans after they are finished cooking. Cooked beans can be strained and stored in multiple plastic bags in the freezer for up to 3 months. This way, you can defrost only the amount of beans that you need for one recipe at a time.
- Don't Miss: Your Freezer: You're Using It Wrong
Another way to store the beans is to refrigerate them in a sealed container in the cooking liquid. Storing the beans in the cooking liquid will allow the flavor of the spices to really soak into the beans. Refrigerated beans should be used within 5 days of storage.
Eat!
Whether you've left your beans plain or seasoned them accordingly, there are a plethora of recipes out there for your freshly-cooked beans. Braised white beans with chard usually calls for canned beans as the main ingredient, but can easily be subbed for fresh beans for an even more delicious result. (Since you've cooked the beans in advance, the ratio for substitution would be 1:1.)
You can also use recipes that call for dried beans as well, such as smoky baked beans with chorizo. Dried beans double in weight and volume when cooked—so if a recipe calls for 1 lb. of dried beans, just use 2 lb. of cooked beans.
Cooking dried beans doesn't have to be a chore that takes all afternoon to complete, thanks to the pressure cooker. Give it a try instead of buying the usual cans the next time you need to use beans for a recipe—the amount of control you'll have over the both the flavor and consistency will convince you to never bother with the canned stuff again.
More Speedy Hacks:
- 5 Lightning-Fast Tricks for Peeling Annoying Fruits and Vegetables
- How to Make Fast, Easy Single-Serve Risotto in the Microwave
- This Trick Lets You Make Homemade Jam in Just 10 Minutes
If you liked this article, follow us on Facebook and Twitter!








Comments
Be the first, drop a comment!