


We've showed you how to make Butterfingers and Kit Kats, as well as custom-shaped chocolates, but have you ever thought about making your own gourmet chocolate bars?
It's a fairly simple process, once you understand tempering, and there are endless flavor possibilities when you're in charge of your own chocolate factory. Also, you're saving money when you make it yourself. Cha-ching! Keeping all that in mind, a "home version" might be just as good, if not better.
Now when it comes to DIY gourmet chocolate bars, you can be a pioneer and come up with your own recipe, or just recreate one of your favorites. Let's get to it.
Supplies You'll Need
I used milk chocolate and white chocolate for my bars, but dark chocolate is preferred because it is the easiest to temper. This will make three medium-sized bars.
- 12 oz. bag of chocolate chips (dark, milk, or white)
- Gourmet add-ins (cereal, chips, dried fruit, nuts, candy, etc.)
- Metal bowl
- Pot
- Rubber spatula
- Store-bought or homemade chocolate bar molds (polycarbonate plastic works best since it allows the chocolate to slip out cleanly)

If you don't own chocolate bar molds, don't worry. You can make do with any plastic container, package, or even a lid. For example, I used the square plastic from a package of tinfoil candy wrappers...very random, but worked perfectly. Have any old Duracell batteries packaging laying around? That square plastic packaging would make a great chocolate mold.

Why You Should Temper Your Chocolate
When chocolate is tempered, it means that "the chocolate is put through a cycle of temperatures (heat, cooling, rest) to align cocoa butter crystals within the chocolate," according to the chocolate experts at Valrhona Chocolate. That's why it snaps cleanly and has a glossy sheen.
When you melt it for baking or reshaping, that temper is disrupted and the crystals are thrown out of alignment. When untempered chocolate cools, it is soft and has a dull appearance or a whitish cast. This is called bloomed chocolate. It tastes just the same—it just isn't as functional or attractive as tempered chocolate.

It's still edible, even though it doesn't look it.
Most chocolate you buy at the store has already been tempered, but when you melt it, it needs to be tempered again. If you choose not to do so, your chocolate may harden a bit in the freezer or refrigerator, but will soften up when left at room temperature and begin to melt when you touch it.
Instructions for Tempering
Note: if you don't own a chocolate thermometer (and most people don't), any household or kitchen thermometer you have will work.
There are several ways you can temper chocolate (including using your microwave). Here's a brief rundown on how to do it pretty easily.
- Bring a pot of water to a boil then turn down to a simmer.
- Place your metal bowl above the simmering water, but don't let it touch the water. If necessary, use an oven mitt to protect your skin.
- Add chocolate chips into the bowl.

- Stir chocolate slowly with a rubber spatula as it melts.
- When chocolate is between 115°F and 120°F, remove from heat and let cool to 80°F.
- Add a small bit of unmelted chocolate to the bowl and stir until melted (this is known as seeding).

- Place bowl above the simmering water again and reheat chocolate to no hotter then 91°F.
Making the Chocolate Bars
Now that your chocolate has been tempered, it's ready to be poured and molded.
- Pour chocolate into mold.
- Add a gourmet touch: sprinkle chips, dried fruit, candy, nuts, etc. on the surface as decoration.
- Place in the refrigerator or freezer for 10 minutes.
- Remove the bar from molds: gently twist the plastic until the bar is loose and lift it out with your fingers. You can also flip it over and let it fall onto your cutting board or countertop. If the bar is being stubborn, you can loosen the edges with a knife. When using plastic, however, removal should be easy.
- Wrap chocolate airtight with foil or plastic wrap and store in a cupboard, refrigerator, or freezer. Keep reading for more storage information below.


Optional Decorations
If you want to add even more personality to your chocolate bars, here are some great decorating ideas.
- Stencils: You can either buy stencils at a craft store, online, or make them yourself by cutting shapes out of paper or tinfoil. If you want to stencil your chocolate with candy sprinkles, it is best to do so when the chocolate is still soft so they will stick. If you want to "paint on" your stencils, you need colored cocoa butter.

- Chocolate Transfer Sheets: These are colorful patterns made from cocoa butter that can be purchased online or found in specialty pastry shops. You simply place the sheet along the bottom of your mold, pour over the chocolate, and let it set. When you remove the mold, you will have a beautiful design on your chocolate bar.
- More Chocolate: You can use melted chocolate in an icing tube, just as you would if you were decorating a cake. You can write words, draw shapes—anything you feel inspired to create can be done. If you want to add color, use white chocolate and add food coloring. For the best results, make sure you temper your chocolate icing as well. You can decorate while the bar is still setting or after.

Shelf-Life & Storage
It's a good idea to read the "best by" date of the chocolate you are using to make your bars. Depending on how you store it, it can last for up to eight months passed the printed date, according to Eat by Date.
The best way to protect and store your chocolate is to wrap it in tinfoil or plastic wrap as tightly as possible—the less moisture and air contact the better—and store it in a cool, dry place. However, if you plan to refrigerate or freeze your chocolate to extend its shelf-life, just make sure it's wrapped very carefully.
Value
Some of the nicest chocolate bars can cost as much as $13.00, such as Compartés. The cost to make your own is roughly $1.50 per bar. One bag of chocolate chips costs $2.50 and can make between two to three bars depending on the size of your molds. That's $1.25 or less for the chocolate, and depending on your add-ins, only a dollar or two at most more per bar.

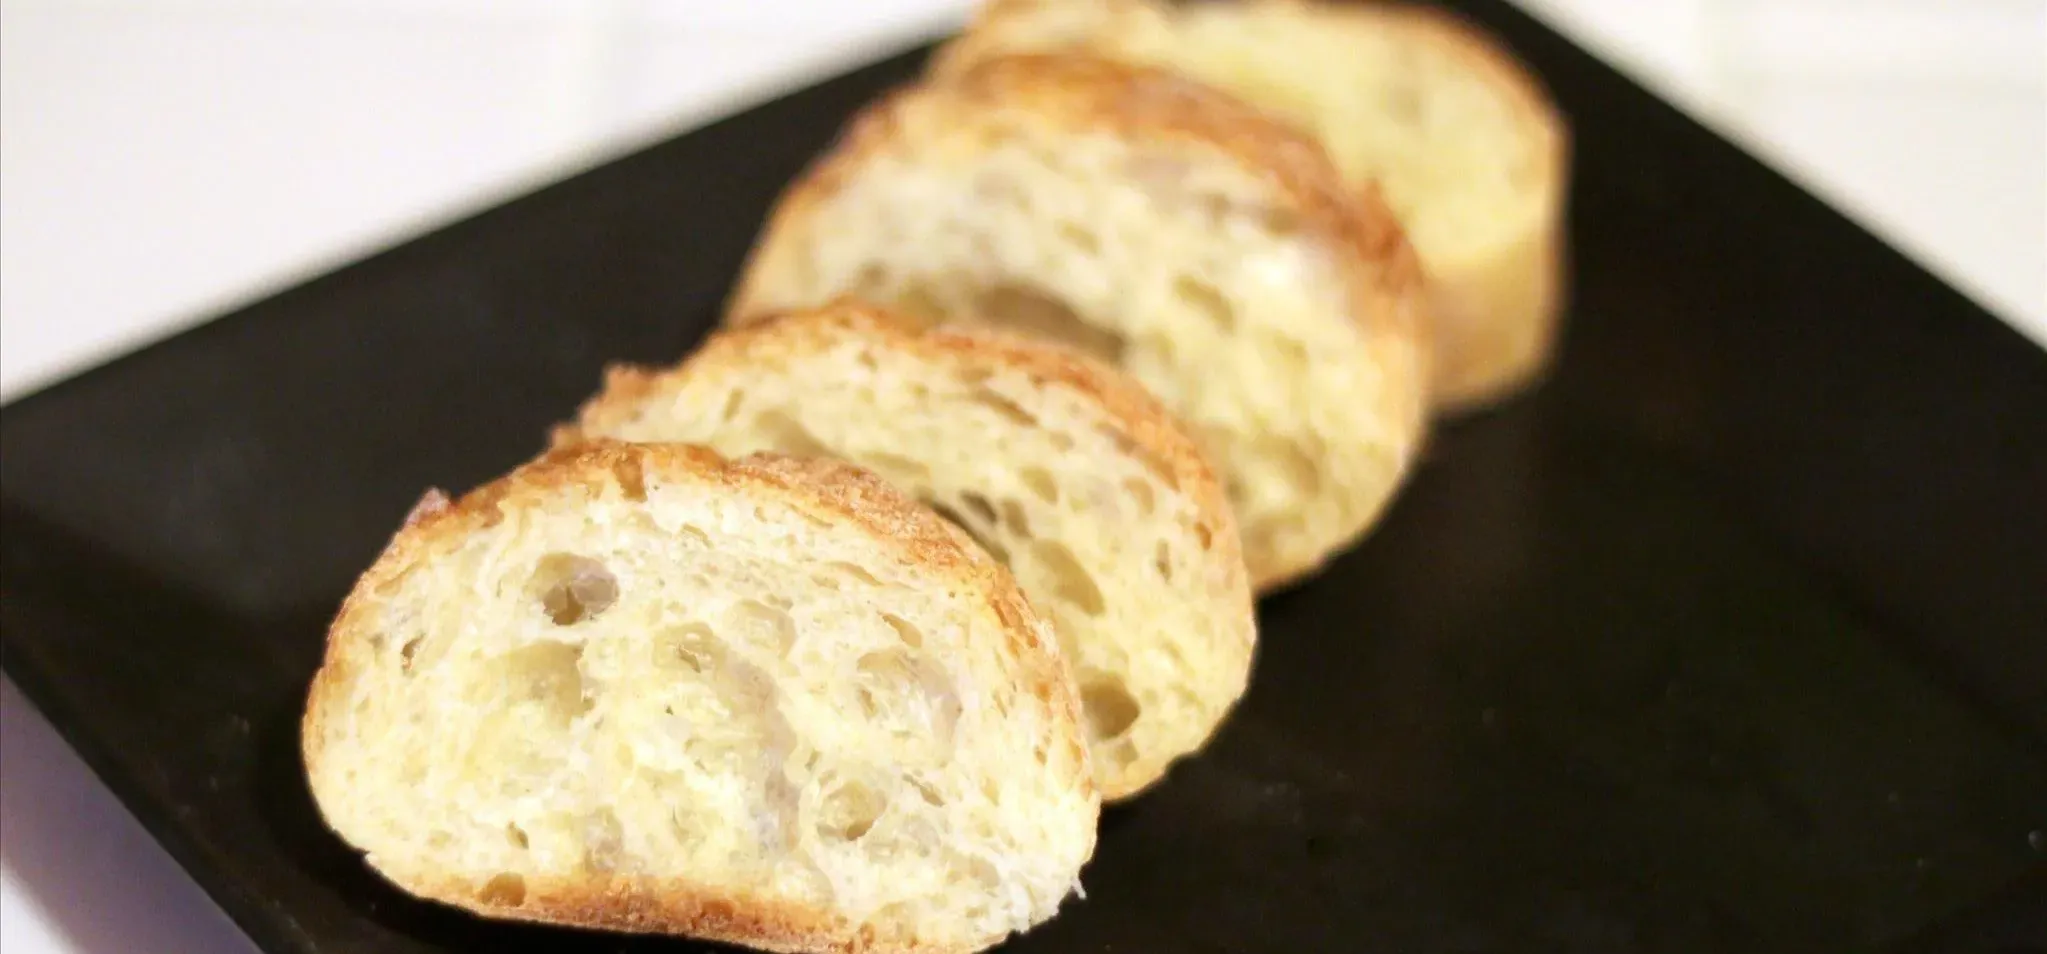
The Compartés bar above costs $9.95. Mine cost approximately $1.05.

The homemade version, which is pretty darn tasty and nowhere near as expensive.
While my homemade version may not be as pretty, it tastes delicious! Now if you'll excuse me, I'm off to practice my chocolate tempering for even better-looking bars next time.
Photos by Tara Redfield/Food Hacks (unless otherwise specified)


Comments
Be the first, drop a comment!