At-home cooks tend to be scared of soufflés. Either they don't rise at all or they end up all sad and lopsided. However, when successful, the end product cannot be matched in impressing your guests.
As a dinner party appetizer with a wow-factor, try a savory cheese soufflé. For a sweet and elegant dessert, go for a classic chocolate soufflé. Or, for something surprising and unique, try Martha Stewart's grapefruit ginger soufflé.
The downside to soufflés is that they can't be saved once they flop. Once the ramekins are in the oven, it's all out of your hands. So, here are some tips for each step of the process to ensure that your soufflés come out perfectly every single time!
Preparation Tips
In classic French cooking, the first important step is called chemiser which translates as "to dress" or "to coat." In this context, it means to prepare your soufflé dish or ramekin with a protective layer of butter and a protective layer of sand-like consistency. (For a savory dish this could be finely grated Parmesan or breadcrumbs, and for a sweet dish this is typically granulated sugar.)
This is the most important step in preparing to make a soufflé, because otherwise there is a risk of your batter sticking to the sides of the ramekin and therefore not rising evenly. Brush the entire ramekin using softened butter, immediately dust the butter layer with sugar (or your savory substitute) so that an even coating sticks, and then freeze the ramekin for about twenty minutes.

To make your chemisage completely foolproof, repeat this step again. Brush the first hardened layer again with softened butter, dust a second time with sugar or its substitute, and freeze for another twenty minutes.

This second coating ensures that no batter can possibly purvey the butter and sugar. And the convenient part is that once your ramekins are coated, you can leave them in the freezer for as long as you need—even overnight!

Batter Tips
Make sure to avoid peaks that are "too stiff." It is important that the peaks are stable but not dried out. When you see the egg whites beginning to stiffen, stop the mixer every twenty seconds or so and test the peaks with a silicon spatula or spoon. As soon as they hold, stop beating.
- Don't Miss: Whisking: We're All Doing It Wrong
When combining your batter ingredients, it is imperative to be delicate (particularly when dealing with the whipped egg whites). So that the consistency remains light and airy, fold the batter instead of stirring.

Assembly Tips
The key here is evenness—this is perhaps where most people do not take enough precautions. If the batter is uneven in any way, different parts of it will rise more quickly than others.
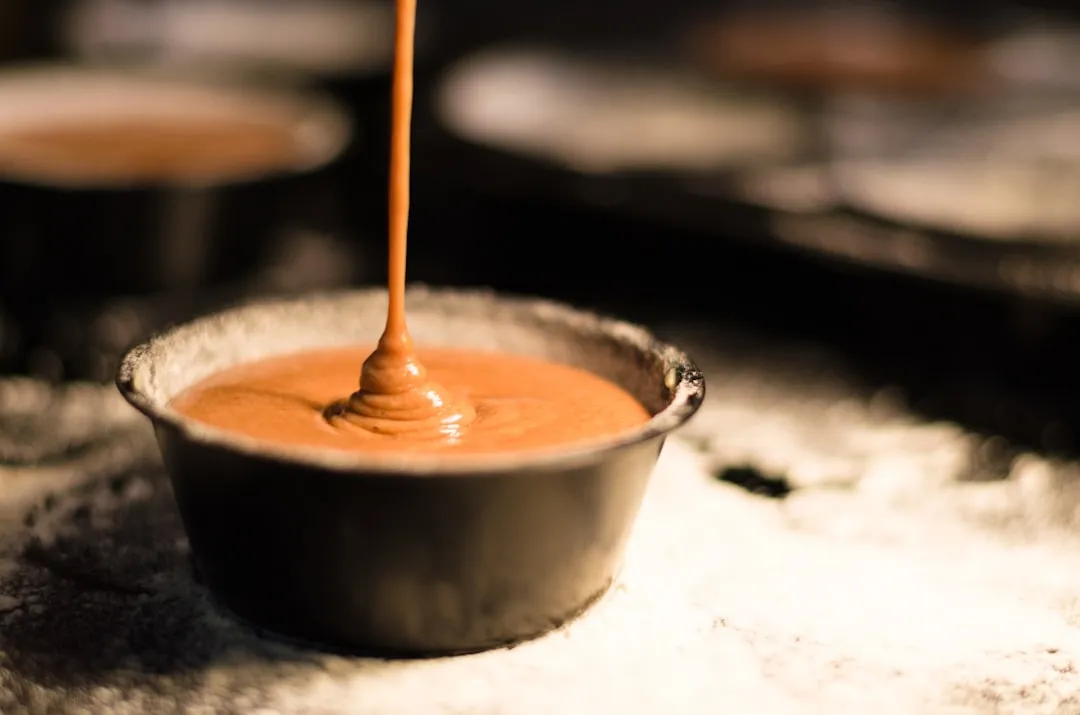
Transfer batter to a piping bag. Either use no tip or a smooth one, i.e., one that is perfectly circular as opposed to ridged. Piping the batter instead of spooning it ensures perfectly even distribution.
Run a straight edge along the top of the ramekin to ensure the batter is level.

Run your thumb around the rim. One of the easiest ways for a batter to stick is on the ridge of the ramekin. By running a finger about a quarter inch into the batter, you will eliminate this as a possibility for trouble.

Make sure to avoid dropping the ramekin onto a flat surface to even out the batter—while this is a common technique for cupcakes or other wet batters, it's a bit counterintuitive to do so with a soufflé. The goal here is to create as much air within the batter as possible, so the impact of dropping it onto the counter would deflate the lightness of the whipped egg whites.
Cooking Tips
The name of the game at this point is patience. At this point, the only thing you can do is let it be. Do not open the oven once you've put the soufflés in—any change in temperature will tamper with the rising and even cooking.
The ideal consistency for soufflés is fluffy but still a bit wet on the inside. (The cooking time will vary based on the recipe you use.)

Now all there's left to do is sit down, dig in, and wait for the compliments to start flooding in.
More Dessert Fun
- Veggies for Dessert: Feel Good About Eating "Bad"
- 5 Surprise-Inside Desserts That Make Baking Even More Fun
- How to Make Brown Sugar in 20 Seconds
- How & Why to Use Avocados in Desserts Instead of Dairy
- S'mores & Tiramisu Have a Baby & It's Freakin' Beautiful
Photos by Laura Holman/Food Hacks


Comments
Be the first, drop a comment!