There are literally hundreds of granola recipes floating around the internet—but I can tell you right now that they're all completely unnecessary. You don't need a recipe to make granola; I've been making granola for years and have never once used one!
Just as with any good cook, all one really needs is a ratio; This not only frees you from following exact ingredients and steps, but allows you to tailor your granola to your own tastes.
- Don't Miss: Cook Like a Chef: Use Ratios, Not Recipes
Why Make It When I Can Buy It?
In my opinion, homemade granola far surpasses the pale and sugary dessert-like "granola" at the grocery store for a few reasons:
- Homemade granola is golden and crispy enough to have a noticeable crunch between your teeth; store-bought granola only achieves this with a lot of sugar.
- Homemade granola is nutty, with a balance of sweet and savory notes. But if you prefer your granola more salty or spicy, you have the ability to do so when you make it from scratch as well.
The choice is clear: homemade granola is the way to go.

- Don't Miss: Why You Should Be Using Less-Refined Sweeteners
The Only Ratio You'll Need
The ratio for making any variety of homemade granola is 6 parts dry ingredients to 1 part wet ingredients. For example, you can make granola using 3 cups of total dried ingredients and ½ cup of total wet ingredients.
And now that you know the ideal ratio, the sky's the limit.
The Dry Ingredients
First, start with old-fashioned rolled oats as the base of your granola; any other type of oats will not work for granola. At least half of your dried ingredients need to be comprised of oats.
Then, the remaining dried ingredients can be made up of a single or combination of flavorful add-ins.

Add-ins can be any of the following ingredients:
- raw nuts (chopped almonds, walnuts, pecans, etc.)
- seeds (chia, flax, pepitas, sunflower seeds, etc.)
- salt and spices (cinnamon, nutmeg, ginger, cardamom, etc.)
- cocoa powder
- coconut flakes
Next, mix the dry ingredients together in a large mixing bowl. Now you're ready to add the wet ingredients.

The Wet Ingredients
The wet ingredients in granola are used as both binding and sweetening agents, so half of the wet ingredients should be oil and the other half should be sugar-based.
Because oil and sugar will contribute flavor to your granola, it is important to select oils and sugars that will complement the dry granola ingredients. For example, I use olive oil with maple syrup—which pairs savory with sweet and earthy.

It's important to remember that the oil used in granola needs to always be in a liquid state; for example, always make sure to melt coconut oil or butter before mixing. Some other examples of oils that work well in granola (other than the ones I've already mentioned) are:
- canola oil
- grapeseed oil
The sugar used for granola should also be in liquid form. Examples of liquid sugars:
- honey
- maple syrup
- agave nectar
- simple syrup
Prefer Clumpy Granola? Try This:
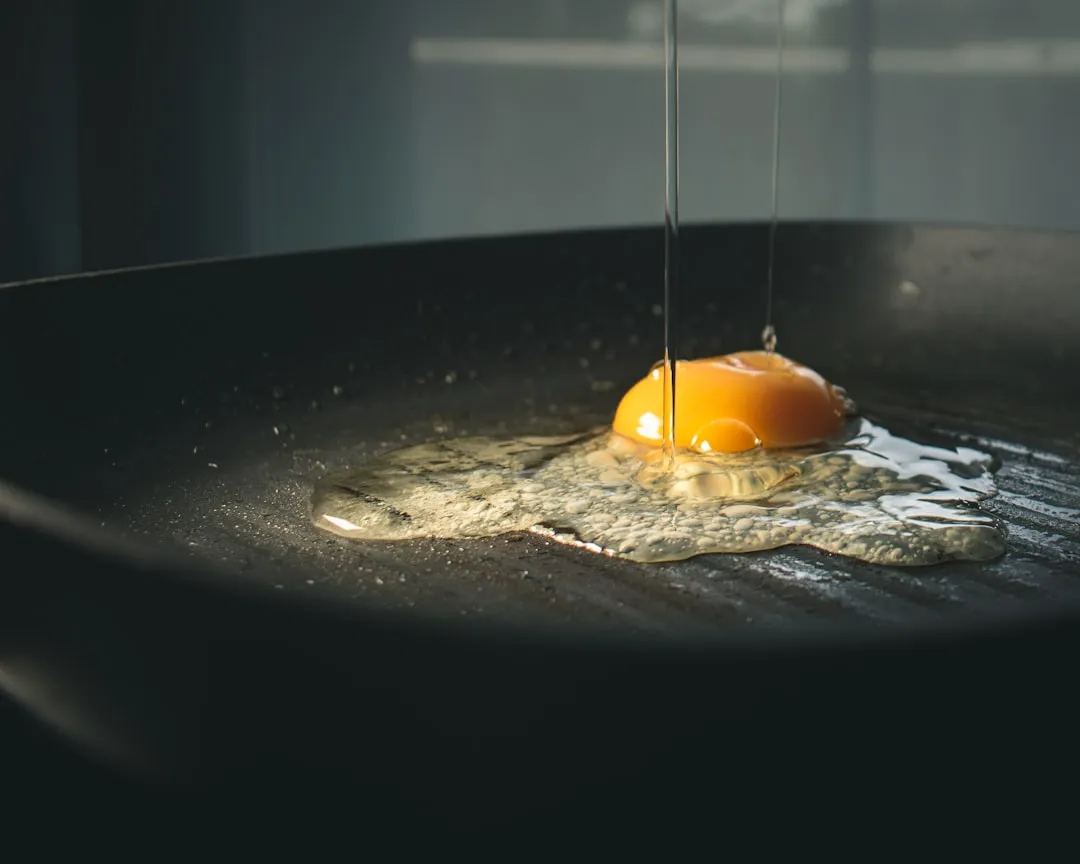
Adding an egg white to the wet ingredients of your granola will result in a crunchier, clumpy granola. It will also add a beautiful shine to the finished granola.
Since an egg white is not an essential ingredient to granola, if you decide to add one, make sure to factor it into the 1 part measurement of wet ingredients to avoid a soggy mess.
Combine the Ingredients
Before you begin, preheat the oven to 300°F so it'll be at the right temperature when you're ready to bake.
Once you've decided what ingredients will comprise your granola, mix the dry ingredients together in one bowl and the wet ingredients together in another. Then, combine both wet and dry and stir to mix.

The oats should be completely and evenly coated in the oil and sugar mixture.

Bake the Granola
Spread the granola in an even layer on a sheet pan; it is much easier to clean afterward if the pan is lined with either parchment paper or a silicone mat (such as Silpat).

Once you've managed to get an even layer, place the sheet pan in the oven and bake for 30-40 minutes.

Stir your granola every 15 minutes while it is baking. When stirring, make sure to incorporate the stray pieces of granola near the edges of the pan to prevent them from burning.
- Don't Miss: The Simple Trick to Rescuing Over-Toasted Food

The granola is finished when it is golden-brown (and glossy, if you've added egg white).

Add Mix-Ins (Optional)
After the granola is finished baking and cooled, you can stir in post-baking add-ins. These include ingredients that are already dried, roasted, or would melt during baking, such as dried fruit or chocolate chips.
- Don't Miss: How to Dry Fruit in Your Oven

Proper Granola Storage
Store granola at room temperature in a sealed glass jar or plastic container. Putting granola in the fridge will prolong its shelf life, but cause it to soften.

Ways to Enjoy Your Granola
Granola is a delicious and filling snack on its own. It can also add a satisfying crunch factor to soft-textured or creamy dishes.
One of the most common ways to enjoy granola is in yogurt and yogurt parfaits. Granola is also excellent when used in place of cereal, on salads, breakfast smoothies, sprinkled on homemade muffins, or baked on a fruit crisp.
As long as you can remember this easy 6:1 ratio of dry to wet ingredients, you will be able to make countless batches of granola. Plus, you can have a batch out of the oven in the same amount of time you normally spend browsing for recipes!
Watch out; you are about to become a granola-making addict—doing it yourself has never tasted so good (or been so good for you).
More Homemade Hacks:
- How to Make Homemade Nutella (That's Better Than the Real Stuff)
- The Easiest Way to Make Homemade Almond Milk Ever
- What Would You Do for a Homemade Klondike Bar?
If you liked this article, follow us on Facebook and Twitter!
Photos by Jessica Bose/Food Hacks






Comments
Be the first, drop a comment!