


There are few things that make me smile more than ice cream… or bread! So why not combine them for double the happiness? We've discussed the art of making ice cream bread before, but not everyone has the time (or, let's face it—the patience) to bake bread in the oven, no matter how few ingredients the recipe may take.
However, you can still enjoy ice cream bread to your heart's content after only five minutes. It may sound too good to be true, but with the help of a microwave, your dreams of Cookies n' Cream bread or Mint Chocolate Chip bread can be realized. Here's the video guide from POPSUGAR Food (skip below for the written steps).
Gather Your Ingredients
You'll need 1 cup of your preferred ice cream flavor. The best part about this recipe (other than its simplicity) is the endless variety of ice cream flavors you can choose. Please keep in mind that full-fat ice cream is needed for this recipe--no skimping on the fat!
The only other ingredient you need for your basic bread recipe is self-rising flour. Don't worry if you don't have that on-hand; you can also combine baking powder and salt with regular all-purpose flour for the same effect. You'll need ½ cup of self-rising flour (or ½ cup of all-purpose flour with 2/3 tsp. of baking powder and ¼ tsp. salt).

This bread is much less sweet than you would assume based on its main ingredient, so feel free to add 1 tsp. of sugar if you'd like to sweeten your bread a little more. Other mix-ins, like chocolate chips and fruit, are optional—and encouraged!
Combine Your Ingredients in a Large Mug
Add your ice cream and self-rising flour into a large mug; make sure the mug is large! Your bread will definitely expand and grow upward, and no one wants bread batter overflowing into their microwave. (If that does happen, however, there's a an easy way to clean your microwave quickly.) Stir until the two ingredients are mixed well, then add the sugar and optional mix-ins.

Microwave for Five Minutes
Place your large mug into the microwave and set your 700 watt microwave to cook for five minutes. If you have a microwave that cooks at 1,000 watts instead of 700 watts, you may want to reduce the time by a minute or so. This microwave wattage conversion chart may be helpful if you're worried about over-cooking or under-cooking your bread.

Remove Your Mug from the Microwave & Cool
After five minutes (or whatever time works best for your wattage) have passed, carefully remove your bread-filled mug from the microwave and allow it to cool for a minute or two before digging in. Be careful, as the mug is usually very hot at the end of five minutes. You may want to use an oven mitt out of precaution.

Enjoy Your Ice Cream Bread!
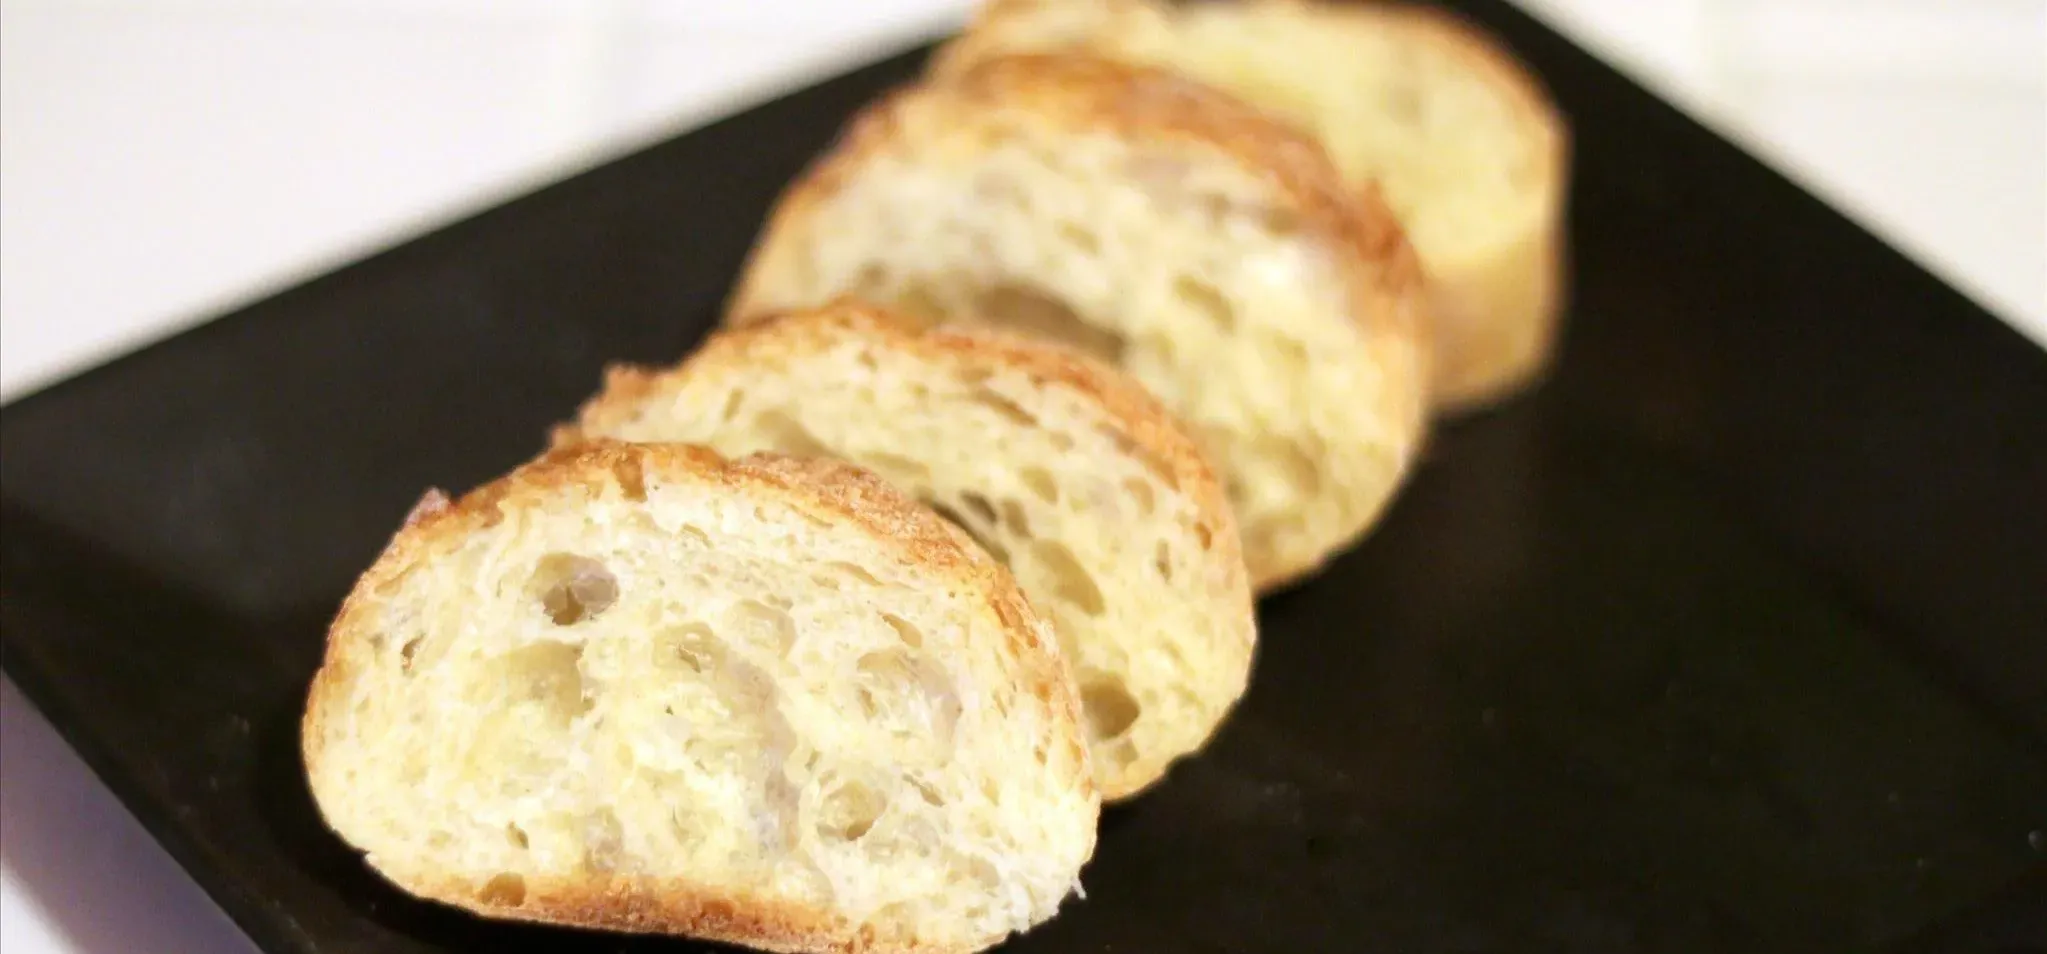
Once the bread has cooled a bit, dig in with a spoon and enjoy! Add additional toppings if you'd like, as seen in the picture below.

There can never be too many new ways to enjoy ice cream, and now you've got an easy recipe to add to your list. If you're looking for others, definitely check out how to make astronaut ice cream with liquid nitrogen, making an ice cream cake in 10 minutes, or how to make easy ice cream sandwiches at home. And if you want to learn about more unconventional ways to use your microwave, check out this guide.
Photos via POPSUGAR Food


Comments
Be the first, drop a comment!