


Garlic—it stinks so good! It's one of nature's most wondrous foods, being both delicious and incredibly healthy. What's not to love? Well, it is kind of a pain to prep, whether you're peeling a couple of cloves for a sauce or a whole head and trying to mince it finely.

One way to get around the whole peeling and mincing issue every time you want garlic in a dish is by buying pre-made garlic-infused olive oil, except that stuff is pretty pricey.

Learn to make it at home and you'll get all the tastiness and health benefits of garlic with much less hassle and at a fraction of the cost. Plus, it'll be fresh, so you can control the quality of the ingredients and it will taste so much better.
Depending on how much you make, you can get several days worth of garlicky goodness in an easy-to-dispense form. Just be sure to know the basics when it comes to making garlic-infused olive oil, including some safety concerns, before you jump into the kitchen.
The ABCs of Making Garlic-Infused Olive Oil
Clostridium Botulinum, the microorganism that causes botulism, is present in soil, which means it can also find its way into vegetables and herbs. It's anaerobic, which means it thrives in an oxygen-free environment like oil.

When making garlic-infused olive oil, you need heat to kill any botulinum spores that may be present in the garlic. In other words, do NOT drop a few raw garlic cloves in some oil and call it a day.
Fortunately, the risks of getting botulism poisoning are very small. The Centers for Disease Control estimates that there are about 145 cases of it annually in the U.S., and only 15% of those are food-related. However, you really don't want to take any risks.
The University of Maine recommends that you only use dried garlic, spices, and herbs to make infused oils. Check out our guide to preserving and drying fresh herbs at home for an even more DIY approach.

However, we think that if you take the proper precautions, you can easily make garlic-infused olive oil that will be nothing but delightful for you and your tummy. Plus, it tastes so much better when made with fresh garlic.
Get the Right Olive Oil
Before you even get to making your delicious garlic-infused olive oil, you need to make sure you're getting the real deal. Check out my past guide on choosing authentic olive oil over possible shams. Trust me, you want the best quality olive oil you can find, not some adulterated crap with lamp oil in it.
Choose How Much Garlic You Want
Now decide how much garlic you want in your oil. It really depends on your preferences. Professional recommendations range from six cloves of garlic per cup of oil to one head of garlic per cup of oil.

Six cloves (about half a head of garlic) produces a deep and pleasant garlic taste in the oil. If you like your food to be crazy-stupid garlicky, err on the one head of garlic per cup of high-quality olive oil. More than that, however, is just overkill and can leave a bitter aftertaste (sadly, I know this from experience).
Peel Your Garlic
I personally go with the crush-and-peel method (skipping the mincing and chopping entirely), and then let the garlic sit out for a few minutes to get the maximum health benefits.

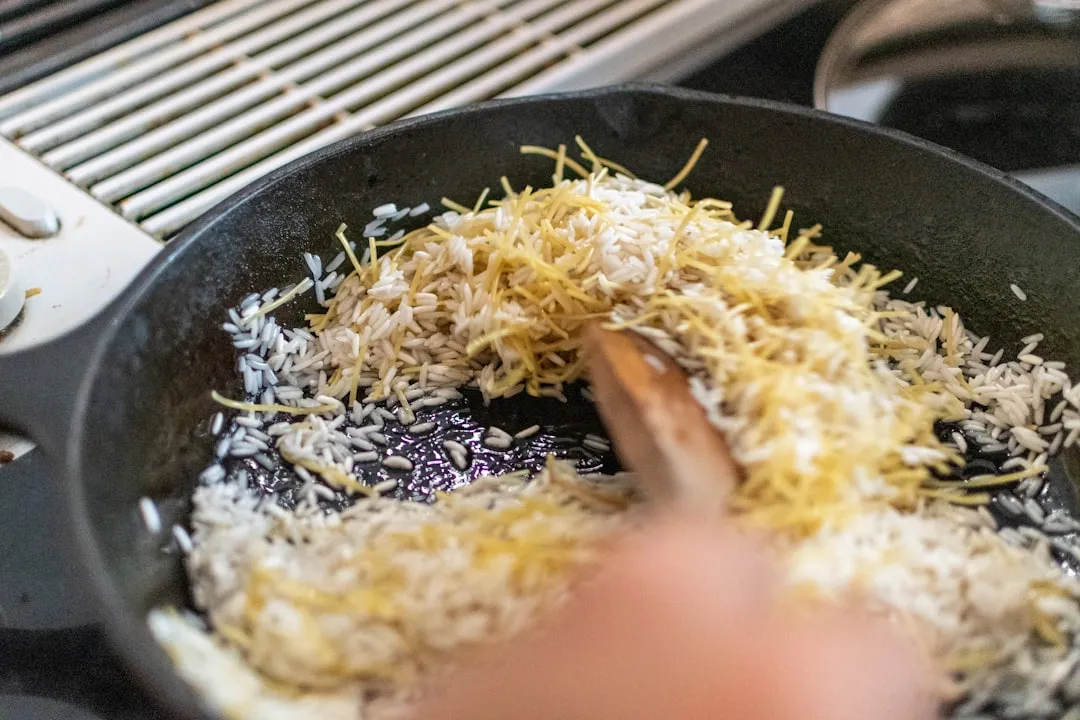
Sauté the Garlic in Oil
Pour in enough oil to give a healthy coat to the bottom of your pan, preferably a well-maintainedcast iron pan. You'll want to sauté the garlic over medium heat for three to five minutes. The garlic should sizzle, but not cook (if it turns a little bit brown around the edges, that's okay, but then you should lower the heat).

If you only need a small amount of garlic-flavored oil to cook with or eat immediately, you can use what's in the pan (potential botulism only becomes an issue depending on how long the oil is stored). If you're creating a big batch to save for later, proceed to the next step.
Simmer Garlic in More Oil
Add the amount of olive oil you want to infuse to the lightly sautéed garlic in the pan. Bring the heat down to medium-low and wait until the mixture begins to bubble lightly.

Let the garlic simmer at this level for three to five minutes (but turn the heat down further if the garlic begins to burn). Then let the oil simmer for an additional fifteen minutes. This ensures that botulinum spores are eradicated if any are present.
Turn the heat off and let the oil cool down. This will allow the oil to further become infused with the wonderful taste of garlic. Move to the next step immediately once the oil is cool enough.
Strain & Save
Use a fine-mesh sieve to strain that oil into an airtight storage container. You really want to make sure no garlic remains in the oil. If any specks of garlic are present, that means they could go rancid and spoil your entire batch of oil.

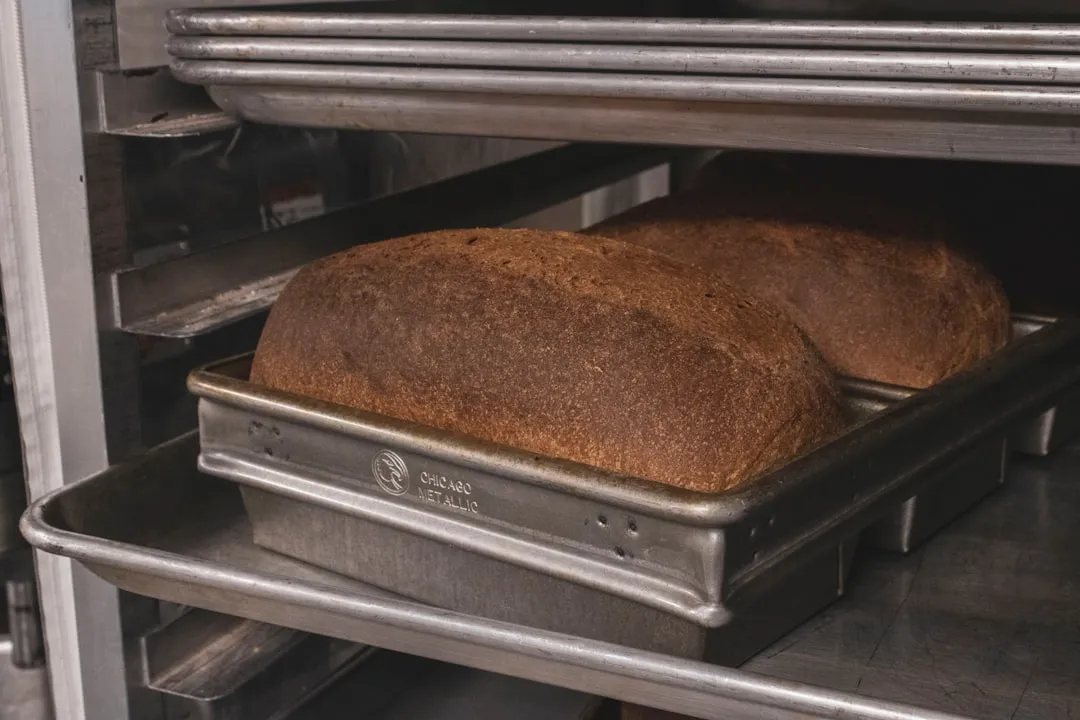
The added benefit is now you have all these yummy cooked garlic cloves that you can spread on a slice of good bread and eat. I often whirl the cloves around in my food processor and add them to a bacon-infused vinaigrette, thus ensuring I have made the most garlicky salad dressing ever.
Store It in Your Fridge
The last step, immediately following straining, is to store it in the fridge. Chefs like Emeril Lagasse say that the oil can be put in a sterilized container and stored in the refrigerator for up to one week.
True confession time: I have made enormous batches (like 48 ounces) of garlic-infused olive oil and left it on the counter for as long as six months without any problem, but I use the slow cooker method, which I think creates an even richer, deeper taste and keeps the olive oil at a steady, high temperature for a longer amount time.

This is not to say that you should do the same, just take the information for what it's worth. Oh yeah, and the slow cooker method is beyond easy.
Slow-Cooking Your Garlic Oil Instead
Choose how much garlic and olive oil you want to infuse. You can even leave the skins on the garlic this time if you like. Put them all in your slow cooker. Check your instruction manual to see what temperature setting you need to put it on to get the inside to at least 200°F and set it there for four to six hours.

Then follow the cooling, straining, and storage instructions for the pan method above. Check out Wendy Cooks for more detailed instructions on the slow cooker method.
Whichever method you choose, you'll end up with a batch of unbelievably tasty garlic-infused olive oil that you can use in vinaigrettes, marinades, roasts, and as a dip for bread. It's amazing how much easier it makes your cooking life. Plus, you can put some in a nice bottle as a housewarming or birthday gift.
No Time to Cook? Then Make Garlic-Infused Vinegar Instead
If you don't want to fuss with pans and stoves and you still want something tasty and garlic-flavored, you can make something even easier—garlic-infused vinegar.
The good news about this item is that you can drop a few cloves of garlic in some vinegar (either plain white or apple cider will do) and call it a day. Since vinegar is acidic, it will kill any potential botulism toxins. Plus, the longer you let the garlic steep, the more flavor you'll create and the safer your flavored vinegar will be. It's a win-win situation.
To make your life easier, pierce the garlic cloves on a long shish kebab skewer before you add them to the vinegar, which will make for easy removal.

What's nice about garlic-infused vinegar is that you can simply top off the jar with more vinegar when your supply runs low, which makes it incredibly cost effective.
Some home cooks report that the garlic does turn a light blue or green after a while, so you may want to take out the garlic after a few days, use up that batch of vinegar, and then start fresh. Don't worry, the discoloration is perfectly normal. It's the result of the amino acids and sulphur compounds in the garlic reacting to the pickling process.
Garlic-infused vinegar is great in vinaigrettes and marinades or in any savory recipe that calls for vinegar. The garlic taste adds depth and resonance. And remember—the garlic cloves removed from the vinegar are essentially now garlic pickles, which are terrific to eat as they are.
Garlic-Infused Olive Oil & Vinegar Are Great Medicine, Too
Both concoctions have a long history in the annals of folk medicine as remedies for ear infections and ear mites in pets. Garlic vinegar can be used as a natural bug repellant in gardens and as a daily tonic that invigorates health.
What other ways can garlic-infused oil and vinegar be used? Tell us in the comments below!
Image credits: Garlic olive oil via Alta Cucina Italia, Clostridium botulinum via CBC-ED, Smashed garlic via Curious Taste, Garlic in pan via Latest Recipes, Oil poured on garlic via MJ's Kitchen, Strained oil via Live Pretty, Garlic extra-virgin olive oil via Food52, Garlic-infused apple cider vinegar via Bob Vivant, Chopping garlic, dried garlic, garlic head, and oil with garlic backdrop via Shutterstock


Comments
Be the first, drop a comment!