Protein powder is a fad in the same way that Justin Bieber's music is: you either love it, or you hate it. Everyone I know has a strong opinion about protein powder, ranging from "daily necessity" to "utterly useless."
The funny thing about protein powder is that these opinions vary within groups: I know plenty of athletes who won't touch the stuff, and plenty of non-athletes who won't leave the house without a protein shake. Then there's my mom, whose opinion can be summed up as eat a banana!
- Don't Miss: How & Why You Should Make Your Own Bacon
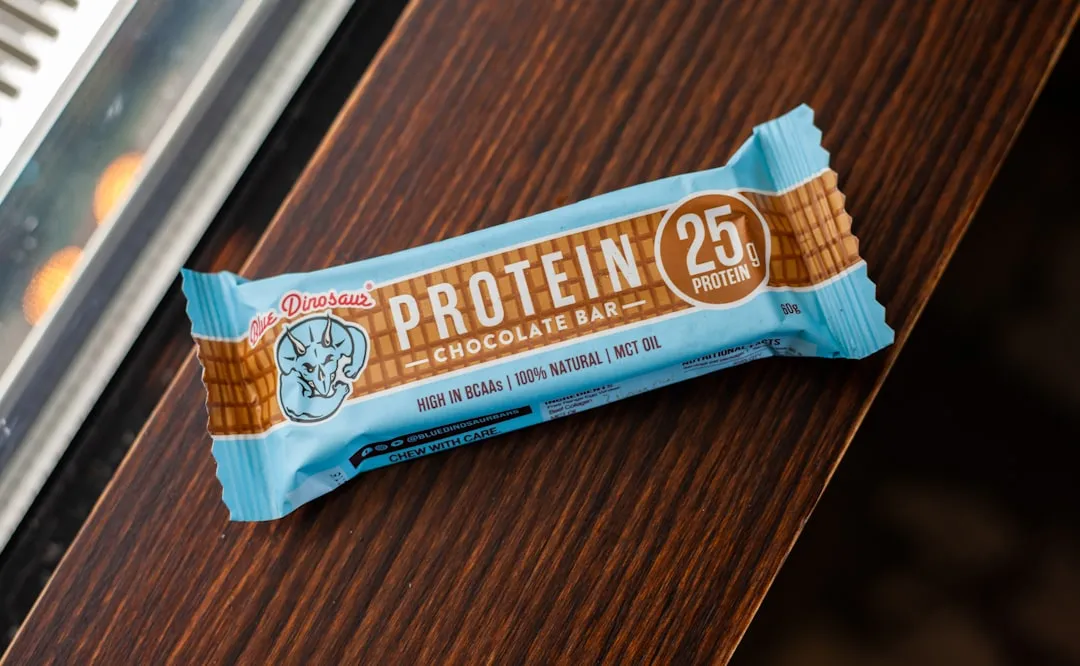
If you're in the Team Protein camp, you've surely noticed that protein powder is divided into two camps: the affordable powder, which has so many weird ingredients and bizarre chemicals that you shouldn't feed it to a snail, and the all-natural powder, which is outrageously priced. Thankfully, there's a solution: homemade protein powder.
Why Homemade?
Homemade protein powder offers a few benefits that the store-bought stuff cannot. As previously mentioned, store-bought powder can be wildly expensive. If you buy your ingredients in bulk, you can make a month's supply of powder for under $5. Not bad!
Also, as mentioned, many premade powders have lots of nasty ingredients in them; by making your own protein powder you can limit the protein sources and flavorings to ones that you want in your powder. And finally, making your own protein powder allows you to play with the recipe and find the perfect powder for you. Oh, and the nutritional value is comparable!
Choose Your Protein Sources
To build your own powder, you'll need a few dried protein sources. Which ones you choose and how much you use is entirely up to you. My go-to is Back to Her Roots' recipe, which calls for:
- 1 cup of green lentils
- 1/3 cup of brown rice
- 1/3 cup of oats
But my favorite is:
- 1/2 cup oats
- 1/2 cup quinoa
- 1/3 cup brown rice
Other protein sources you can use include bulgar wheat, other lentils, farro, and barley (I highly recommend farro, if you have any).

Ed. note: you can also take a cue from a Korean multigrain drink called misu garu. It's made from ground-up grains like barley, corn, rice, millet, and other ingredients like soy beans, sesame seeds, and black beans. Learn more about it here (warning: broken English ahead).
Blitz It Up
Now for the fun part: blending your protein into a powder. Grinding hard grains to a powder is an ideal job for a coffee or spice grinder, but if you don't have one, no worries: you can use a blender.

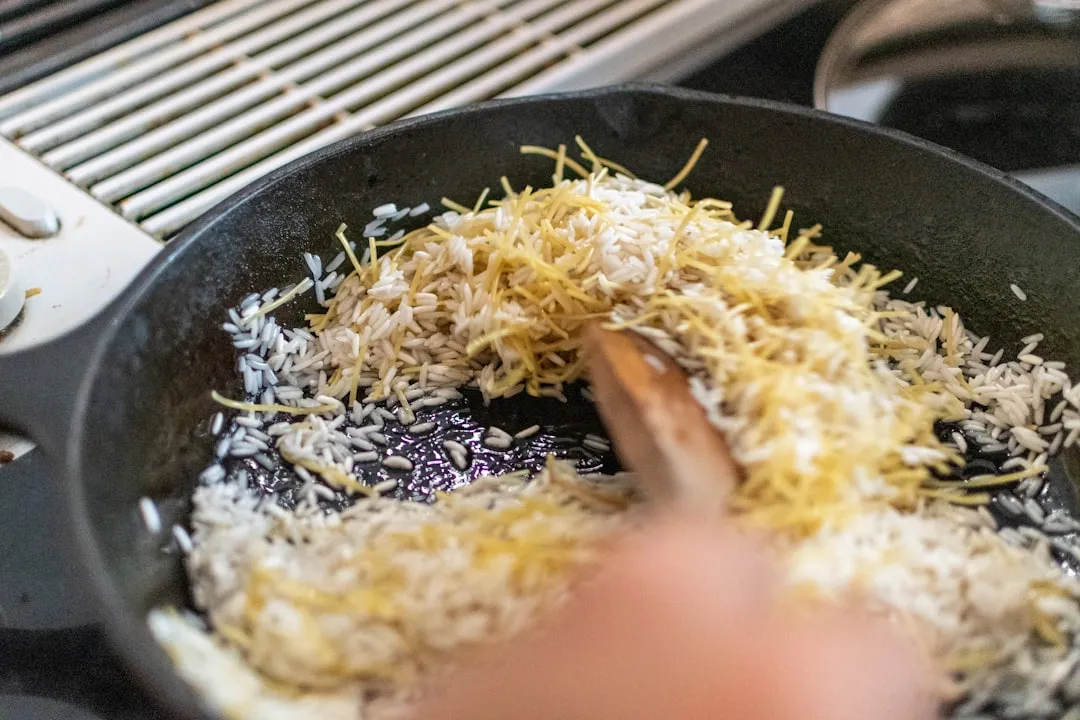
If you're asking yourself, "Is my (non-Vitamix) blender strong enough?"—the answer is yes. I use my decades-old blender and it gets the job done just fine, though it takes about five minutes. If you're worried that your blender isn't up to the task, try soaking and toasting your ingredients in a large, shallow frying pan beforehand, as that will make them easier to blend. Or, you can simply use soft protein sources, such as oats and quinoa.

Add Flavorings
Many people like plain protein powder, as they can add the flavor during the shake- or smoothie-making. But it can be nice to have flavored powder as well, just to make things more convenient later down the road. If you're one of these people, the world is your oyster: just add a few tablespoons of anything you'd like to your powder. My favorite: shredded coconut and chocolate, with just a touch of sugar and nutmeg.

If you're adding fine or powdered ingredients, such as cocoa powder, sugar, or any spices, you can simply mix them in with your protein powder. If you're adding larger ingredients, such as nuts, coconut, or freeze dried fruit, you'll want to throw it in with the mixture before the blending process.
Enjoy
And just like that, you've got perfect homemade protein powder, all ready for a great post workout shake! Store it in an airtight container; it will stay on the shelf for a few months, or in the freezer for a few years.

A Quick Health Note
While homemade protein powder is generally healthier than store-bought varieties, some people are strongly opposed to eating raw grains and rice. If you are one of these people, try toasting all of your ingredients before using them (here's a good how-to). Furthermore, even though you're not cooking it, always wash your rice, barley, farro, quinoa, and other grains!
Store-Bought Can Suck It
Homemade food is the best, and here are some more recipes to try out:
- How to Make Quick Cheese Using Only 3 Ingredients
- How to Make Trader Joe's Must-Have Speculoos Cookie Butter
- How to Make Quickles, 10-Minute DIY Pickles
- How to Make Homemade Instant Oatmeal Packets
- How to Make Easy Ice Cream in Under 10 Minutes
- How to Make Homemade Nutella
Photos by Brady Klopfer/Food Hacks









Comments
Be the first, drop a comment!