
When I was a kid, there was just pizza. You ordered from whatever nationwide chain was near you and they made your pizza in an oven. There certainly weren't these highfalutin pizza subsets that have more choices than a cheese shop. Wood-fired, brick oven, artisanal, make-your-own — it's enough to make you long for simpler times.
But there is one unorthodox way of making pizza that I admit I've come around on. It's making pizza on your backyard barbecue grill.
I guess I resisted because it seemed unmanly to fire up the grill for anything less than a hunk of beef or some sausages. But what I discovered is that not only does the grill help me make the best pizza of my life, it's quicker than the house oven and it doesn't heat up the kitchen (a key point as the weather starts to warm up). As a bonus, you can even crank out a bunch of pizzas within an hour for your next party.
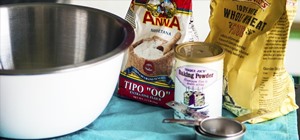
Step 1: Make the Dough
We start with our dough. You can buy pre-made pizza dough at most supermarkets (I highly recommend the Trader Joe's variety) or you can make your own, which is easy—just choose a good recipe. (If you're in a rush, you can also make this version with only two ingredients.)
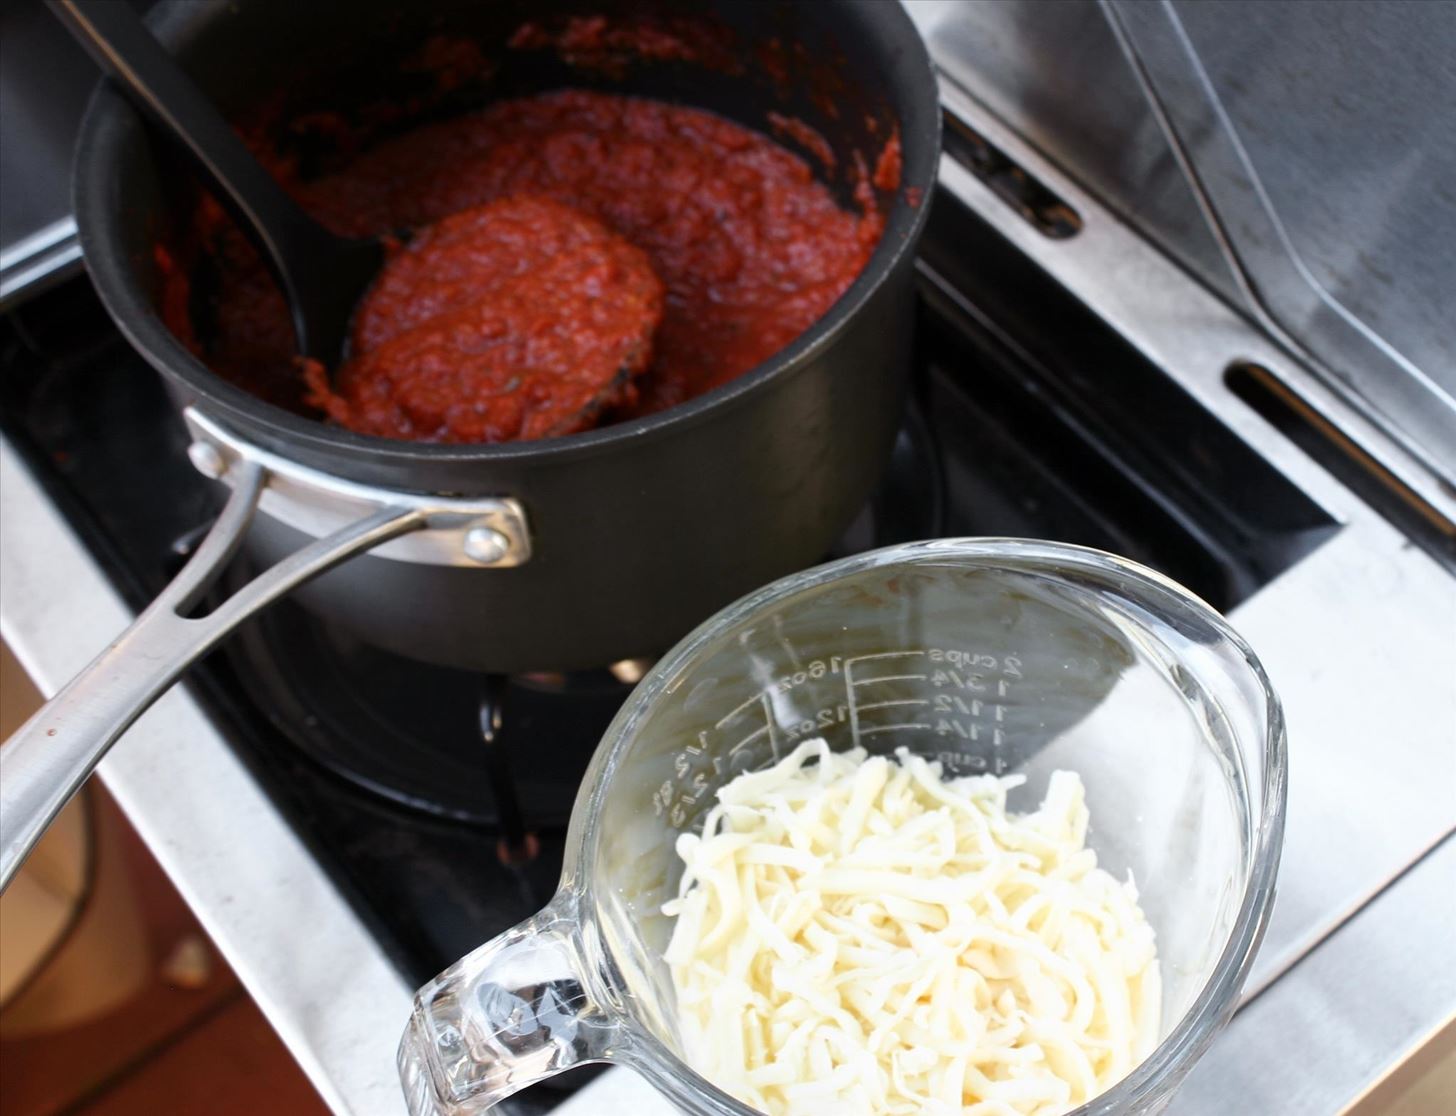
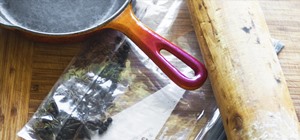
Step 2: Prepare Your Toppings
Unlike regular pizza, where you put it all together and then cook it, the key to making your pizza on a grill is assembling it while it's grilling. To do this, you'll need to prepare all of your ingredients beforehand (grate cheese, chop veggies, and/or cook any thick meats like sausage or ground beef) and have them handy near the grill. You'll also need oil for your dough (olive works fine) in a cup with a brush.
Arrange your toppings on a plate and keep both a spoon handy for your pizza sauce (or the jar, if that's how you roll). I also like to have my ingredients at room temperature so they cook evenly and take less time.
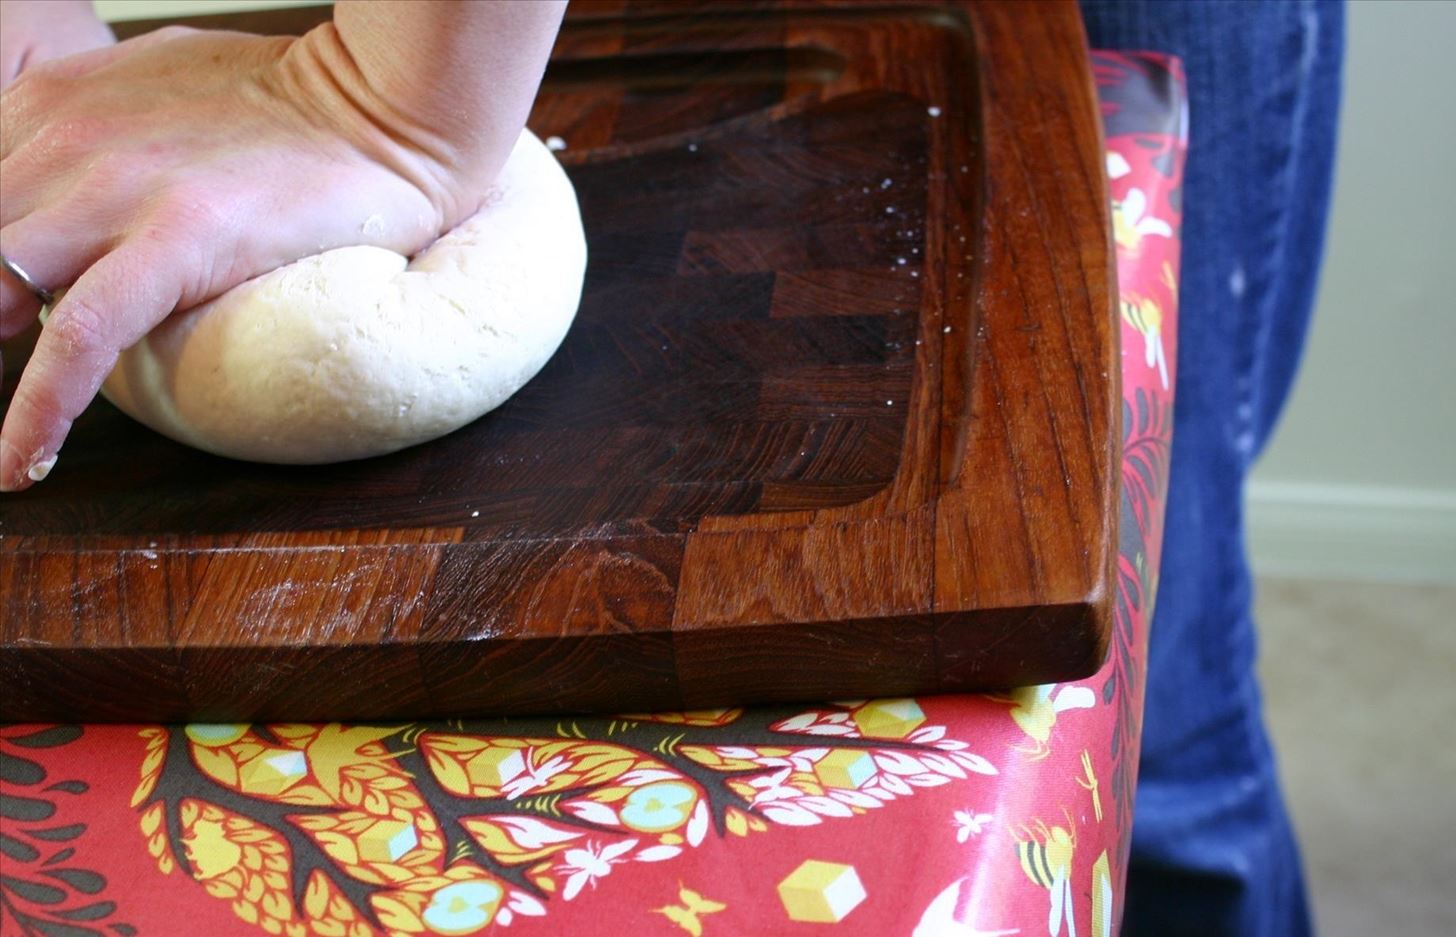
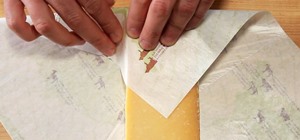
Step 3: Shape the Dough
Once your dough is ready, roll it out with a rolling pin or spread it with your hands. I much prefer to make a longish oval rather than a perfect circle. It fits my grill better, which is much wider than it is deep, and it allows me to cut more manageable pieces across the pizza for eating and storing if there are leftovers.
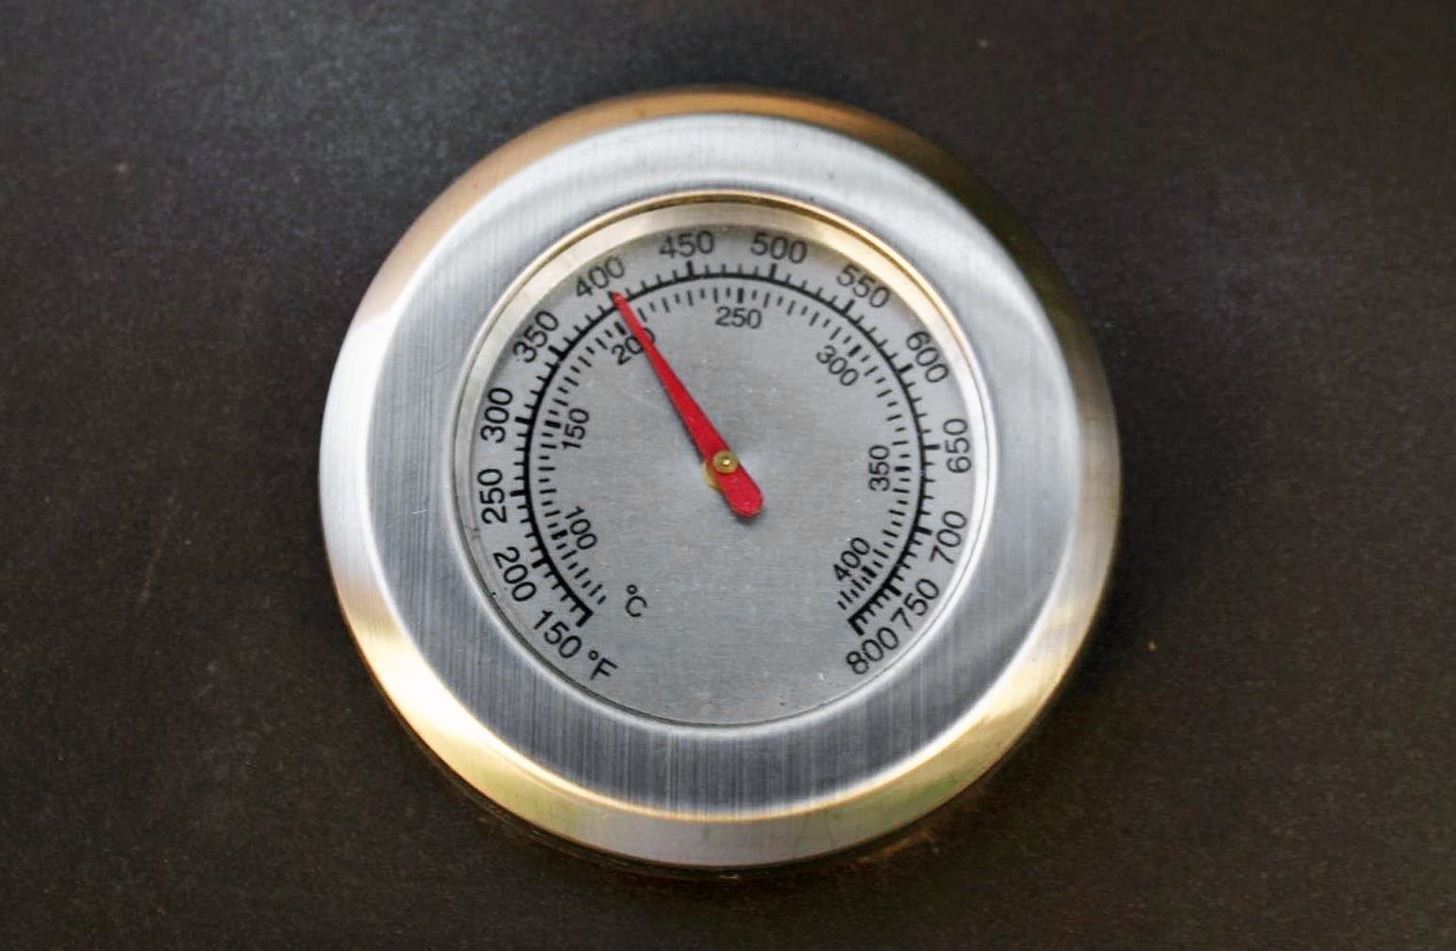
Step 4: Warm the Grill Up
I fire up my propane grill to at least 400°F.
Step 5: Cook the Crust
There are several schools of thought on what the pizza should sit on. Pizza stones have become popular (if you use this one, there's no need to oil your dough), and you can now buy metal pizza plates in any grocery or housewares store. If you really don't want to be fancy, you can even use aluminum foil (though, in truth, the grill's fire will blow away the foil if you don't weigh it down immediately).
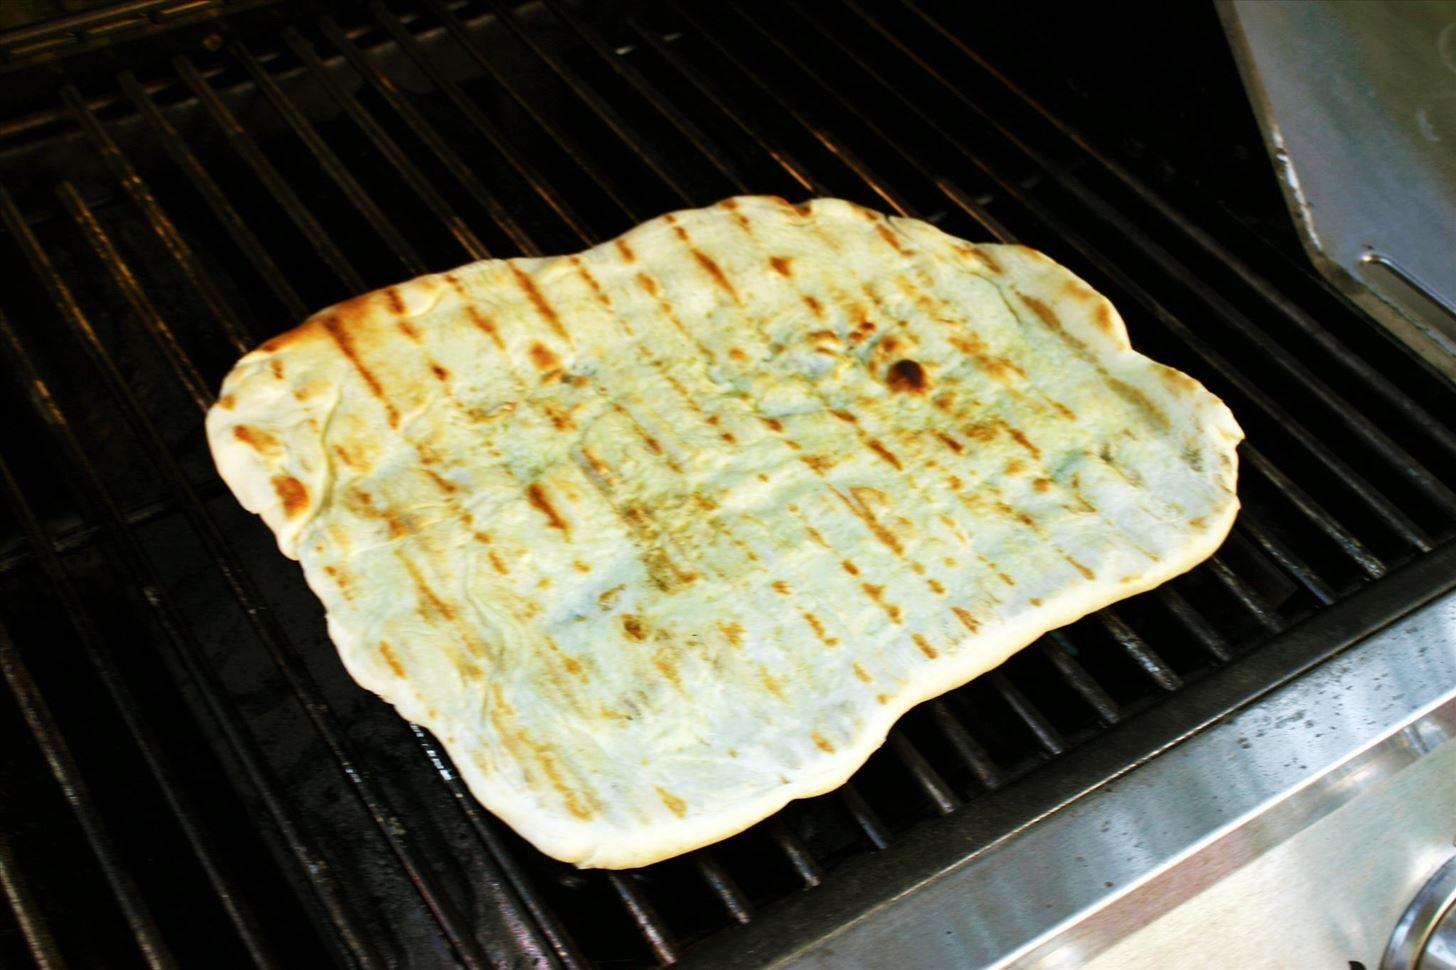
My method? I throw the dough right on the grill itself. Provided that your grates are clean, there's no reason why you can't let the fire lick the underbelly of your pizza for a crisp taste.
Grease one side only of your dough and place it oiled side down on the grill, making sure that the ends don't droop down towards the fire.

Close the hood and cook it for two minutes or leave it up and cook for three. Just before the time is up, oil the top side but be careful of any oil spilling. The fire will flare up if that happens! Turn it over with a pair of tongs and now it's off to the races!
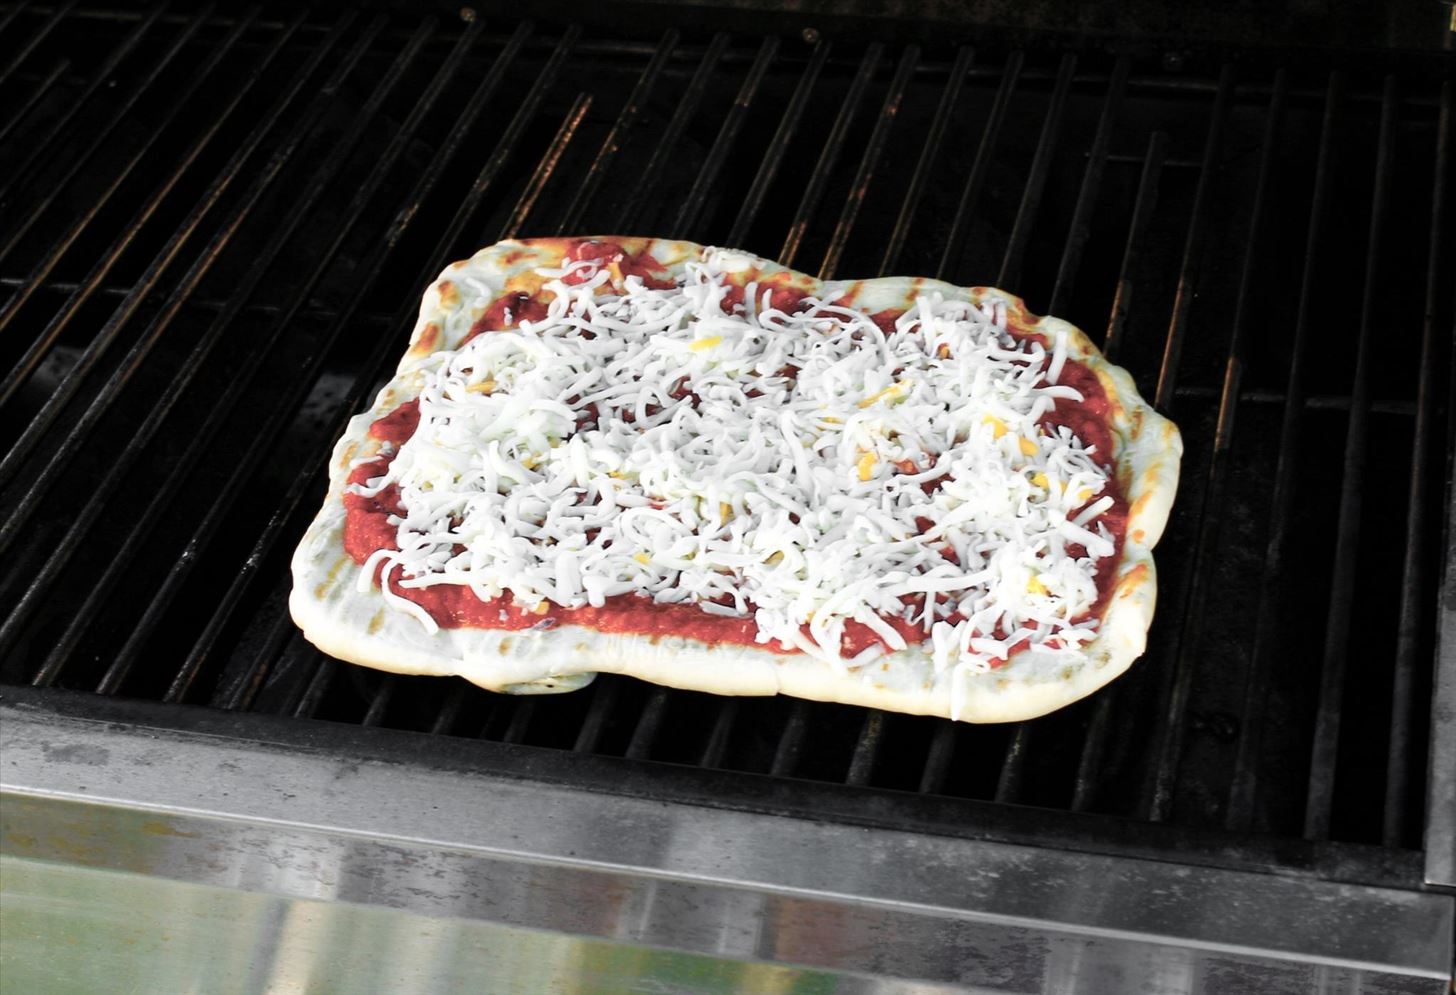
Step 6: Add Your Toppings
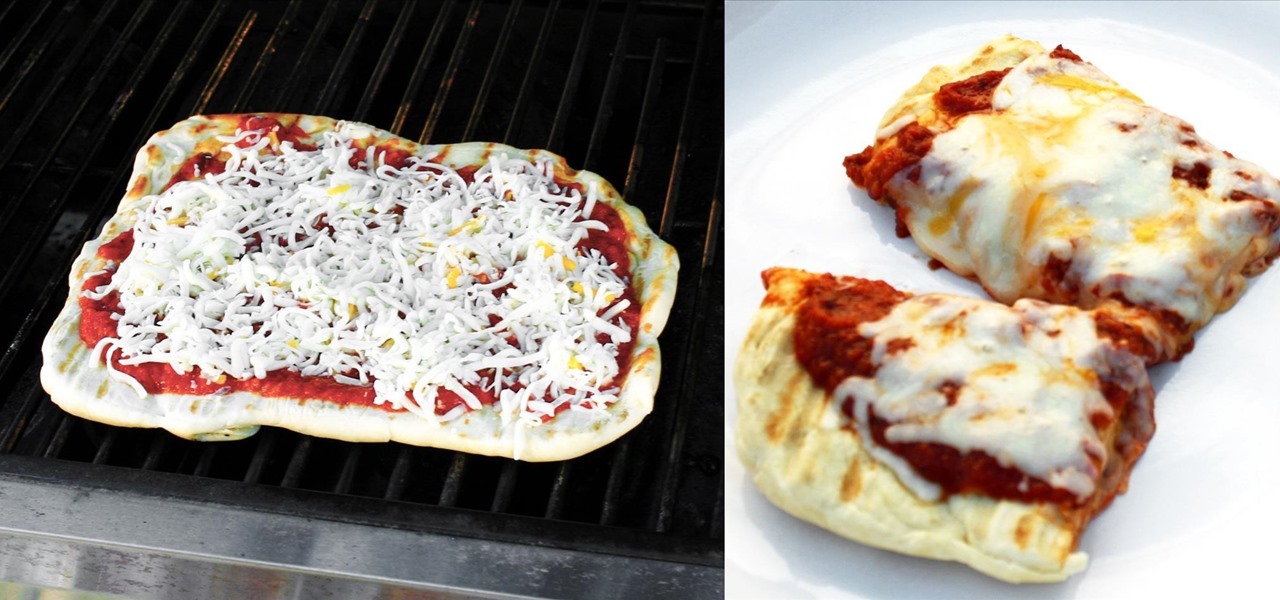
Spread your tomato sauce on, sprinkle your cheese, and add your toppings. Don't overload the pizza or it won't cook well. Close the lid and cook your masterpiece for an additional three to five minutes.
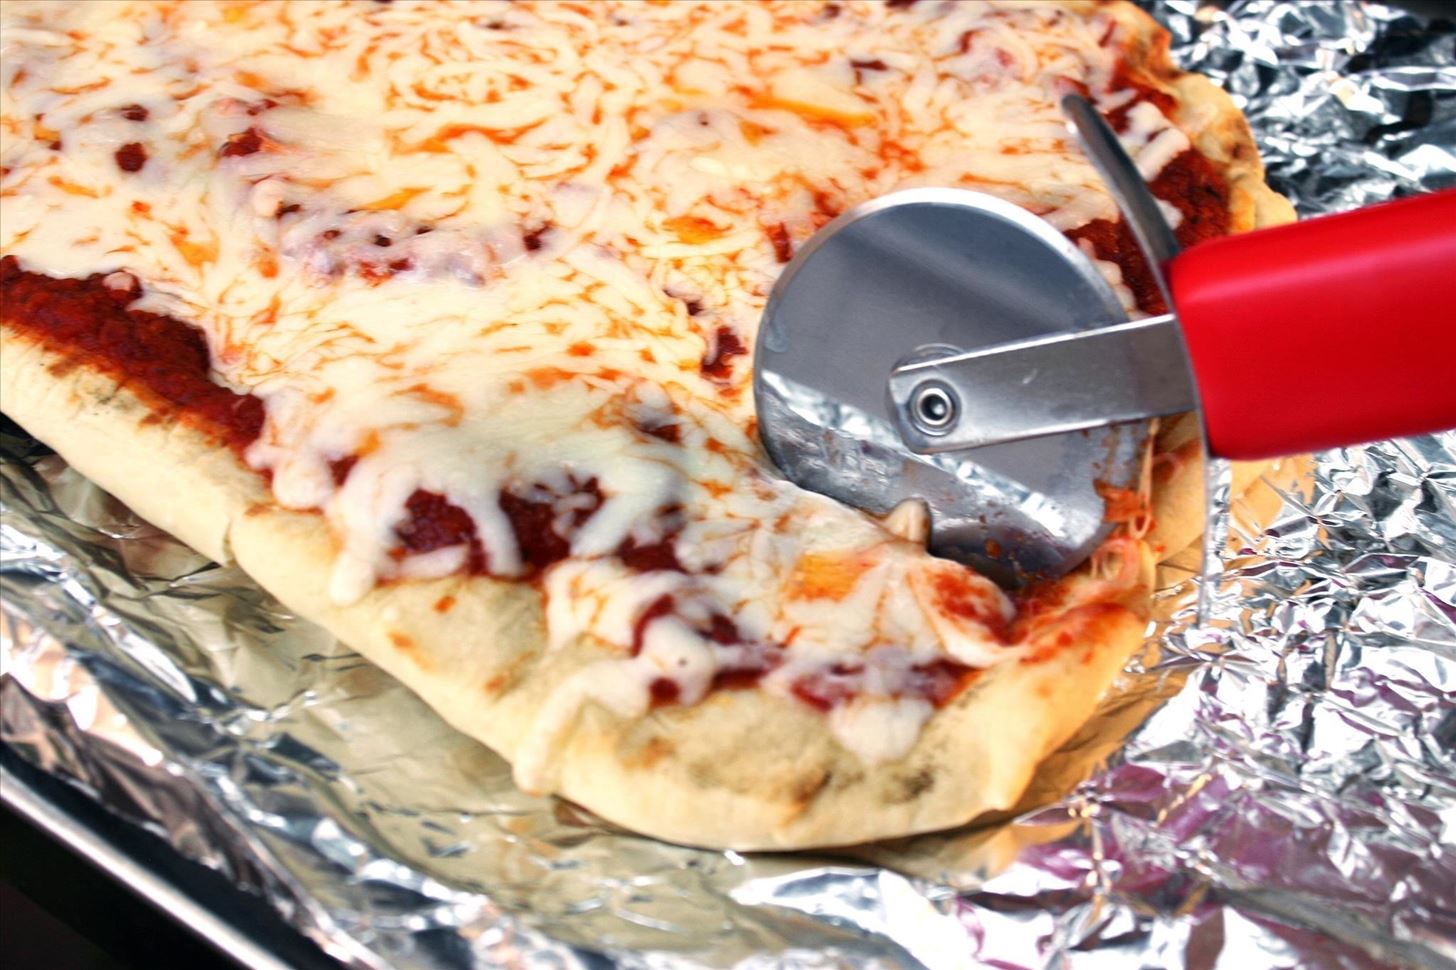
Step 7: Cut & Serve
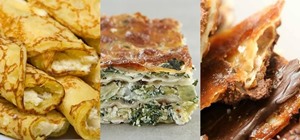
You'll know your pizza is ready when the cheese has melted and your pizza crust edges are brown and crispy. Remove your pizza from the heat and let it cool for a bit. Cut it anyway you like and enjoy!
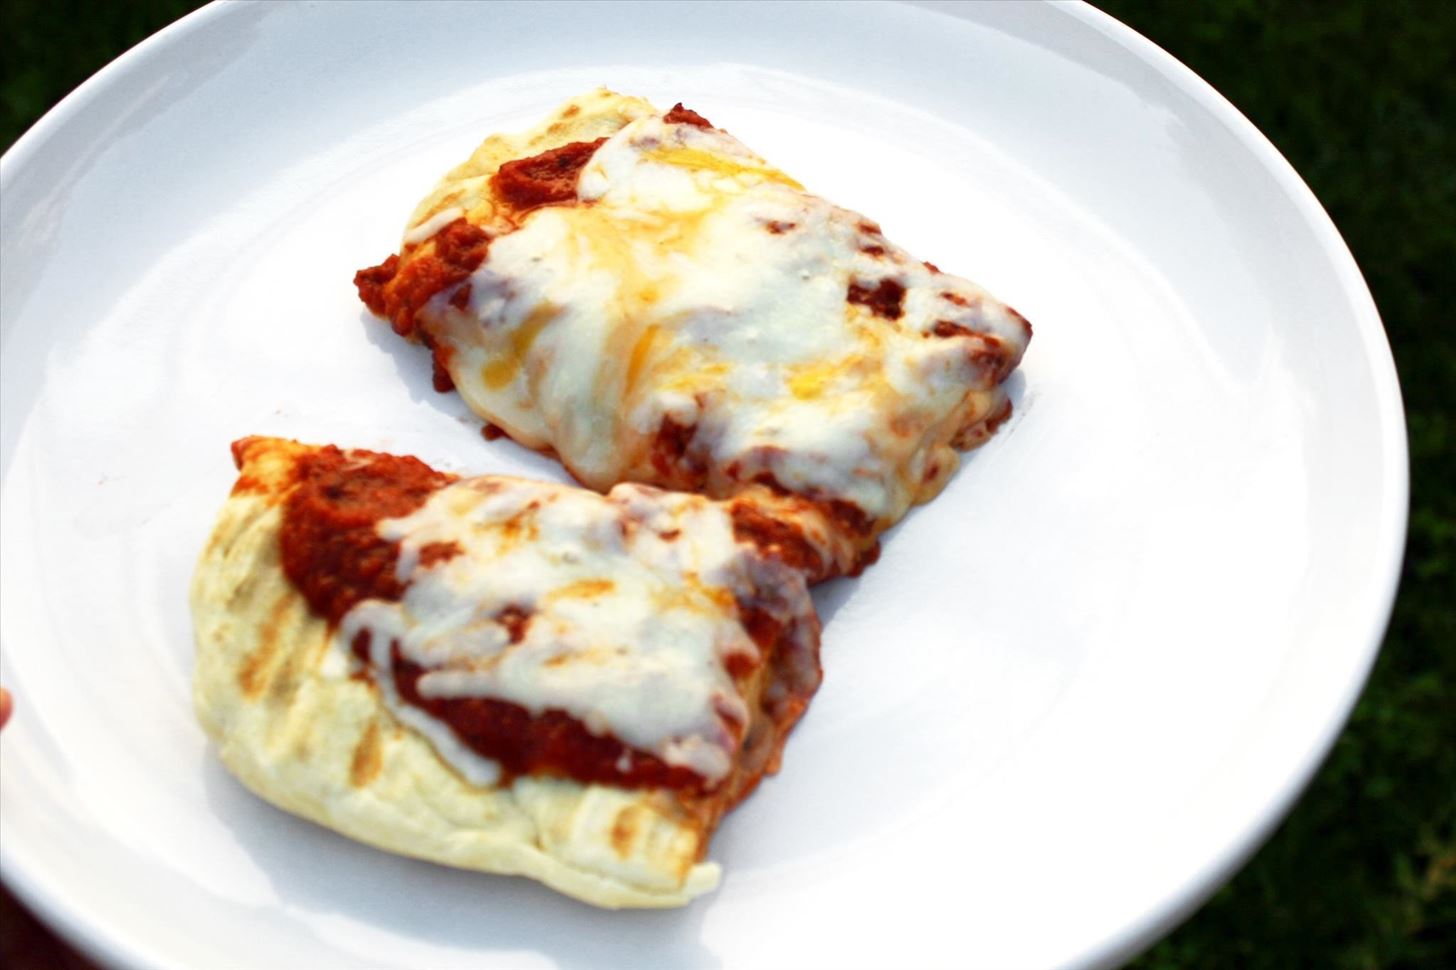
The process is so pain-free and quick that you can immediately cook another one (I often replace the tomato sauce with pesto on the second) and have two ready to go for large gatherings. Or maybe you just want two pizzas for yourself. That's okay. Pizza, pizza!
Just updated your iPhone? You'll find new emoji, enhanced security, podcast transcripts, Apple Cash virtual numbers, and other useful features. There are even new additions hidden within Safari. Find out what's new and changed on your iPhone with the iOS 17.4 update.


1 Comment
Pondering whether to try this at Coachella this weekend...
Share Your Thoughts