There are two kinds of people standing in the international section of the grocery store: the kind who love Pocky and the kind who don't yet know that they love Pocky because they've never had it.
Pocky is a classic, iconic Japanese snack food, and a box of it contains salty, crisp cookie sticks coated in a delicate layer of chocolate. They're fun to eat and come in lively flavors such as strawberry, chocolate banana, cookies and cream, and matcha, among others.
Unless you live in a big city with a Japanese market, it may be difficult to find Pocky flavored with something besides original chocolate. But here's the trick to making nearly the whole spectrum of (less-artificial) Pocky flavors in your own kitchen.
What You Need
- the ingredients for A Cozy Kitchen's homemade Pocky cookies
- a gallon-sized ziplock bagora piping bag with a small round tip
- 1 1/3 cup white chocolate chips (approximately 1/3 cup per Pocky cookie)
- 1/3 cup dark chocolate chips
- small bowls to melt chocolate
- matcha powder
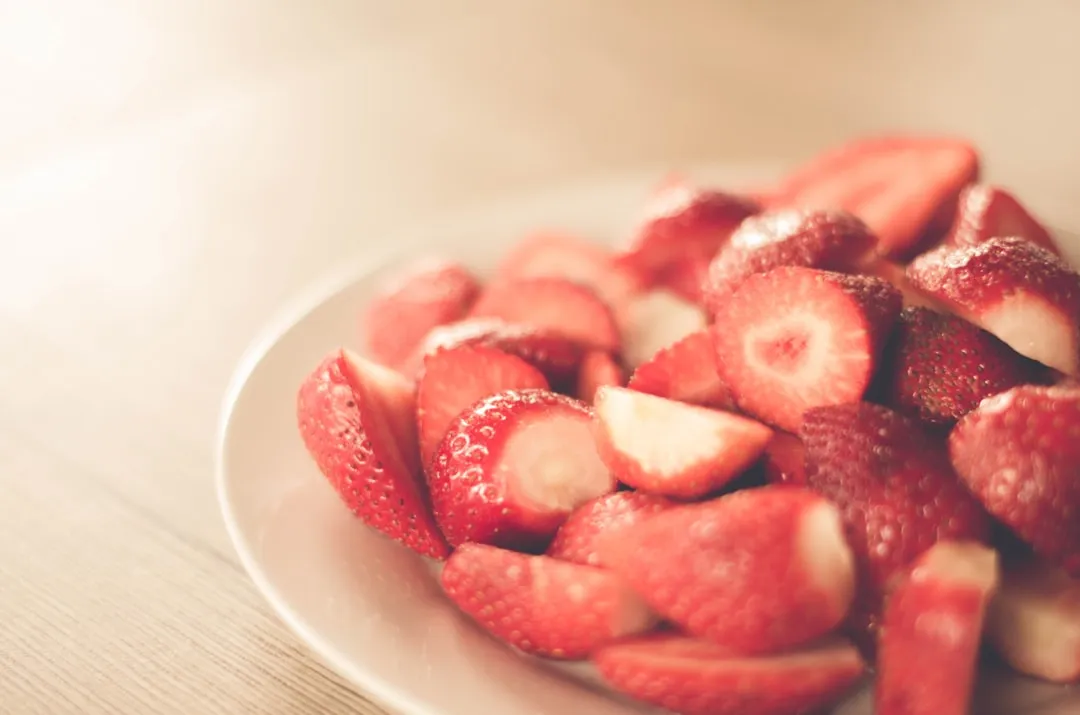
- strawberry purée
- toppings (Oreos, nuts, sprinkles, etc.)
5 Easy Flavors
These are the flavors I'll be making as examples, per the ingredients above; you could try out some other flavors once you get the hang of it.
- strawberry
- chocolate
- cookies and cream
- matcha
- birthday cake

Jessica Bose/Food Hacks Daily
Just Dough It
Make the Pocky cookie dough according to A Cozy Kitchen's directions. The dough is created in an electric mixer using the same methodology as most cookie recipes.

Jessica Bose/Food Hacks Daily

Jessica Bose/Food Hacks Daily

Jessica Bose/Food Hacks Daily

Jessica Bose/Food Hacks Daily

Jessica Bose/Food Hacks Daily

Jessica Bose/Food Hacks Daily
Bag It
Place a gallon-sized ziplock plastic bag or a piping bag into a measuring cup and wrap the overhang over the edges of the cup, then scoop the dough into the bag.
Please note that if you are using a zippered plastic bag to pipe, then it should be of high quality. I had to switch to a piping bag halfway through my process because my store-brand plastic bag ripped. Therefore, if you have access to a piping bag with a small round tip, I recommend using it for these cookies. If not, use a sturdy, high quality zippered bag.

Jessica Bose/Food Hacks Daily
If you are using a ziplock bag, use scissors to cut a small slit off one of the tips of the bag.

Jessica Bose/Food Hacks Daily
Pipe Lines
Pipe the cookie dough into four-inch sticks. You should be able to fit two rows on a standard half-sheet pan. I lined mine with a silicone baking mat to avoid sticking and for more even browning.

Jessica Bose/Food Hacks Daily
Refrigerate the sheet pan with the piped dough for a minimum of 15 minutes. Chilling the dough will prevent it from spreading in the oven.
Bake & Cool
Preheat your oven to 350°F. Bake one pan at a time for 10-12 minutes or until the bottoms of the cookies are golden and sturdy. Let the Pocky sticks cool completely when done.
Dip & Sprinkle
Prepare your white and dark chocolate by melting them in separate bowls at 50% power in the microwave for 30 seconds at a time. Stir after each interval of heat to prevent the chocolate from burning.

Matcha-colored white chocolate
Separate the white chocolate into two small bowls so that you have three equally portioned bowls with melted white chocolate. Mix matcha into one and strawberry purée into another; leave the other one be.

Jessica Bose/Food Hacks Daily
Using a spoon, work quickly to spread the chocolate over 2/3 of each stick. Be gentle and use a very light coating of chocolate or else the delicate pocky sticks may break.
Using warm chocolate is the key to making this chocolate-coating process easy: if your chocolate gets too cool and firm, simply warm it back up in the microwave.

Jessica Bose/Food Hacks Daily
Sprinkle toppings onto the dipped chocolate sticks while the chocolate is still liquid. You could use crushed Oreos, nuts (I used pistachios), sprinkles, or just a contrasting drizzle of chocolate.

Jessica Bose/Food Hacks Daily
Freeze
Place the sheet pan of finished Pocky sticks into the freezer for five minutes or until the chocolate is set. Your Pocky is now ready to be eaten! If you don't finish them all at once, store the Pocky in a sealed container in the fridge to prevent the chocolate from melting.
'Share Happiness'
Since Pocky's slogan is "Share Happiness," it only makes sense to share the Pocky sticks you make with your friends and family. You'll love the amazed looks on their faces when you reveal that you made them yourself and didn't just pick them up from the Asian market.
Let's not tell Esaki Glico (the company that makes Pocky), but you might even be capable of making a better version of Pocky than the Pocky makers themselves; shhhhh!

Jessica Bose/Food Hacks Daily
And now that you know the basics of making your own Pooky sticks, you can experiment with even more flavors. The sky's the limit.
- Follow Food Hacks Daily on Facebook, Twitter, and Instagram
- Follow WonderHowTo on Facebook, Twitter, and Google+












Comments
Be the first, drop a comment!