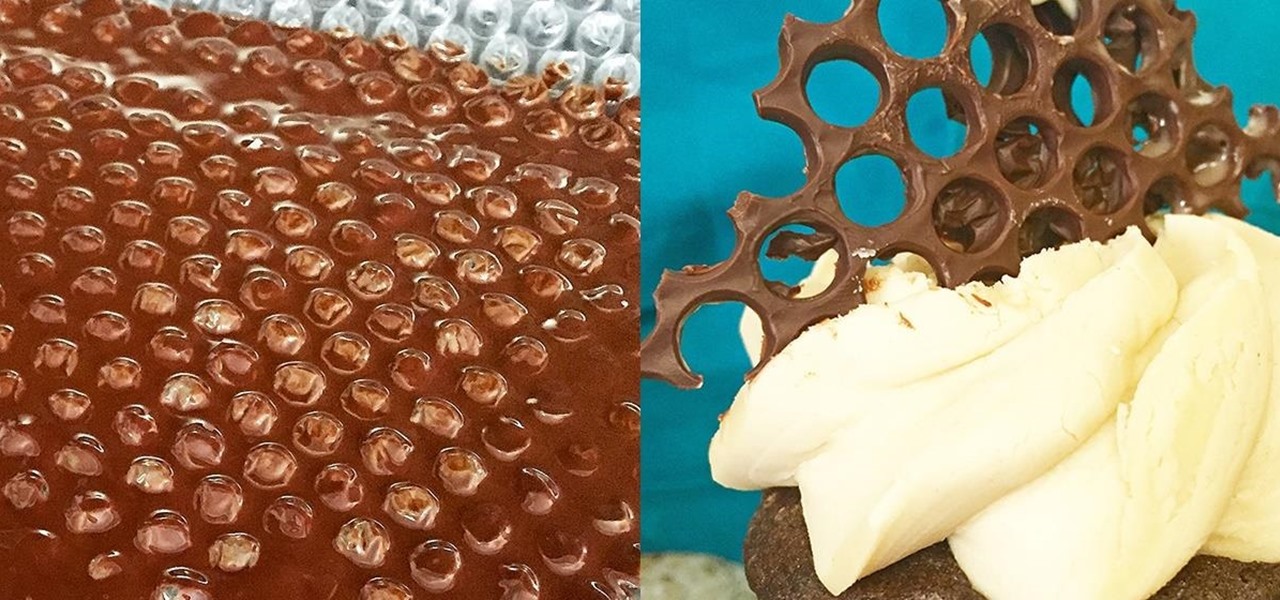

The internet was blowing up recently over this mind-blowing, mouth-watering video of a woman making a cake decoration out of… wait for it… chocolate bubble wrap. Yes, that's right: she turned the ubiquitous packing material into the mold for an absolutely gorgeous cake embellishment that, deservedly, went viral. You can watch the video below.
- Don't Miss: 9 Poppin' Alternative Uses for Bubble Wrap
Now, I will freely admit that I am a complete novice at chocolate crafting, and after years of watching shows like Food Network Challenge and Ace of Cakes, I was pretty intimidated by the idea of trying it. But this looked like something even I could handle, and I figured that even if I failed I'd have taken one for our Food Hacks team (including you)—and I'd have some pretty tasty mistakes to devour.
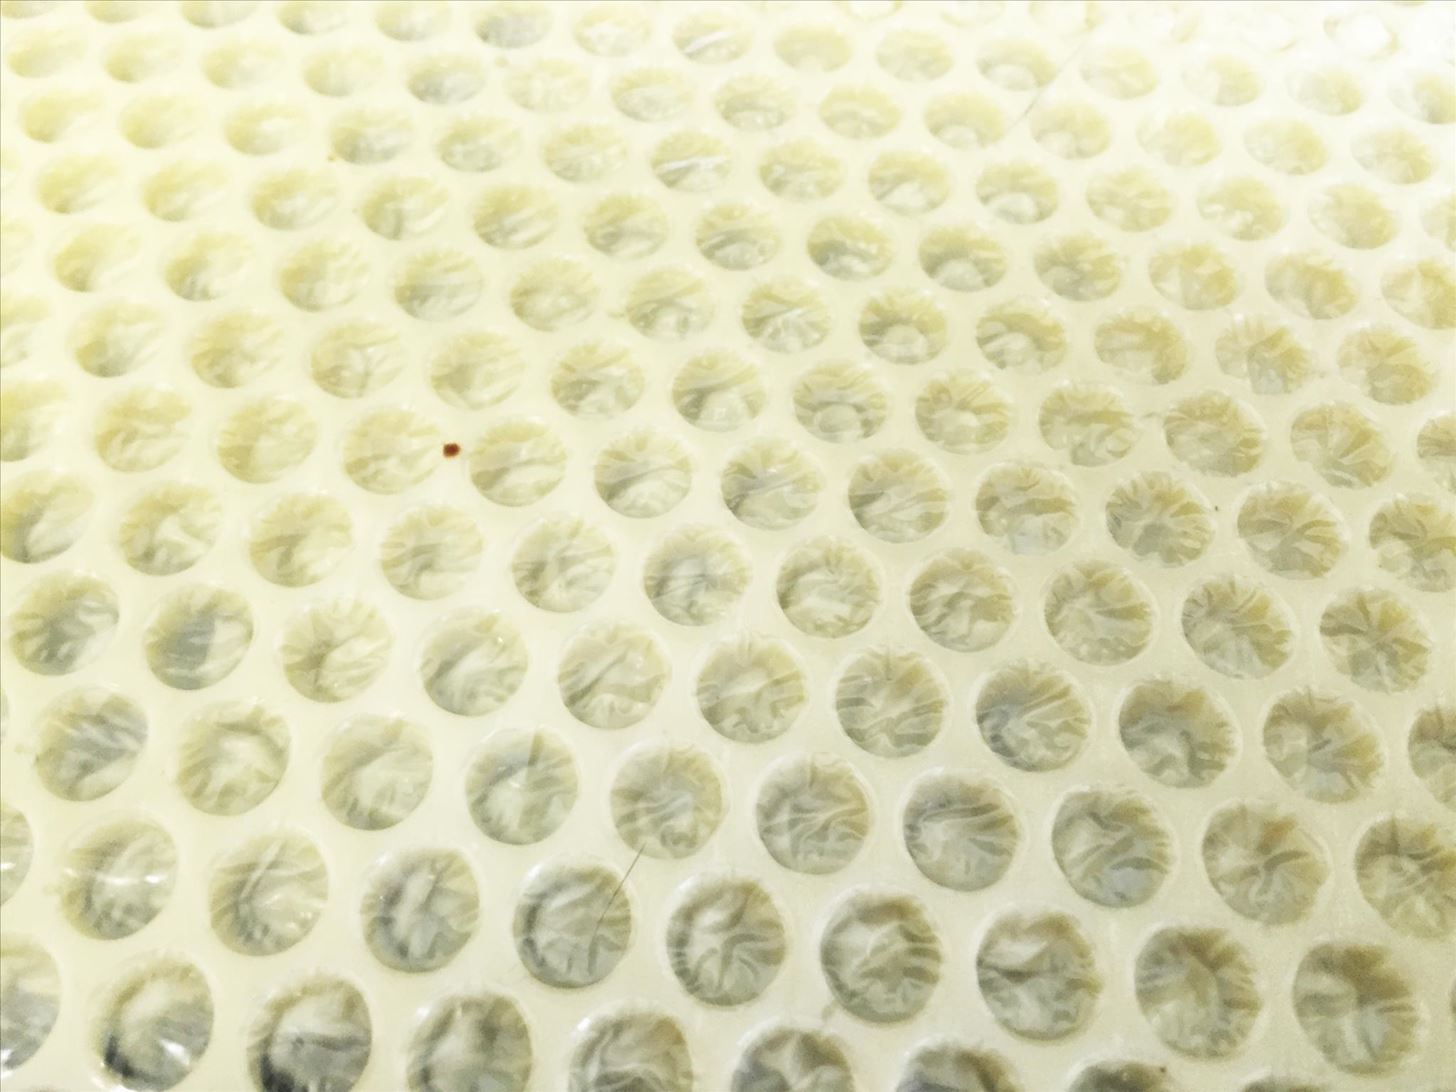
I acquired some small-bubble bubble wrap from my local packaging store and also dug up some large-bubble bubble wrap I had around the house. As instructed on the video (and as common sense would dictate), I washed and dried the plastic packing materials before using them.
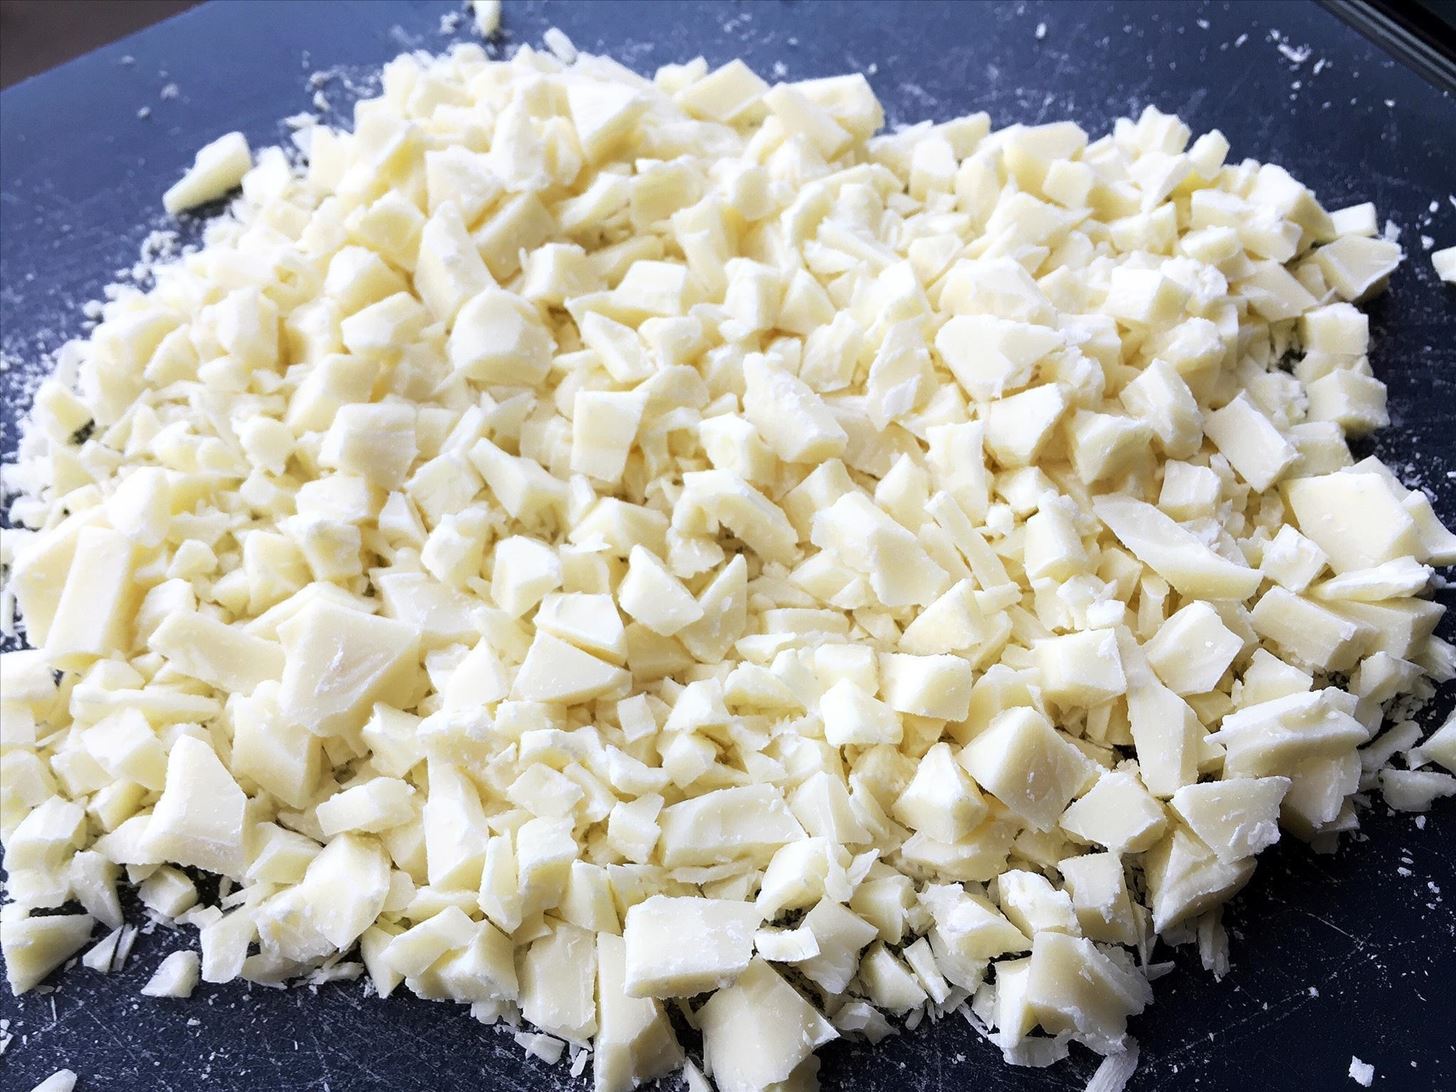
The first step in working with chocolate is to temper it. There are many methods for this process, including the one shown in the video above. I chose to use the "seed" method and worked with both dark and white chocolate.
- Don't Miss: Easy DIY Gourmet Chocolate Bars
Step 1: Chop Chop
Finely chop up your chocolate into very small bits; according to Food52, you don't want to use chocolate chips because of the added ingredients that are meant to actually prevent melting and clumping.

Step 2: Melt Away
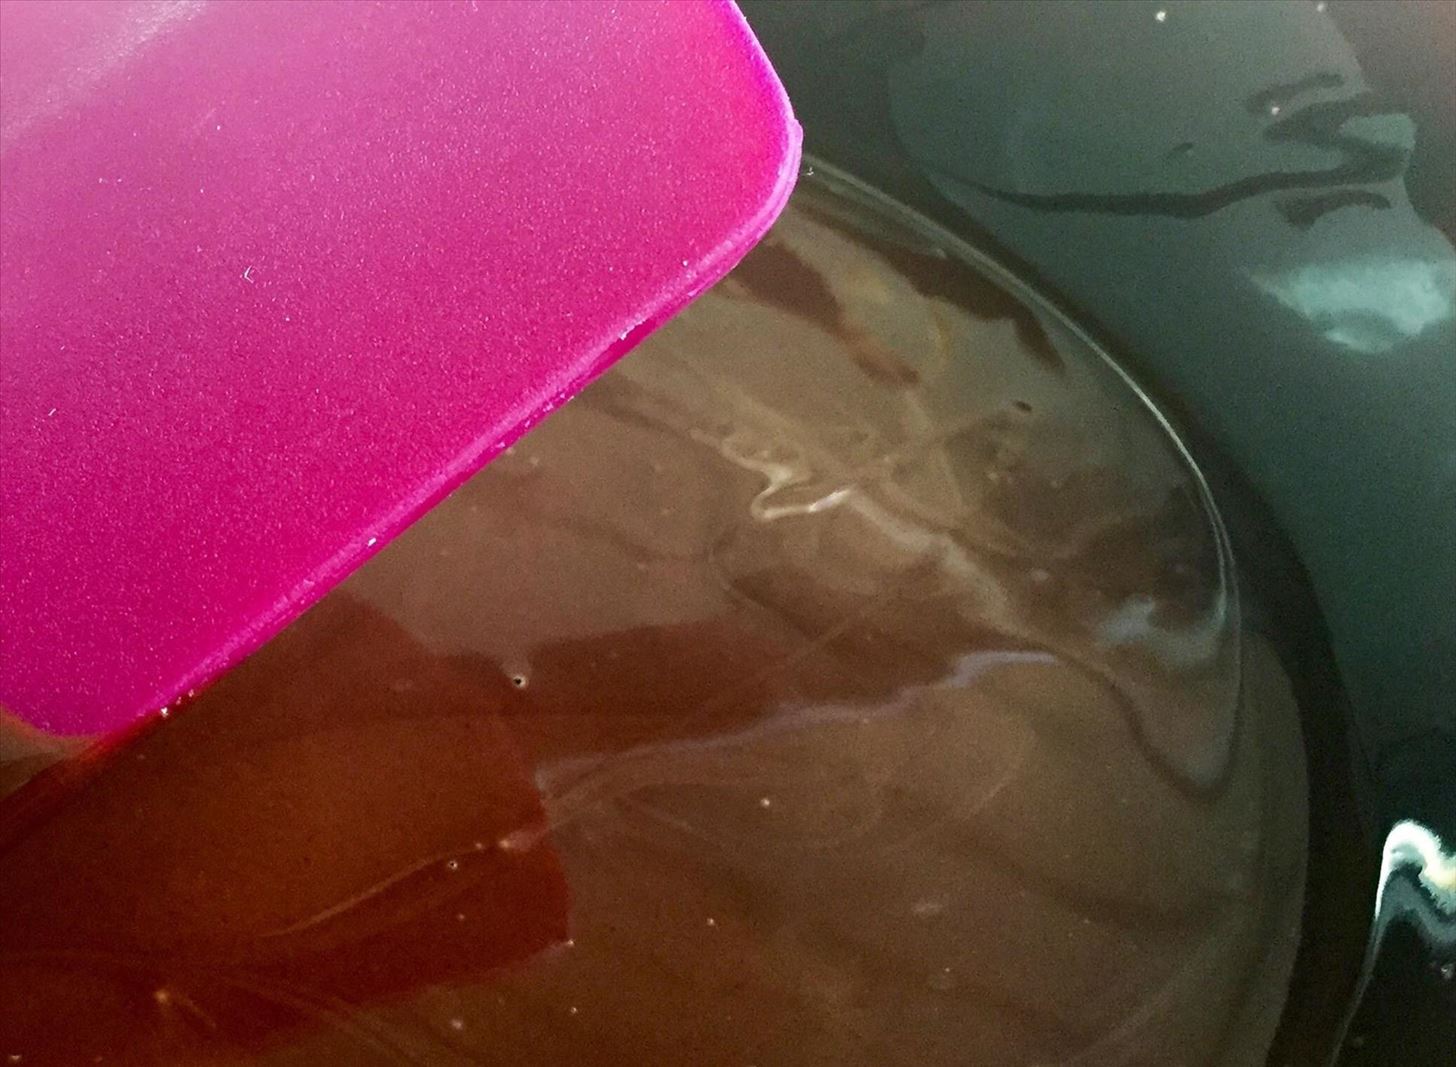
Take about ¾ of your chopped bits and melt them in a microwave-safe bowl on high for 20-30 seconds. Stir thoroughly and keep heating the chocolate in gradually lessening time blocks until it is completely melted.
- Don't Miss: 7 Genius Things You Can Make in Your Microwave
Step 3: Seed in the Rest of the Chocolate
Now add, in small batches, the remaining chopped chocolate (this is the "seeding" part) and mix thoroughly after each addition until the chocolate is completely melted. If you need to nuke it again for a few seconds, do so, but with caution: white chocolate in particular can burn very easily.
Step 4: Spread the Chocolate On
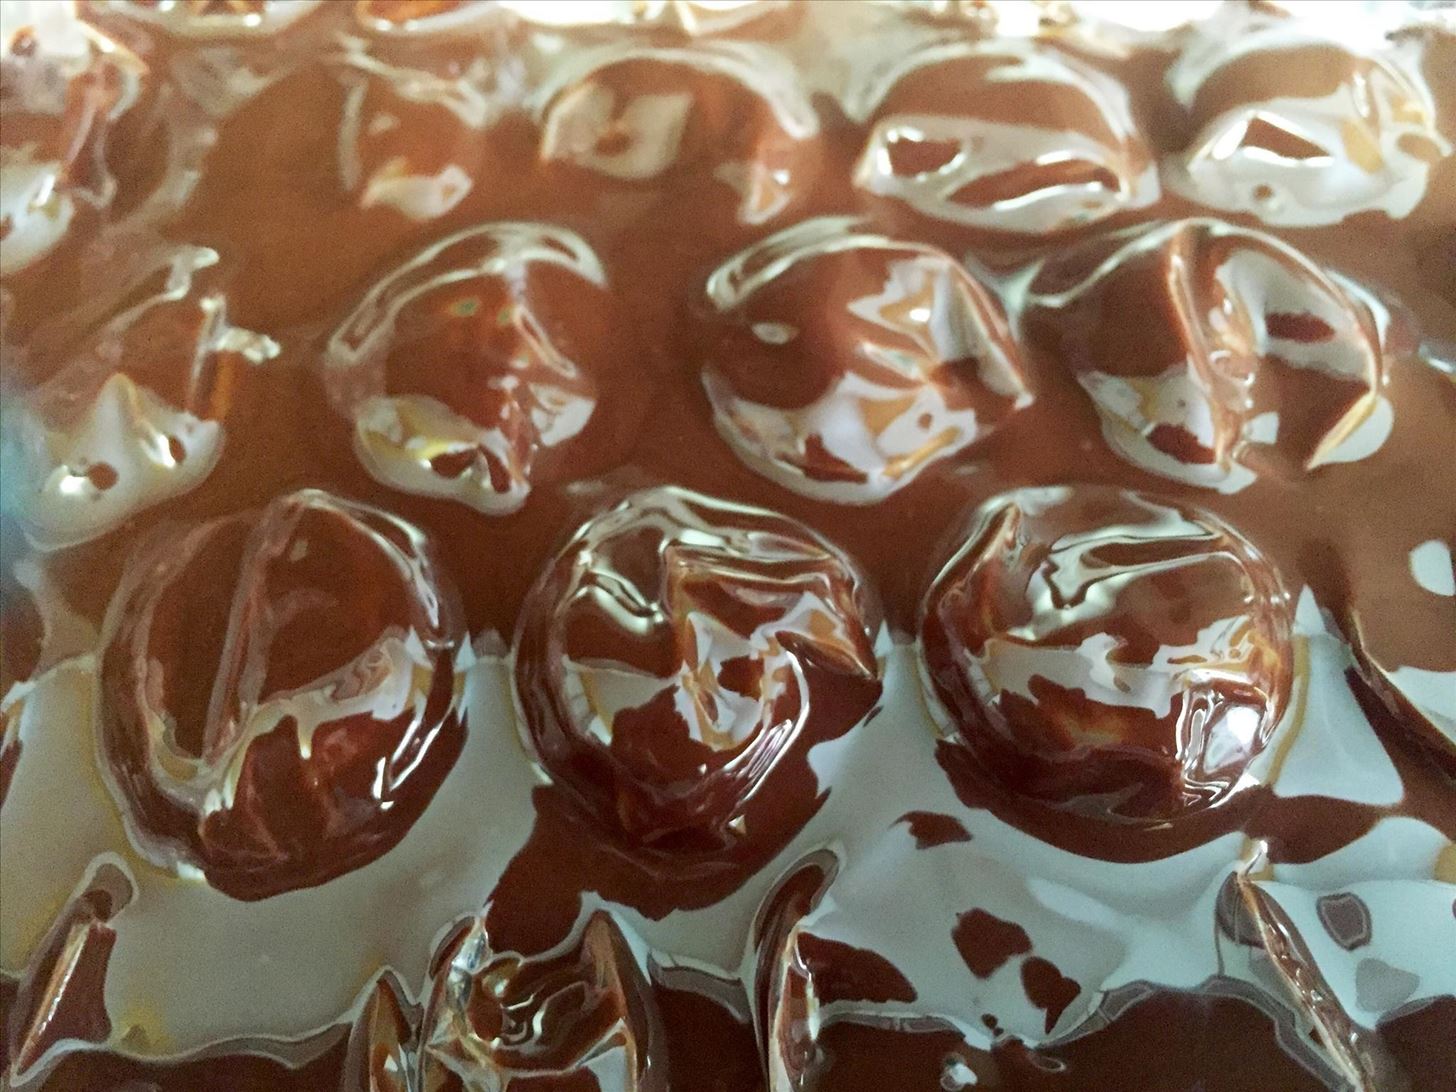
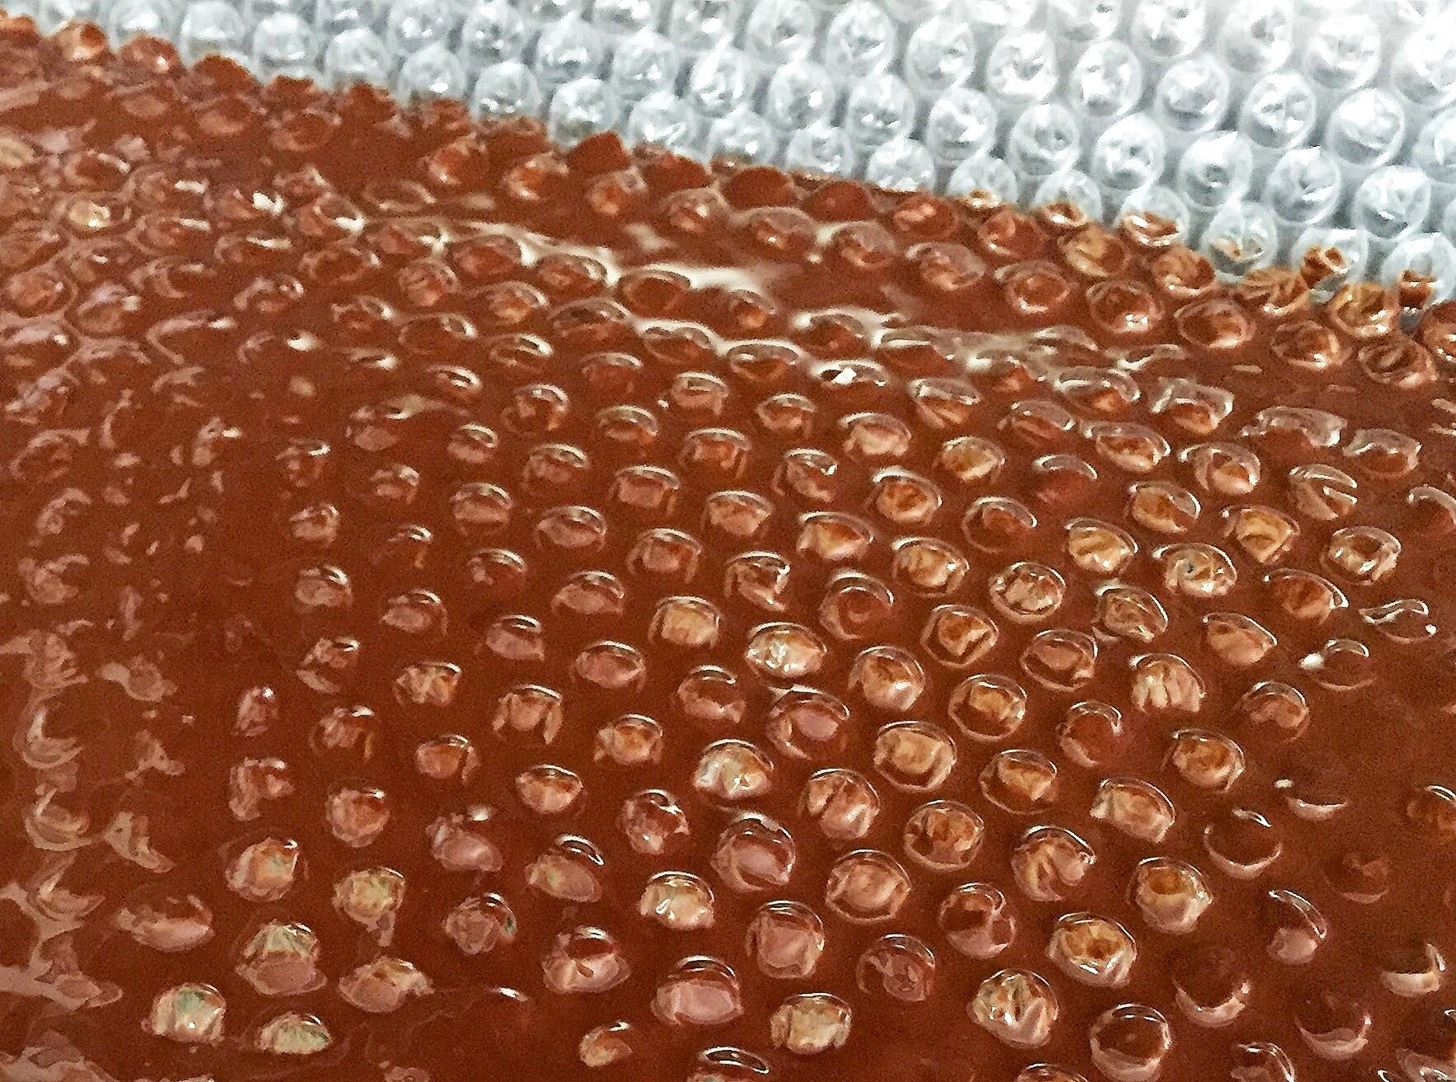
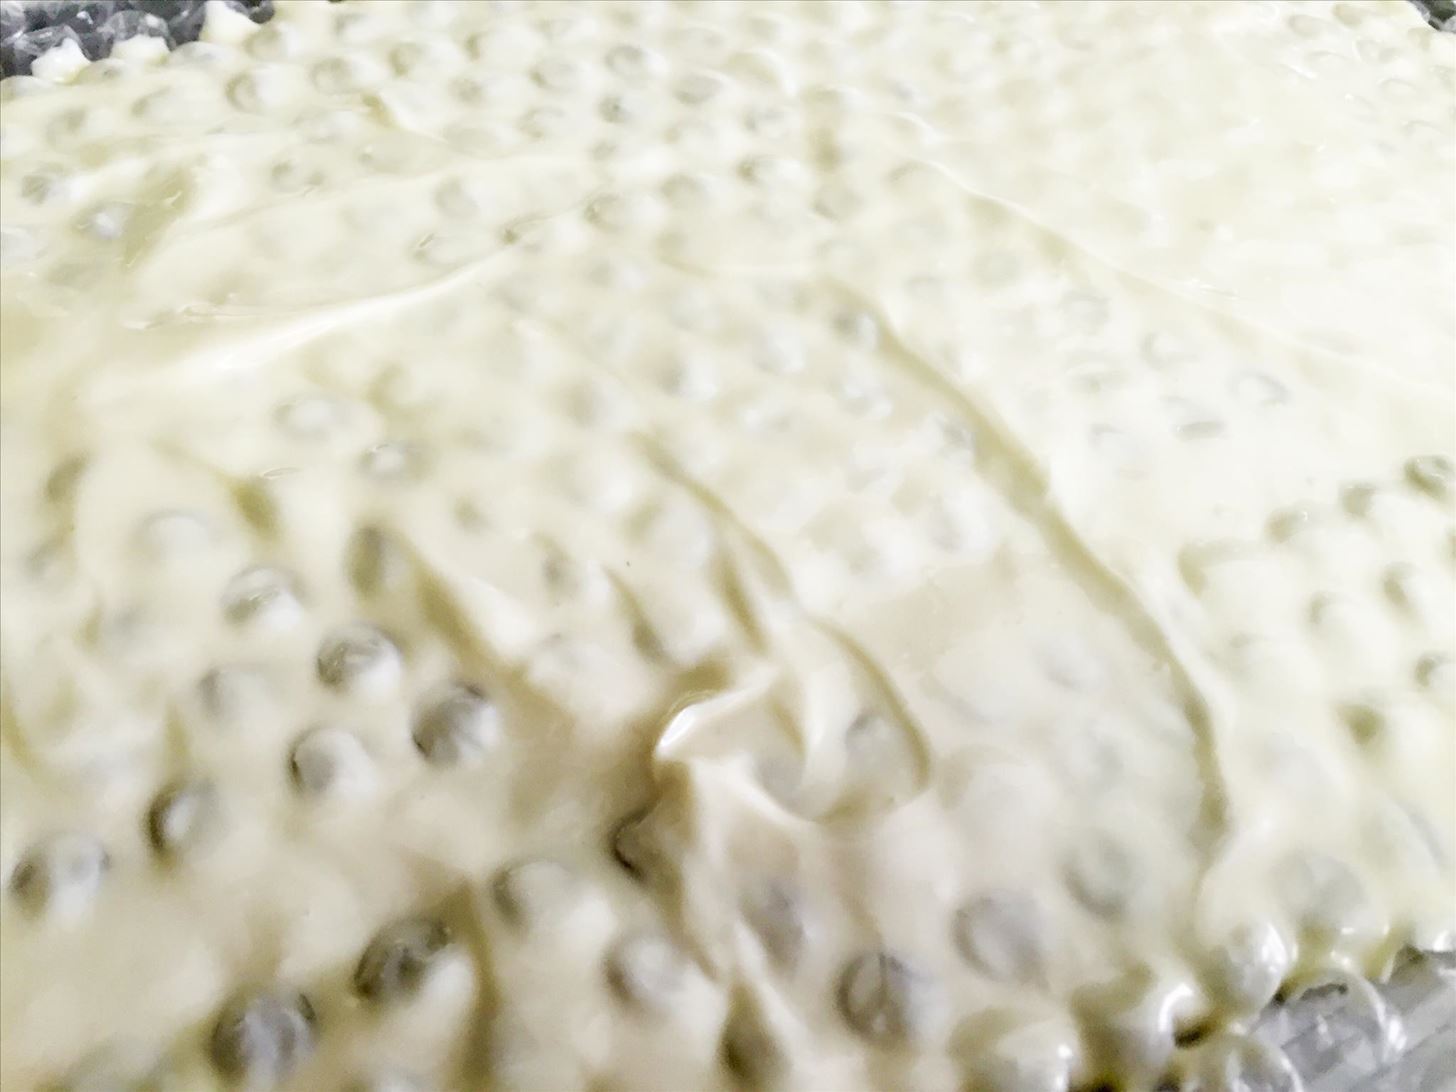
Next, place the bubble wrap on a cookie sheet and spread a layer of chocolate over it (bubbles up, of course). I will ruefully admit here that I didn't make my dark chocolate layer thick enough, so you will see that I ended up with more of the "honeycomb" effect and fewer of the actual bubbles after it cooled.
Step 5: Cool It
If your kitchen isn't too hot, let the chocolate cool on the counter; if your kitchen is warm, as mine was, stick your bubble-wrap-on-cookie-sheet in the fridge for a half-hour or so. Your chocolate will lose some of its pretty gloss, but it will definitely harden better. Also, if you are going to make cutouts from your chocolate (see below), don't let it get too hard, or it will shatter when you cut it.
Step 6: Peel the Bubble Wrap Off
When the chocolate is hardened (partially or fully), flip it over so that the bubble side is down, then gently peel off the bubble wrap. Do this very slowly so that you don't crack the chocolate or break the bubbles (disclaimer: I did a great job with the white chocolate, but not so well with the dark).
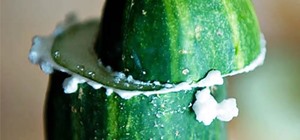
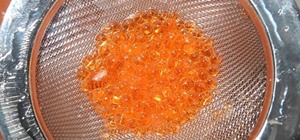
Burst Your (Larger) Bubbles
It is here that I must mention that my experiment with larger bubbles was an epic fail. I had high hopes when I saw how well the chocolate had coated the bubbles initially (see picture above). However, when it came time to peel it off, the chocolate either stuck to the bubbles or just broke apart in between them.
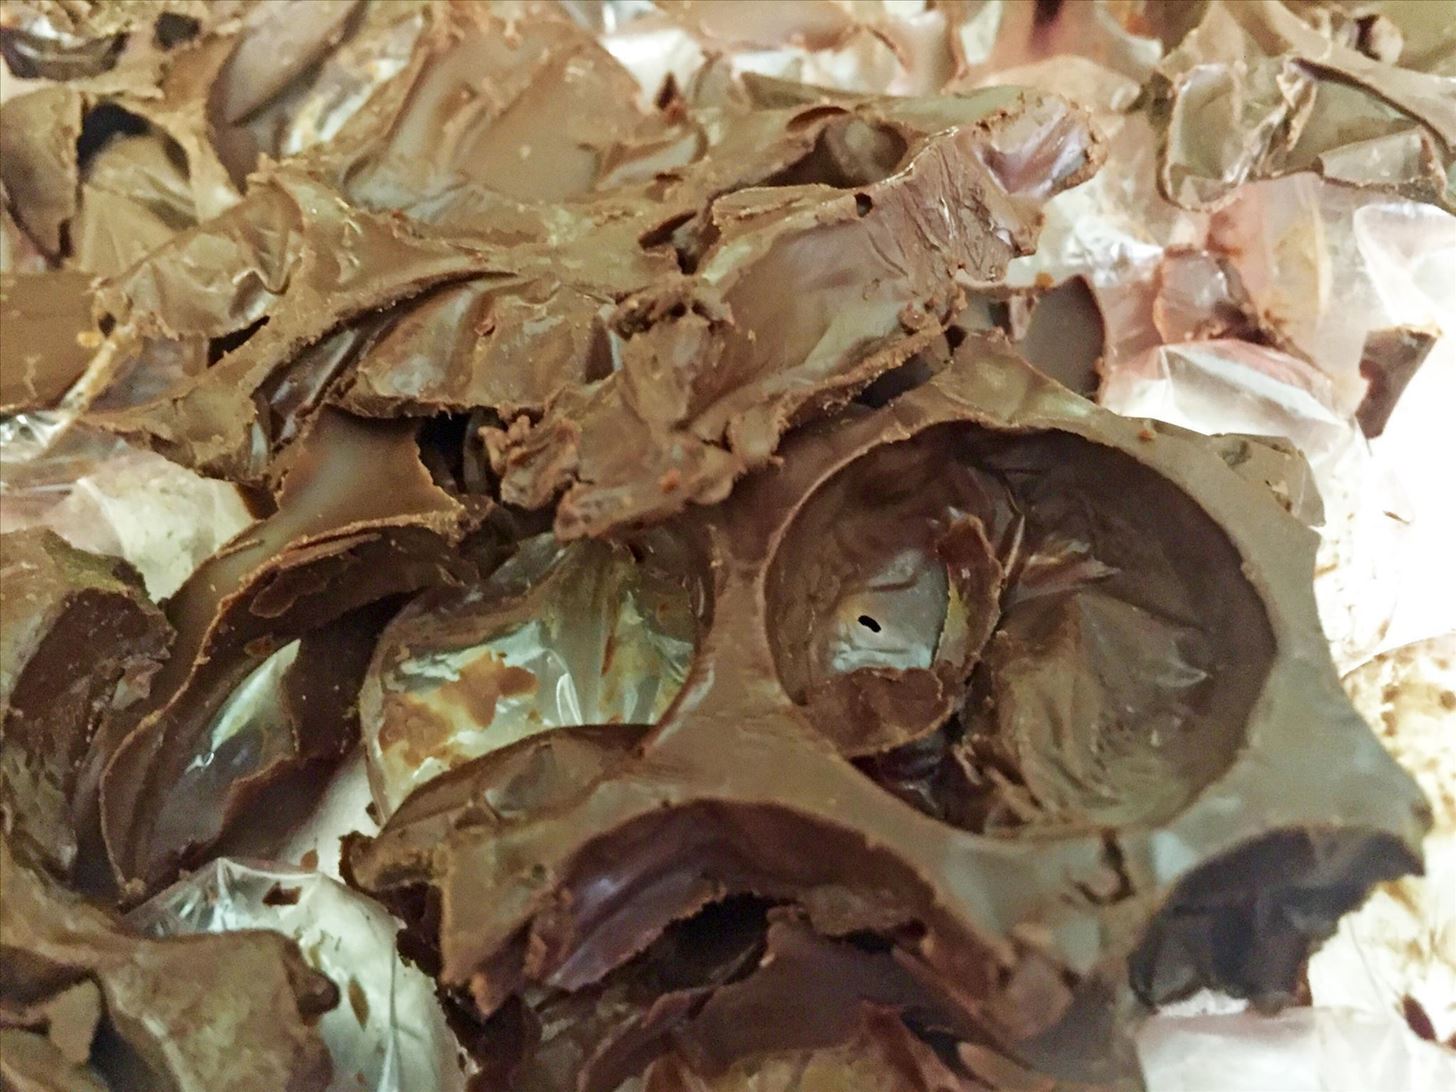
Perhaps with an even thicker layer of chocolate on the bubble wrap and additional chilling time it might have worked a bit better, but then the peeling would have been even more difficult. A little research shows me that others have had better success with the larger bubble wrap, so I'll give it another go in the future.

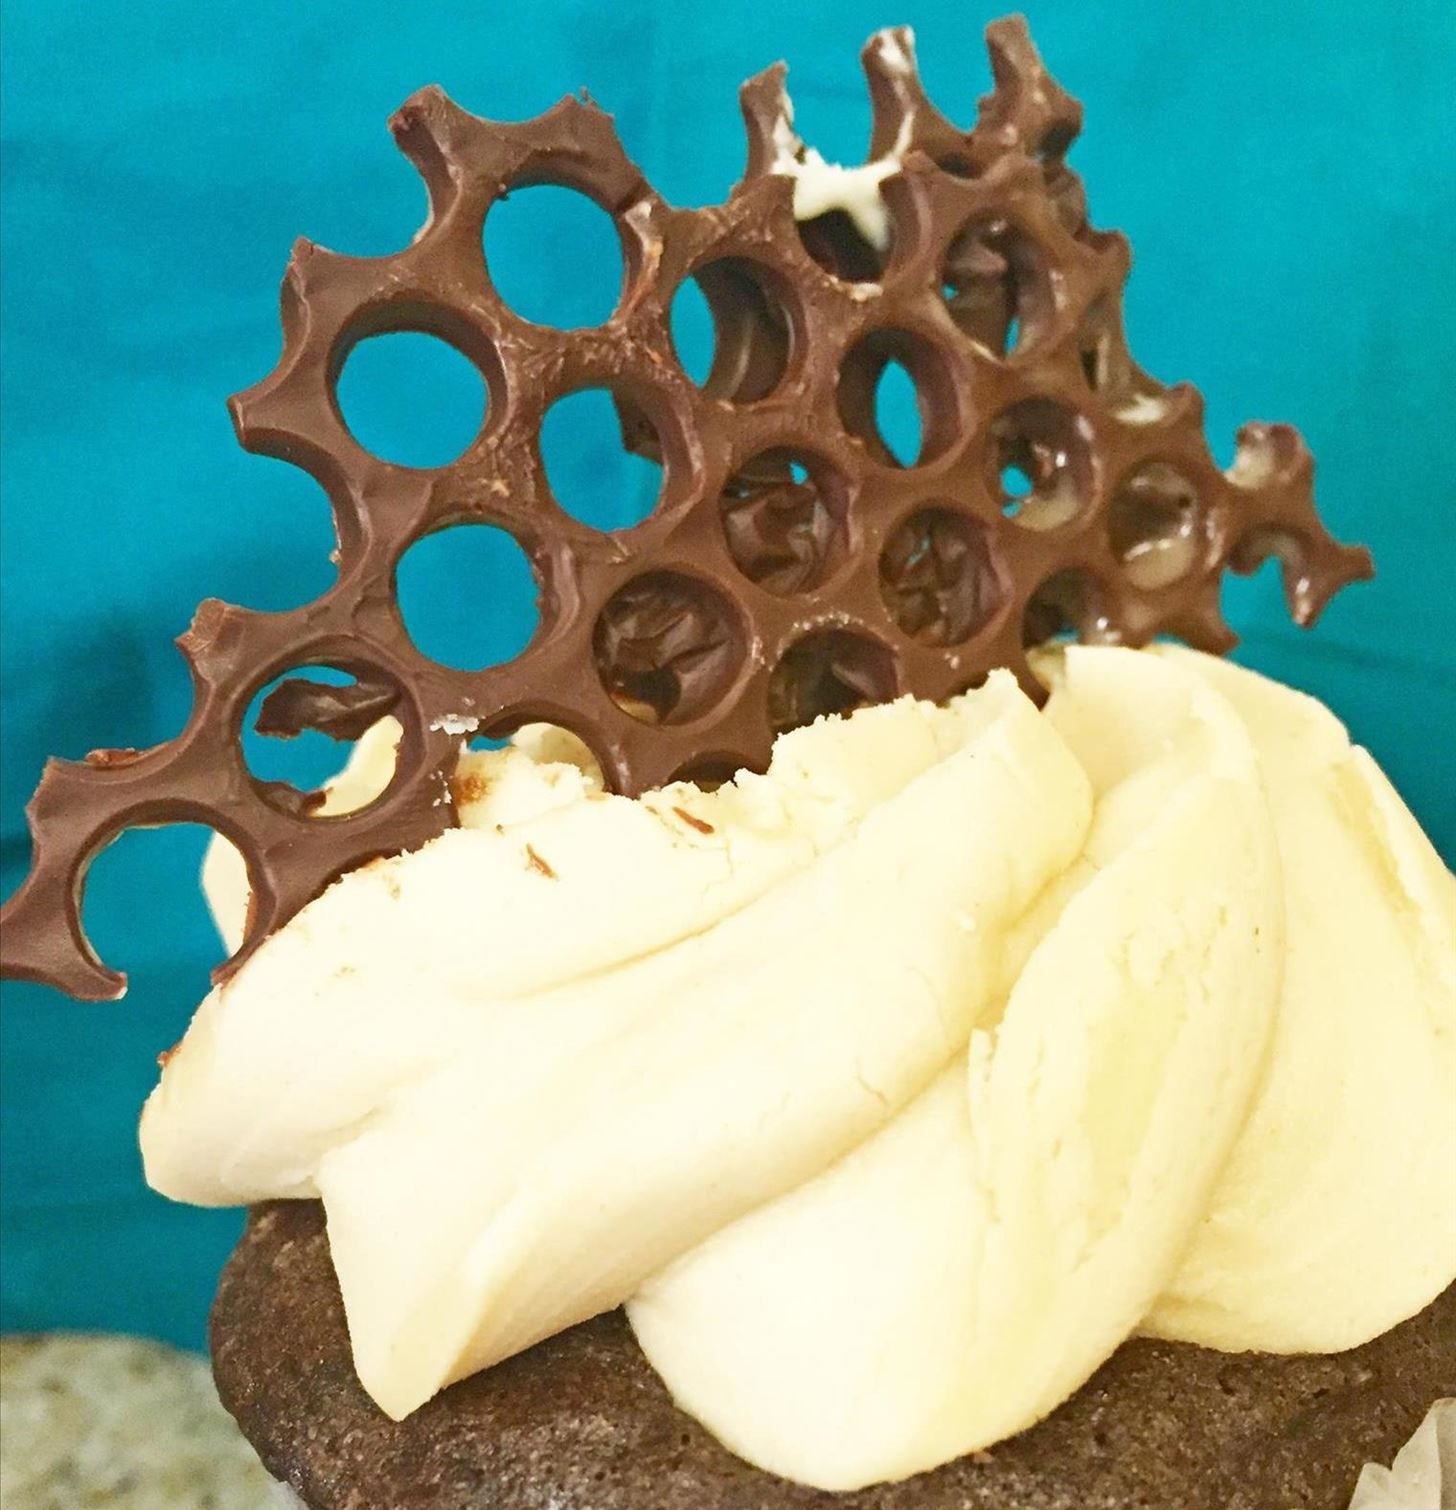
Tiny Bubbles, Big Impact
Chocolate bubble wrap can be put to many decorative uses. You can top cupcakes with the shards for a nifty, avant-garde effect.
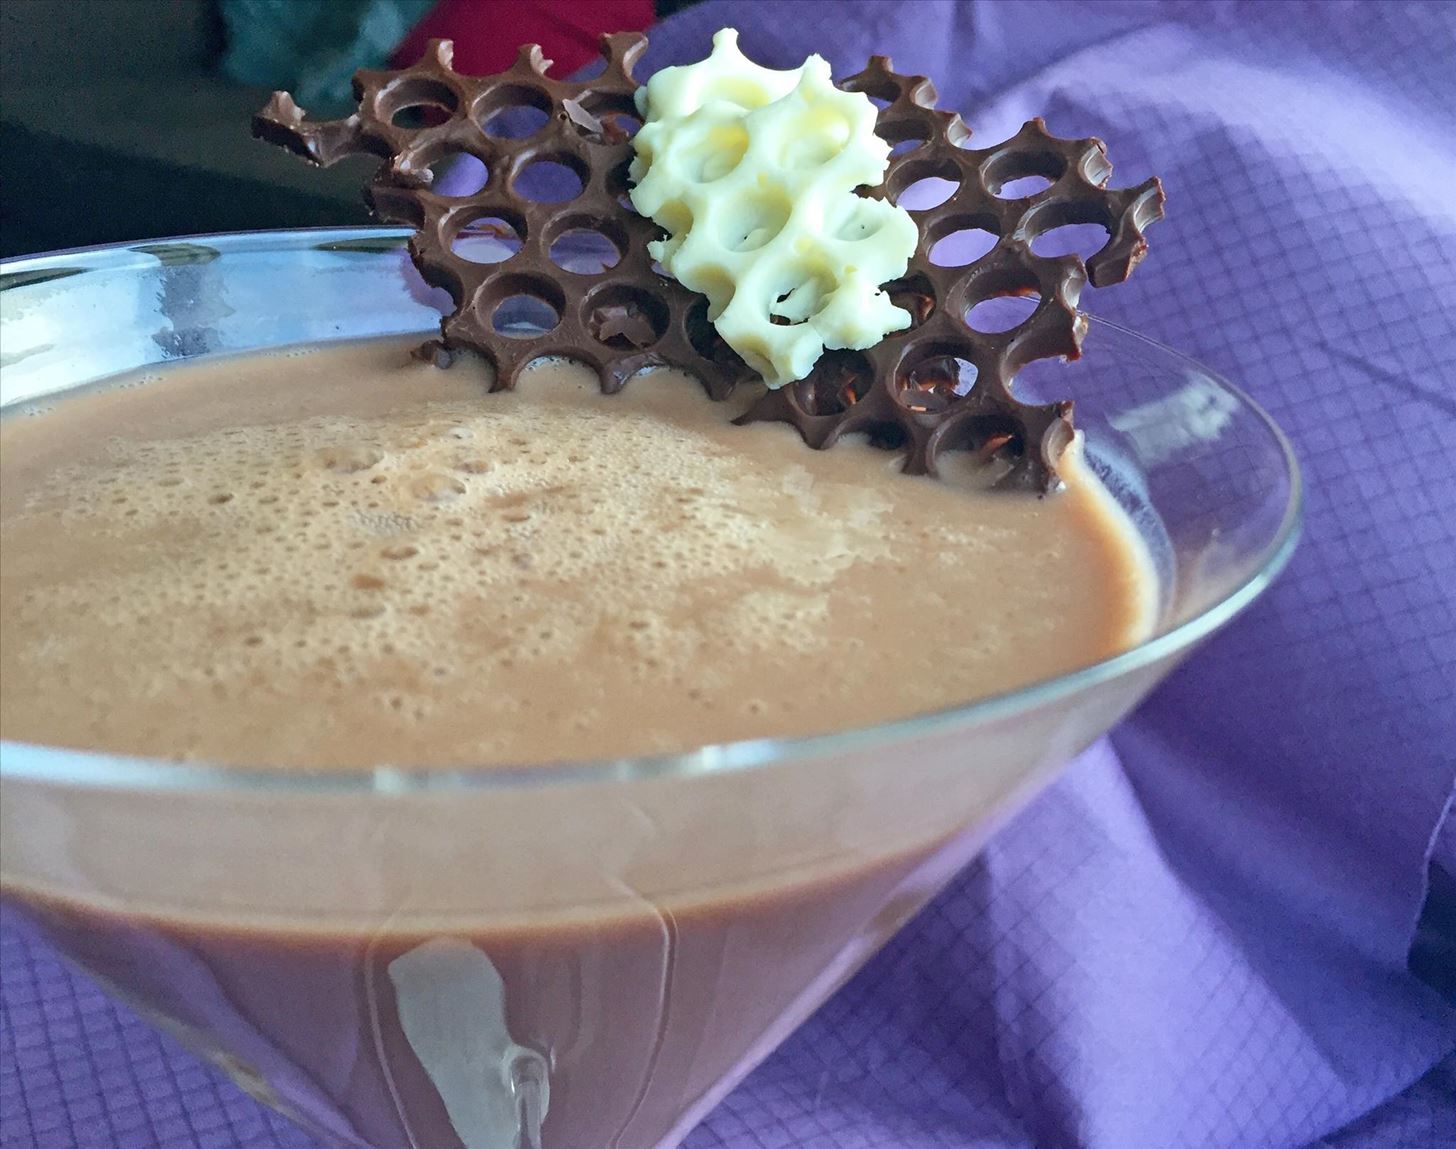
You can use it to embellish drinks. Over a decade ago, I had a chocolate martini at the Coral Reef restaurant in Walt Disney World and to this day I remember the chocolate coral with which it was decorated. This cocktail isn't quite as fancy, but I think it still looks pretty whimsical.
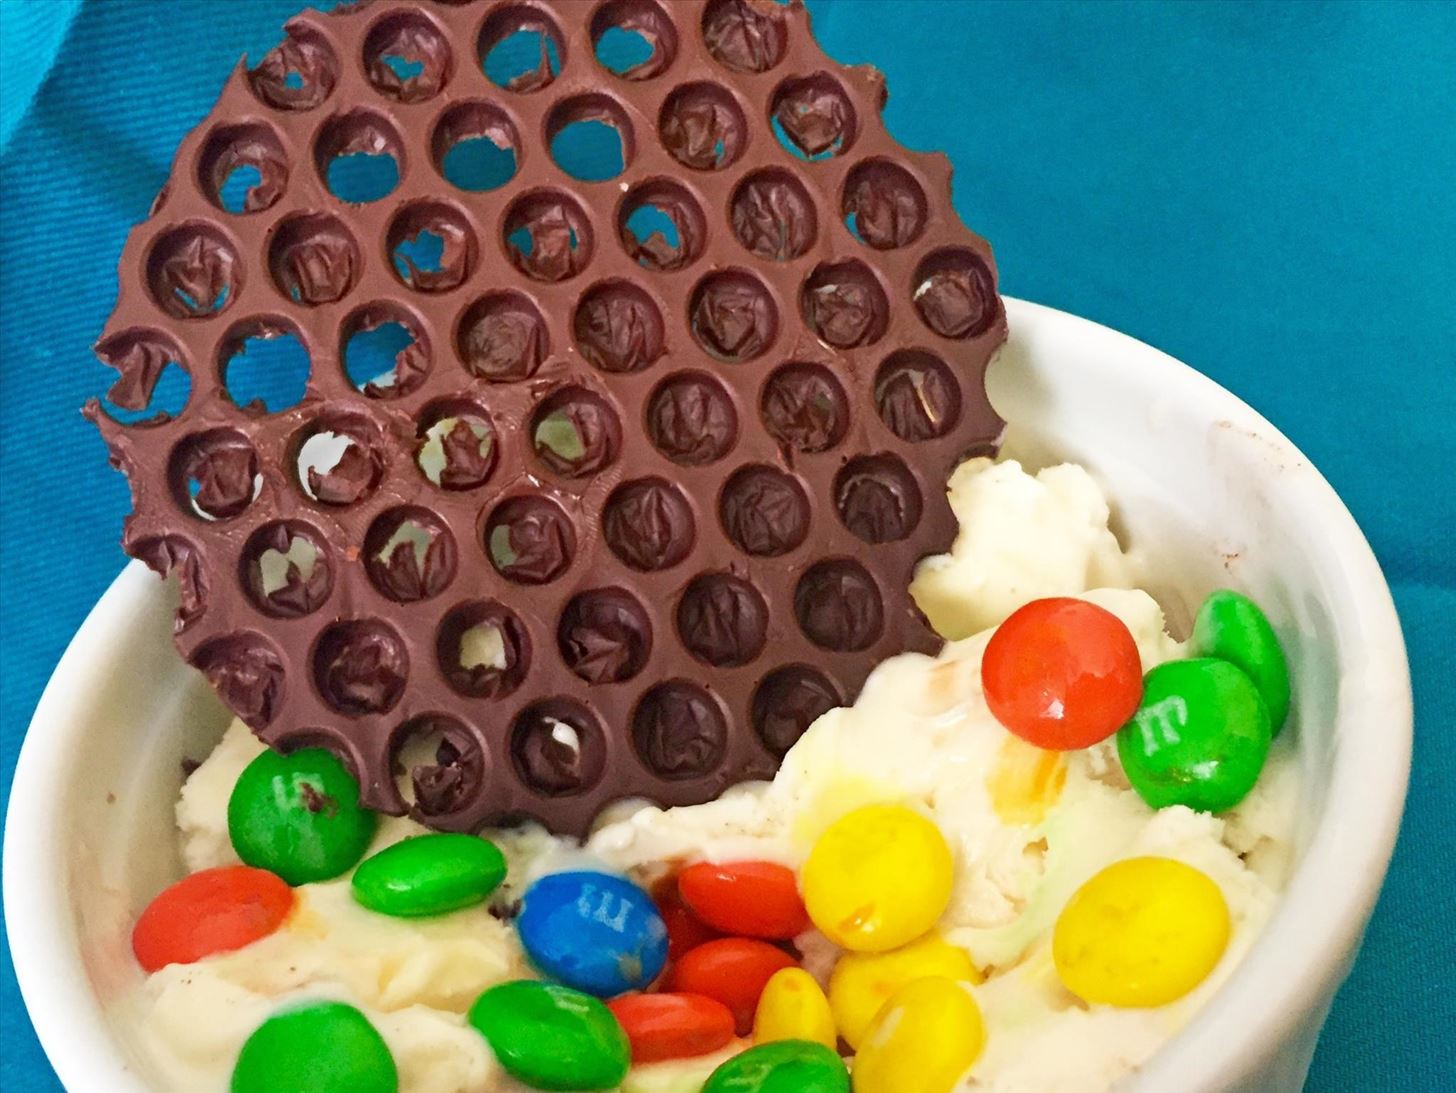
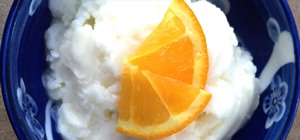
As I mentioned above, if you don't let your chocolate harden completely you can use a cookie cutter to cut out shapes from the chocolate and then use those to decorate all sorts of things—cakes, cookies, even ice cream sundaes!
- Don't Miss: How to Make Custom-Shaped Chocolates at Home
Chock-Full of Possibilities
These tasty examples are really just a sampling of the many things you can do with chocolate and bubble wrap. All you need is some patience while tempering, perseverance (and more patience) while spreading and cooling the candy, and a chocolate-loving audience to eat both your successes and your failures. Now go forth and let your creativity "bubble" up!
A Note Regarding BPA Contamination
If you're worried about possible leaching of BPA hormones from the bubble wrap, don't be—according to John of Chocolate Alchemy, the risk of contamination is low because the temperature of the chocolate is too low and the amount of time the chocolate spends on the wrap too short for any significant leaching. So feel free to try this mold at home without reservation!
More Fun Candy-Related Hacks:
Just updated your iPhone? You'll find new emoji, enhanced security, podcast transcripts, Apple Cash virtual numbers, and other useful features. There are even new additions hidden within Safari. Find out what's new and changed on your iPhone with the iOS 17.4 update.


Be the First to Comment
Share Your Thoughts