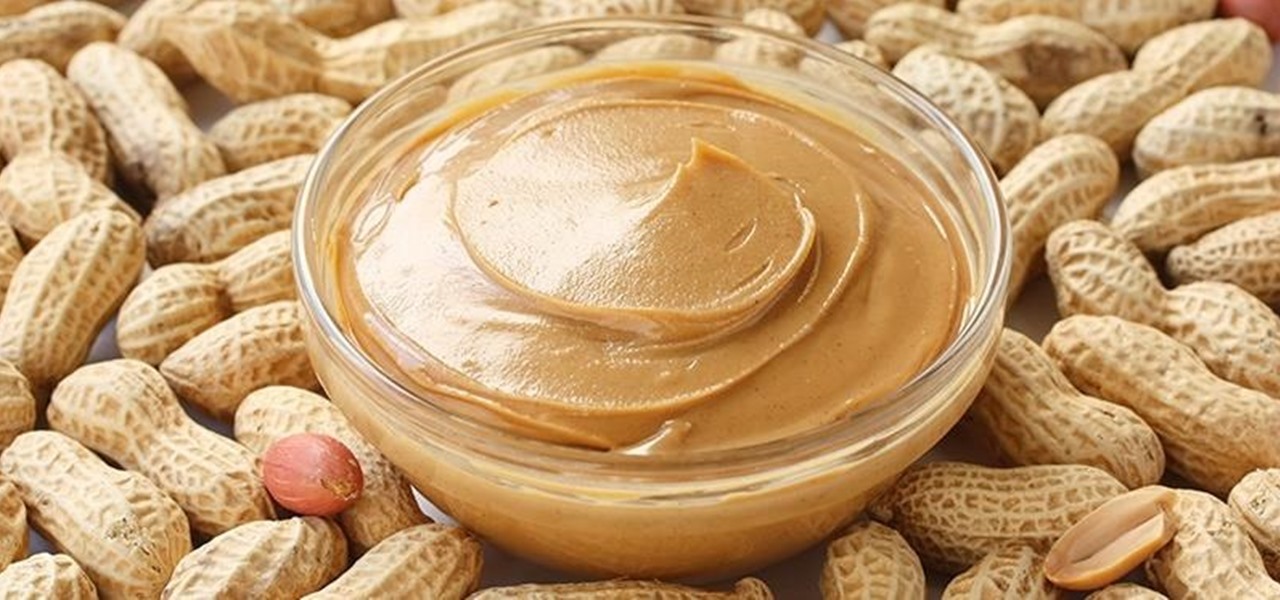

If you have a good food processor or blender, there's no reason not to make your own nut butters, whether you like almond, cashew, sunflower, or the perennial classic, peanut.
Not only can you control the taste, sweetness, crunchiness, and oiliness of the butter, you can also use non-GMO and organic nuts. Your homemade nut butter won't have any fillers or too much salt, either. And don't forget that salmonella scare in-store peanut butters had not too long ago.
It Tastes Better & It's Cheaper, Too
In fact, Squawkfox crunched the numbers and found that buying organic nuts and making your own peanut butter is cheaper than buying it at the store ($0.74 per 100g at the store vs. $0.46 per 100g for homemade).
Maybe that's not Maserati-buying money, but it ain't nothing. Plus, homemade peanut butter tastes so much better. The Kitchn also tracked the digits and came down on the side of homemade, too.
So now you know the facts: homemade peanut butter is easy, tastier, and cheaper than the store version, and most likely better for you. But did you know that using your wok can take your homemade peanut butter to the next level?
Why Use a Wok/Fry the Nuts?
Using a wok (or a large cast-iron skillet or other good frying pan), you can fry those peanuts and take your homemade PB to otherworldly heights.

While roasting is commonly used to enhance the flavor of peanuts, especially when creating a nut butter, frying is just as effective and a lot easier to do for the home cook. A wok is especially effective at this process because it's designed to handle high heat and fry efficiently using relatively small amounts of oil.
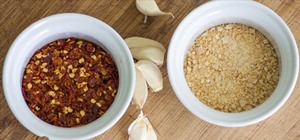
Step 1: Buy the Right Peanuts
Buy one pound of shelled, skinned, raw peanuts. A good source is your local natural food store, or go online for the organic stuff. Asian groceries also sell peanuts for very cheap.
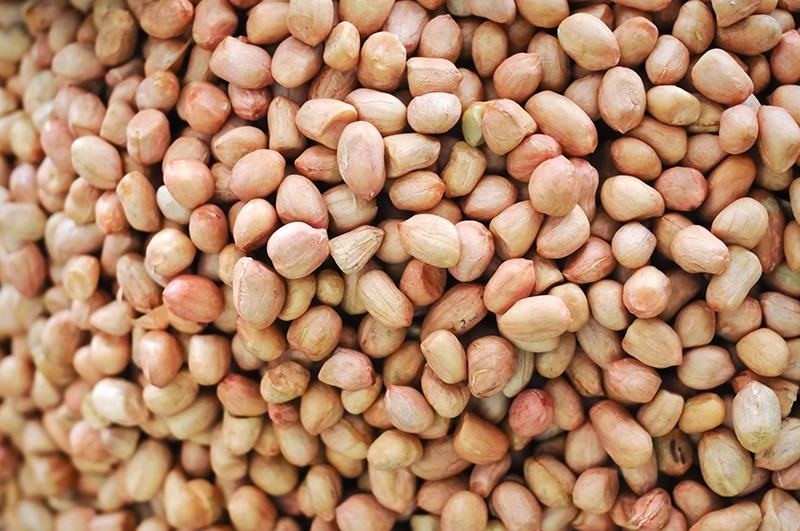
And if you're really cheap (guilty as charged), you can buy raw, unsalted peanuts still in their shells and de-shell them yourself as you watch Mad Men or Game of Thrones.
Step 2: Prep Your Baking Tray
Next, line a baking sheet with paper towels. You'll need it after the peanuts cook (see Step 5 below).
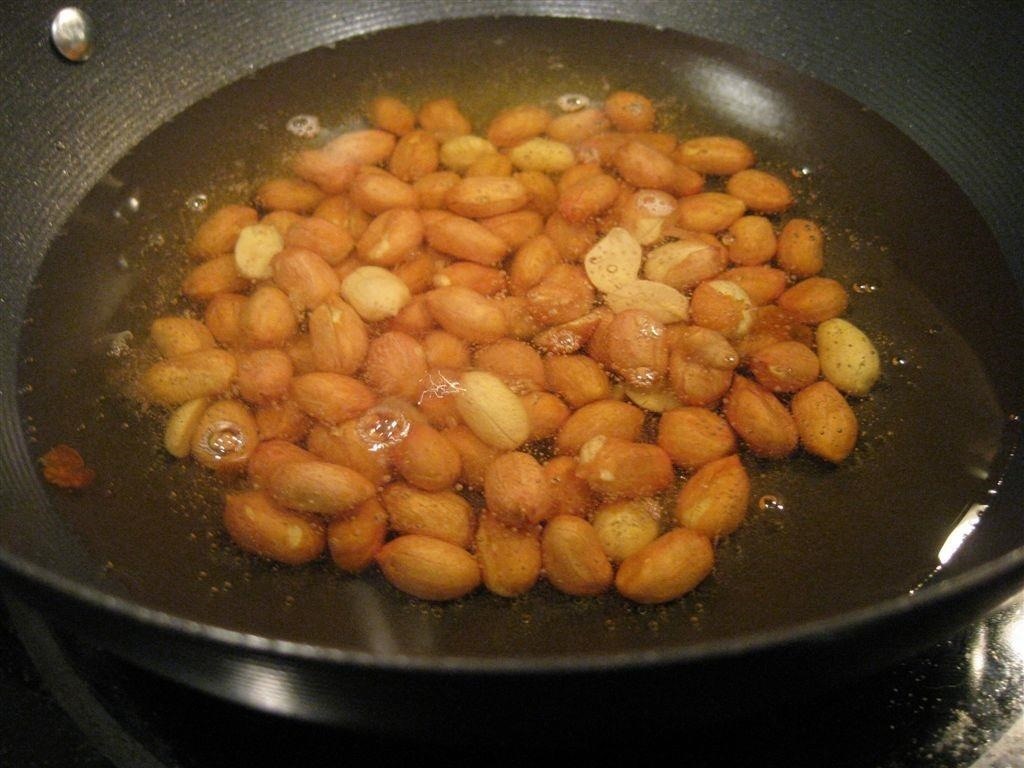
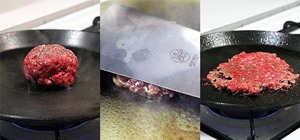
Step 3: Fry Them Nuts!
Preheat your wok or skillet for at least 30 seconds over medium-high heat. Next, pour in one tablespoon of oil (peanut, natch). If you don't have peanut oil, that's fine—use any neutral-tasting oil like canola or sunflower.
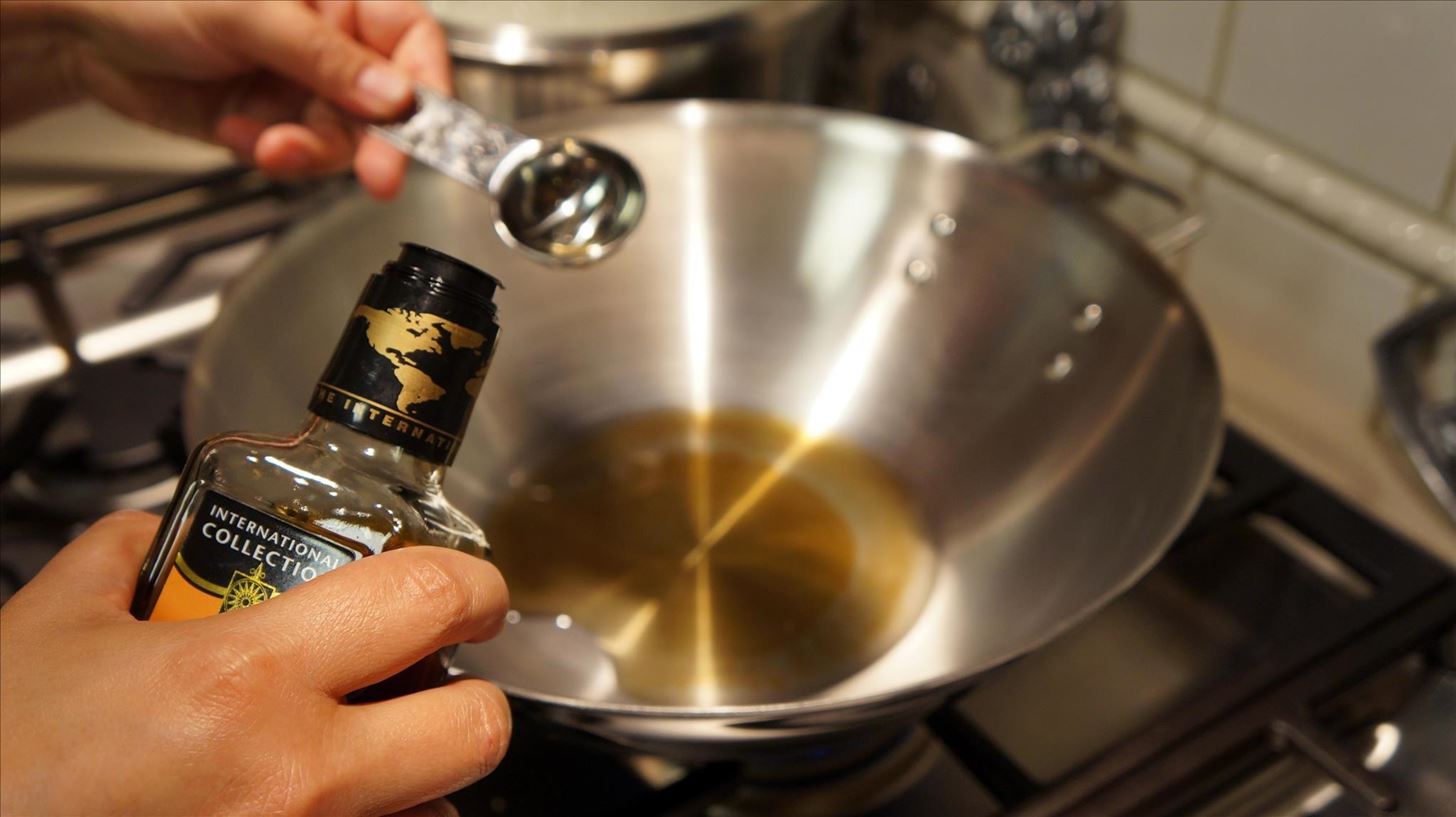
When the oil begins to shimmer, add the peanuts. If you're not visually sure what "shimmer" looks like, you can wait for about a minute and then add a drop of water to the oil. If the water starts to skitter and dance across the surface, the oil is hot enough. Be sure to back up so you don't get hit by hot oil drops.
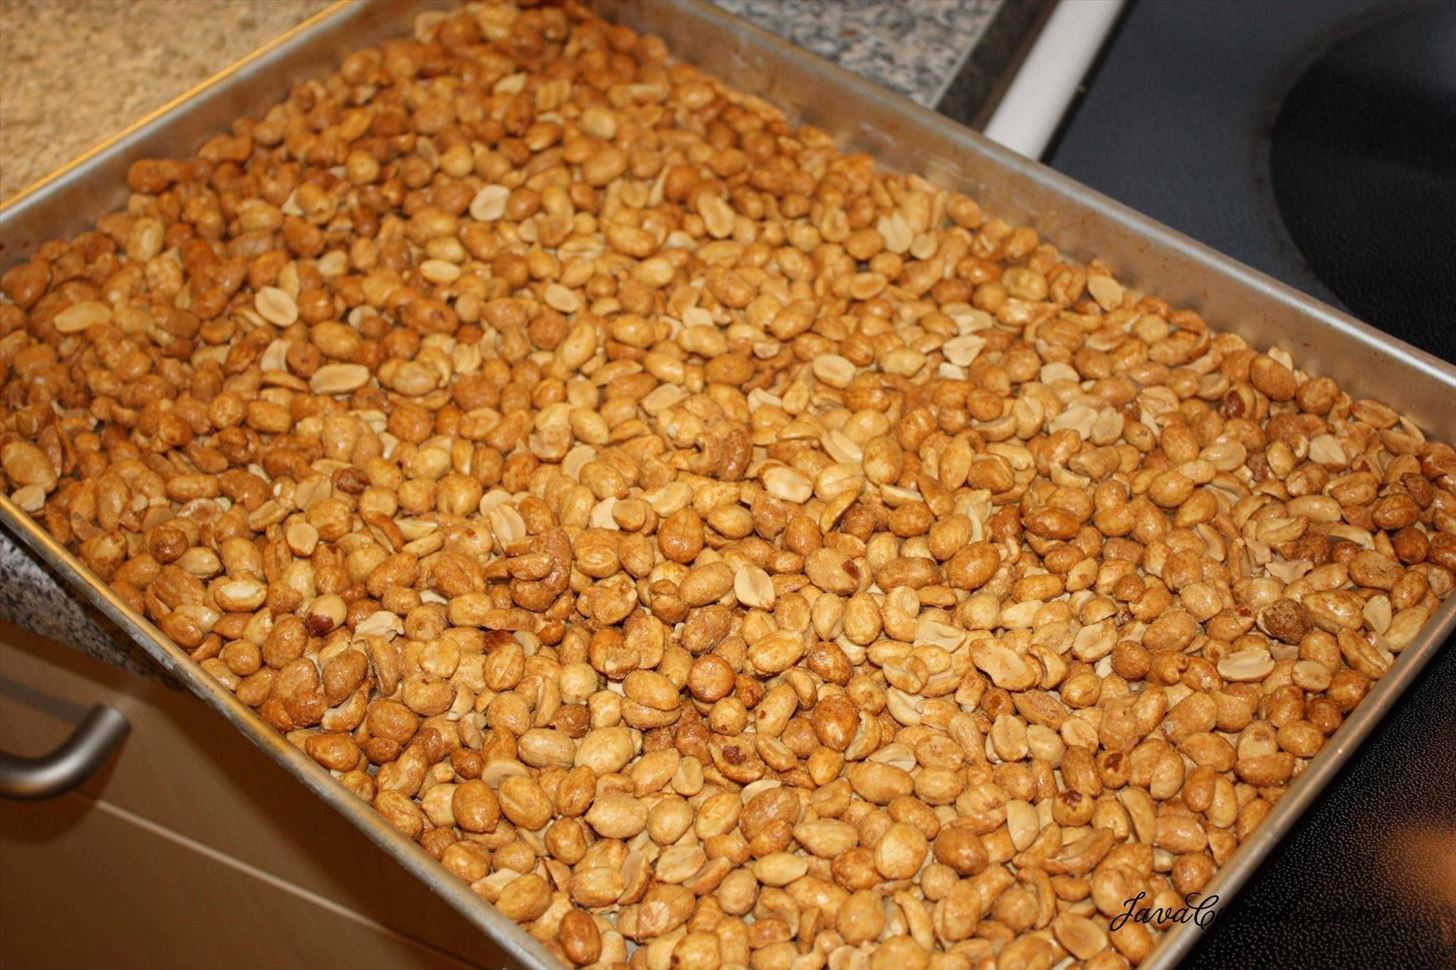
Step 4: Stir & Cook Until Golden Brown
Stir vigorously for one minute. You really want to keep the peanuts moving and get them all coated with oil. After one minute, turn the heat down to medium and keep stirring and cooking until the peanuts are a lovely shade of golden brown.
I personally prefer a shade that's only a little darker than the raw peanuts, but those who want a really roasted, toasty flavor to their peanut butter should keep going until the nuts are a deep, almost chestnut color. This should take anywhere from 7 to 10 minutes.
Step 5: Remove from Heat & Let Cool
Remove the peanuts from heat and place them on the paper towel-lined baking sheet to cool (about 20 minutes).
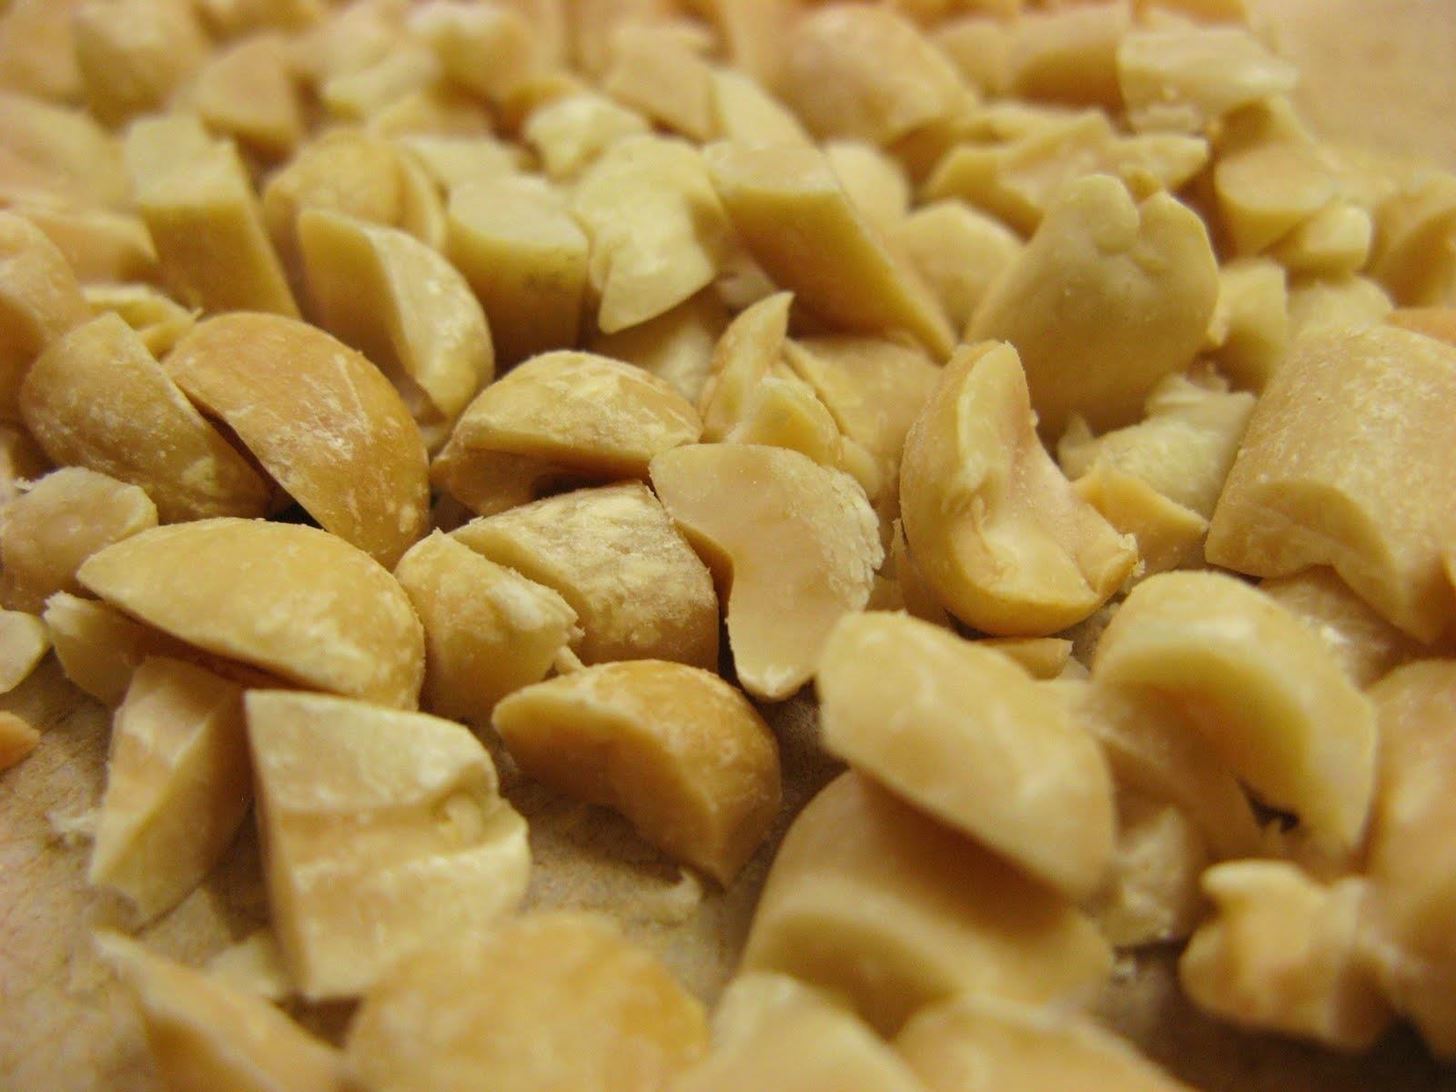
Step 6: Process One Cup of Nuts Until Chunky, Then Set Aside
Take about a cup of those nuts and pulse them in a food processor until they're at the level of chunkiness/crunchiness you prefer. I prefer smooth peanut butter because I'm a godless heathen, so I skip this step. Put these aside in a separate bowl.
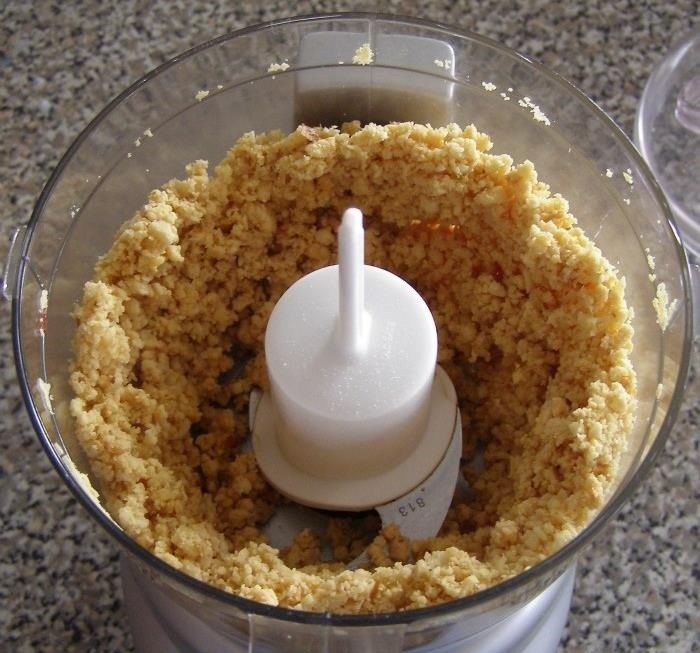
Step 7: Create a Smooth Peanut Butter Base & Add Flavorings
Put the rest of the cooled nuts in the food processor, add a tablespoon of kosher salt and three tablespoons of honey and process until completely smooth. If you've got a really strong food processor blender, this could take only a few minutes. If you've got an older model like mine, this might take more than ten.
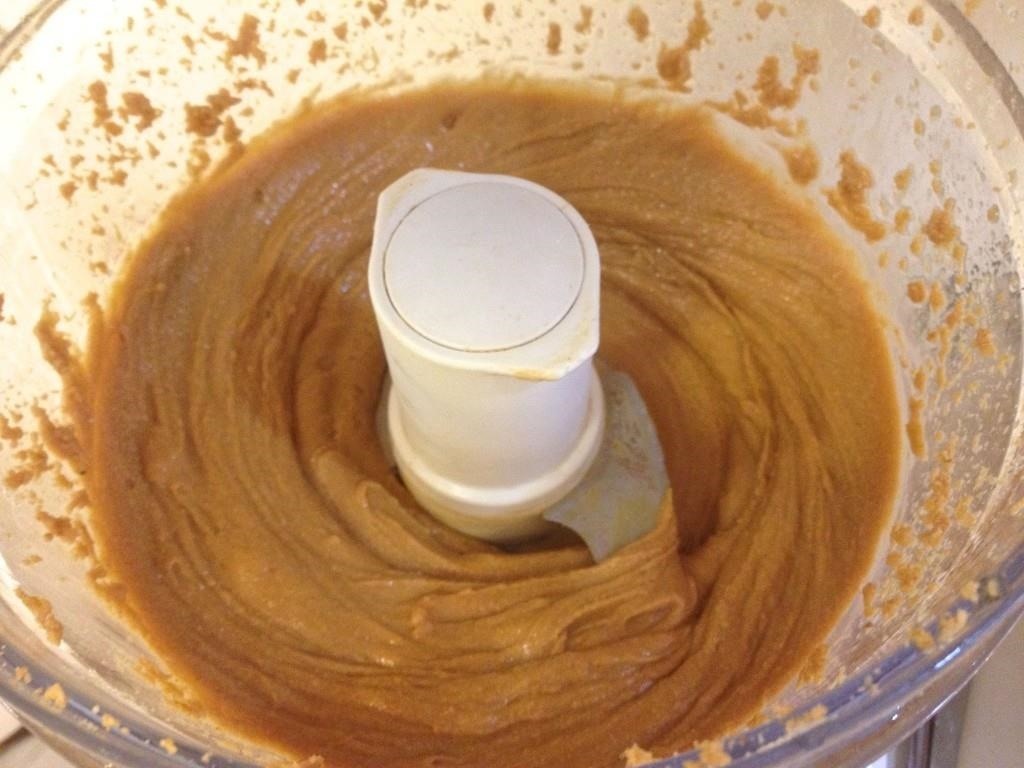
Remember to stop the food processor periodically and scrape down the sides to make sure all of the peanuts are thoroughly incorporated. If your peanut butter is a little dry or not blending smoothly, drizzle in a small amount of oil and keep pulsing. Remember to add small increments of the oil—you can always add more later, but it's impossible to subtract.
At this stage, you can also add other seasonings and flavorings: cinnamon, maple syrup, chile oil (for a "Southeast Asian thing" as Alton Brown suggests), chocolate, etc.
Step 8: Add Chopped Peanuts to Peanut Butter
Once the peanut butter is to your liking, add in the cup of chopped nuts and pulse three or four times to mix them together thoroughly. Voilà—chunky peanut butter!
Watch the video from Alton Brown for a visual walkthrough of the process. Warning: you do have to listen to him talk while he eats peanut butter. It gets a little sticky, to say the least.
How Long Will This Last You?
The good news is that homemade peanut butter lasts for about six months once it's opened. The good/bad news is that a batch of homemade peanut butter rarely lasts past two weeks in a household of two people or more.
The Deep-Frying Approach
Chef Michael Ruhlman also has a version of this peanut butter recipe where he deep fries the raw peanuts in oil. This sounds extravagant, but as Ruhlman points out, you can always reuse the oil later for other frying projects.
Whichever version you make, remember that one of the many great things about homemade peanut butter is you literally cannot make too much. If you do find yourself with an excess, put it in some jars and give it away. This gift never fails to please.
Just updated your iPhone? You'll find new emoji, enhanced security, podcast transcripts, Apple Cash virtual numbers, and other useful features. There are even new additions hidden within Safari. Find out what's new and changed on your iPhone with the iOS 17.4 update.


1 Comment
Forgive me for saying, but I think this is the most labor intensive way to make old fashioned oil roasted peanuts. Yes, most of the shelled peanuts sold in the grocery stores are all "dry roasted" these days, and definitely make a slightly "odd" tasting peanut butter. But is is not hard to find the old fashioned "oil roasted" ones online, and usually at about 1/3rd to 1/2 the price of dry roasted nuts (dry roasting actually creates far more rejected nuts, and uses costlier equipment on a commercial scale). And buying them both eliminates the work involved, and also means each batch is roasted the same. But if you want to experiment with roast level, I can tell you that longer hotter roast on a peanut (unlike coffee which usually just gives us "dark roast") usually results in nuts that just taste like fried to black French Fries (i.e. burnt).
Share Your Thoughts