


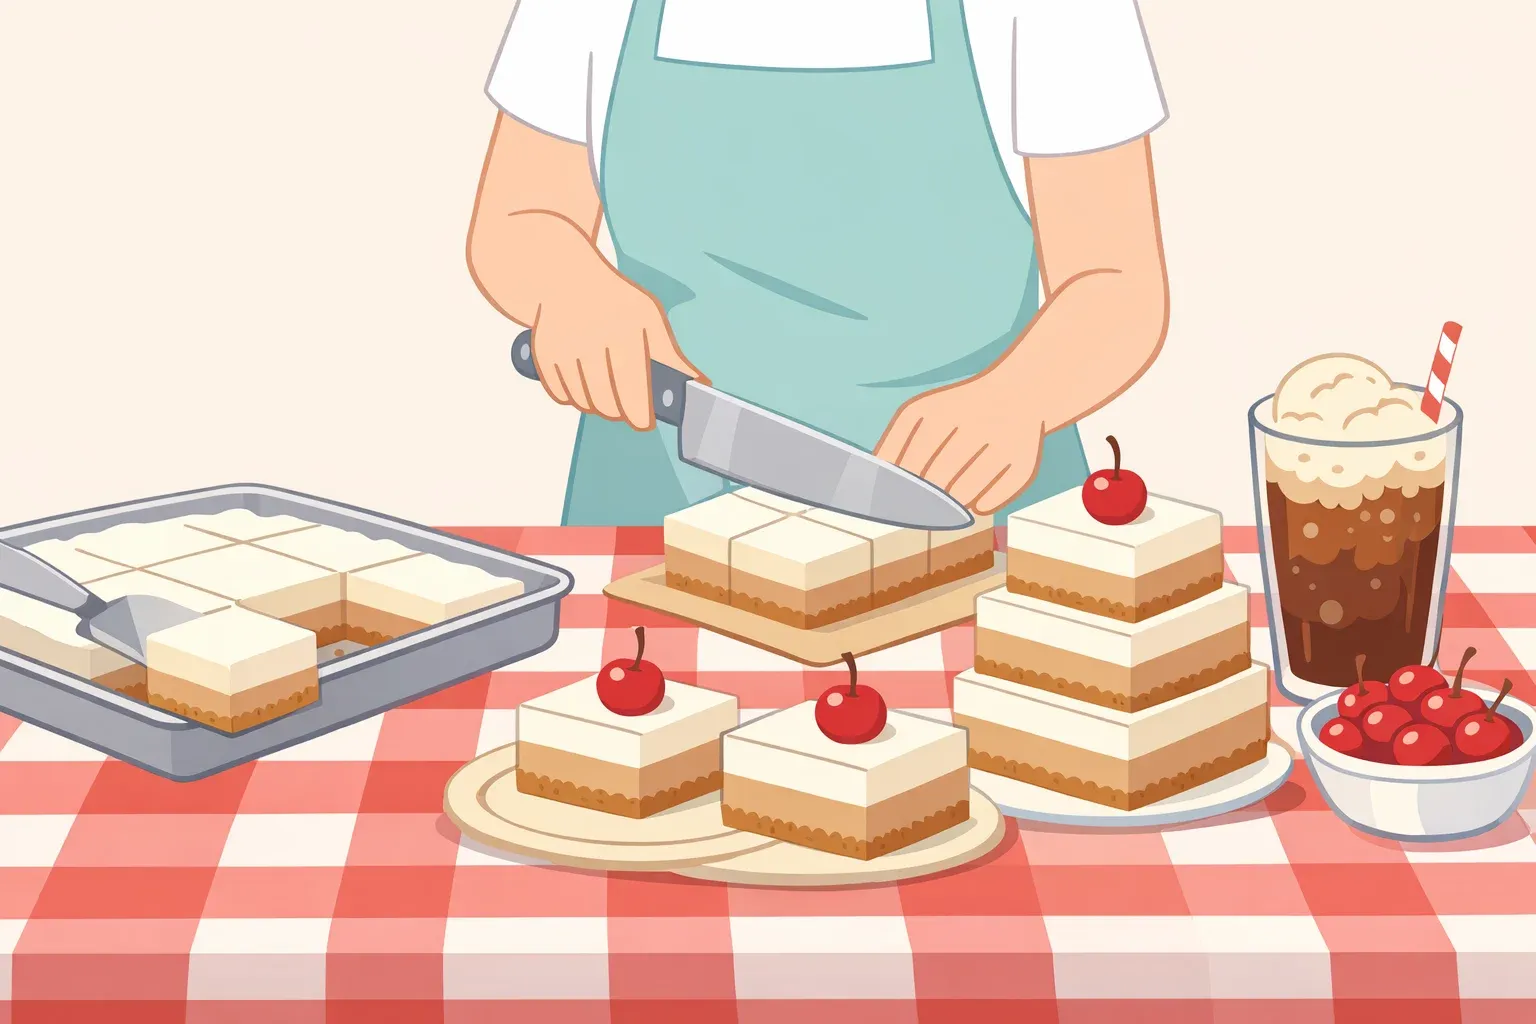
These no-bake root beer float bars taste like the real thing. Graham cracker crust, creamy root beer filling, whipped topping, and a maraschino cherry on top. This recipe serves nine and keeps in the refrigerator for up to four days, which makes it a genuinely practical choice for summer cookouts and gatherings.
One caveat to state plainly: "no-bake" doesn't mean fast. The bars need at least four hours to set, and overnight is the better call. This is a plan-ahead project. Make them the evening before; cut them the next day.
The flavor translation works because root beer is already doing a lot of the heavy lifting. Vanilla and molasses give root beer a creamy mouthfeel not unlike cream soda. Those same notes pair naturally with graham crackers, cream cheese, and heavy cream. The nostalgia is real, but there's actual flavor logic underneath it.
Before you start: timing and what to know
Plan around the chill time. The bars need a minimum of four hours to set; overnight gives you firmer texture and cleaner slices. For a Saturday cookout, assemble them Friday night.
These are fridge-to-table bars. The whipped topping layer is not designed to hold in summer heat. Keep them cold and bring out small batches as needed.
Serves 9 from an 8x8-inch pan. Each serving comes in at around 431 calories and 26 grams of fat. An indulgent dessert, not a light one.
Dietary note: As written, the bars are vegetarian, egg-free, alcohol-free, peanut-free, tree-nut-free, and red-meat-free. Ingredient brands can vary, so check labels if any of those categories matter for your crowd.
Ingredients for graham cracker crust root beer bars
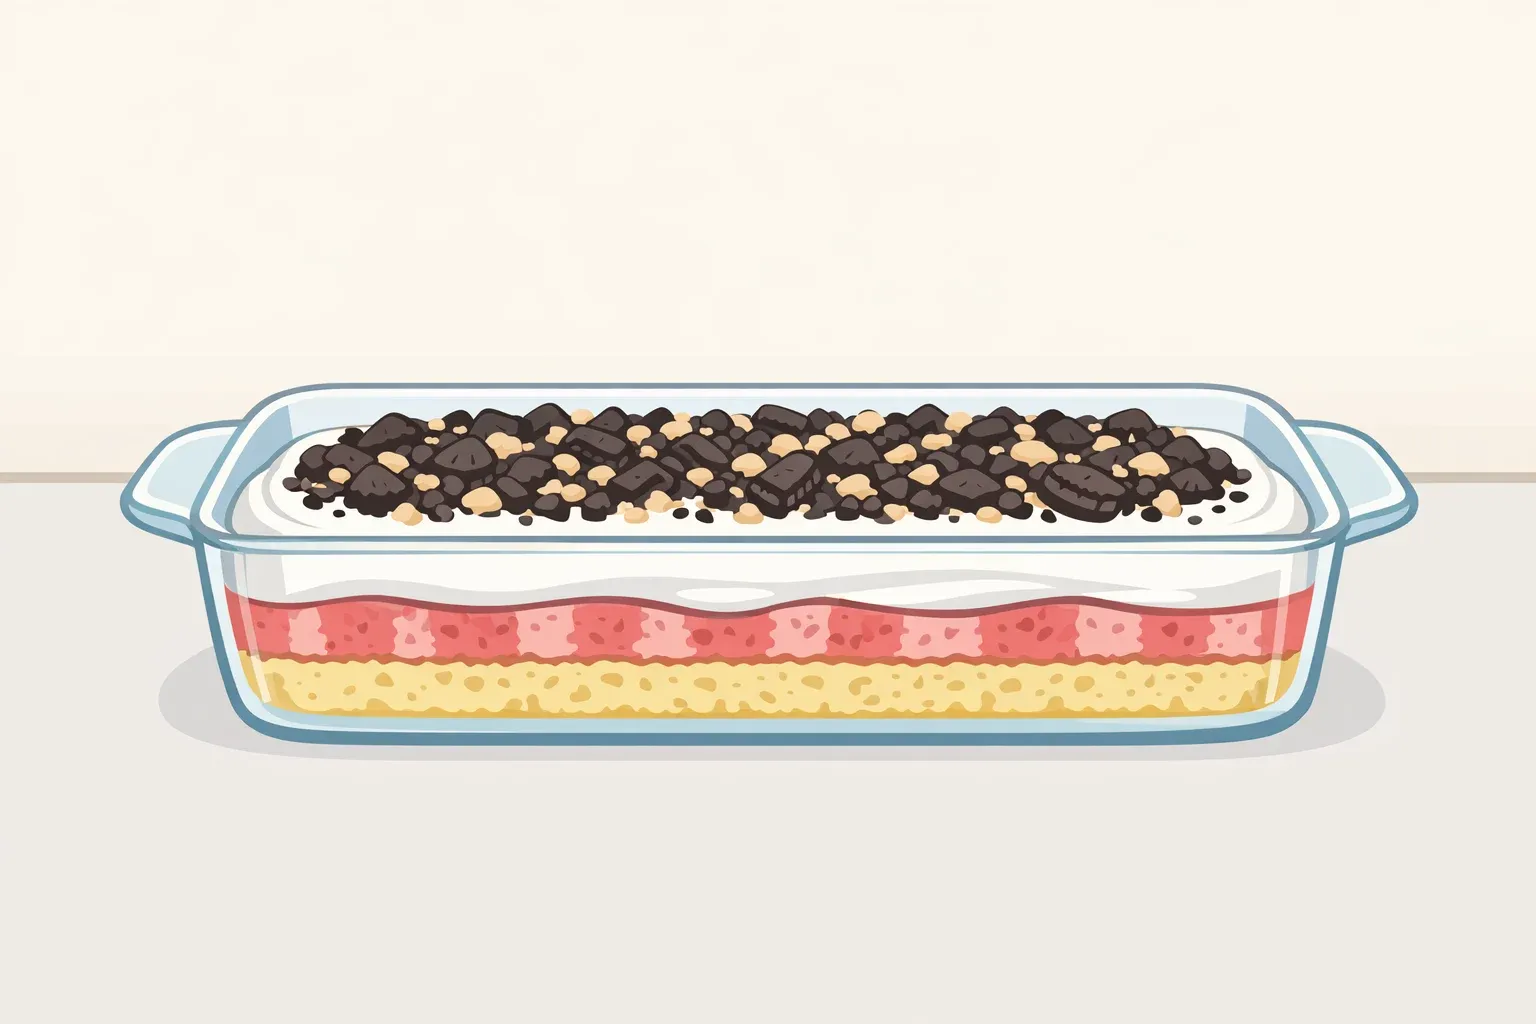
Graham cracker crust: Graham cracker crumbs, granulated sugar, kosher salt, and melted butter. Graham's mild molasses flavor pairs particularly well with the soda, which is why the crust choice isn't arbitrary. A pre-made round crust will work in a pinch, but a square pan gives you cleaner, more uniform bars.
Root beer: One 12-ounce bottle, cold. IBC and Boylan Bottling Co. are the two brands that work. This matters more than it might seem. No two root beer brands taste alike; a brand with pronounced vanilla and molasses character will produce a more convincing float flavor than a generic one.
Filling: 3/4 cup cold heavy cream, two 3.4-ounce boxes of instant vanilla pudding mix, and softened cream cheese.
Pudding type is non-negotiable. Use instant pudding mix, not cook-and-serve. Cook-and-serve will not set correctly in a no-bake application. This is the one ingredient swap with no workaround.
Topping: Use frozen whipped topping (thawed) for simplicity, though homemade whipped cream works as a substitute.
Garnish: Nine maraschino cherries, preferably with stems. One per bar, added at serving. The cherry is what completes the float association; skip it, and the bars read as a generic cream bar.
Equipment: 8x8-inch square baking pan, mixing bowls, electric mixer, offset spatula or large spoon.
Pre-made graham crust
Safe? Yes
Note: Bars slice less cleanly
Homemade whipped cream
Safe? Yes
Note: Works; frozen topping is simpler
Different root beer brand
Safe? Risky
Note: Flavor depth varies significantly
Cook-and-serve pudding
Safe? No
Note: Will not set in a no-bake application
Skipping the cherry
Safe? Technically yes
Note: Noticeably affects the float impression
How to make no-bake root beer float bars, step by step
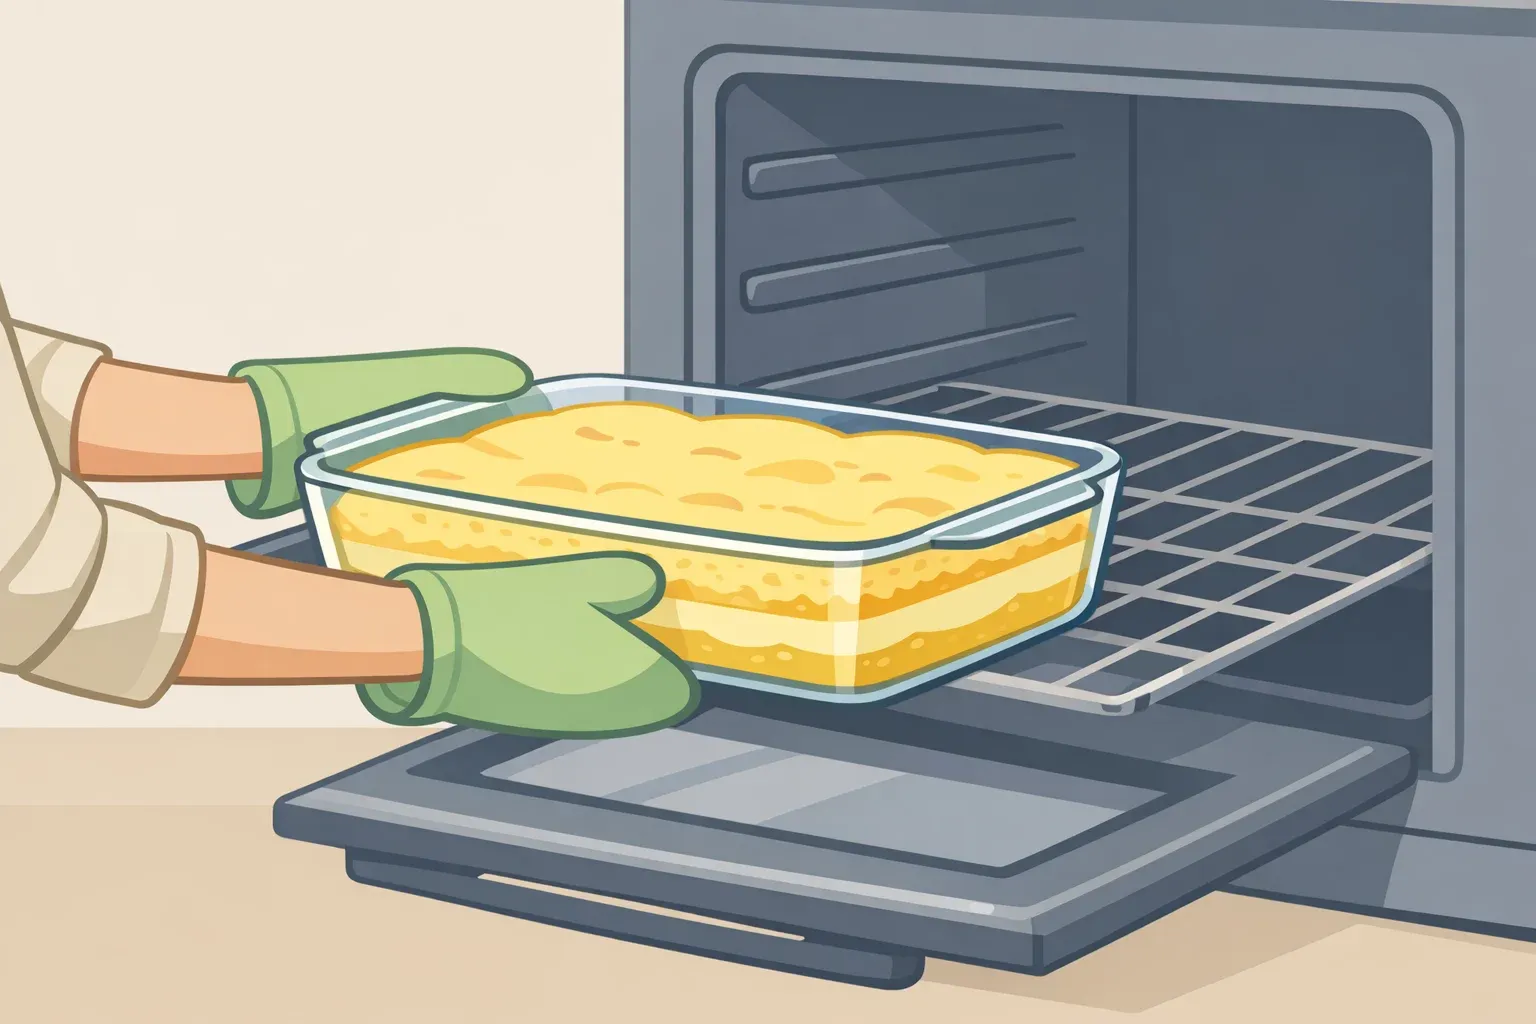
Step 1: Make the crust
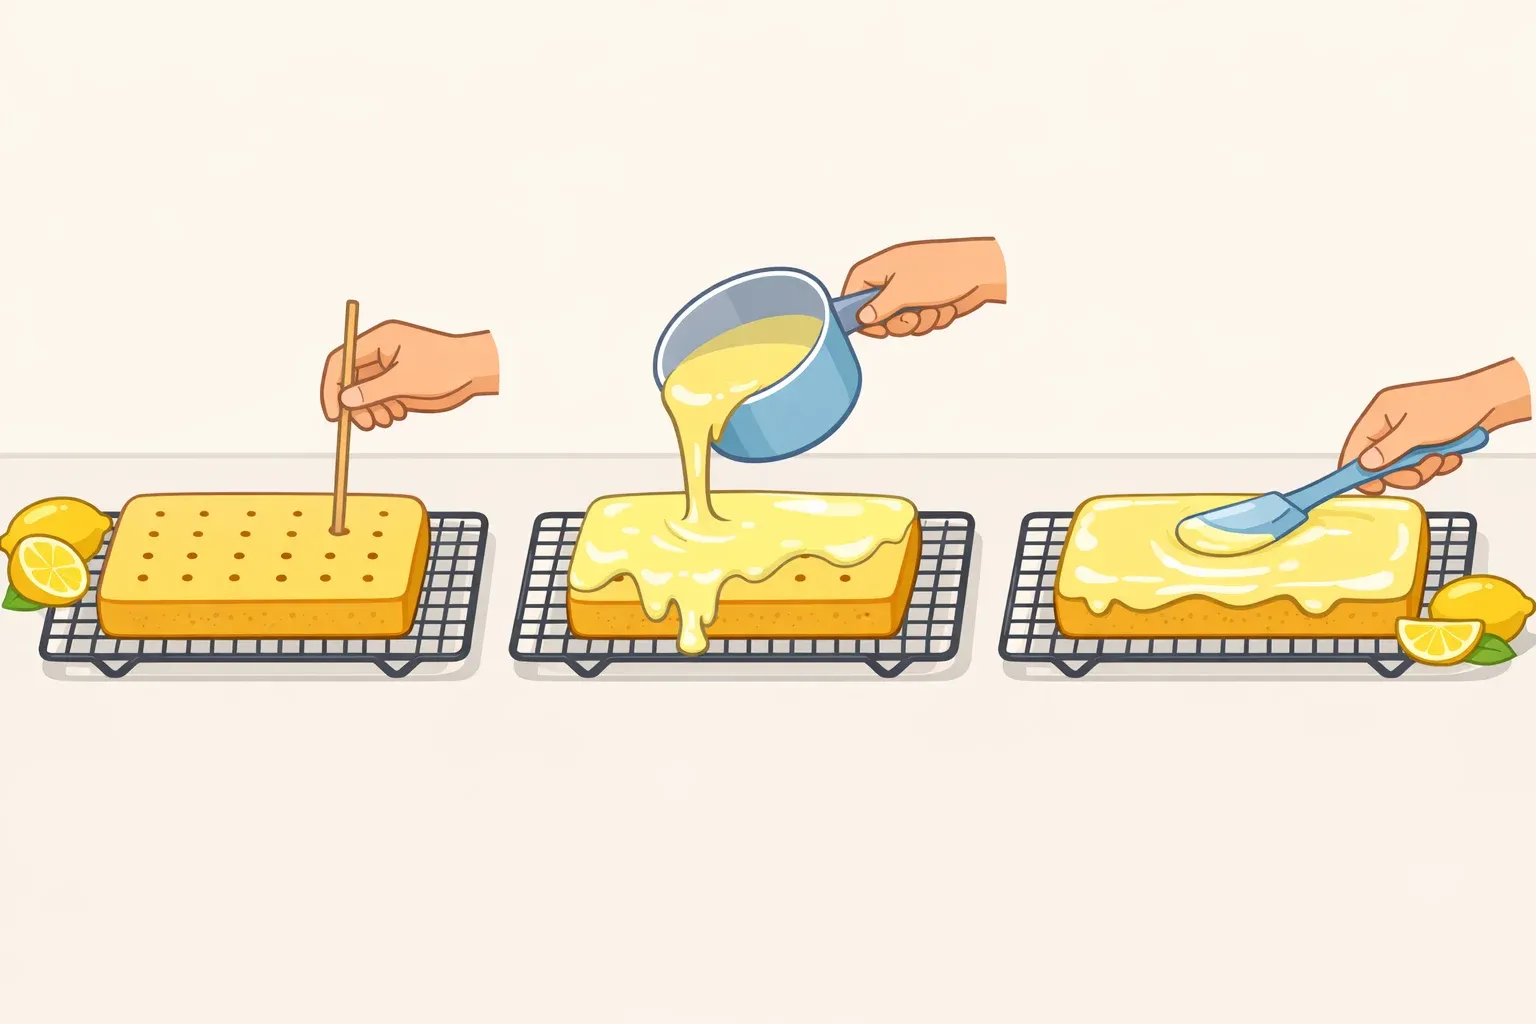
Combine graham cracker crumbs, granulated sugar, a pinch of kosher salt, and melted butter. Mix until the crumbs hold together when pressed. Press firmly and evenly into the bottom of the 8x8 pan, then refrigerate while you prepare the filling. A level crust matters more than it seems; uneven bars tilt when sliced.
Step 2: Beat the cream cheese
Beat softened cream cheese on its own until completely smooth before adding anything else. This is the step most people rush, and the one that causes the most problems. Lumps at this stage don't dissolve later. If the cream cheese came straight from the refrigerator, give it 30 to 45 minutes at room temperature first.
Step 3: Build the filling
Add the cold root beer, cold heavy cream, and both boxes of instant vanilla pudding mix to the cream cheese. Beat until the mixture is thick and uniform; it should hold its shape rather than pour. Cold liquids help activate the instant pudding quickly; room-temperature root beer will slow the set. If you still see streaks of cream cheese, keep mixing.
Step 4: Spread the filling
Pour the filling onto the chilled crust and spread it into an even layer. Work from the center outward, and move with some purpose: the filling begins to thicken as it sits at room temperature.
Step 5: Add the whipped topping
Spread the thawed frozen whipped topping in an even layer over the filling. This layer is the visual and textural stand-in for the ice cream in a float. Don't make it thin. If using homemade whipped cream, whip it to stiff peaks before spreading so it holds its shape during chilling.
Step 6: Refrigerate until set
Cover the pan and refrigerate for a minimum of four hours; overnight is strongly preferred. The chill time is structural, not optional. Bars cut before they've fully set will slump at the edges. There's no shortcut here, which is exactly why this recipe is designed to be assembled the night before.
Step 7: Slice and garnish
Use a sharp knife and cut with a single clean downward motion rather than sawing. Wipe the blade between cuts; this is what keeps the layers defined. Cut into 9 even squares, then place one maraschino cherry with stem on each bar just before serving. Don't garnish in advance; cherry juice will bleed into the whipped topping if it sits.
Step 8: Serve and store
Serve directly from the refrigerator. Leftovers keep in an airtight container in the fridge for up to four days.
Troubleshooting: what went wrong
Filling is still loose after four hours. The most likely cause is a cook-and-serve pudding mix instead of instant, or warm root beer when mixing. Give the bars another two hours before cutting. If they never firm up, the pudding type is almost certainly the problem. Still edible; just messier to serve.
Filling has lumps. The cream cheese was too cold when beaten. Next time, let it come fully to room temperature before starting. If the lumps are minor, the filling may still spread and set acceptably.
Layers collapse when sliced. The bars likely needed more chilling time. Overnight works better than the four-hour minimum. Use a clean, sharp blade and wipe between cuts.
Flavor is flat. Root beer brand matters more in this recipe than in baked applications, where other flavors dominate. A soda with less vanilla and molasses character will produce a noticeably weaker result. Also, check whether the maraschino cherries were added: their absence is more noticeable than expected.
Whipped topping is weeping or soft. The bars were out of the refrigerator for too long. This topping is not stable at warm temperatures once plated. Serve cold and promptly.
What you end up with
Nine servings, four days of refrigerator life, a dessert fully assembled the night before. For summer entertaining, that combination is hard to beat.
Two decisions determine whether these bars hold together: use instant pudding, and give them a full overnight chill. Root beer brand is the third variable worth taking seriously. The vanilla and molasses notes in a good root beer are what make the flavor translation convincing. The same crumb-crust, creamy filling, whipped-topping structure also adapts well to cream soda or cherry cola. The root beer version is the most cohesive, given how naturally the soda's flavor overlaps with graham cracker, vanilla, and cream. Worth keeping as a template.
Comments
Be the first, drop a comment!