



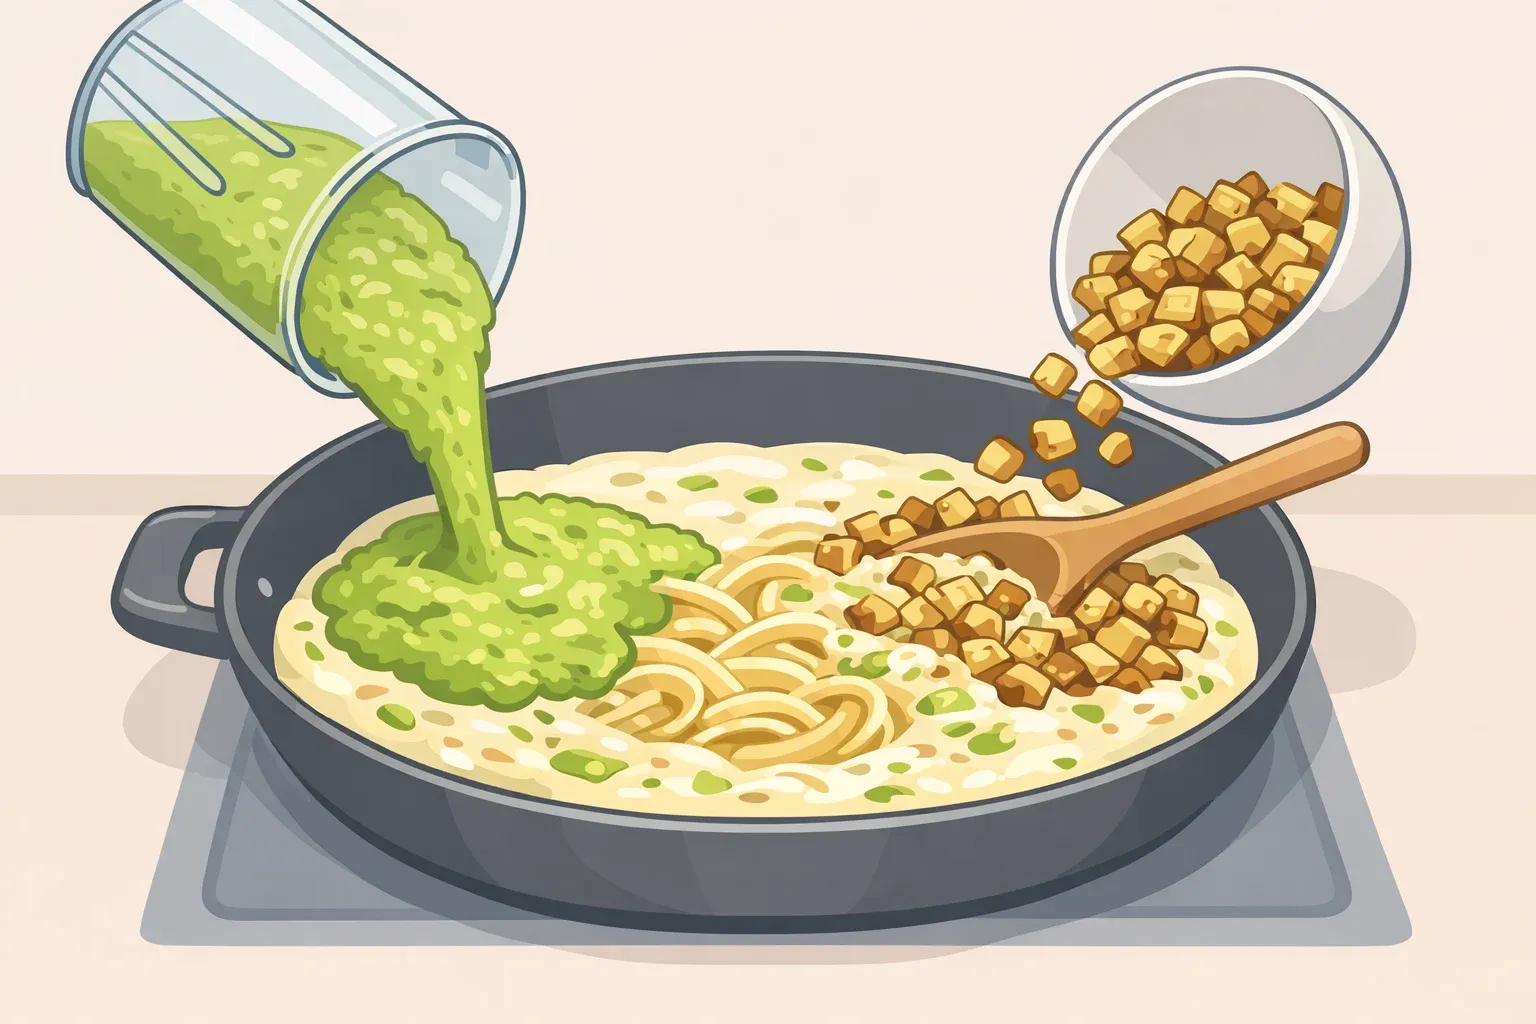
The move most cooks miss with artichoke pasta isn't an exotic ingredient. It's splitting the can.
Blend half the artichokes into the sauce for body, then brown the rest in a hot pan for texture. One ingredient does two distinct jobs: the blended portion ensures artichoke flavor runs through every bite, while the browned pieces give you something with real edge and chew. The result is noticeably better than either approach alone.
This guide walks through a repeatable 30-minute creamy artichoke pasta method built on pantry staples. It covers which artichoke format to use for which purpose, how to build and emulsify the sauce, and how to fix the three places it typically goes wrong.
Before you start: which artichoke to buy and why it matters
The artichoke decision happens at the grocery store, before you're standing over a hot pan. The format affects the technique at every stage, so this is the one structural call worth making in advance.
Canned in water or brine is the best choice for blending into a smooth lemon Parmesan artichoke pasta sauce. Their flavor is neutral and their texture soft. Drain and squeeze dry before use.
Jarred marinated artichokes are best for browning. They're already seasoned with herbs and acid, and the oil on their surface gives them a head start in a hot pan. Some recipes use two full 12-oz jars as the entire backbone of a luscious pasta last summer. Marinated hearts are a starring ingredient.
Frozen artichoke hearts sit closest to fresh in density. They roast well at high heat in a hot oven. For this stovetop method, save them for oven applications; their moisture content makes a good stovetop sear harder to achieve.
The recommended default for this artichoke heart pasta recipe: one 14-oz can of water-packed hearts for blending, one 12-oz jar of marinated hearts for browning. Neutral sauce body plus developed surface flavor, no adjustment required.
Ingredient list (serves 4)
1 can (14 oz) water-packed artichoke hearts, drained and dried for the sauce
1 jar (12 oz) marinated artichoke hearts, drained and patted very dry for browning
12 oz pasta (spaghetti or a short tube like rigatoni)
2 oz Parmesan, finely grated on a Microplane approximately 1 cup; do not use pre-shredded
2 tbsp unsalted butter or heavy cream (or both)
1 lemon zest and juice
3–4 garlic cloves, sliced thin
Olive oil, kosher salt, black pepper, Calabrian chile paste or crushed red pepper flakes
One thing to do before starting: spread the marinated artichokes on a paper towel and press firmly. Any brine or oil remaining on the surface will cause them to steam rather than brown, and you'll lose the caramelized edges that make the texture contrast worthwhile. Taste a piece before salting the dish, too. The jar already carries significant seasoning, and duplicating it pushes the sauce sharp before it reads balanced.
Creamy artichoke pasta recipe: the 30-minute method
Step 1: Brown the marinated artichokes
Bring a large pot of heavily salted water to a boil. While it heats, arrange the marinated artichoke pieces in a single layer in a wide pan. Add a thin film of olive oil and set over medium-high heat. Don't move them.
Cook undisturbed for 6–8 minutes. Artichokes arranged in a single layer, cooked without stirring until golden brown underneath. Moving them earlier breaks surface contact and stops caramelization before it has a chance to develop.
The undersides should be deep golden brown. Not pale yellow, not black. Transfer to a plate and set aside. These go back in at the very end.
Step 2: Build the sauce base
In the same pan, add a splash of olive oil and soften the sliced garlic over medium heat, about 2 minutes. Add the drained canned artichokes, butter or cream, a pinch of salt, and ¼ cup of water. Simmer 2–3 minutes, then blend smooth. Transfer to a blender or use an immersion blender directly in the pan.
Add lemon zest, a squeeze of lemon juice, half the Parmesan, and chile. Stir together and keep warm on low.
The sauce should look like a thick, pale puree at this stage, roughly the texture of hummus. That's correct. Blending artichoke hearts directly into the sauce, rather than stirring them in whole, is what distributes artichoke flavor through every bite rather than concentrating it in the occasional piece. The sauce will loosen considerably once pasta water goes in.
Step 3: Cook pasta to just under al dente
Add pasta to the boiling water. Pull it 1 minute shy of the package directions. It finishes cooking in the sauce and should still have some resistance here.
Before draining, reserve at least 2 full cups of pasta water. Use up to 2 cups because starchy cooking liquid keeps the sauce glossy and fluid even as it cools. Plain water won't do the same job, the starch is structural.
Step 4: Emulsify the sauce with pasta water
Add drained pasta to the saucepan over medium heat. Pour in pasta water in stages. Start with ½ cup and toss constantly. Add more in small increments, continuing to toss, until the pasta with creamy artichoke sauce coats every strand evenly and pools slightly at the bottom rather than clumping.
Starchy pasta water is the key to emulsification as it binds fat and liquid into a cohesive sauce rather than a separated, oily mess. The target texture is glossy and clingy. The sauce should move with the pasta, not away from it.
If it looks dry or stiff after tossing, add another small splash and keep going.
Step 5: Fold in the browned artichokes and finish
Remove the pan from heat. Add the remaining Parmesan, another small squeeze of lemon, and fold in the reserved browned artichokes. Taste and adjust salt.
The Kitchn adds the sautéed pieces at the very end to preserve their texture. Residual heat from the sauce is enough to warm them through without softening the edges you worked to develop.
Troubleshooting
Sauce too thick before pasta goes in: Add pasta water a tablespoon at a time. It loosens faster than expected.
Sauce too thin after tossing: Pull off heat. The sauce continues to thicken as it cools. Don't compensate by adding more cheese it will clump.
Parmesan clumping: Happens when cheese hits a surface that's too hot or liquid that's too cold. Add the final Parmesan off the flame while tossing.
Artichokes didn't brown: Almost always a dryness issue. Press harder with the paper towels next time, and make sure the pan is fully preheated before the artichokes go in.
Best pasta shapes for creamy artichoke sauce
Shape matters more than it seems here. The sauce is thick and clings, which means the wrong pasta fights it rather than carrying it.
Spaghetti is the natural choice for the stovetop method. Long strands toss easily in the pan and coat evenly during the emulsification step. The sauce wraps around each strand rather than sitting on top.
Short tubes rigatoni, penne, paccheri work better if you're planning the baked version or want more sauce in each bite. The ridges and hollow centers trap the puree and hold the browned artichoke pieces alongside the pasta rather than letting them settle to the bottom.
Skip fresh pasta here. Its delicate texture doesn't hold up to the tossing required in Step 4, and it absorbs liquid so fast the sauce tightens before it emulsifies properly.
Balancing richness: lemon, chile, and when to lean into comfort
The sauce above is creamy without being heavy. The creaminess comes partly from emulsified starch and blended artichoke rather than fat alone. Lemon is doing real work there.
Use both zest and juice, but at different stages. Zest goes in during cooking, releasing aroma without adding liquid or sharpness. Juice goes in at the end, adding brightness without dulling through the simmer.
Chile follows the same logic. The target is to get a warmth you feel after swallowing, not heat that announces itself on the first bite. Calabrian chile paste or crushed red pepper flakes both work; the goal is background presence that cuts richness without muscling out the artichoke.
When comfort is the priority over brightness, pull back on the lemon juice and lean harder into butter and Parmesan.
Smart variations once you know the base
These aren't competing recipes. They're adaptations for cooks who've made the base and want to take it somewhere else.
Add pancetta or guanciale: Render it first in the browning pan, then remove it and cook the artichokes in the fat left behind. The rendered fat seasons the artichokes as they caramelize and adds salt contrast throughout.
Add charred scallions: Char whole scallions in a smoking-hot pan with a weight pressed on top to maximize surface contact, then rough-chop and stir into the sauce. Charring converts raw sharpness into smoky sweetness that layers under the artichoke body without competing with it.
Add spinach: A 10-oz package of frozen spinach, thawed and squeezed completely dry, folds in with the browned artichokes at the end. It adds volume, color, and fiber without altering the sauce structure.
Go short pasta for a baked version: Swap spaghetti for penne or rigatoni, build the sauce slightly looser, scatter mozzarella on top, and finish under the broiler. Broil until the cheese is melted, golden brown, and bubbling for about 3 minutes, then let it rest, since the sauce continues to tighten as it cools.
What to do with this method next
The technique transfers in almost any direction. Richer or brighter, stovetop or baked, meatless or not. The core moves are repeatable. Reserve more pasta water than you think you'll need. It costs nothing to hold and fixes most of the problems that come up between Step 4 and the plate. Everything else the fat ratio, the heat level, the toppings can be adjusted to taste once the base is working.


















Comments
Be the first, drop a comment!