



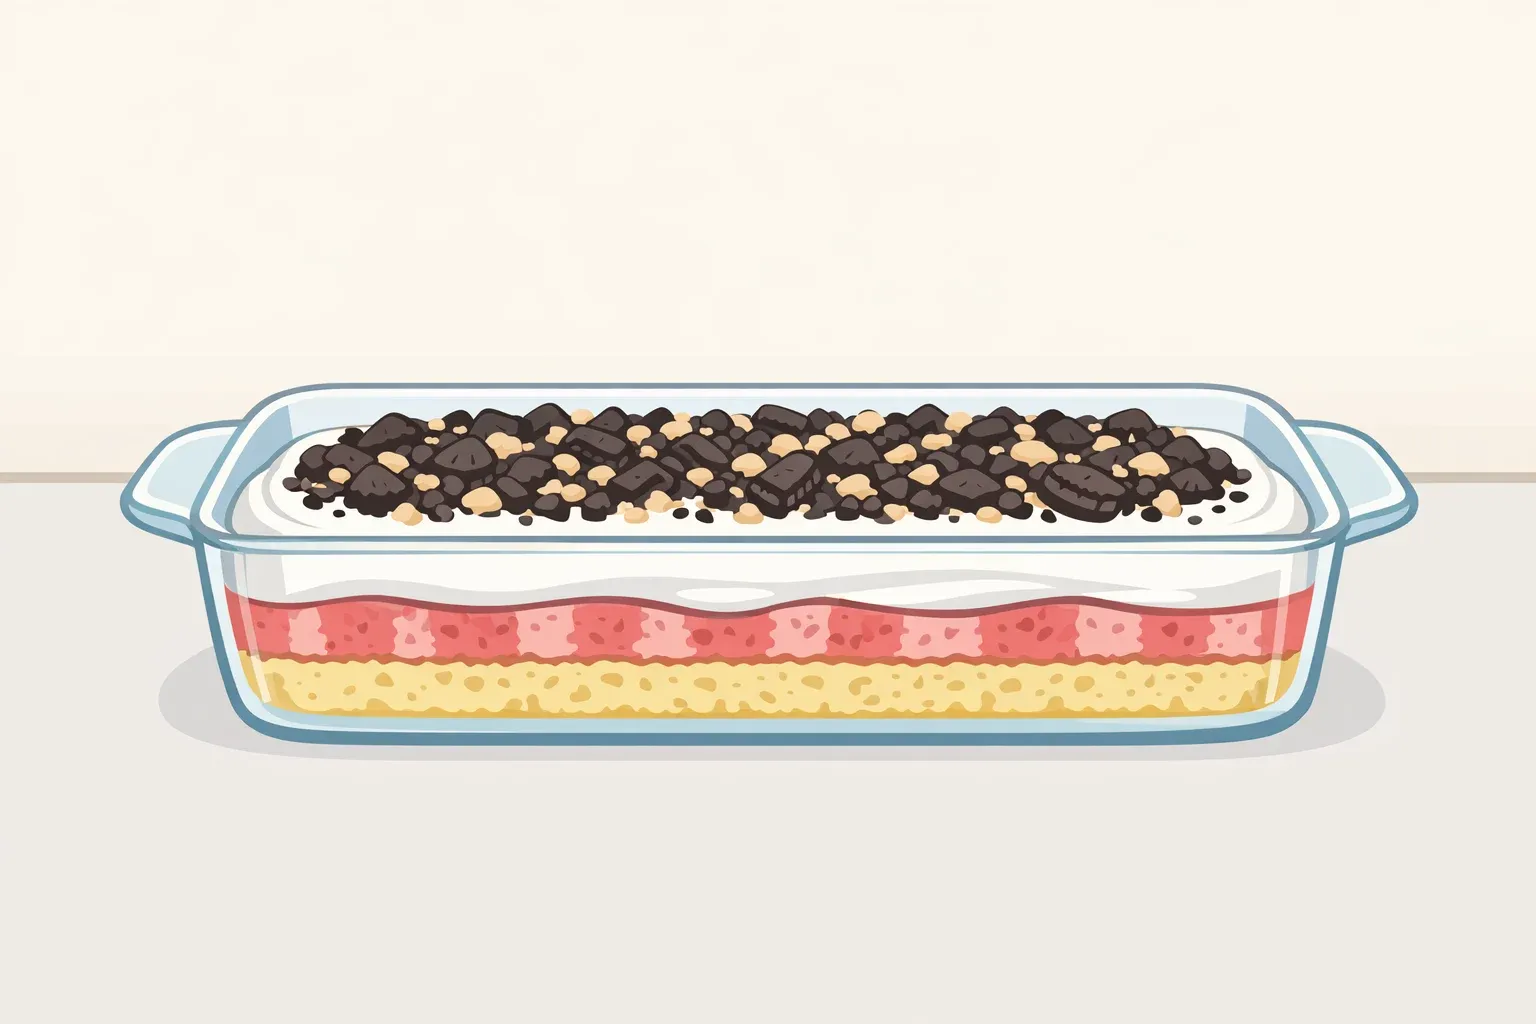
Strawberry crunch poke cake gets its signature texture from crushed vanilla sandwich cookies and freeze-dried strawberries. Because the crumbs begin to soften once they touch the moist whipped layer, keep the crunch separate and add it just before serving.
This version uses a boxed white or strawberry cake, a strawberry-preserves filling, cream cheese–stabilized whipped cream, and a Golden Oreo topping. A 9-by-13-inch cake makes about 12 generous servings or up to 18 smaller portions. Keep the cake chilled during transport and carry the crunch in a separate container.
Prep time: 25 minutes
Bake time: Follow the cake-mix package directions
Cooling and chilling time: About 3 hours
Total time: About 4 hours
Yield: 12 to 18 servings
Pan size: 9 by 13 inches
What you'll need
For the cake
1 box white or strawberry cake mix, in the package size intended for a 9-by-13-inch cake
Eggs, oil, and water called for on the package
Nonstick cooking spray
For the strawberry filling
1½ cups strawberry preserves
1 tablespoon lemon juice
For the whipped topping
2 ounces cream cheese, softened
3 tablespoons granulated sugar
2 cups cold heavy cream
For the strawberry crunch
24 Golden Oreo cookies
1 ounce freeze-dried strawberries
1 tablespoon dry strawberry gelatin powder, optional
Pinch of salt
2 to 3 tablespoons melted butter
Equipment
9-by-13-inch baking pan
Electric mixer
Wooden spoon
Food processor or zip-top bag and rolling pin
Make the cake
Heat the oven and prepare the cake mix according to the package directions for a 9-by-13-inch pan. White cake keeps the preserves flavor distinct, while strawberry cake gives the finished dessert a stronger berry flavor.
Mix only until no dry streaks remain. Overmixing can toughen the cake, while overbaking can leave the crumb dry. Remove the cake when the center springs back lightly and a toothpick inserted in the middle comes out clean or with a few moist crumbs.
Cool the cake in its pan on a wire rack for about 20 minutes. It should be warm but no longer steaming before you make the holes.
Add the strawberry filling
Microwave the strawberry preserves and lemon juice in a microwave-safe bowl in 15-second intervals, stirring each time. Stop when the preserves are warm and loose enough to spoon.
Use the handle of a wooden spoon to make holes about 1 inch apart, stopping just short of the bottom of the cake. Spoon the warm preserves into the holes, then spread the remainder in a thin layer over the surface.
Serious Eats uses strawberry preserves in its poke cake to create a concentrated berry filling without cooking fresh fruit into a sauce. The lemon juice offsets some of the preserves' sweetness. Unlike gelatin, preserves will not create the clear red channels associated with a traditional poke cake.
Cover the pan and refrigerate the cake for at least 2 hours, or until it is thoroughly chilled.
Make the strawberry crunch
Add the Golden Oreos and freeze-dried strawberries to a food processor. Pulse until the mixture contains coarse crumbs and small cookie pieces. Do not grind it into a powder, which will create a finer coating with less noticeable crunch.
Add the dry strawberry gelatin powder, if using, and a pinch of salt. Pulse briefly to combine. The gelatin adds a sweeter, candy-like strawberry flavor but is not required.
Add 2 tablespoons melted butter and pulse once or twice. Press a small amount of the mixture between your fingers. It should hold together lightly but remain loose. Add the remaining tablespoon only if the crumbs do not hold together at all. Too much butter can make the coating heavy or greasy.
Spread the crumbs on a plate or baking sheet and let them cool completely at room temperature. Transfer them to an airtight container and keep them separate from the cake until serving.
Golden Oreos and other vanilla sandwich cookies form a clumpier coating because their filling helps bind the crumbs. Vanilla wafers can also be used, but they produce a finer, drier texture.
Without a food processor, place the cookies and freeze-dried strawberries in a sealed zip-top bag and crush them with a rolling pin. Transfer the crumbs to a bowl, then stir in the salt, optional gelatin powder, and melted butter. Avoid using a blender unless you can pulse it briefly, as the blades can quickly turn the mixture into powder.
Make the whipped topping
Beat the softened cream cheese and granulated sugar with an electric mixer until smooth. Scrape down the bowl so no lumps of cream cheese remain.
With the mixer running on low, gradually pour in the cold heavy cream. Increase the speed and continue beating until medium-stiff peaks form. The topping should hold its shape but remain smooth enough to spread.
Remove the chilled cake from the refrigerator and spread the whipped topping evenly over the surface.
For a shortcut, replace the homemade topping with one thawed 8-ounce container of whipped topping. Spread it directly over the chilled cake.
Assemble the cake
Keep the frosted cake refrigerated until you are ready to serve it. Do not add the strawberry crunch before the cake's final chilling period.
Just before serving, sprinkle the crunch evenly over the whipped layer. Press very lightly so the crumbs adhere, then slice and serve.
For a party or potluck, transport the covered cake in a cooler or insulated carrier and bring the crunch in a separate airtight container. Add the topping after the cake reaches the serving table.
How to store strawberry crunch poke cake
Cover and refrigerate the cake after it has cooled and been filled. For conservative food-safety guidance and the best texture, eat it within three to four days of baking. Adding whipped cream later does not restart the storage period.
Store the remaining crunch separately in an airtight container at cool room temperature. Add it to individual slices immediately before serving rather than covering the entire leftover cake.
Keep the cake refrigerated until serving. The USDA advises that perishable food should not sit out for more than 2 hours at room temperature, or more than 1 hour when the temperature is above 90°F (32°C).
To freeze the cake, leave off the crunch topping and wrap individual slices tightly. Thaw them overnight in the refrigerator, then add fresh crunch before serving. The whipped layer may be slightly softer after freezing.
Easy substitutions
For classic red stripes
Replace the preserves with one small box of strawberry gelatin. Dissolve the gelatin in 1 cup boiling water, then stir in 1 cup cold water.
Let the cake cool until it is no longer steaming before pouring the mixture slowly over the holes. Refrigerate the cake until the gelatin is completely set before adding the whipped topping.
For a richer, creamier cake
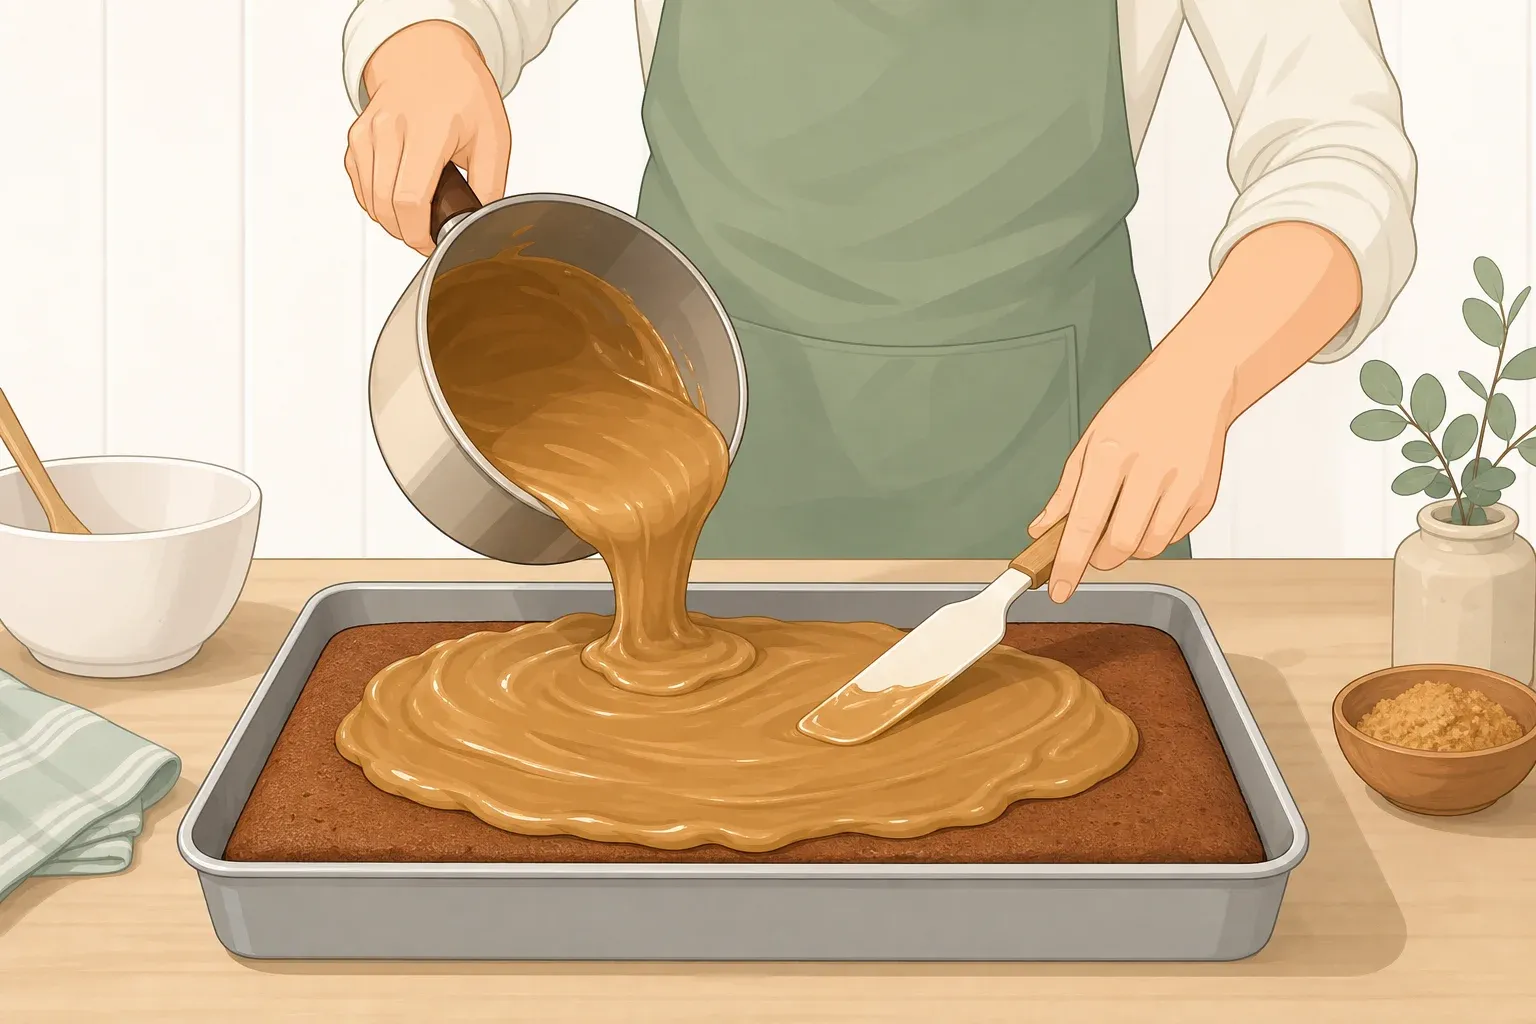
Replace the preserves with one 14-ounce can of sweetened condensed milk. Pour it slowly over the holes after the cake has cooled for about 20 minutes, then refrigerate the cake until thoroughly chilled.
This version is sweeter and less fruit-forward, so it pairs well with strawberry cake mix. A sweetened condensed milk variation follows the same make-ahead principle: chill the cake and whipped layer first, then add the cookie topping when it is time to serve.
Without Golden Oreos
Use another vanilla sandwich cookie in the same quantity. Vanilla wafers can also be substituted, but their lack of cream filling creates a looser, finer crumb.
Without strawberry gelatin powder
Leave it out of the crunch mixture. The freeze-dried strawberries will still provide color, tartness, and concentrated berry flavor without adding moisture.


















Comments
Be the first, drop a comment!