



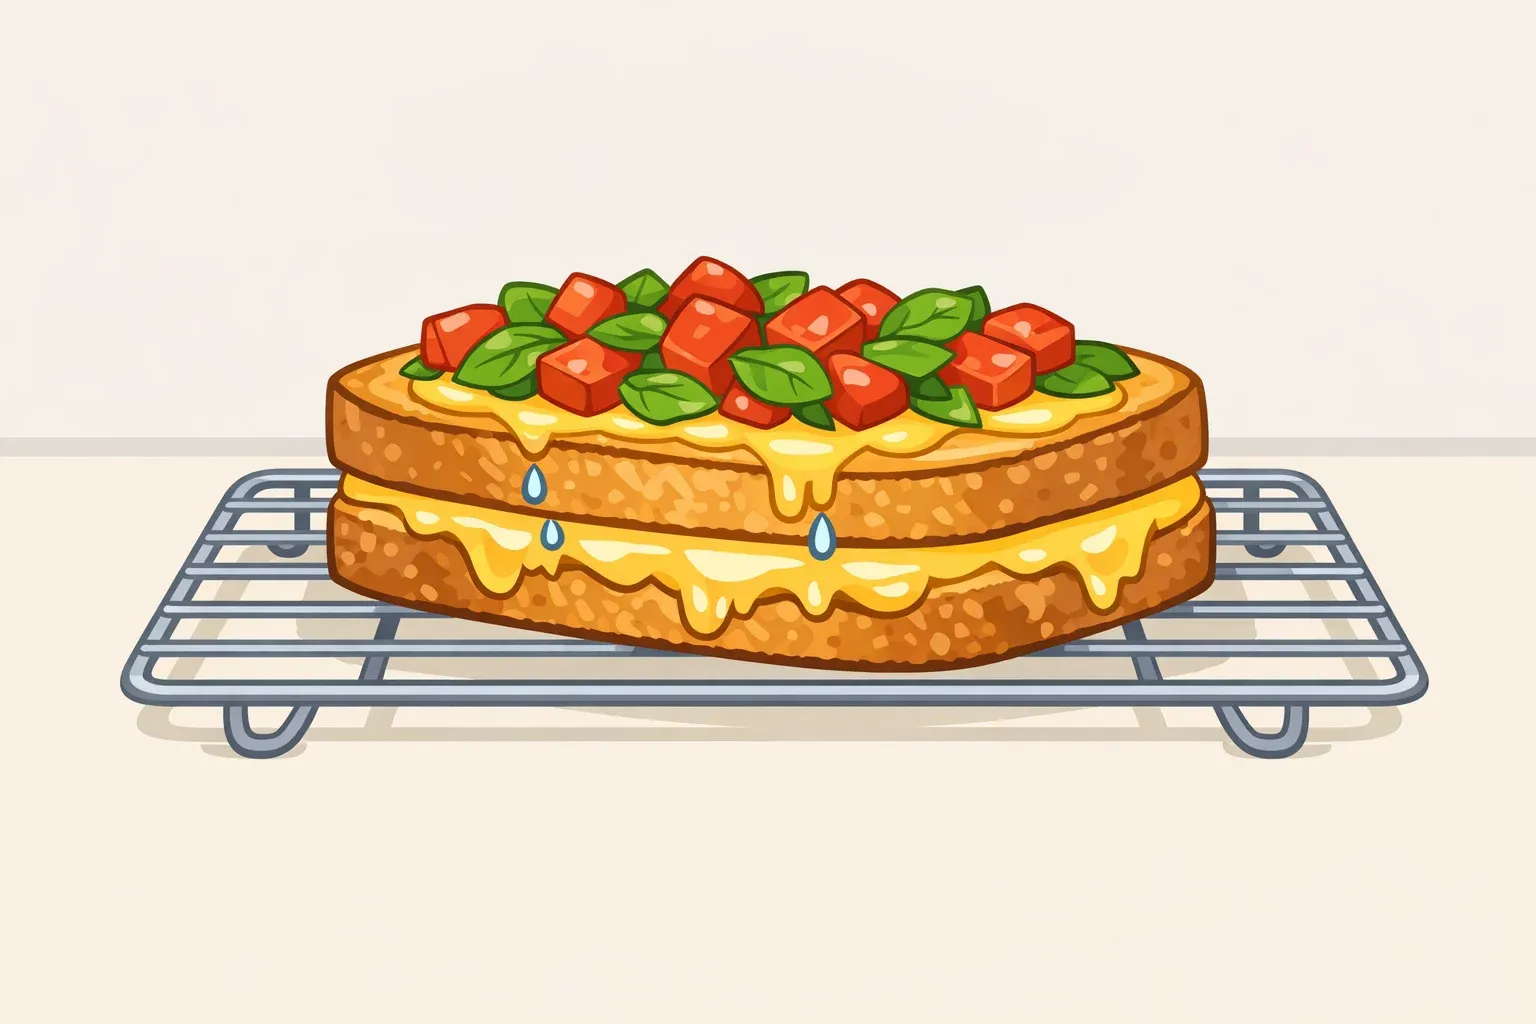
Bruschetta grilled cheese sandwich recipe that stays crispy
The bruschetta grilled cheese is a genuinely smart sandwich. Melty mozzarella, garlicky tomatoes, fresh basil, golden buttered bread. The problem is structural: fresh tomatoes release liquid, and liquid turns crispy bread into a soggy mess. This guide walks through the three points where moisture kills the bruschetta grilled cheese sandwich recipe filling prep, assembly, and the post-cook rest so you get the result the recipe promises. Total time runs 20 minutes (Sophia's Recipe) to 25 minutes (Lush Recipe). Makes 2 sandwiches.
Ingredients and equipment: what to have ready before you start
You need a heavy skillet (cast iron or stainless), a wire rack for resting, and a slotted spoon or fine-mesh strainer for draining the filling.
Bruschetta filling:
- 1 cup ripe tomatoes (roma or heirloom), finely diced
- ¼ cup fresh basil, finely chopped
- 1–2 cloves garlic, minced
- 1 tablespoon olive oil
- Salt and pepper to taste
- Balsamic glaze for finishing, optional (more on this below)
Sandwich:
- 4 slices thick, sturdy bread sourdough, ciabatta, or Italian
- 1–2 cups shredded mozzarella, or a mozzarella-provolone blend
- 1 tablespoon unsalted butter, softened
Bread: Thick, sturdy slices are the call from both sources because they hold the filling and grill cleanly (Sophia's Recipe, Lush Recipe). Thin pre-sliced bread compresses under the filling and browns unevenly. Sourdough has the densest crumb and is the most forgiving choice if you're new to this sandwich. Ciabatta crisps up beautifully but has a more open crumb, so draining the filling matters a bit more. Italian bread is reliable and widely available.
Cheese: Mozzarella is the consensus pick across both sources it melts smoothly and forms a cohesive layer around the filling. Provolone is listed as an optional addition for sharper flavor, not a straight substitute (Sophia's Recipe, Lush Recipe). If you're blending, lean toward roughly 70/30 mozzarella-to-provolone. Provolone's melt is stiffer, and too much of it will make the cheese layer harder to bite through cleanly.
Make-ahead note: The bruschetta filling can be mixed up to a day in advance and refrigerated the flavors improve overnight. Drain it again right before assembly, because it will have released more liquid in the fridge (Sophia's Recipe).
How to make bruschetta grilled cheese: step-by-step method
Three things go wrong with this sandwich, all of them moisture-related. The filling is wet before it touches the bread. The tomatoes release more liquid during cooking. And a hot sandwich set on a plate generates condensation underneath, undoing a perfectly good cook. The steps below address each in turn.
Step 1: Dice the tomatoes fine
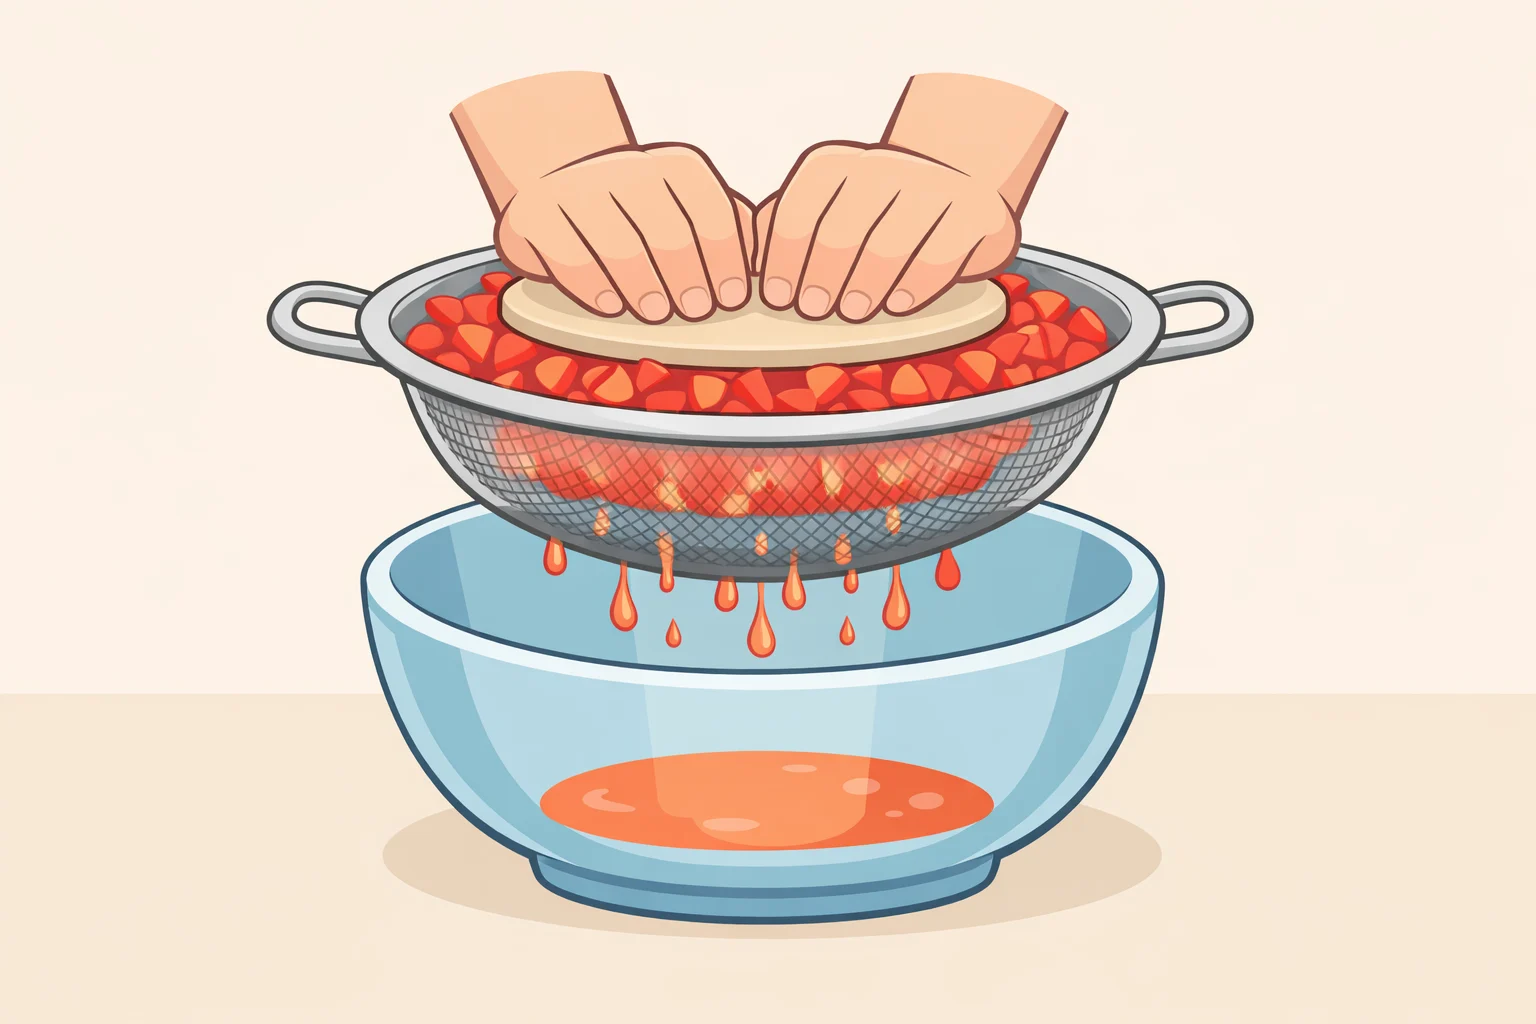
Cut tomatoes into small, uniform pieces no larger than ¼ inch. Fine-diced tomatoes distribute evenly and drain far more completely than large chunks, which hold more juice and are harder to clear of liquid before assembly (Sophia's Recipe). After dicing, press the tomatoes against the side of the bowl. Juice should run off freely. That's exactly what you're removing in Step 3.
Step 2: Mix the filling and let it rest 5–10 minutes
Combine diced tomatoes, basil, garlic, and olive oil. Season with salt and pepper, stir, and set aside. The rest period lets the ingredients meld before the mixture hits the pan (Lush Recipe). Salt also draws liquid out of the tomatoes during this window which is fine, because you're draining it next.
Step 3: Drain the filling
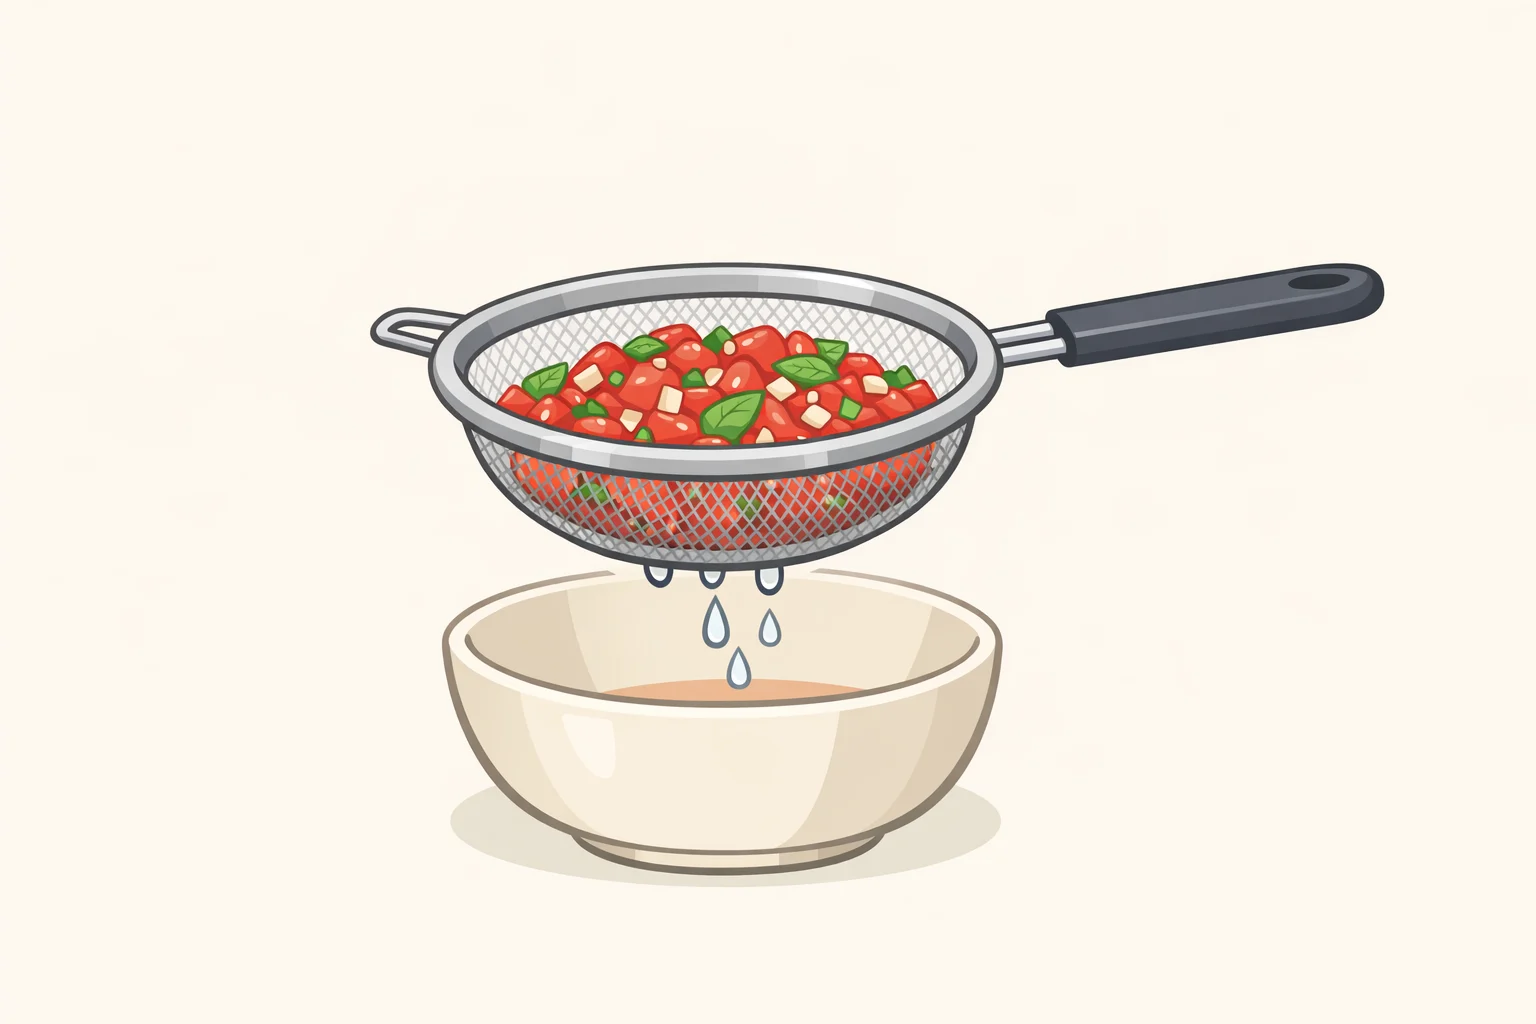
Tip the mixture into a fine strainer, or use a slotted spoon to transfer just the solids to a bowl. The filling is ready when it doesn't actively drip when spooned. Still runny? Press it gently against the strainer for a few more seconds. This is the single most important step in the recipe. Draining the bruschetta mixture before assembly is what prevents the bread from sogging out during cooking (Sophia's Recipe).
One note on balsamic: one source recipe includes balsamic vinegar mixed directly into the filling (Sophia's Recipe). That adds one more source of liquid to drain from an already-wet mixture. If you want balsamic flavor and it's worth having use balsamic glaze drizzled over the finished sandwich after slicing. Glaze is thickened and won't migrate into the bread.
Step 4: Butter the bread
Spread a thin, even layer of softened butter on one side of each slice. This is the side that will contact the pan. Even coverage matters more than quantity; patchy butter browns unevenly. The target is a uniform deep golden exterior, lightly saturated with butter but not greasy Serious Eats describes exactly this quality as the mark of a well-executed grilled cheese.
Step 5: Layer in the right order
On the unbuttered side of one slice, add a generous layer of shredded mozzarella enough to cover the bread fully. Spoon the drained bruschetta mixture on top, spreading it evenly and leaving a small border at the edges. Add a second layer of mozzarella over the filling, then close with the second slice, buttered side facing out.
The cheese-above-and-below structure isn't just a flavor choice. Melting cheese forms a cohesive barrier between the tomato filling and each slice of bread, slowing moisture transfer during cooking. Both recipe sources use this layering approach (Sophia's Recipe, Lush Recipe). Keep the filling layer moderate about 3 to 4 tablespoons per sandwich. Too much and the sandwich becomes difficult to flip without losing filling at the edges.
Step 6: Grill over medium heat
Heat the skillet over medium heat, place the sandwich in the pan, and press gently with a spatula. Cook 3–5 minutes per side until the exterior is deep golden brown (Lush Recipe). The cheese has melted through when it begins to ooze at the edges and the sandwich feels slightly less rigid when pressed.
Medium heat is the correct call, not a suggestion. High heat browns the bread fast but leaves the cheese undermelted and the filling cold in the center. If the first side is golden in well under three minutes, the pan is running too hot. Reduce heat as needed to make sure the cheese melts fully without burning the crust (Lush Recipe).
Step 7: Rest on a wire rack, not a plate
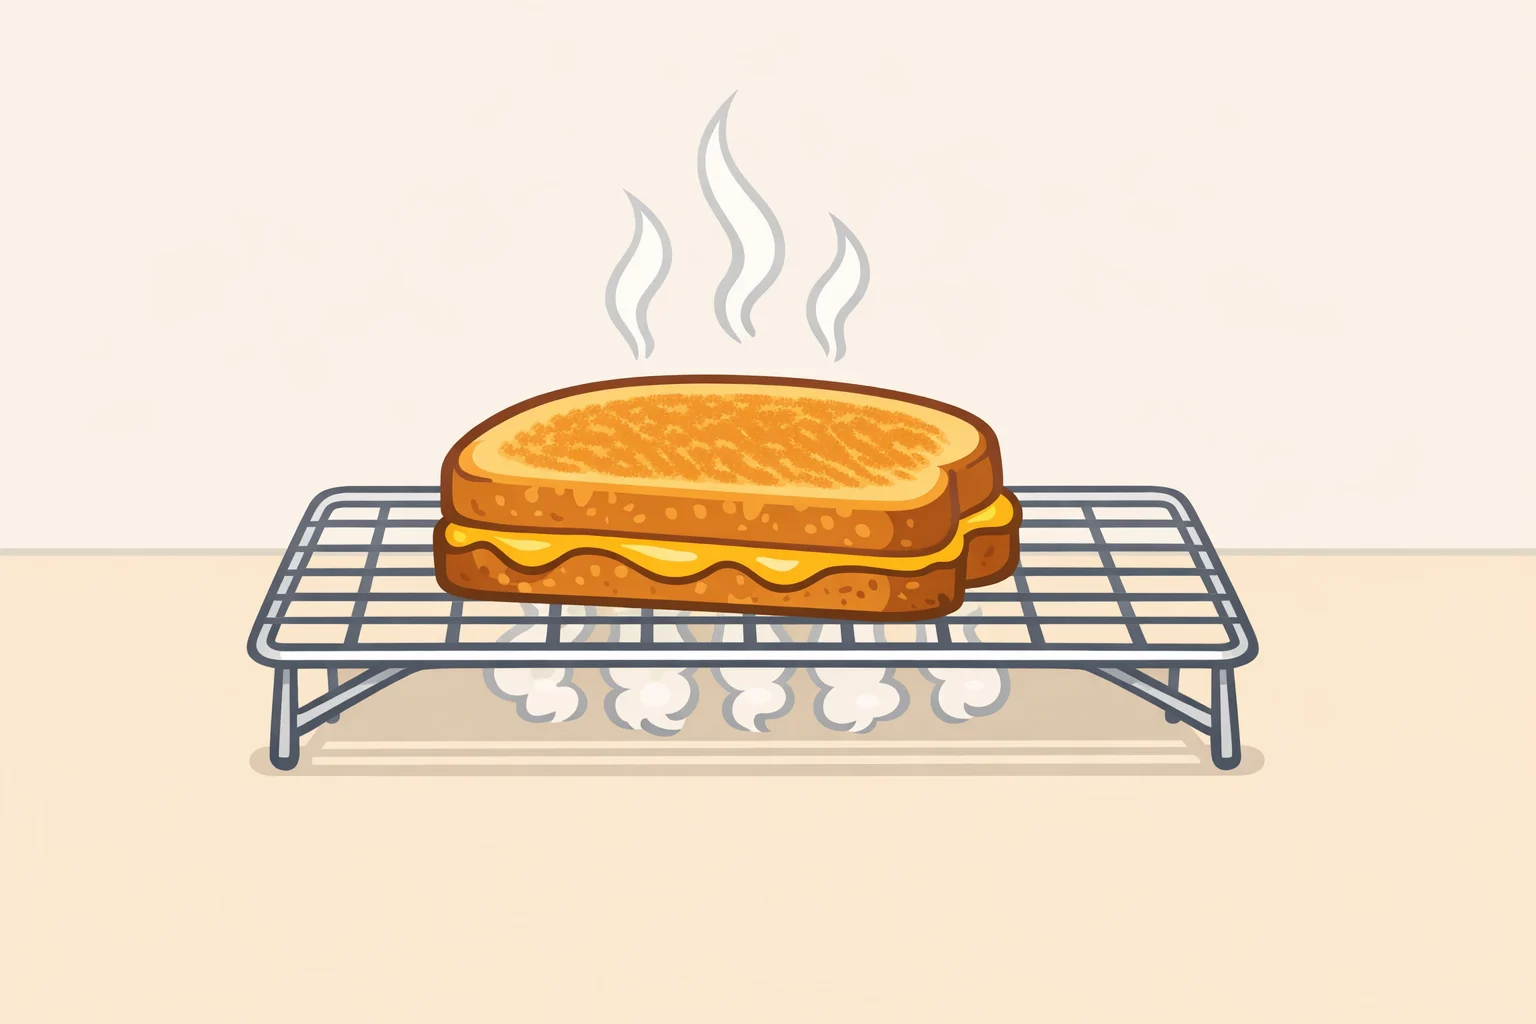
Transfer the cooked sandwich to a wire rack and let it sit for a couple of minutes before slicing. A hot sandwich placed directly on a plate traps steam underneath condensation builds up and turns the bottom crust soft even after a perfectly executed cook, as Serious Eats noted earlier this year. The rack lets air circulate on all sides so the steam escapes. Two chopsticks work as a substitute if a rack isn't handy.
Resting also gives the cheese a chance to firm slightly, so it holds inside the sandwich when you cut rather than spilling out immediately (Serious Eats).
Step 8: Slice and finish
Cut diagonally, drizzle with balsamic glaze if using, and serve immediately.
Troubleshooting: the four most common failures
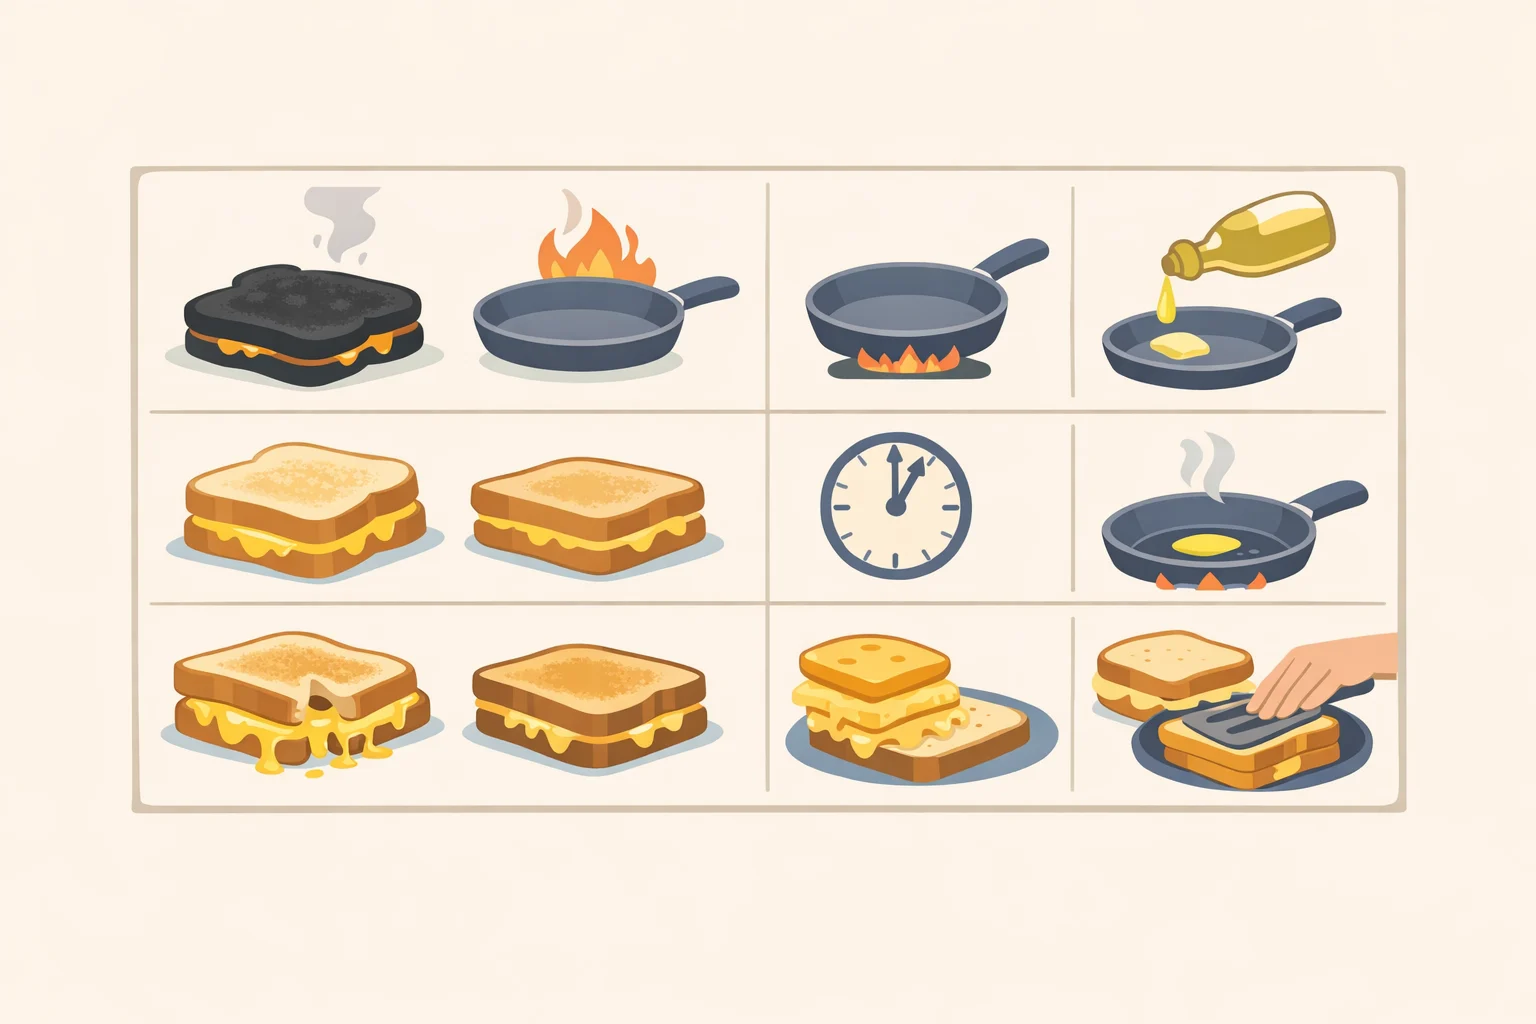
Bread is golden but cheese isn't melted. Heat was too high. The exterior browned before the interior had time to warm through. Next time, lower the heat and extend cook time. In the moment, tent the pan loosely with foil for the last minute it traps heat without further browning the crust.
Filling leaks out when flipping. Two likely causes: too much filling, or the sandwich wasn't pressed firmly enough before the flip. Keep the bruschetta layer moderate and press gently but consistently during the first minute of cooking. That initial press helps the cheese begin to melt and bind the layers together before the turn.
Bottom still feels wet after cooking. Either the filling wasn't drained enough, or the sandwich went straight from pan to plate. Check both: drain more aggressively next time, and always rest on a rack (Serious Eats). If the filling was visibly wet before assembly, that liquid had nowhere to go but into the bread.
Bread is soggy in the middle, not just the bottom. The tomatoes were cut too large or not drained thoroughly. Large pieces hold more juice and function like small pockets of steam during cooking. Fine-dice the tomatoes, drain the mixture, and keep the filling amount moderate (Sophia's Recipe).
Where this technique goes next
Get the three control points right and the sandwich holds together, stays crispy, and actually tastes like what you were going for. The same logic travels to any grilled cheese built around a wet filling. Roasted peppers, kimchi, caramelized onions drain them before assembly, use cheese as a barrier during cooking, give steam an escape route after. The specific filling changes; the sequence doesn't.

















Comments
Be the first, drop a comment!