



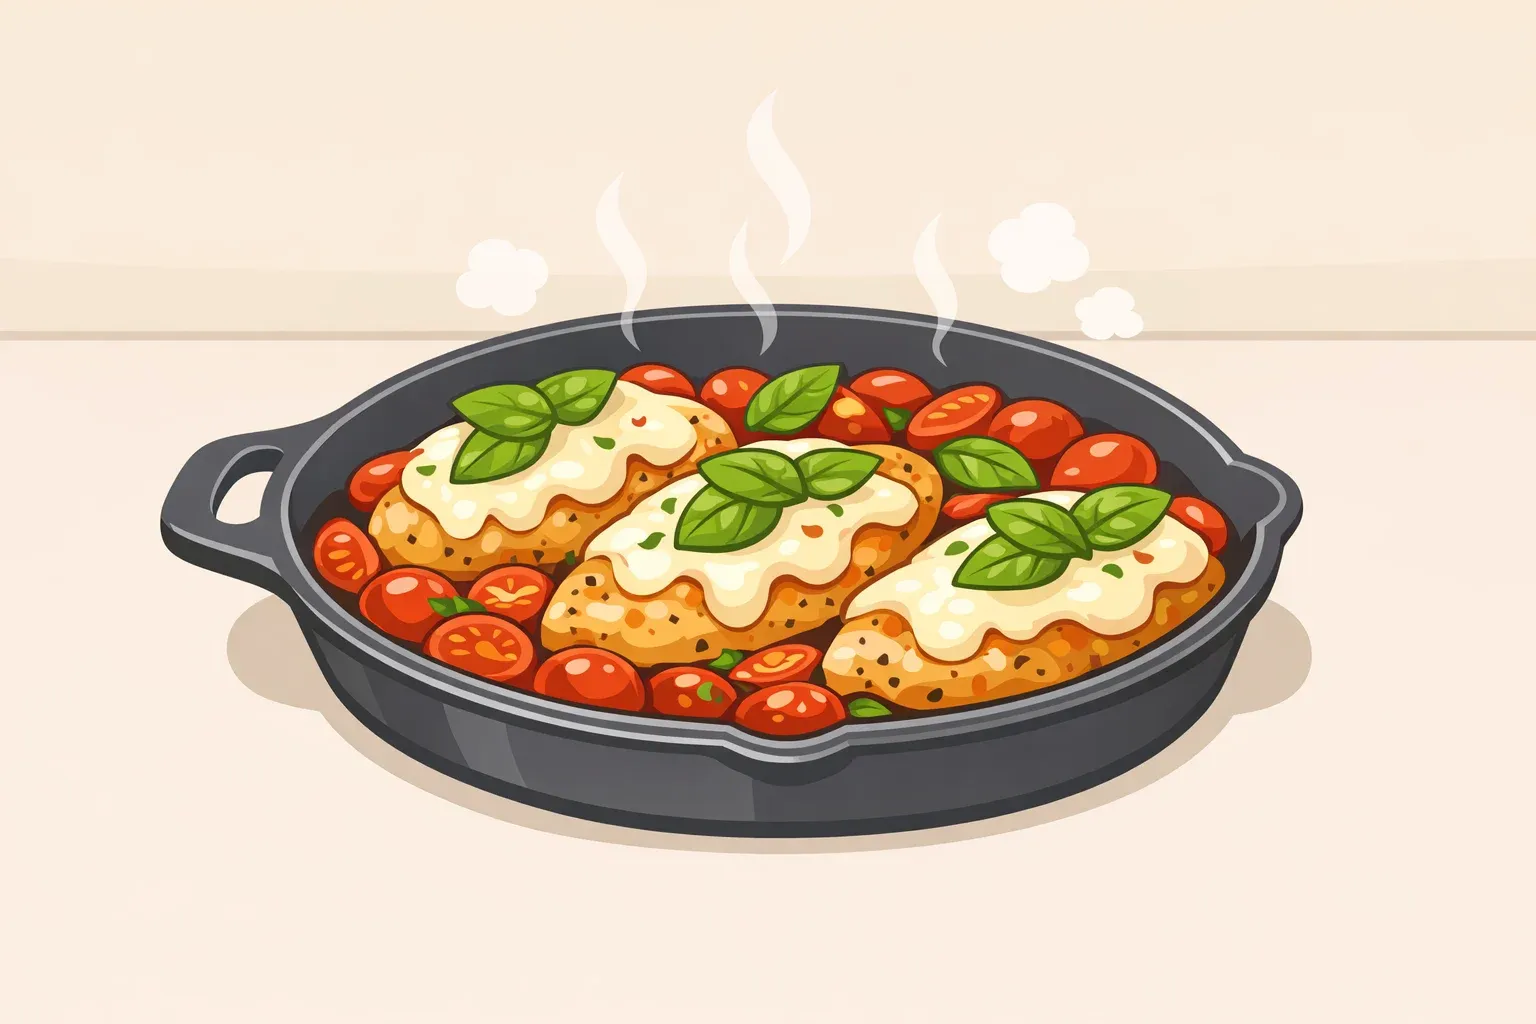
Baked Caprese Chicken: One-Pan Method for Juicy Results
This guide walks you through making baked caprese chicken from start to finish. The focus is narrow on purpose: two technique decisions determine whether you get a juicy, clean result or dry meat and watery cheese. Both are explained before you touch the pan.
Caprese salad traces its roots to the Italian island of Capri, where the combination of ripe tomatoes, fresh mozzarella, and basil became a classic, as Seasons in the Kitchen documented last month. The chicken version turns that trio into a complete main course. The salad becomes the topping, the chicken becomes the anchor, and the whole thing comes together in a single oven-safe skillet in about 40 minutes: 10 of prep, 30 of cooking.
Cherry tomatoes hit peak sweetness from late spring through early fall, which puts right now squarely in the optimal window, though the dish works year-round, per Seasons in the Kitchen.
What you need before the pan gets hot
Equipment:
- Oven-safe skillet, cast iron preferred for heat retention
- Instant-read meat thermometer: not optional. This is how you hit the temperature window that separates juicy from dry
Ingredients:
- 6 small boneless, skinless chicken breasts, or 4 large ones halved horizontally into even cutlets
- 400g / 14 oz cherry tomatoes, on the vine if available
- 200g / 7 oz bocconcini or fresh mozzarella pearls, drained
- 2 tablespoons basil pesto
- 1–2 tablespoons olive oil
- 2 teaspoons Italian seasoning
- Salt and pepper
- Balsamic glaze, for finishing: applied after cooking, not before
All ingredient quantities sourced from Seasons in the Kitchen.
On mozzarella: Bocconcini and fresh mozzarella pearls melt quickly and evenly from residual heat, per Seasons in the Kitchen. Avoid pre-shredded mozzarella. The pearls behave differently off heat, which matters at Step 6.
Before you start, know these two failure points:
- Pulling the chicken too late: waiting until it reads 165°F inside the oven usually means it overshoots by the time it's on the plate.
- Adding mozzarella during the bake: fresh mozzarella releases water under sustained oven heat instead of melting cleanly.
Both are addressed exactly where they matter in the steps below.
Why this method works
The sear-then-bake approach isn't arbitrary sequencing. Each step has a specific job, and understanding what that job is makes it easier to execute without second-guessing the timing.
The sear builds a crust on the exterior. That browned surface distinguishes properly cooked chicken from something that came out of a steam packet, and it helps retain moisture during the oven phase. A good sear takes 3–4 minutes per side, undisturbed. Lifting the chicken early breaks the crust before it sets.
The pull temperature is where most dry chicken originates. The safe threshold for poultry is 73°C / 165°F, but reaching that number inside a hot oven means the meat overshoots by the time it's resting. Chicken keeps cooking after it leaves the heat source; in a cast iron skillet fresh from the oven, that carryover adds meaningful degrees in the first few minutes of rest. Pulling the breast at 70°C / 160–162°F and letting it rest in the hot pan brings it to the safe threshold without the meat having climbed past it toward 168–170°F, as Seasons in the Kitchen confirms.
The off-heat mozzarella is a moisture management decision. Fresh mozzarella has high water content; sustained oven heat draws that moisture out into the pan and produces a watery pool rather than a clean melt. The residual heat of a resting skillet is gentler. It melts the cheese without that moisture release, which is why the order of operations here isn't flexible.
How to make baked caprese chicken: step by step
Step 1: Preheat the oven to 200°C / 400°F.
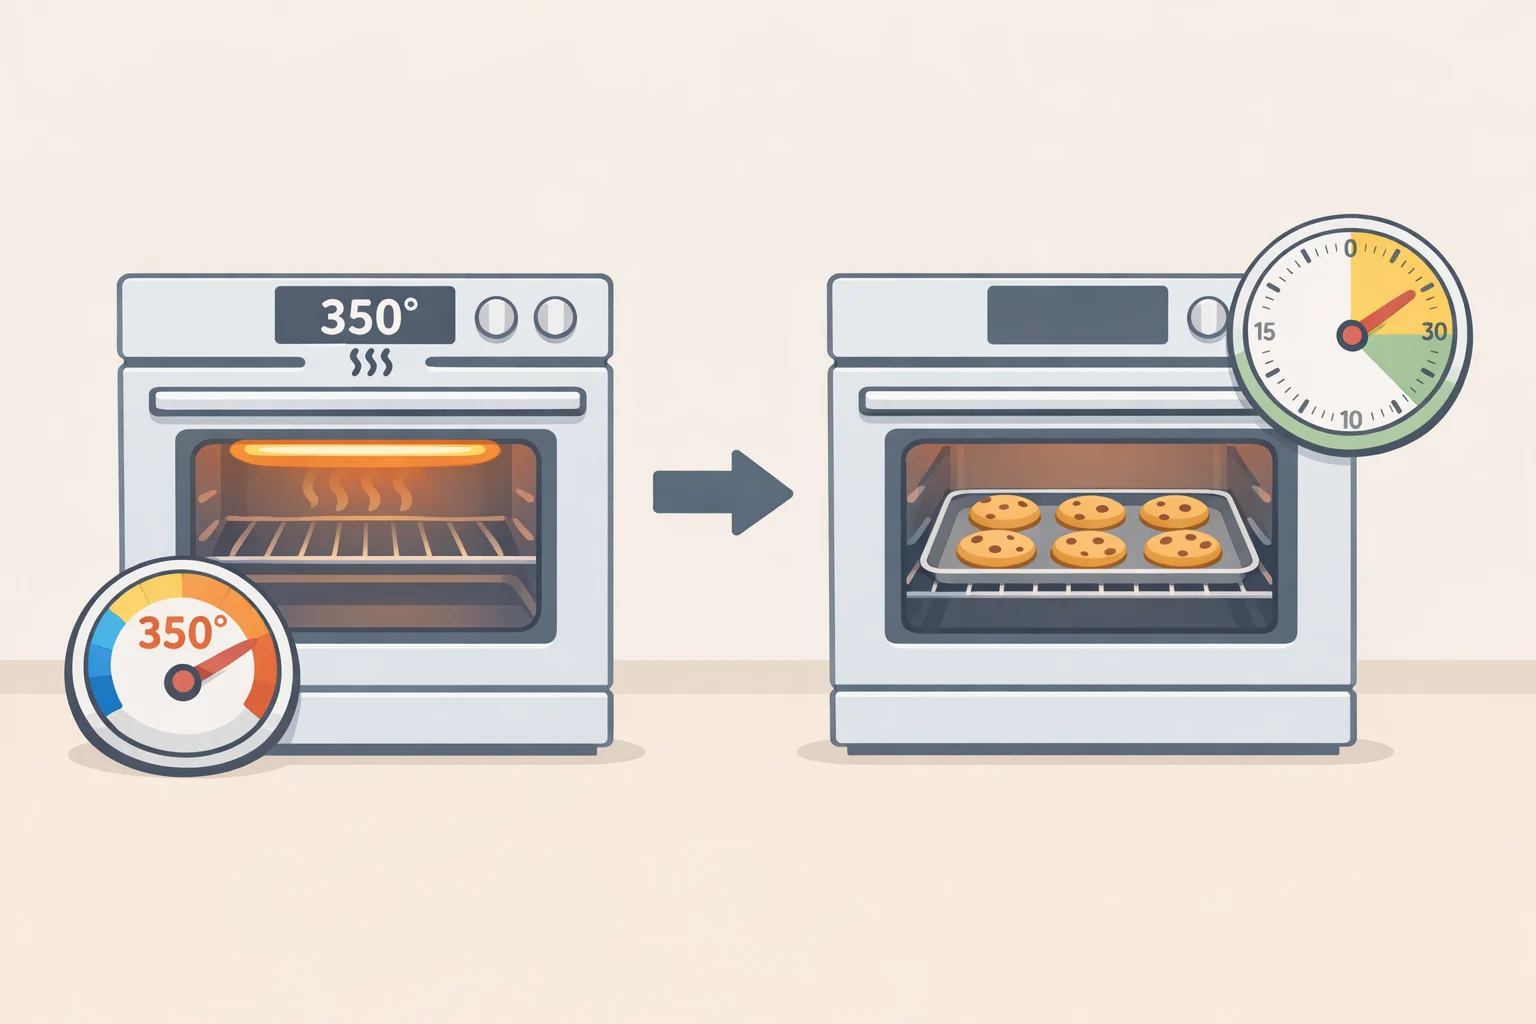
Do this first. A fully preheated oven is the only way the 15–18 minute bake time is accurate; an oven still climbing to temperature will extend the cook unpredictably and make it harder to hit the pull temperature at the right moment, per Seasons in the Kitchen.
Step 2: Prepare the chicken for even cooking.
Pat the breasts dry: surface moisture steams rather than sears, and you want a crust. Check thickness across all pieces. If any breast is noticeably thicker at one end, halve it horizontally or pound it level. Uneven chicken means the thin end dries out before the thick end is cooked through; fix it now rather than trying to compensate with timing later.
Season both sides with Italian seasoning, salt, and pepper.
Step 3: Sear 3–4 minutes per side over medium-high heat.
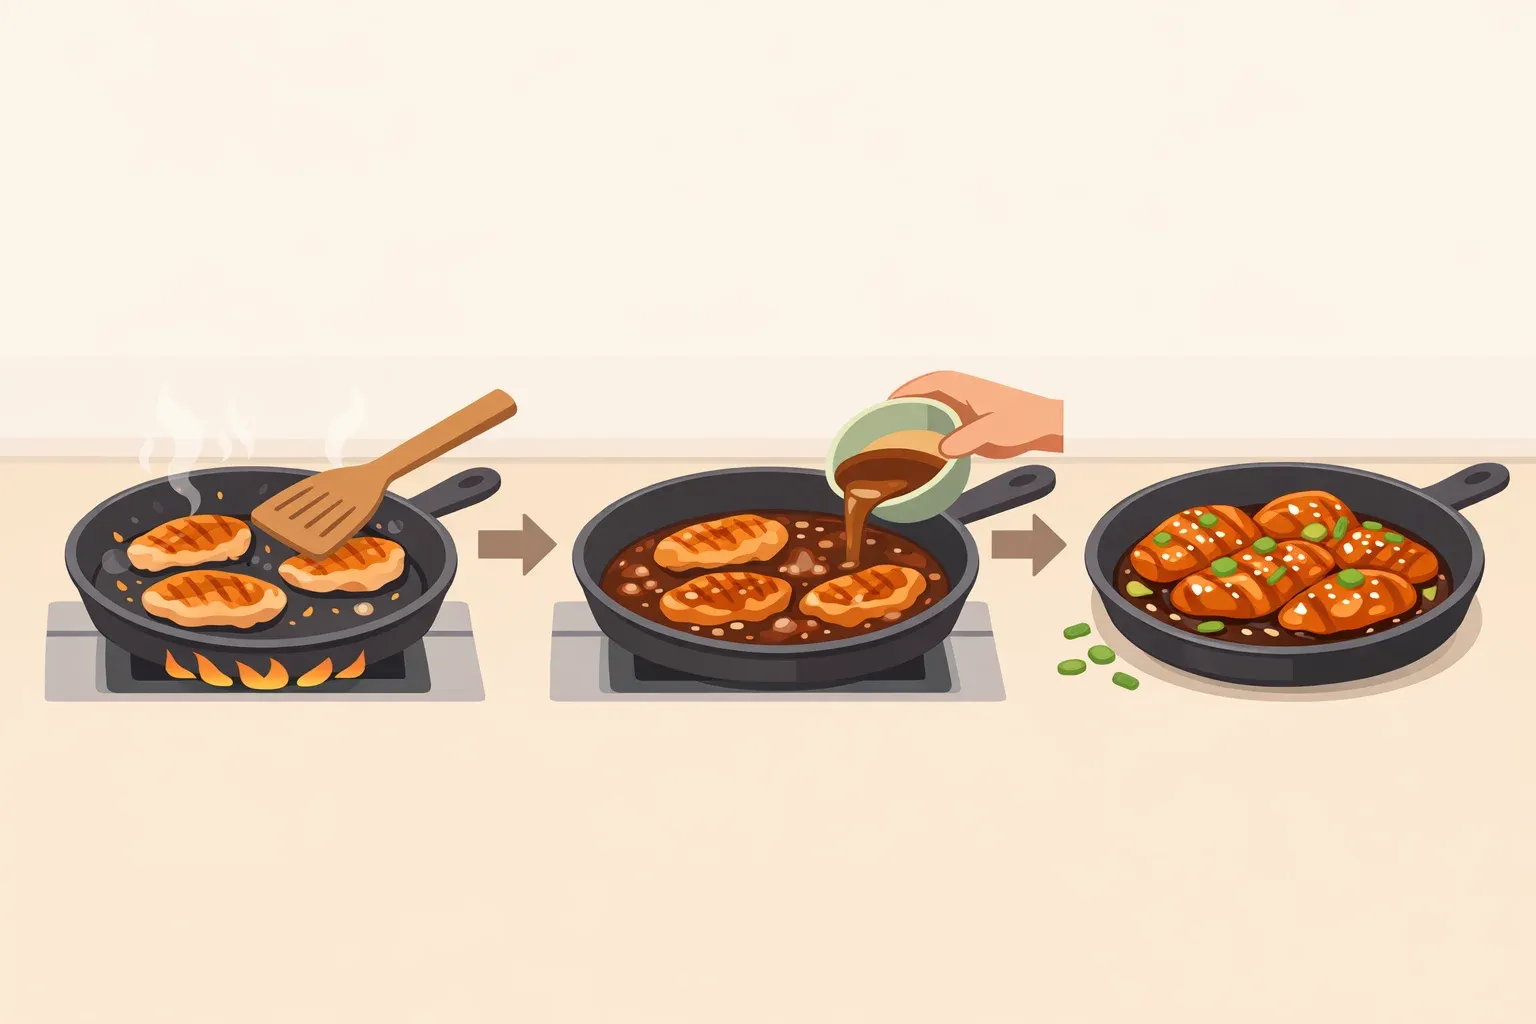
Heat olive oil in the skillet until it shimmers. Add the chicken and leave it alone. The chicken will release naturally from the pan once the crust is set; if it's sticking at 3 minutes, give it another 30–60 seconds. Sear until golden brown on both sides, per Seasons in the Kitchen. Don't skip this step and don't rush it.
Step 4: Add tomatoes and transfer the skillet to the oven.
Scatter the cherry tomatoes into the pan around the chicken. Slide the whole skillet into the preheated oven and bake for 15–18 minutes, per Seasons in the Kitchen. Start checking the thickest breast at the 15-minute mark, not at 18.
Step 5: Pull at 70°C / 160–162°F. Not at 165°F.
When the thickest part reads around 70°C / 160–162°F, remove the skillet from the oven and set it on a heatproof surface. Don't touch the chicken yet. Carryover cooking brings the internal temperature up to the safe threshold of 73°C / 165°F without further heat input, as Seasons in the Kitchen confirms. Waiting inside the oven until it reads 165°F means it will read 168–170°F on the plate.
Step 6: Add mozzarella and pesto off heat.
Once the chicken is resting, spoon pesto over each breast and scatter the bocconcini across the pan. The skillet's residual heat melts the cheese within 2–3 minutes, no additional heat needed. If it hasn't melted after 3 minutes, return the pan to the oven for 2 minutes only.
Step 7: Finish and serve.
Drizzle balsamic glaze over the chicken and tomatoes just before plating. Serve directly from the skillet.
What went wrong: diagnosing common failures
If the result wasn't right, it almost always traces to one of these:
- Dry chicken: The breast hit 165°F inside the oven and kept climbing on the plate. Pull at 160–162°F, rest in the hot skillet, let carryover heat finish the job, per Seasons in the Kitchen.
- Watery cheese: The mozzarella went into the oven instead of onto the resting pan. Timing is the fix, not a different cheese.
- Uneven doneness: Chicken pieces varied in thickness. Cook time cannot compensate for this; only even thickness can. Halve large breasts horizontally before they hit the pan.
On switching to thighs: Boneless, skinless thighs are a direct swap, per Seasons in the Kitchen. They're also more forgiving if you overshoot the pull temperature slightly. Same thermometer target; cook time runs slightly longer, so check early and let the number guide you.
Storage and what to serve with this easy caprese chicken
This is a cook-and-eat dish. The fresh mozzarella and tomatoes may become watery on reheating, which is why freezing isn't worth attempting, per Seasons in the Kitchen. Refrigerate leftovers in an airtight container for up to a few days, per Seasons in the Kitchen. To reheat, use a 160°C / 325°F oven until warmed through; the lower temperature reduces the risk of drying the chicken on the second pass, per Seasons in the Kitchen.
Three sides worth pairing:
The pan produces chicken, cheese, tomatoes, and pan juices. What sits alongside should do one of three jobs: absorb the juices, cut through the richness, or add substance if you need a fuller plate.
- Crusty bread or soft polenta to absorb the pan juices: both work, and the choice comes down to how much effort you want the side dish to require
- A simple green salad or steamed greens for freshness and contrast
- Gnocchi or orzo tossed in olive oil if you want something more substantial
Pick one. The dish is already complete.
Taking this method further
The temperature logic here travels well. Grill the chicken during peak tomato season and the pull-temperature principle is identical; the char adds something the oven can't replicate, as Seasons in the Kitchen notes. Thighs work on the grill too, same thermometer target, slightly adjusted timing.
The sear, the blistered tomatoes, the balsamic glaze finish: all of it contributes. But this caprese chicken with balsamic glaze succeeds or fails at two specific moments. Pull the chicken before the oven finishes it. Add the mozzarella after the heat is off. Get those right and everything else takes care of itself.








Comments
Be the first, drop a comment!