



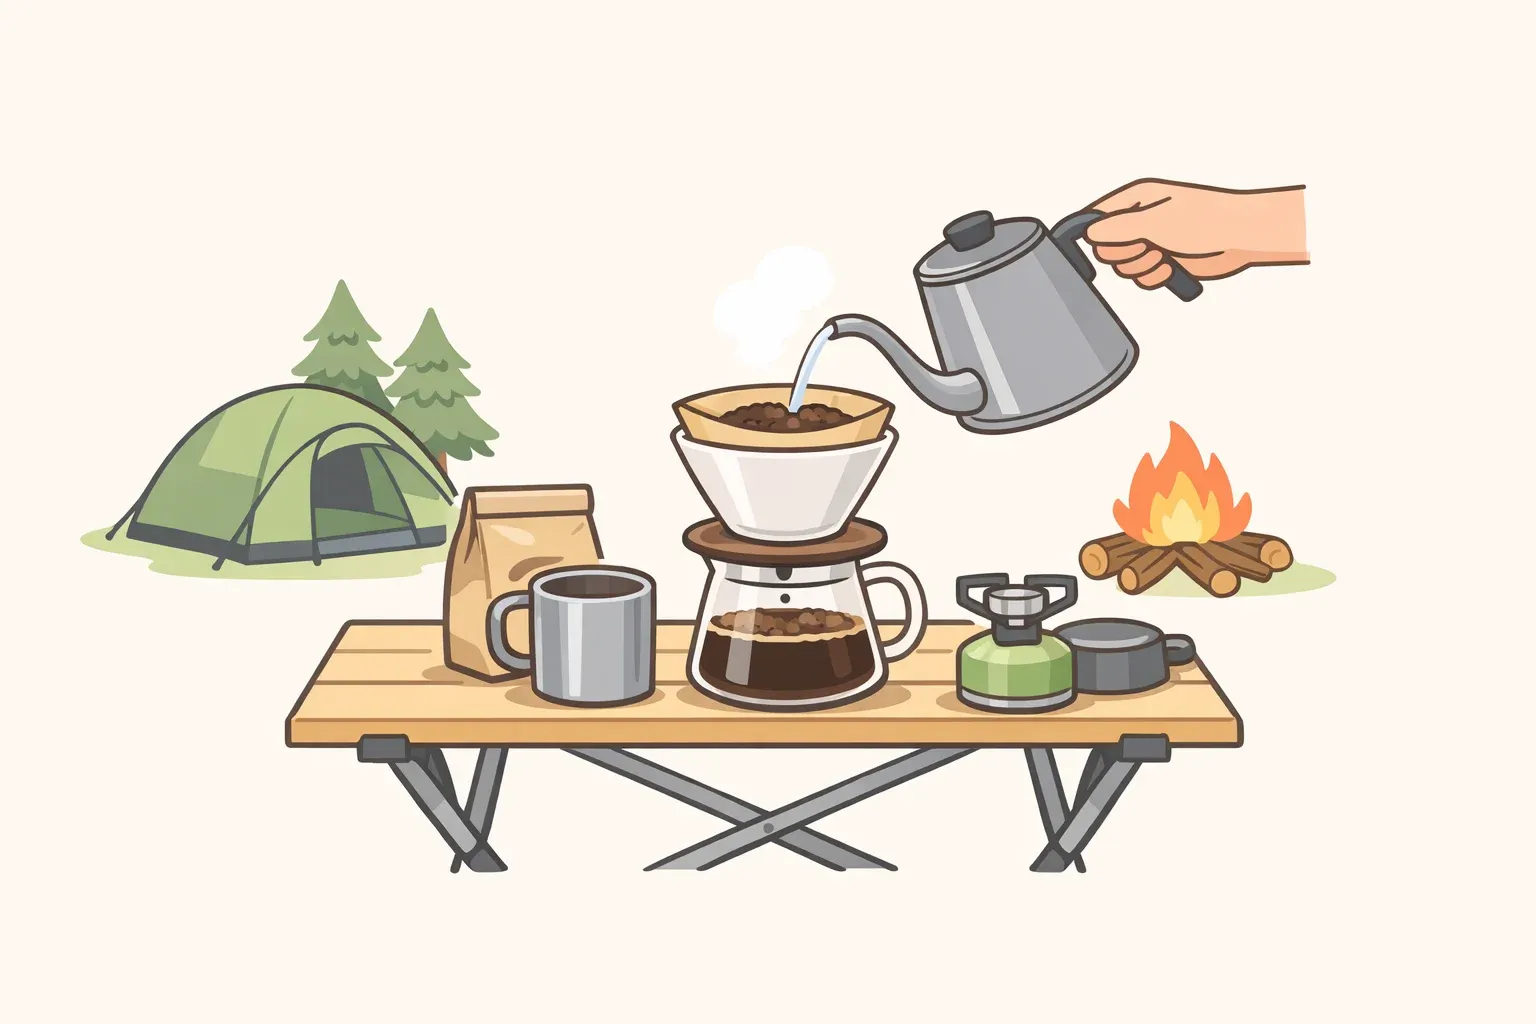
For campers who optimize for what's in the cup rather than what's in the pack, the Origami Dripper is the best camping coffee maker for cup quality you can bring outside. That's a specific kind of camper: car camper, van lifer, base-camp setup. Not someone covering miles with a piece of hand-thrown Japanese porcelain bouncing around in their bag.
REI identifies recipe, grind size, and water as the three variables that determine camp coffee quality. The Origami Dripper gives you full control over all three. Most camp-specific brewers sacrifice some of that control for convenience, and you taste the difference.
This guide tells you who should and shouldn't bring the Origami camping, then walks through one practical field recipe for those who've decided it's the right fit.
Quick comparison: which best camping coffee brewer fits your trip?
Origami Dripper
Best for: Car camping, van life, base camps, and flavor-focused brewing
Key tradeoff: Fragile porcelain; requires a grinder and kettle
AeroPress Go
Best for: Trail backpacking when a little extra weight is acceptable
Key tradeoff: Weighs 7.7 ounces with the complete case
MiiR Pourigami
Best for: Compact packing and stainless-steel durability
Key tradeoff: Brews only one cup at a time
Coffee bags
Best for: Ultralight trips with no brewing equipment
Key tradeoff: Weigh 0.5–0.6 ounces per serving
Choose Origami or choose something else: the decision framework
Choose the Origami Dripper if you're car camping, van camping, or working from a base camp. You already own or will pack a hand burr grinder and a controlled-pour kettle. You drink one or two cups in the morning and care more about what they taste like than how fast you can break camp. This is a system commitment, not a single purchase. The dripper only performs when the grinder and kettle show up with it.
If that sounds like too much kit, the alternatives are simpler and genuinely capable.
The AeroPress Go weighs 7.7 oz complete with case. Backpacking Mastery called it the best trail coffee available, "not close," for those willing to carry the weight that's their judgment, not ours, but it's a tested one. The MiiR Pourigami folds flat into three stainless steel panels, earned a 4.7/5 rating from CleverHiker after field testing across Texas and Utah, and brews a solid portable pour-over without fragility risk. Coffee bags come in at 0.5–0.6 oz per serving with zero system weight, nothing to break, nothing to forget at home.
The fragility question deserves a direct answer. Mino-yaki porcelain is thermally stable but brittle under mechanical impact. Drop the Origami Dripper on a hard surface, and it will crack or shatter. The MiiR Pourigami is stainless steel, purpose-built to survive camp conditions. That's not a minor caveat it's the first thing a camper needs to know.
Why the Origami Dripper produces a better cup
The case for the Origami Dripper comes down to filter choice, rib geometry, and repeatability.
The Origami accepts both conical and wave-style paper filters in the same dripper body. Conical mode produces a brighter, higher-clarity cup. Wave mode delivers more body and roundness. Two fundamentally different extraction profiles from one piece of gear, without packing a second brewer (Roastopedia). Few camp-portable brewers offer that kind of range.
The 20 interior ribs aren't decorative. A controlled extraction study comparing three rib configurations found that medium-amplitude ribs at 1.4mm height achieved the best balance: 1.42% TDS and 21.8% extraction yield, sitting inside the 18–22% range that specialty professionals target. Low-amplitude ribs were faster but under-extracted at 18.4% EY. At camp, where you can't always control ambient temperature, water source, or pour pressure precisely, the rib geometry does the work of keeping drawdown predictable.
One setup step cuts variability by a meaningful margin. Pre-wetting the filter while it's already seated in the dripper presses the paper against the ribs and pre-forms the flow channels. Testing showed this single step reduced brew-to-brew variability by up to 34%. When conditions change every morning, different altitude, different water, a breeze that drops your kettle temperature, that consistency buffer is worth more than it sounds.
There's also a competition pedigree, though it matters less than the brew behavior. Du Jianing used the Origami Dripper in her winning routine at the 2019 World Brewers Cup, becoming the first Chinese competitor to claim that title. The event drove the dripper's global adoption in specialty coffee. The design has been stress-tested at the highest level of scrutiny in the sport.
How to make pour-over coffee while camping with the Origami Dripper: one default recipe
One recipe. One filter mode. Adjustments at the end for when the cup goes wrong.
What you need before you start:
Origami Dripper (small for 1–2 cups; medium for 2–4 cups)
Conical paper filters: this recipe uses conical mode
Gooseneck kettle or any vessel that allows a controlled pour
A hand burr grinder or a blade grinder undermines everything the Origami Dripper is designed to do; REI recommends burr specifically because blade-chopped grounds produce uneven particles that extract unpredictably
Scale if possible; 2 level tablespoons per 6 oz of water as a field backup
Step 1: Boil water, then rest it 30 seconds.
Target temperature is 90–96°C (194–205°F). Boiling water at sea level runs at 212°F. At that temperature, it over-extracts and turns the cup bitter. Pull the kettle off the heat and wait. At altitude, water boils at a lower temperature, which can make it harder to hit the target range, so temperature precision matters more at elevation, not less.
Step 2: Seat the filter and pre-wet it in place.
Set the dripper on your mug first, then seat the filter. Pour a small stream of hot water through it slowly. The water's weight presses the paper against the ribs and pre-forms the flow channels that define the Origami's extraction behavior. Skipping this step adds up to 34% more variability per brew. Discard the rinse water.
Gotcha: Pre-wet with the dripper already on the mug. Wetting a filter in your hand and then seating it doesn't pre-form the channels correctly; the angle matters.
Step 3: Confirm the dripper is warm.
The pre-wet rinse mostly handles this. Check that the ceramic feels warm to the touch. A cold dripper pulls several degrees off your brew temperature during the first pour, which produces inconsistent results, particularly with light roasts that need steady heat to extract cleanly.
Step 4: Grind and dose.
Use a medium-fine grind, comparable to V60 settings. Dose 15–18g of coffee into the filter. Add 240–270g of water at a 1:15–1:16 ratio. The Specialty Coffee Association's recommended starting ratio is 1:16. This recipe starts there.
Step 5: Bloom
Pour 30–40g of water in slow circles to saturate the bed. Wait 30–45 seconds. The bed will dome slightly as CO2 is released. That gas needs to clear before your main pours, or it will disrupt extraction unevenly across the coffee bed.
Step 6: Pour in three stages
Pour 75–80g of water in slow circles, starting from the center and spiraling outward. Begin the next pour when the bed surface appears matte water has nearly drained through. Repeat for three pours total. Target total brew time: 2:30–2:45.
Gotcha: If brew time swings more than 15 seconds between cups on the same recipe, re-seat and re-wet the filter before the next brew. Inconsistent paper geometry is almost always the cause.
Quick adjustments if the cup is off:
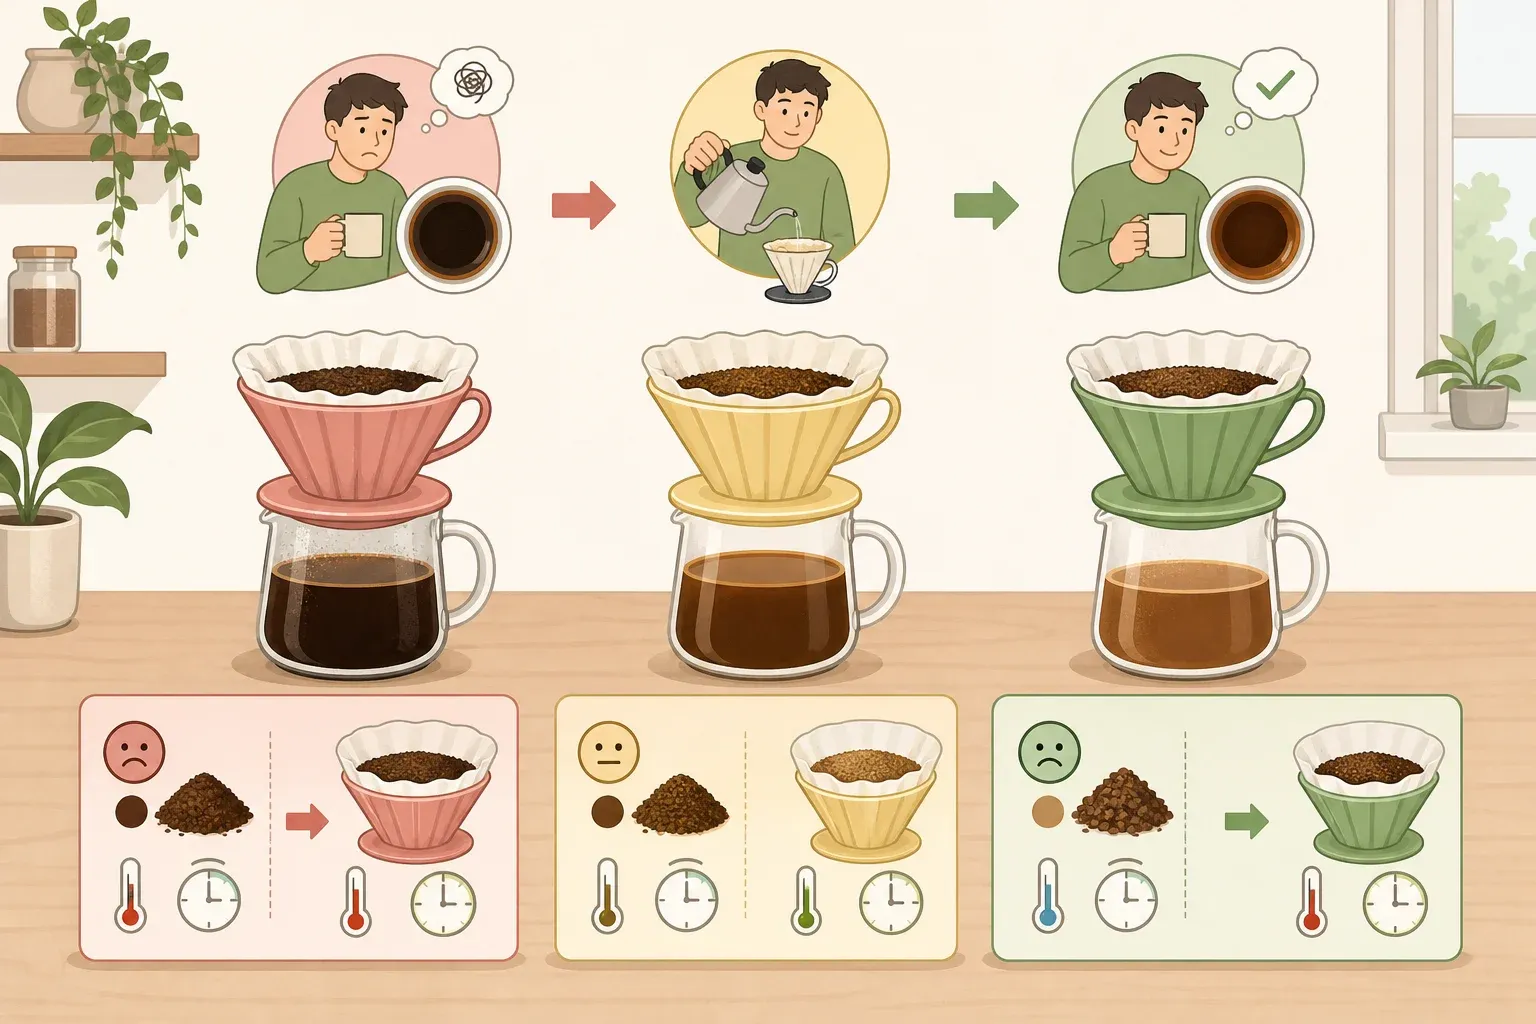
Bitter or astringent: coarser grind, lower water temp by 1–2°C
Sour or thin: finer grind, slightly hotter water, add 10–15 seconds to total brew time (VIHI Design)
Note on wave mode: If you switch to a wave filter at camp, coarsen your grind. Wave filters produce a slower flow rate inside the same dripper body. Using your conical grind setting with a wave filter will stall the drawdown.
Campsite realities: packing, cleanup, and leave no trace
Transport the Origami Dripper seriously. The porcelain will crack or shatter under mechanical impact. Wrap it in soft gear, a fleece or beanie works, and pack it where it won't shift against hard surfaces. The MiiR Pourigami was specifically designed to store flat and survive camp conditions. The Origami Dripper was not. Pack accordingly.
Used paper filters and spent grounds must leave with you. REI is direct: coffee grounds are foreign to wilderness ecosystems and should never be scattered or buried, even though they'd be welcome in a home compost. Bring a small sealable bag specifically for used filters and grounds.
Rinse water from preheating and the post-brew rinse counts as wastewater. Dispose of it at least 200 feet from any water source, or use a designated camp waste drain where available. Ceramic rinses cleanly, so the cleanup itself is quick; the disposal still requires intention.
What you're actually signing up for
The Origami Dripper's rib geometry can hit extraction yields of 21–22% EY in controlled conditions, inside the 18–22% specialty standard (VIHI Design). The cup quality is real and measurable.
But you're not buying a dripper. You're committing to a system: hand burr grinder, controlled-pour kettle, careful packing, and an unhurried morning. The threshold is simple if you already travel with a burr grinder and a pour kettle and camp from a car, buy it. If any piece of that system isn't already in place, the AeroPress Go or MiiR Pourigami will make good coffee and survive the trip without the overhead.















Comments
Be the first, drop a comment!