


Difficulty: Novice
Time: 45 minutes (plus cooling)
Cost: ~$15
Yield: 24-30 cookies
Why You'll Like This (Quick Intro)
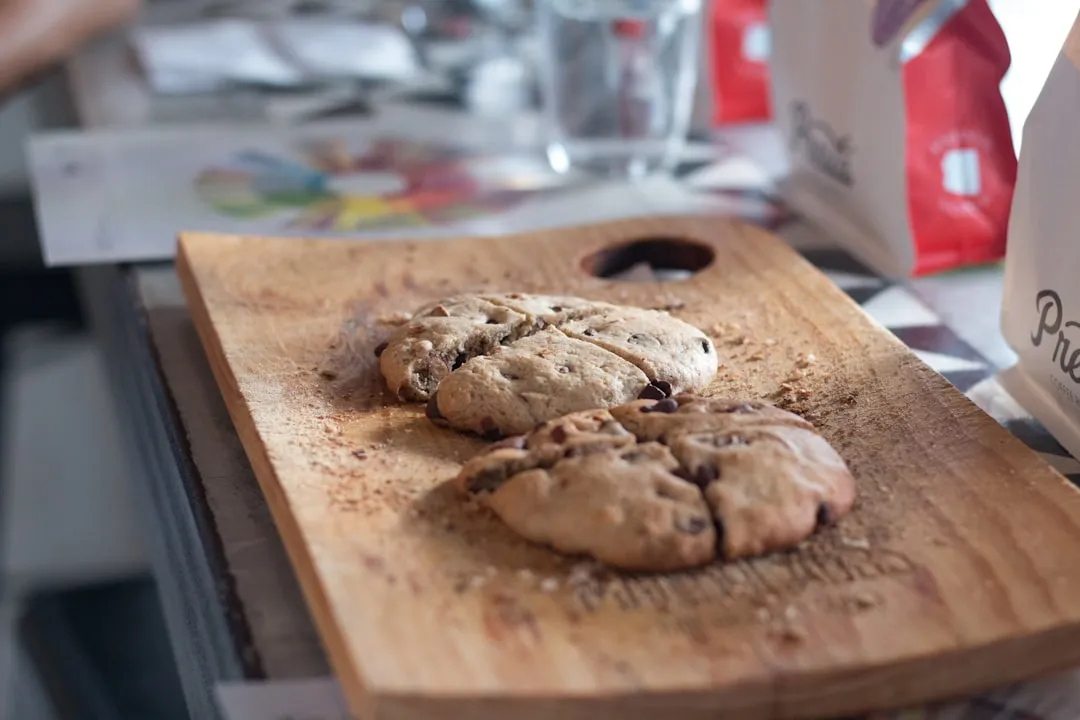
Ever wanted to turn your kitchen into a little edible art studio? These stained glass cookies work beautifully for holiday celebrations and special occasions, and honestly, they're way easier than they look. You're basically melting hard candies inside cookie frames to create that gorgeous translucent effect—like miniature cathedral windows you can actually eat. Plus, if you're feeling crafty, you can even hang them as ornaments by poking a small hole before baking.
What You'll Need
Materials
1 batch sugar cookie or gingerbread dough (chilled)
2-3 cups assorted hard candies (Jolly Ranchers, Life Savers, or clear lollipops work best)
Parchment paper
Tools
Rolling pin
Large and small cookie cutters (or knife for cutting centers)
Mallet or second rolling pin for crushing candy
Plastic bags for candy crushing
Baking sheets
Safety First
Adult supervision required when crushing candies—flying pieces can be sharp
Keep workspace clean to avoid stepping on candy shards
Line baking pans with parchment paper to prevent candy from sticking
Handle hot baking sheets carefully—melted candy stays very hot
Steps
Prep your candy colors. Place candies in a bag and crush with a mallet or rolling pin until you get a sand-like consistency, not powder. Separate colors into small bowls so you can create different effects.
Roll and cut your cookie frames. Chill your dough before rolling (this prevents spreading), then roll to about 1/8-inch thickness. Cut your outer shapes first, then use a smaller cutter to remove the center, creating the "window" for your stained glass.
Money-saving tip: Don't throw away those cut-out centers—bake them into mini cookies for instant snacks.
Set up for baking. Place cookie frames on parchment-lined baking sheets. This step is crucial because if you make these cookies directly on your baking sheet, the melted candy will stick to the pan.
Fill the windows. Fill each cookie center completely with crushed candy, keeping it within the frame. Spread the candy pieces evenly—the more uniform the distribution, the smoother your final glass effect.
If you want ornaments: Use a toothpick to poke a small hole in the cookie dough before adding candy.
Bake to perfection. Bake at 350°F for 7–12 minutes, depending on cookie thickness and your oven; stop when edges are lightly browned. You'll see the candy pieces melt together into that beautiful translucent layer. Watch for the candy to become completely smooth and bubble-free.
Cool completely on the sheet. Let cookies cool completely on the baking sheet—this allows the candy to harden into that perfect crunchy glass layer. This takes about 20-30 minutes, during which the candy gradually cools from molten to firm, creating the ideal texture balance between cookie crunch and candy snap.
Important: Never place warm cookies on paper towels, as the soft candy center will stick.
Why it works: Hard candies (e.g., Jolly Ranchers) generally soften/melt around 300–310°F; many cut-out cookie recipes bake at 350°F, but oven temps vary, so the candy liquefies and smooths out while your cookie frame holds its shape. As the candy cools, it hardens into a thin, glass-like layer that's both crunchy and translucent.
Cleanup & Disposal
Soak any candy-covered utensils in warm water to dissolve residue
Save leftover crushed candy in airtight containers for future batches
Parchment paper can go straight in the trash—no sticky mess to scrub
Troubleshooting
Problem: Candy didn't melt completely → Fix: Return to oven for 1-2 more minutes
Problem: Cookie frames spread and lost shape → Fix: Chill dough longer next time (at least 1 hour)
Problem: Candy leaked out of frames → Fix: Don't overfill centers; keep candy within cookie borders
Problem: Colors bleeding together → Fix: Leave small gaps between different colored candies
Variations & Upgrades
Renter-friendly ornaments: Use removable string instead of permanent holes
Kid-safe version: Let children pick candy colors and help with (supervised) crushing
Elegant upgrade: Decorate the cookie frames with royal icing before adding candy centers
Budget option: Use any hard candy on sale—Life Savers and clear lollipops work just as well
FAQ
How long do they last? Store at room temperature in an airtight container for ~4–10 days (5–7 days is a good rule of thumb); avoid humidity and layer with parchment. Avoid humid areas which can make the candy centers sticky, and layer between parchment paper if stacking to prevent sticking.
Can I use other cookie doughs? Absolutely—any sugar cookie dough or gingerbread works. Just make sure it's sturdy enough to hold the candy.
What about sanding sugar? Sanding sugar does not work for making stained glass—you need the actual melting action of hard candies.
That's it—beautiful, edible stained glass that's way easier than it looks! The candy creates a thin, crunchy layer that adds both texture and flavor to complement your cookie base. Time to raid that candy aisle and start creating some sweet masterpieces that'll have everyone asking for your secret.


Comments
Be the first, drop a comment!