




Greek Street Corn Recipe: Charred Cobs with Feta and Yogurt
This guide walks through making a Greek street corn recipe from start to finish: charred corn coated in Greek yogurt, loaded with feta and oregano, finished with lemon. One recommended method, two fallbacks for when a grill isn't available. By the end, you'll have four cobs ready to serve and a clear sense of why each step matters enough to repeat.
The dish is a direct riff on Mexican elote. Same structure: hot corn, creamy binder, salty cheese, bright acid. Delish described it plainly this week: elote relies on a creamy anchor to hold toppings in place, and Greek yogurt fills that role here just as well while contributing its own tang. Silk Road Recipes made the same observation in 2023, noting that yogurt "binds the rest of the toppings to the corn." That single substitution is the actual logic of the whole recipe. Feta instead of Cotija, lemon instead of lime, oregano instead of chili powder: those all follow naturally from it.
Two things determine whether this works. Getting char without drying the kernels is the first. The second is applying a generous coat of yogurt while the cob is still hot, since warmth makes the mixture spread more easily across the kernels. Everything else is assembly.
Before you start: what you need
- 4 ears of corn, husked
- ½ cup full-fat plain Greek yogurt
- 1 tbsp olive oil, stirred into the yogurt to loosen it for even coating, consistent across formulas from Silk Road Recipes and Kosterina
- Juice of half a lemon plus the zest: both matter. The zest delivers aromatic punch that juice alone doesn't (Silk Road Recipes)
- 1 cup crumbled feta, from a block rather than pre-crumbled. Drier feta holds on the cob better than brine-packed (Delish)
- 3 tbsp finely chopped red onion
- 1¼ tsp dried oregano
- 2 tsp fresh basil, plus more for garnish
- ½ tsp smoked or sweet paprika
- Lemon wedges for serving
Yield: 4 servings. Total time: Around 25 minutes using the air fryer method (Delish) or roughly 32 minutes with a grill (Silk Road Recipes). Expect 30 minutes as a working estimate for most setups.
How to make Greek street corn: cook, coat, and finish
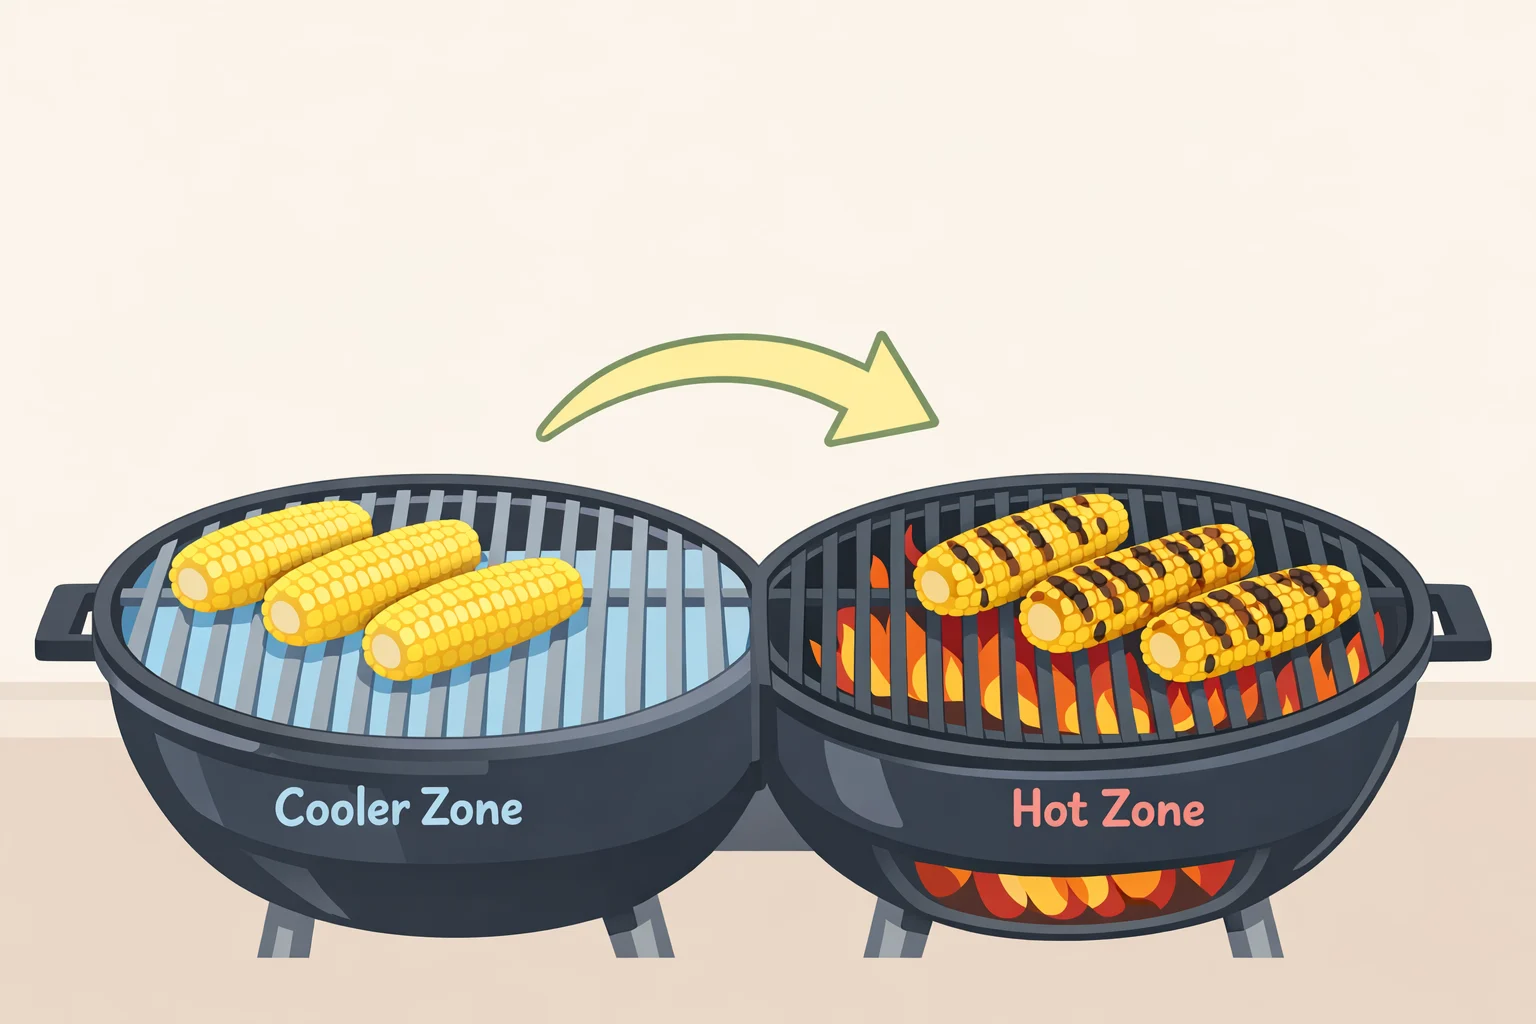
The cooking method is the only real decision point in this recipe. Every other variable, topping ratios, herb combinations, feta brand, matters less than whether the corn ends up juicy or dry. Overcooked corn is the primary reason this dish disappoints, and it happens fast.
Recommended: two-zone grill. Set up the grill with one hot side and one cooler side. Place shucked ears on the cooler side, lid closed, rotating occasionally for 10 to 15 minutes. This cooks the kernels through without aggression. Then move to the hot side for 3 to 5 minutes to blister and blacken the exterior. Serious Eats recommended this approach last year: the indirect phase handles the interior before high heat handles the char, so you don't have to trade one for the other. No foil, no husks, no brining required.
One alternative worth knowing: grilling husks-on is counterintuitively effective. America's Test Kitchen found three years ago that husks trap steam that tenderizes kernels while the exterior blackens. Their testers found that husk-off corn thrown straight onto a hot grill produced tough, dry results unless brined first. If you're doing a simple backyard grill without managing zones, husks-on is the more forgiving path: trim the silk from the tip, grill covered over medium-high heat turning every few minutes until the husks are fully blackened, then peel and top.
No grill: air fryer. Set to 400°F, cook 10 to 12 minutes turning halfway, until kernels are bright yellow and spotted with color. Cut cobs in half if they don't fit (Delish). Less aggressive char than a grill, but consistent and fast. This is Delish's primary method, with a total cook time of about 25 minutes raw to dressed.
No equipment at all: boil and top. Simmer husked ears in salted water for about 5 minutes until plump and bright yellow, drain, and dress immediately (Delish). No char, but the yogurt-feta coating still works. Treat this as the fallback when equipment or time is the constraint.
One rule applies across all three methods: pull the corn when kernels are just tender and showing color. Silk Road Recipes identified overly long cook times as the primary cause of chewy corn. More heat won't improve the dish once that threshold is crossed.
Build the topping and dress the cobs
Assembly order matters here. The yogurt base goes on while the corn is still hot, since that's when it spreads most easily across the kernels. The dry feta layer goes on while the yogurt is still tacky. Reversed or delayed, the toppings slide.
Step 1: Mix the yogurt base. Combine Greek yogurt, olive oil, lemon juice, and lemon zest. Stir until smooth. Silk Road Recipes recommends a generous amount of the yogurt and olive oil mixture to ensure everything sticks properly. Keep it close to the grill.
Step 2: Make the feta mixture. In a separate bowl, combine crumbled feta, red onion, basil, and oregano. Mix until evenly distributed. Have this ready before the corn comes off the heat so you're not scrambling.
Step 3: Coat each hot cob with yogurt.
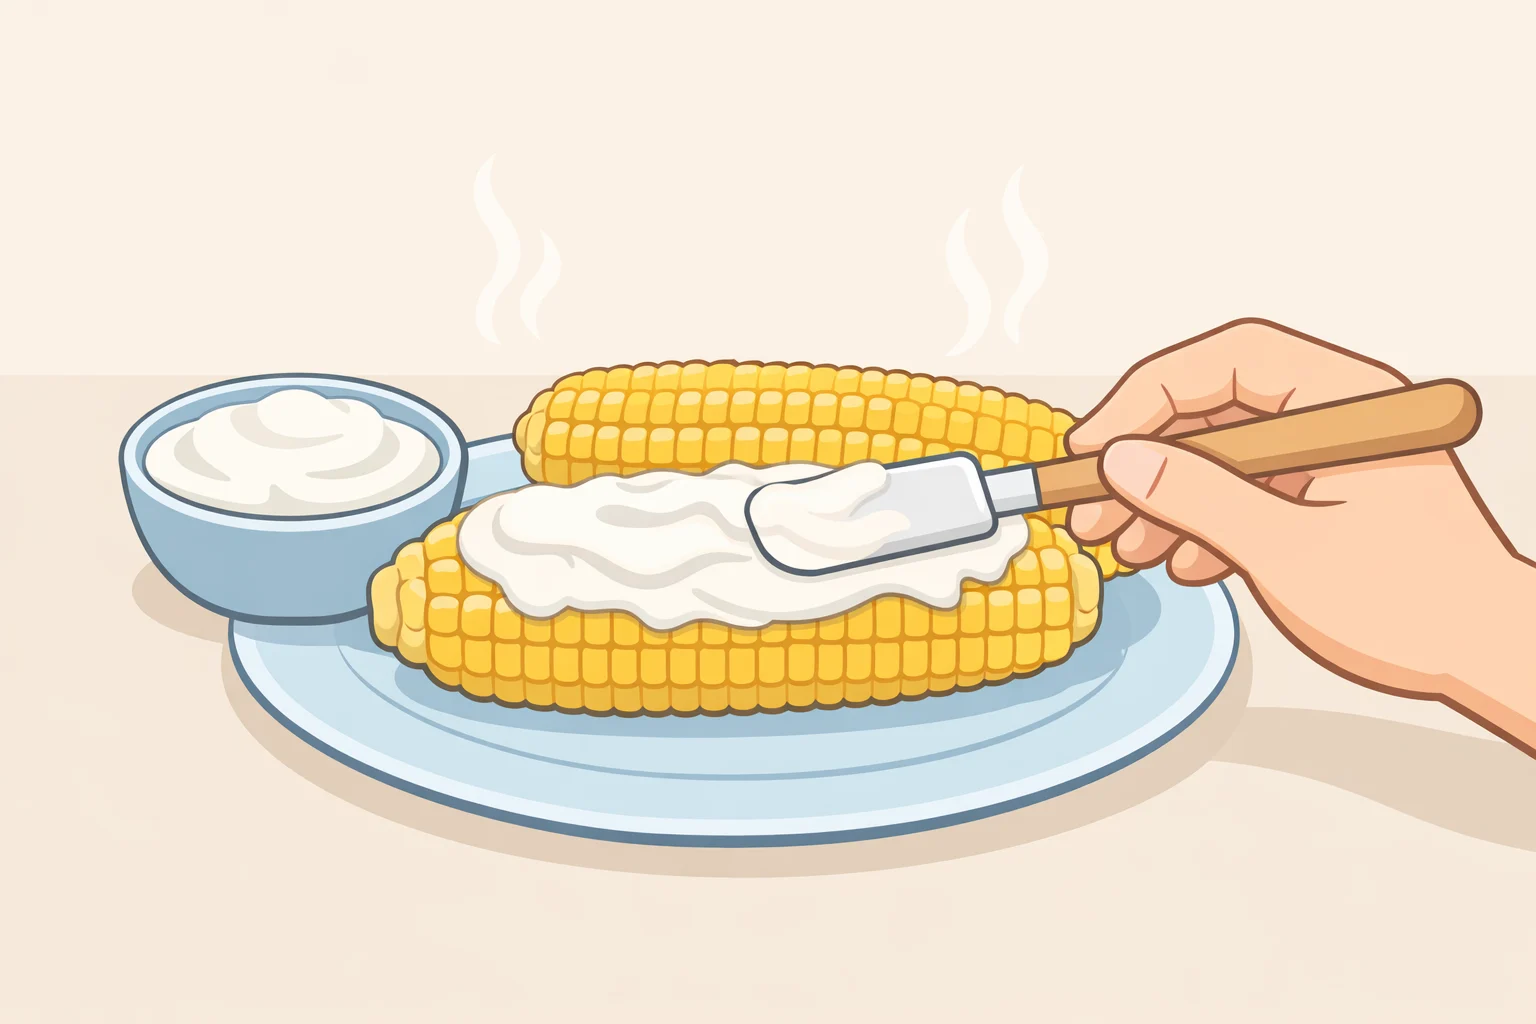
Spread about 2 tablespoons of the yogurt mixture onto each cob immediately after cooking (Delish). Be generous. A thin layer means toppings slip rather than stick, and the yogurt firms up as the corn cools, so work quickly.
Step 4: Press on the feta mixture. Roll or press the feta-herb mixture onto the yogurt-coated cob. Rolling the cob through the bowl tends to give more even coverage than spooning from above. The yogurt is the adhesive; press gently so the feta makes contact with it.
Step 5: Finish and serve. Dust with paprika, scatter extra basil, drizzle with a little olive oil if you have it, and serve immediately with lemon wedges. Squeeze lemon directly over the cob just before eating. The acid cuts through the richness of both the yogurt and the feta in a way that pulls the whole thing into focus. Kosterina adds a drizzle of herb-infused olive oil at this stage; plain extra-virgin works equally well.
A note on feta and the yogurt base
The yogurt substitution is straightforward, but the feta choice is worth a moment. Delish specifies drier block feta over brine-packed for a reason: moisture content directly affects how well the cheese clings to the cob. Brine-packed feta is wetter and tends to slide rather than adhere. Buy a block, crumble it yourself just before assembling, and you'll notice the difference.
The olive oil in the yogurt base is functional too. Silk Road Recipes and Kosterina both include it in their formulas. Plain Greek yogurt straight from the container is thick enough to sit unevenly on the cob, clumping in some places and leaving others bare. The tablespoon of olive oil loosens the texture just enough for an even layer. Skip it if you want, but expect uneven coverage.
On the lemon: Silk Road Recipes calls for both juice and zest specifically because they contribute differently. The juice delivers acidity. The zest delivers volatile citrus oils that add an aromatic dimension the juice can't replicate. Use both.
Serving ideas for this Mediterranean street corn
This dish works as a standalone appetizer or as a side alongside grilled proteins. Silk Road Recipes suggests pairing it with souvlaki or moussaka. Delish positions it as an appetizer at a Greek-themed dinner alongside roast lamb and Greek salad. Both work.
For a larger spread, the corn plays well with anything from the same flavor register: tzatziki, grilled pita, olives, roasted peppers. The yogurt-feta combination already has the tangy, salty profile of a Greek mezze table, so it lands naturally in that context.
If you're serving a crowd and don't want to juggle whole cobs, cut each ear in half before cooking. Delish notes this specifically for the air fryer, but it works just as well on the grill. Half-cobs are easier to handle, easier to dress, and more practical for guests who don't want to negotiate a full ear.
Leftovers and what to do with them
Serve immediately. That's when it's best. Dressed cobs keep in the refrigerator for 3 to 5 days (Silk Road Recipes). To reheat a whole cob, wrap it in a damp paper towel and microwave for 30 to 60 seconds (Silk Road Recipes). The yogurt coating softens further on reheating: acceptable, but not the same as fresh.
The smarter leftover move is to strip the kernels off the cob before storing. Off the cob, they work well as a grain bowl topping, stirred into a quick salad with cucumber and tomato, or folded into scrambled eggs. The flavors hold and the texture issue disappears entirely. To freeze, strip the kernels first and seal in an airtight bag for up to three months (Silk Road Recipes).
Which method to choose
- Grill (two-zone): Best char, juiciest kernels, most control. Worth the setup if you have a grill and 30 minutes.
- Grill (husks-on): Lower effort than two-zone, still produces good char and tender kernels. The move for a backyard cookout where you don't want to manage heat zones.
- Air fryer: Honest best choice for a weeknight. Consistent, fast, easy to repeat. Char is lighter but the result is still very good.
- Boil: No char, no real tradeoff on flavor from the yogurt-feta coating. Use this when time or equipment is the actual constraint, not as a preference.
Dry, chewy corn is the main failure mode across every method. Pull earlier than instinct says, and don't go back for more heat once the kernels are tender.


















Comments
Be the first, drop a comment!