



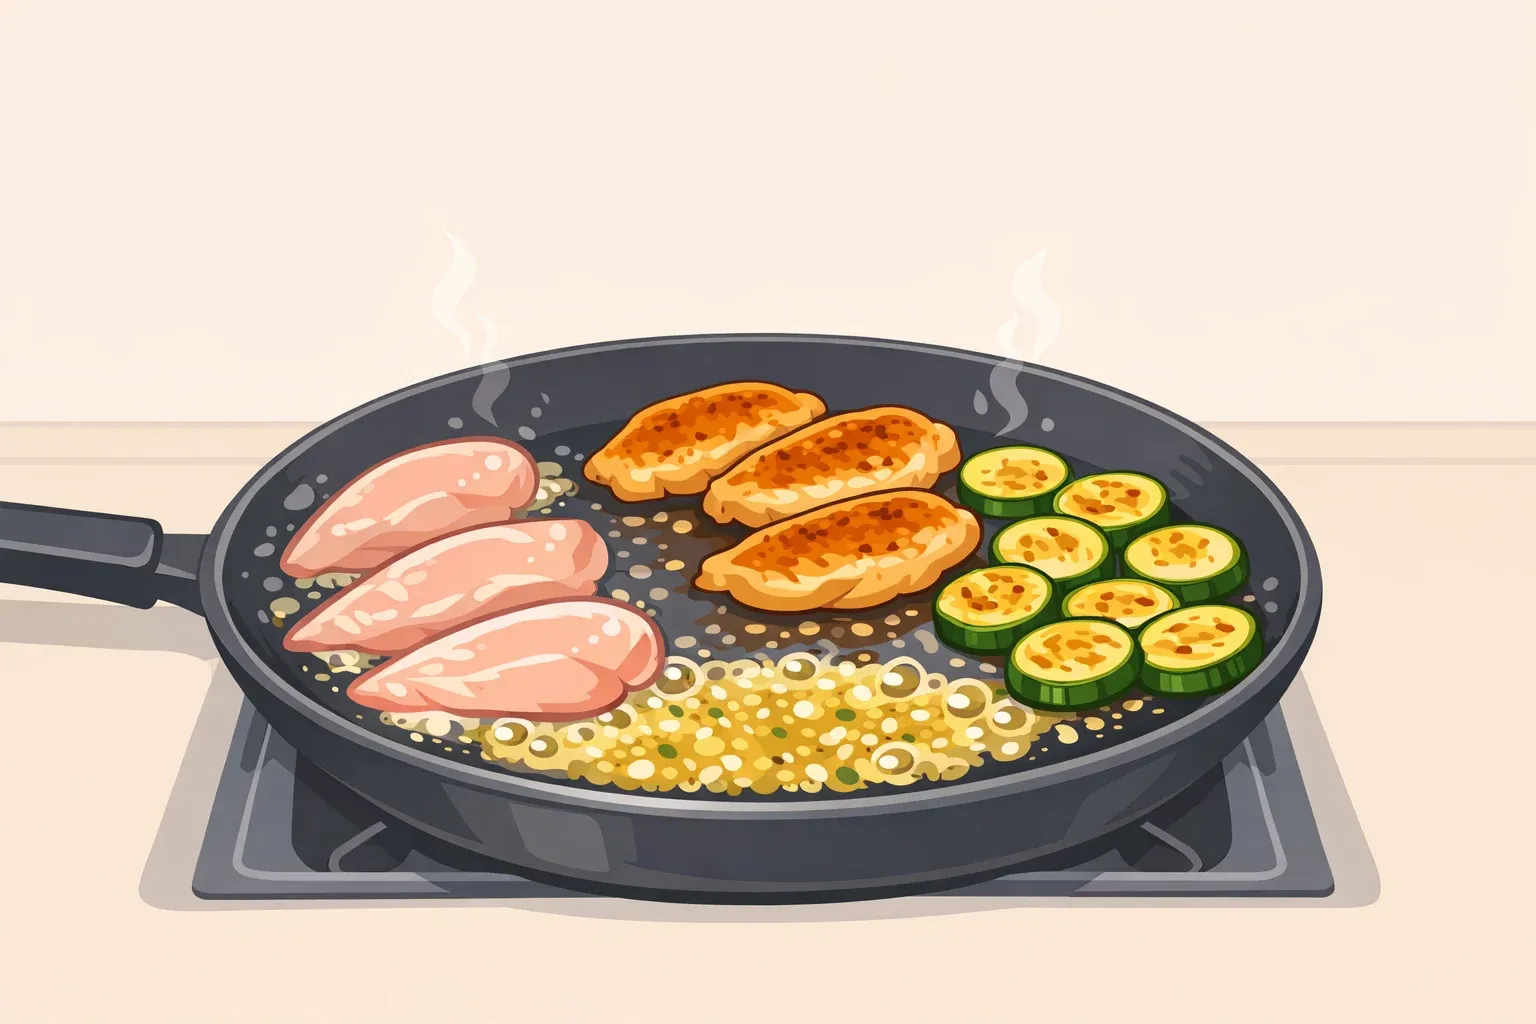
One-Pan garlic butter chicken and zucchini: the staged method that keeps zucchini from turning soggy
The reason most one-pan chicken and zucchini dishes disappoint has nothing to do with the chicken. It's the zucchini, a vegetable so high in water content that the wrong technique turns your hot skillet into a braising pot. What you wanted was color and texture. What you get is a gray puddle.
This guide walks through a garlic butter chicken and zucchini skillet built around one core principle: cook the components in stages so the chicken browns, the zucchini browns, and the sauce comes together last. The method takes under 30 minutes and works whether you prefer a classic butter sauce, a creamy garlic pan sauce, or a sweet-savory honey-soy glaze. Sauce choice lives in a short section near the end; the technique underneath all three is identical.
Multiple tested versions of this easy chicken zucchini skillet recipe clock in well under the half-hour mark. Delish calls their garlic butter version an under-30-minute weeknight dish, and EatingWell puts their creamy garlic variant at 25 minutes total. Both require only a skillet and stovetop. Before any of that matters, though, you need to understand why zucchini fails and the four decisions that fix it.
The four rules that prevent soggy zucchini
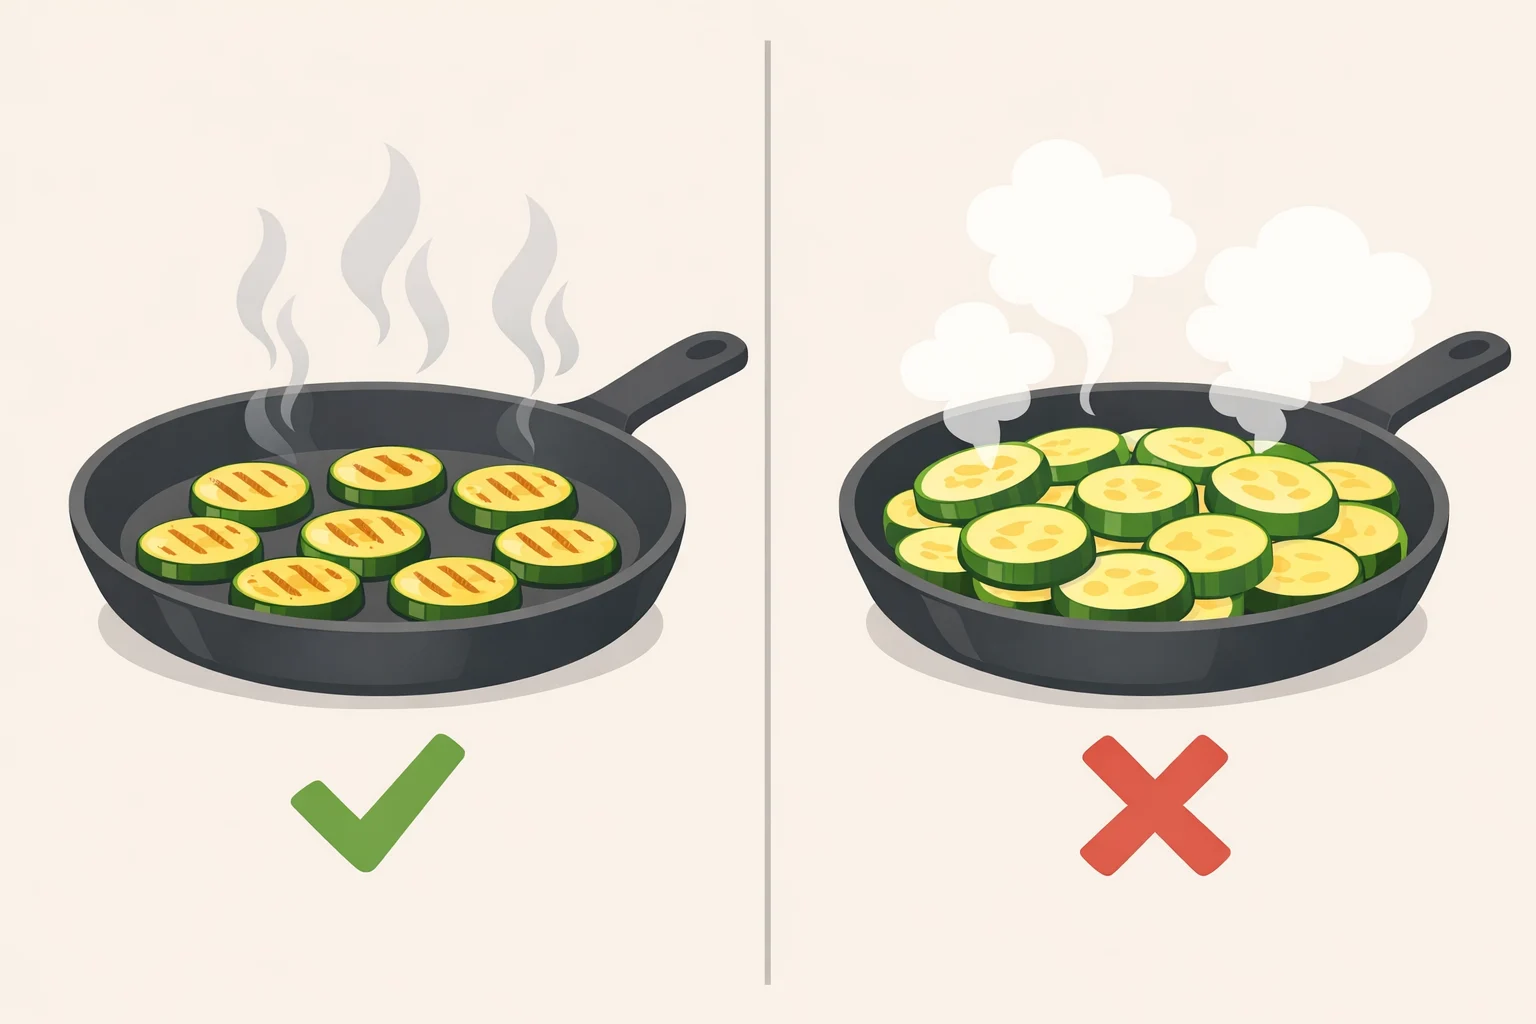
Crowding, early salting, constant stirring, and a pan that's too small all produce the same bad outcome: steam instead of sear. Knowing why each matters makes the method steps easier to follow correctly.
Rule 1: Use a large pan and don't crowd it. Zucchini needs surface contact with a hot pan, not contact with other zucchini. The Kitchn calls for a large cast-iron skillet or frying pan; anything smaller forces batching or crowding. When pieces compete for pan space, moisture has nowhere to go except up, and you end up steaming what you meant to sear.
Rule 2: Cut for browning, not convenience. Cut size determines how much surface area sits against the pan. The Kitchn quarters zucchini lengthwise then cuts crosswise into ½-inch pieces, a chunky wedge shape that keeps more flat surface in contact with the pan than thin rounds. Avoid large discs; they don't sit flat and cook unevenly. Choose small or medium zucchini, which The Kitchn notes carry more concentrated flavor than their more watery oversized counterparts.
Rule 3: Leave it alone once it's in the pan. The Kitchn is direct: cook zucchini undisturbed until it starts to brown on the bottom, about 1 minute, then toss and cook one minute more. Delish confirms the same logic: zucchini can only take on color if it remains in direct contact with the pan. Constant movement breaks that contact and traps steam.
Rule 4: Salt it last. Salt draws moisture out of zucchini fast. Through recipe testing, Delish found that holding salt until the final assembly step prevented the vegetable from releasing excess liquid into the pan mid-cook. Season the zucchini at the end, not before it goes in.
With the mechanics clear, gather everything before turning on the stove.
Ingredients and prep for one-pan garlic butter chicken and zucchini
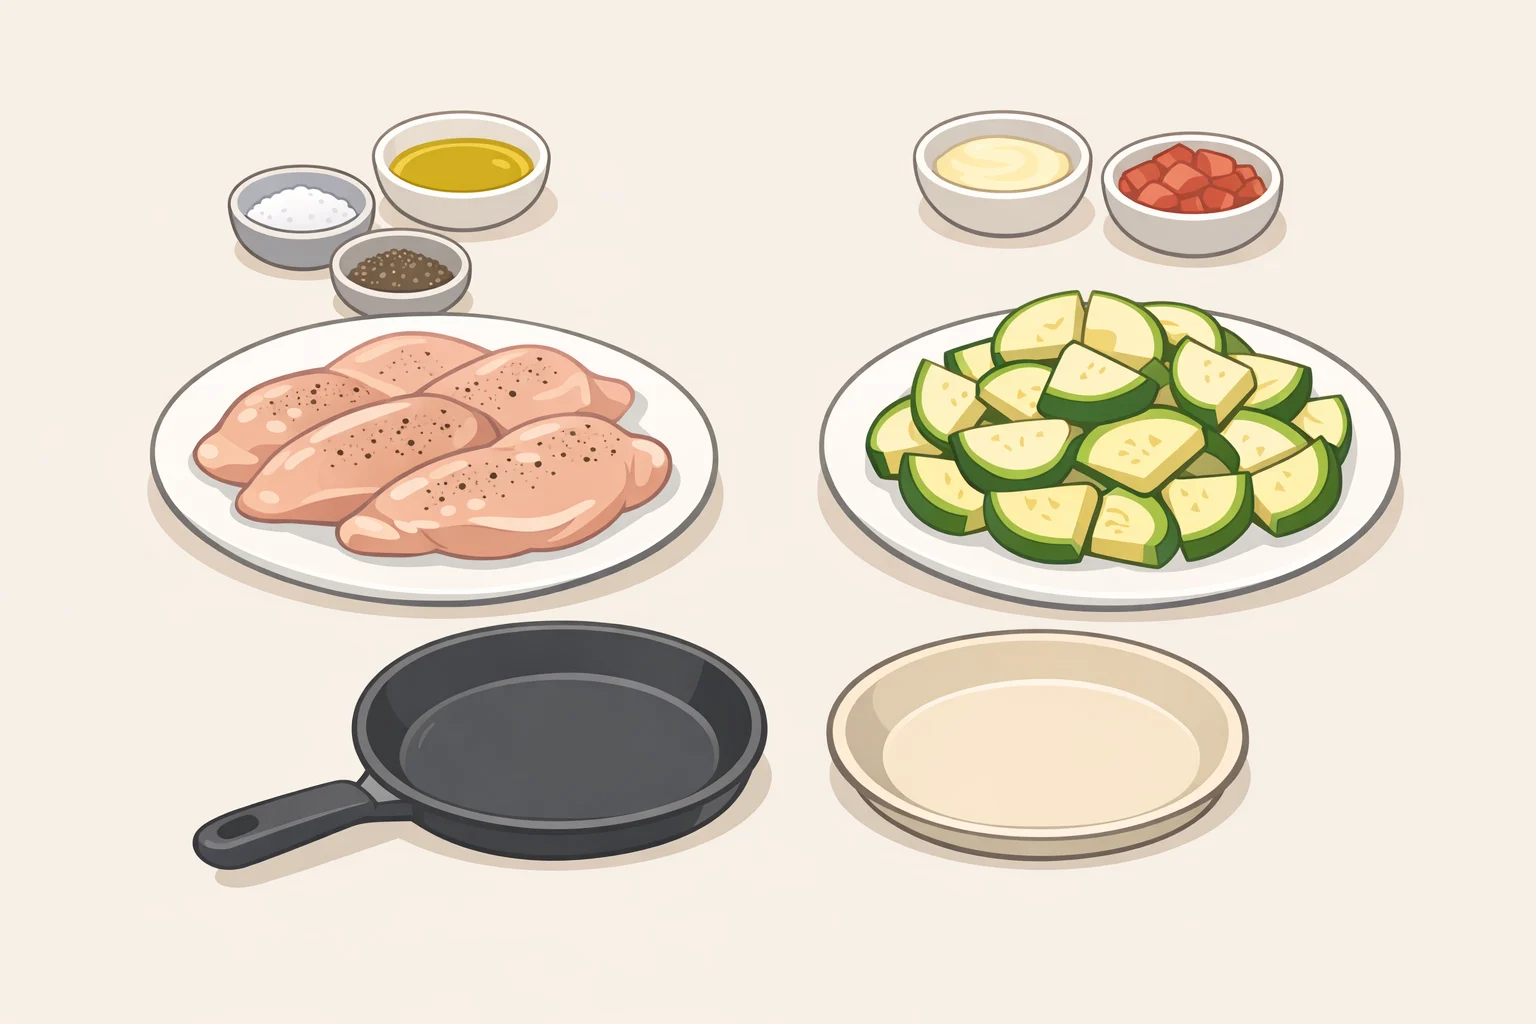
Base ingredients (serves 4):
- 1 lb boneless, skinless chicken, either as cutlets, thighs cut into 1-inch pieces, or breasts cut into 1-inch pieces
- 1 lb zucchini (roughly 3 medium), quartered lengthwise and cut crosswise into ½-inch pieces
- 3–4 cloves garlic, minced or thinly sliced
- 2–3 tablespoons butter
- Olive or neutral oil for searing
- Salt and black pepper, held back for the zucchini until the end
- Optional: garlic powder for the chicken, crushed red pepper for heat
Pat the chicken completely dry with paper towels before seasoning. EatingWell notes that this step is essential for achieving a proper golden-brown sear; surface moisture causes chicken to steam before it can brown, and no amount of high heat recovers that lost opportunity once the protein hits the pan.
Cutlets vs. thigh pieces: These behave differently. Cutlets are thin and cook quickly, often finishing in 4–5 minutes per side. Thigh pieces cut to 1 inch are more forgiving of a few extra seconds over heat. Breast pieces at the same size may need a minute or two longer during browning than thighs, as The Kitchn notes. Whatever cut you use, keep pieces uniform so they cook at the same rate.
If making the honey-soy sauce variation, mix it now. Whisk together ¼ cup honey, 3 tablespoons water, 2 tablespoons soy sauce, 2 teaspoons rice vinegar, and 2 teaspoons cornstarch until the cornstarch is fully suspended, then set it aside. The Kitchn notes this sauce can be made up to 2 days ahead and refrigerated; bring it to room temperature and re-whisk before using.
How to cook it: the staged method
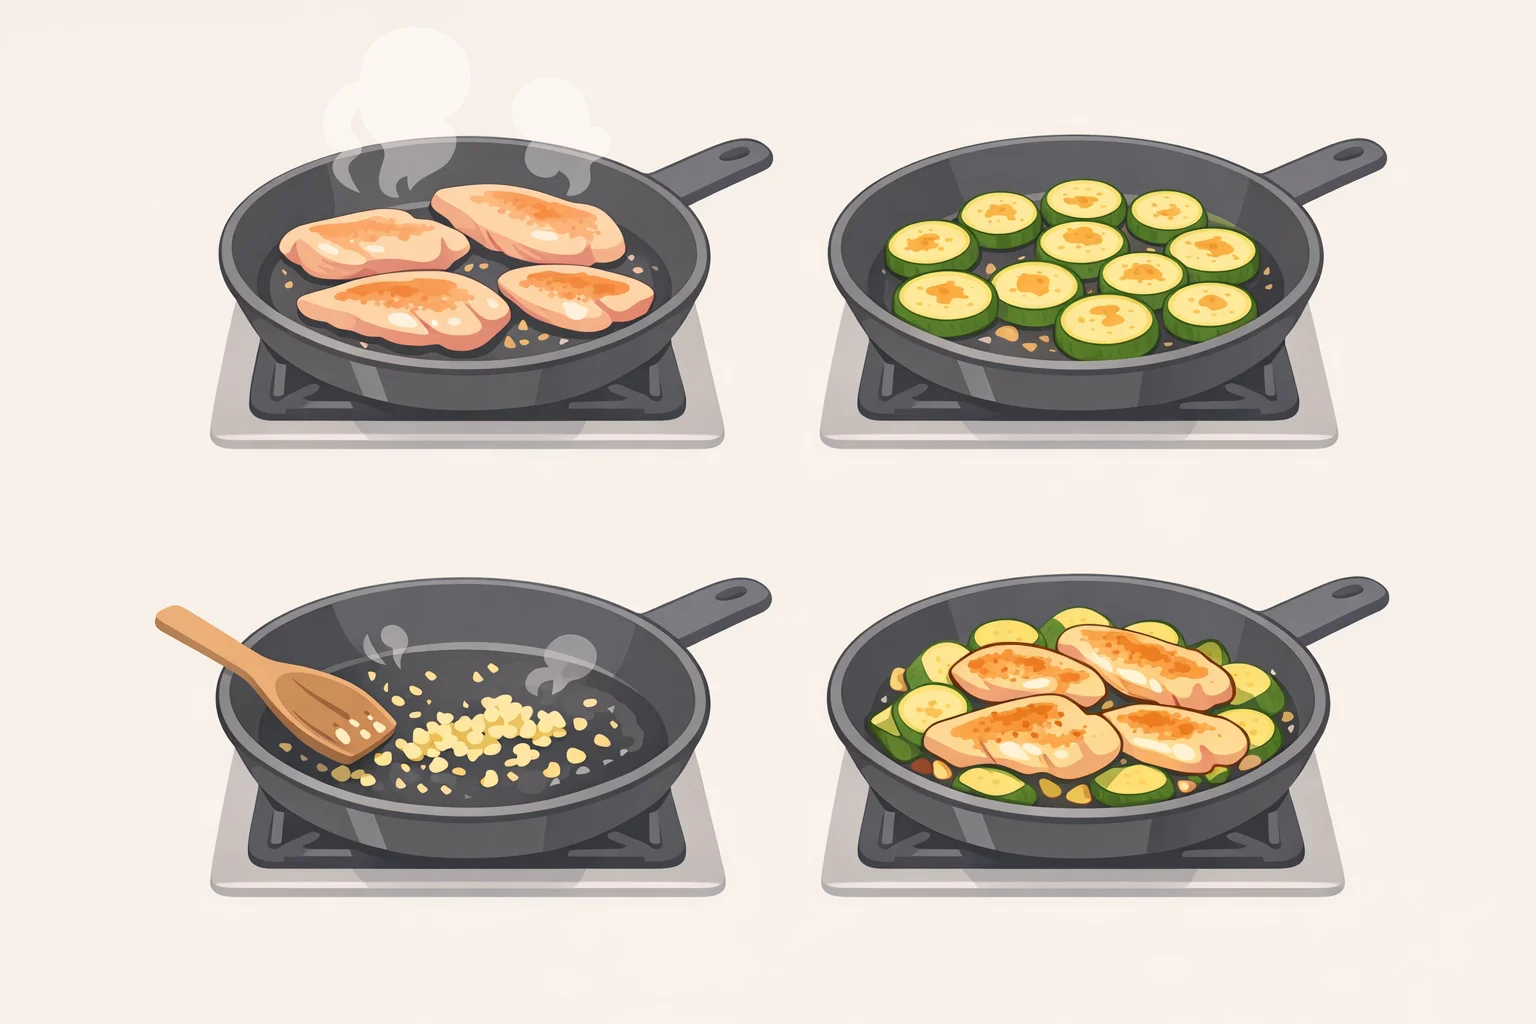
Step 1: Sear the chicken. Heat 1 tablespoon of oil in your skillet over medium-high until shimmering. Add chicken in a single layer, working in batches if needed to avoid crowding. For 1-inch thigh pieces, The Kitchn puts browning time at 8 to 10 minutes total. The goal is color and a head start on doneness, not full cook-through. Transfer to a plate and set aside.
⚠️ Gotcha on temperature: The chicken will finish cooking when it returns to the pan in Step 4. The Kitchn is explicit that the chicken may not be cooked through after this initial sear, and that's expected. The target is 165°F internal temperature, which EatingWell confirms as the standard for fully cooked chicken, reached at the end of the recipe.
Step 2: Brown the zucchini. Add a drizzle more oil to the same pan. Spread zucchini in a single even layer; do not stack pieces, do not salt it. Wait for the oil to shimmer before adding the zucchini if you're not sure the pan is hot enough. Leave it undisturbed for about 1 minute until the bottom starts to color, then toss and cook 1 minute more.
- Liquid pooling in the pan: The pan isn't hot enough, the pieces are too crowded, or both. Remove half the zucchini, raise the heat, and let the standing liquid cook off before continuing. Browning through pooled liquid won't work.
- Scorching: Reduce heat slightly and check that pieces aren't too thin. Thin slices have less mass to absorb heat and cook faster than the ½-inch cut.
- Chicken sticking to the pan in Step 1: It needs more time. A properly seared piece releases on its own when the crust forms. Forcing it off tears the meat and pulls the crust with it.
Step 3: Add garlic and build the sauce base. Push zucchini to the edges or keep it in the pan. Add minced garlic and cook about 30 seconds until fragrant. Add butter and let it melt, tilting the pan to coat. This is your sauce base. For variations beyond classic garlic butter, see the next section.
Step 4: Return the chicken and finish. Add the chicken back to the pan, along with every drop of juice that collected on the resting plate. Both The Kitchn and EatingWell call this out specifically: those accumulated juices belong in the sauce. Toss to coat and cook 1–2 minutes until the chicken is cooked through. Salt and pepper the zucchini now. Serve immediately.
Sauce variations: three directions, same method

The staging above is identical regardless of which sauce you choose. What changes is what goes into the pan after the garlic is fragrant in Step 3.
Classic garlic butter: Melt 2–3 tablespoons of butter with the garlic and finish with a squeeze of lemon or lime. Rich, fast, and minimal on pantry demands, this is the version closest to the dish's name.
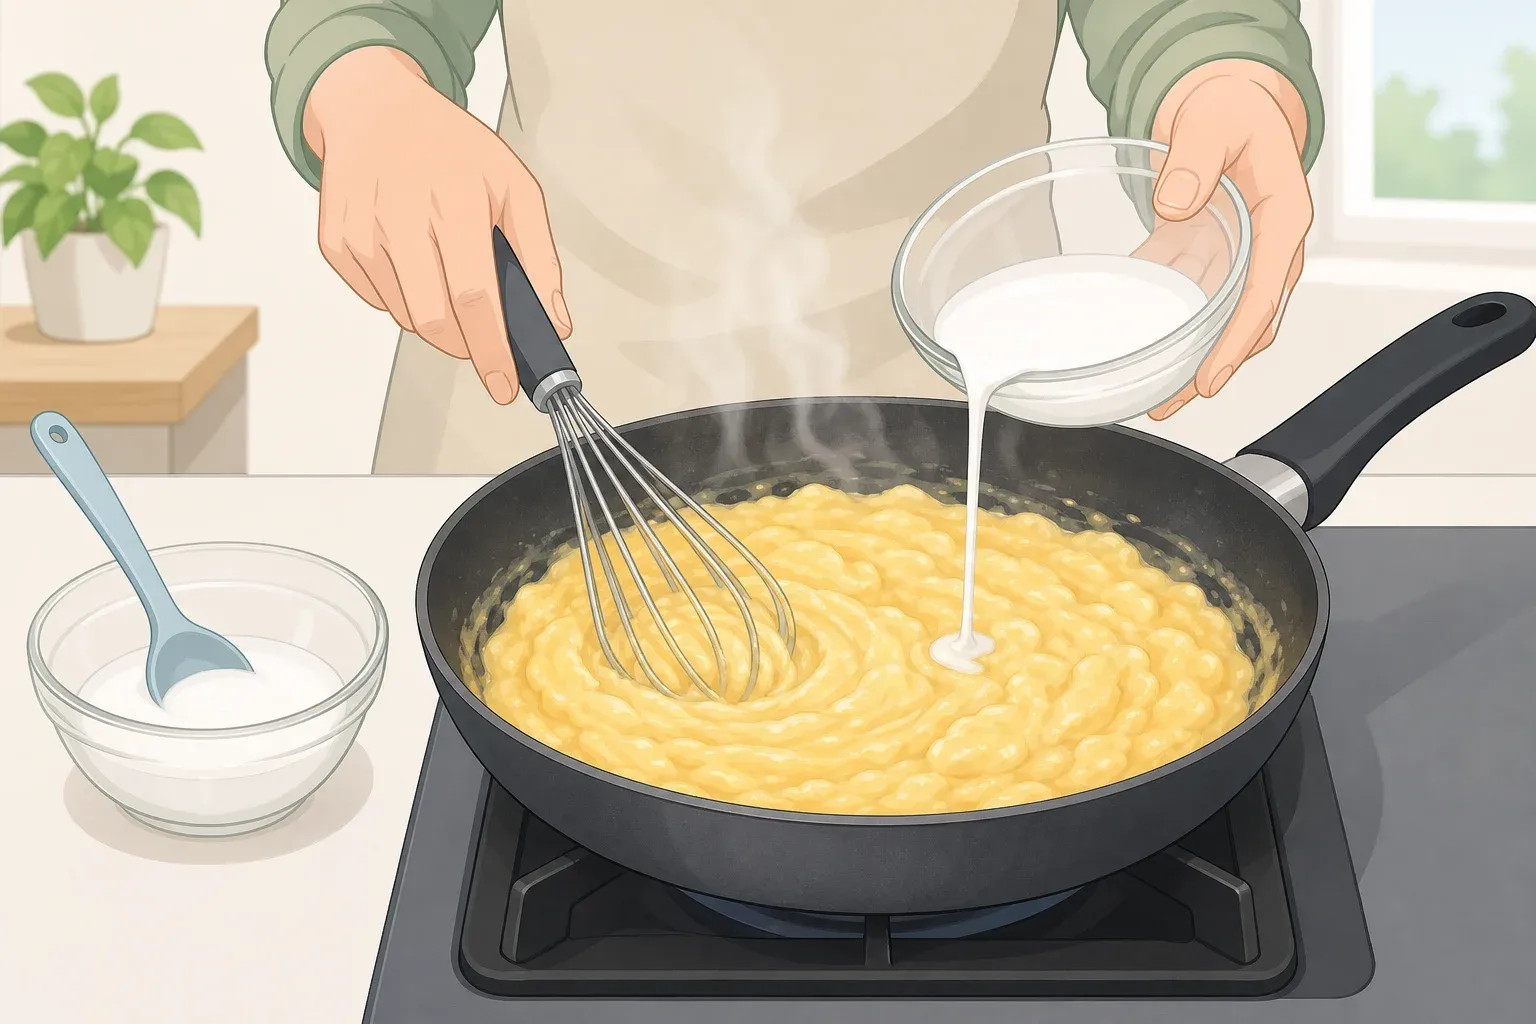
Creamy garlic: After the garlic, add a thinly sliced shallot and cook briefly, then deglaze with ⅓ cup unsalted chicken broth. Reduce by half, then stir in ½ cup of warmed half-and-half. EatingWell uses half-and-half specifically because it produces a lighter, glossier sauce than heavy cream, and stresses that the dairy must be warmed before it hits the pan to prevent splitting. Swirl in 1–2 tablespoons of cold butter at the end for additional body. Serve with crusty bread or whole grains to catch the sauce.
Honey-soy garlic: Pour in the pre-mixed sauce after the garlic step and cook 1–2 minutes, stirring, until it thickens. The Kitchn notes that honey does double duty, sweetening the sauce and contributing to its thicker texture, and that hot honey is a straightforward swap for heat. Use tamari instead of soy sauce for a gluten-free version. This one is salty, sweet, and acidic enough that it doesn't need a side sauce or a squeeze of citrus to feel complete.
The garlic butter version works on its own or over rice. The creamy version needs something on the side to soak up the sauce. The honey-soy is the most pantry-dependent but the most self-contained.
What to serve, how to scale, and what to do with leftovers
Scaling: The base recipe serves 4. To scale down to 2, halve everything but keep the pan size. A crowded pan is the main failure mode here, and a half-batch in a 12-inch skillet still benefits from the space. Scaling up to 6 means working in batches for both the chicken and zucchini steps, then finishing everything together in Step 4.
Substitutions that hold: Yellow summer squash works in place of zucchini. The Kitchn specifies cutting it into ¾-inch pieces rather than the ½-inch pieces used for zucchini, accounting for how summer squash cooks. Everything else in the method stays the same.
Storage: Leftovers keep up to 3 days refrigerated in an airtight container, per both Delish and EatingWell. The honey-soy version from The Kitchn keeps up to 4 days. Store everything together, sauce included, so the chicken reheats with moisture rather than drying out. Skip the freezer for the creamy variation; EatingWell advises against it because cream-based sauces tend to separate when frozen and reheated.
One method, many applications
Once the staged approach clicks, it transfers. Any quick-cooking vegetable that suffers when crowded, think asparagus, green beans, or thinly sliced bell pepper, responds to the same logic: hot pan, single layer, leave it alone, season last. The one-pan garlic butter chicken and zucchini skillet is a useful place to learn it because zucchini is unforgiving enough to show you exactly when you've gone wrong, and forgiving enough that the fix is usually just more heat and more space.
The sauce variations take the same four steps and the same amount of time. Once the base version is comfortable, swapping sauces becomes a question of what's in the pantry, not a matter of relearning the recipe.














Comments
Be the first, drop a comment!