




How to poach chicken breast without drying it out
Chicken breast dries out for one reason: too much heat, for too long. This guide covers the fix a simmer-then-off-heat method that uses residual cooking to finish the job gently. Bring the liquid just to a simmer, flip the chicken, pull the pot off the burner, cover it, and leave it alone. Under 20 minutes of active time, one pot, and chicken that actually tastes like something.
What you'll need: Two boneless, skinless chicken breasts (roughly 450–600g total, ideally similar in thickness), a medium saucepan with a tight-fitting lid, and an instant-read thermometer.
Why this method keeps chicken breast juicy
Chicken breast has almost no fat to buffer it against heat. Ten extra degrees at the wrong moment produces a meaningfully different result, and not a better one, as ThermoWorks noted earlier this month. Off-heat poaching keeps the cooking environment gentle enough that moisture stays in the meat rather than being driven out of it.
Grilling and searing expose the exterior to intense direct heat and cook inward from the outside. Poaching doesn't. Submerged in liquid and cooked well below boiling, the breast heats evenly from edge to center, as Bon Appétit described earlier this year.
The off-heat phase isn't passive waiting. It is the actual cooking. The covered pot traps the stored thermal energy of the hot liquid and delivers it slowly and evenly. That's why Bon Appétit is unequivocal about one rule: don't let the water boil, because boiled chicken is stringy and tough. The goal is a liquid that barely moves.
The research supports the principle. A 2025 Foods study found that optimized sous-vide cooking at 55°C for three hours reduced cooking loss to 11.47%, while a more aggressive high-heat phase in the same experiment pushed cooking loss to 20.5%, suggesting excessive heat may negatively affect moisture retention regardless of method. The stovetop off-heat approach is not identical to sous-vide, but the underlying dynamic holds. Cooking loss is also the most sensitive quality indicator during chicken breast cooking, and the time required to meet safety standards can outlast the window for peak texture, according to research published in late 2024. Off-heat poaching threads that needle by shortening thermal exposure while still reaching a safe internal temperature.
How to poach chicken breast: step by step
Step 1: Season the liquid, then add the chicken
Place the chicken breasts in a single layer in a saucepan. Add enough cold liquid to submerge them by about an inch roughly 4 cups for two average breasts, plus about 2 cups more per additional breast (Bon Appétit, earlier this year).
Now salt it aggressively. Bon Appétit calls for 3 Tbsp Diamond Crystal or 3½ tsp Morton kosher salt per 4 cups of liquid. The brine should taste assertively salty on its own that's what seasons the meat from the inside during cooking. Skipping this step, or halving it because it feels like too much, is the most common reason poached chicken tastes like nothing.
Water works fine as the base. Stock, milk, white wine, apple cider, or a combination are all legitimate upgrades. For more aromatic depth, add smashed garlic cloves, a bay leaf, a few peppercorns, or fresh thyme sprigs now (Bon Appétit, earlier this year).
Thickness matters. If one breast is significantly thicker than the other, it will finish later, or not at all within the same time window. Pound the thicker breast lightly with a heavy pan or meat mallet before it goes in.
Step 2: Bring to a bare simmer, then take the pot off the heat
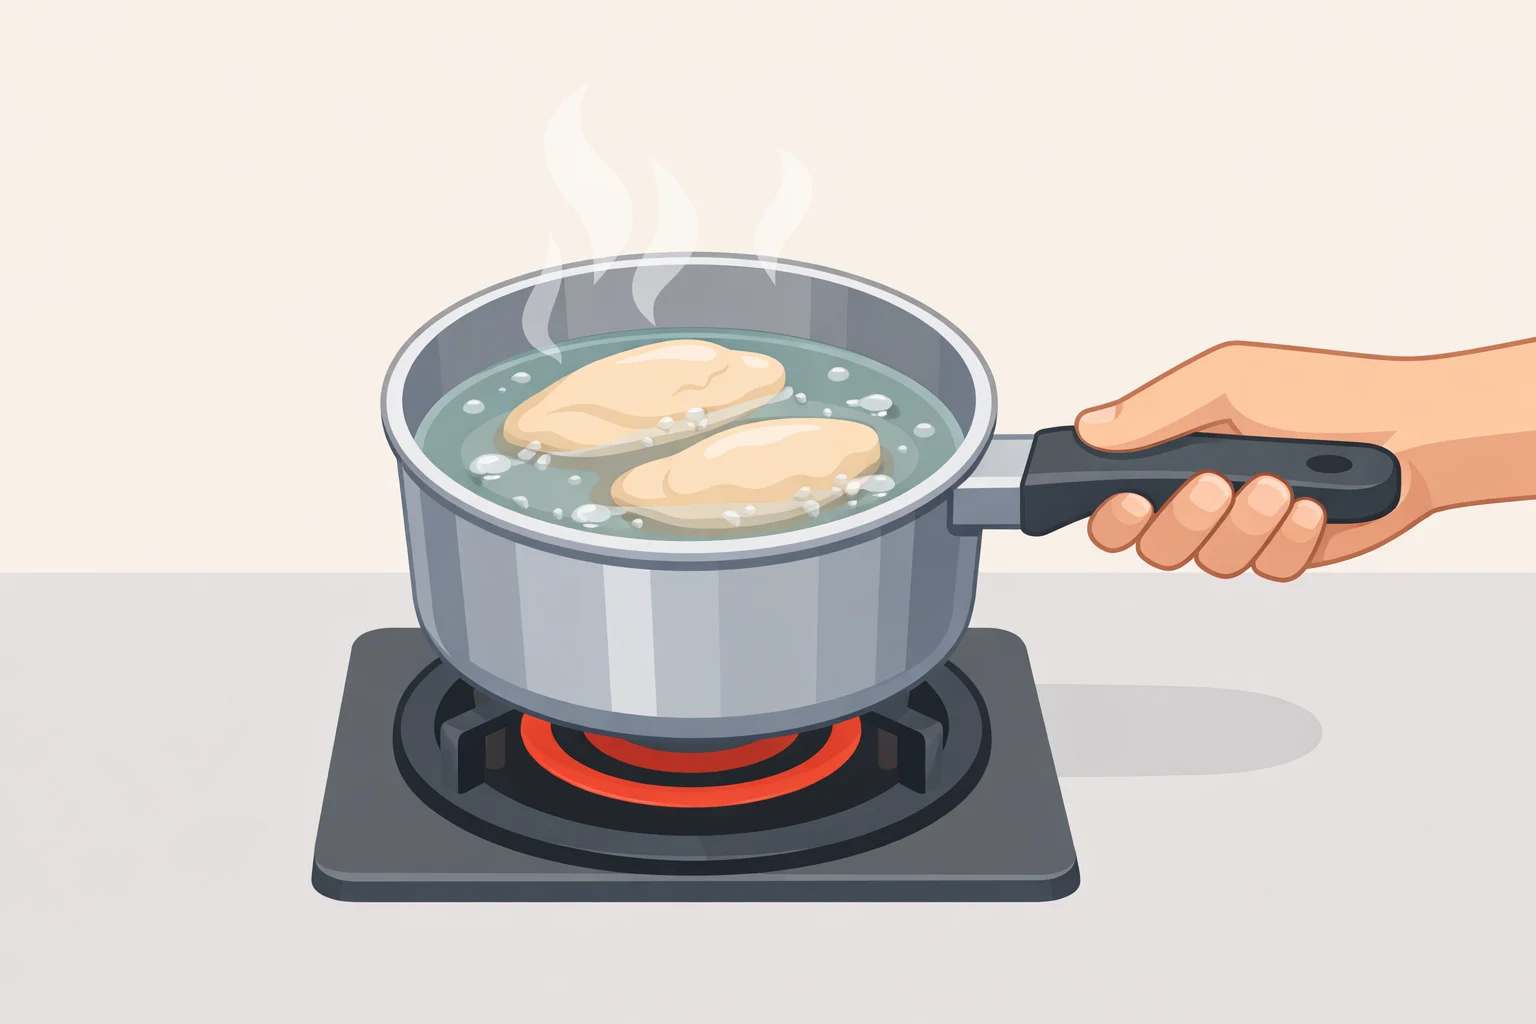
Set the pot over medium heat and bring the liquid up slowly. Watch for the first small bubbles to break the surface. The moment that happens, flip the chicken once with tongs, remove the pot from the burner entirely, and cover with a tight-fitting lid.
That's the end of active cooking. The chicken finishes in the residual heat of the liquid. Do not lift the lid every time you do, you lose the heat the chicken needs to finish.
Step 3: Check the temperature at 5–10 minutes
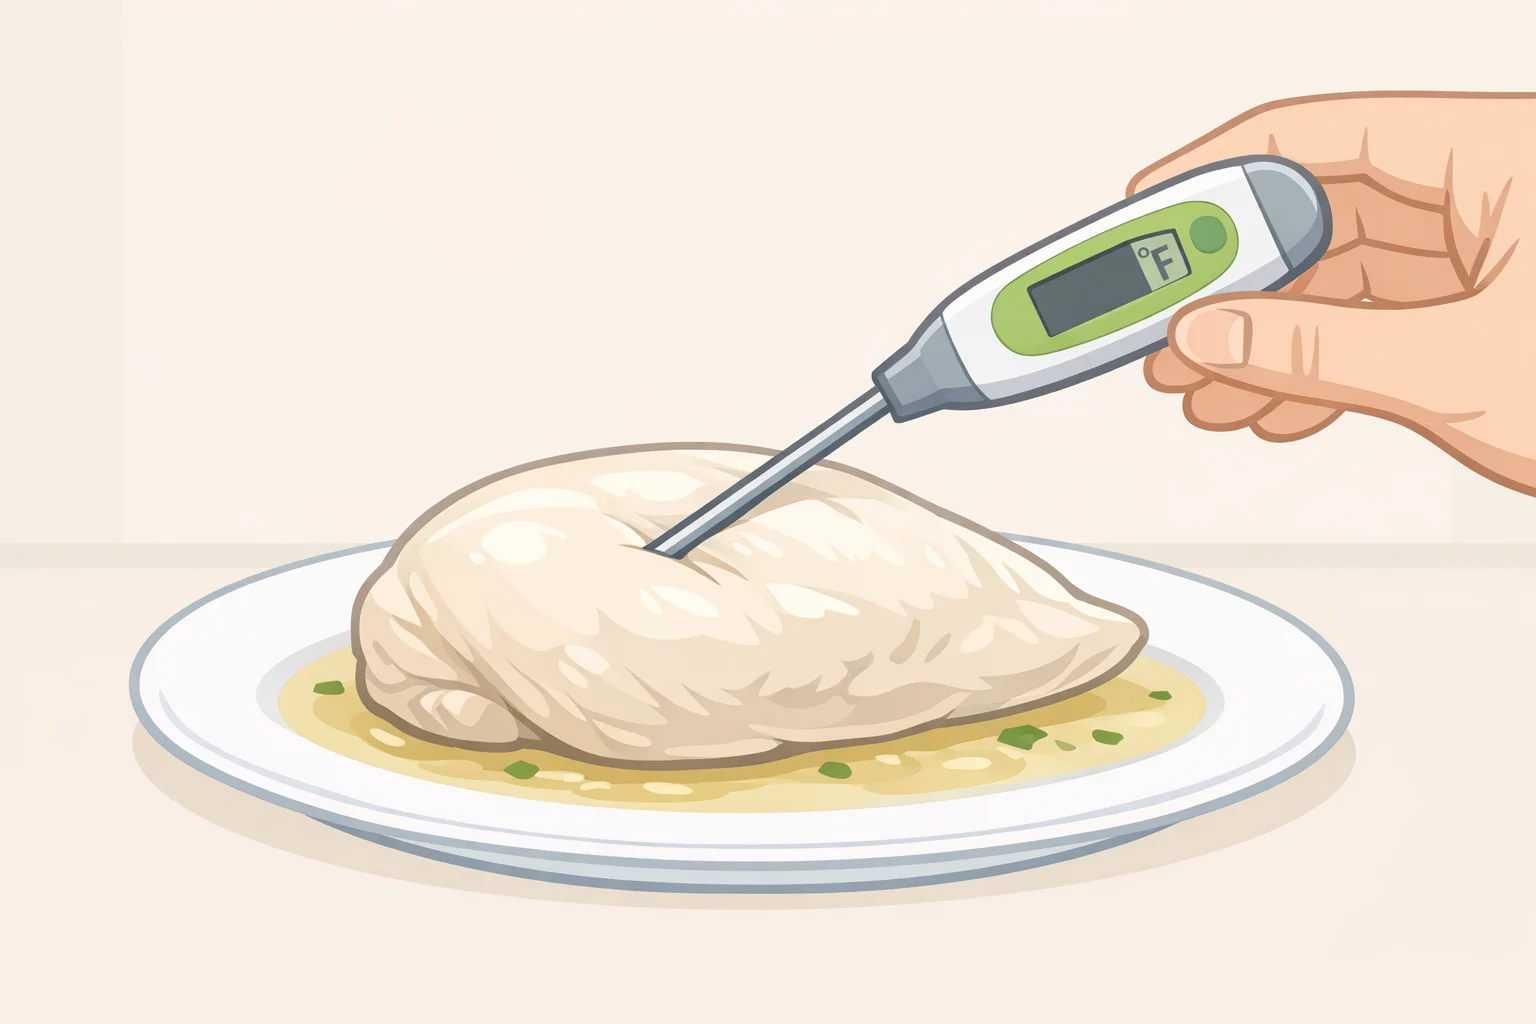
Timing depends on breast size. Smaller breasts may be ready closer to 5 minutes; larger ones usually need the full 10 (Bon Appétit, earlier this year). Insert an instant-read thermometer into the thickest part of the breast and use the reading to decide what to do next.
For most home cooks: pull at 165°F. At that temperature, pathogens like Salmonella are killed essentially instantaneously, with no holding time required (ThermoWorks, earlier this month). The USDA maintains 165°F as its standard recommendation, and it's the right default for anyone cooking for someone immunocompromised, pregnant, elderly, or very young.
For experienced cooks with a reliable thermometer: pull at 155°F and hold for 2–3 minutes at or above that temperature. ThermoWorks' in-house testing found that chicken cooked to 165°F lost twice as much water as chicken held at 155°F for 50 seconds a measurable difference in texture (ThermoWorks, earlier this month). Holding at or above 155°F for just 46 seconds achieves the same pathogen reduction as hitting 165°F instantly; a 2–3 minute rest builds in a real safety buffer. The condition is strict: the lowest internal temperature has to stay at or above 155°F throughout the rest. If you can't confirm that with an accurate thermometer, cook to 165°F.
If the chicken isn't there yet: Cover the pot and check every 3–4 minutes. If the liquid has cooled too much to be useful, return it briefly to medium heat until you see the first simmer, then take it off the burner and cover again.
Don't use color to judge doneness. A faint pink blush inside is normal and can result from myoglobin, pH, or the cooking method itself not from undercooking (ThermoWorks, earlier this month; Bon Appétit, earlier this year). The thermometer is the only number that matters.
Step 4: Rest, then slice
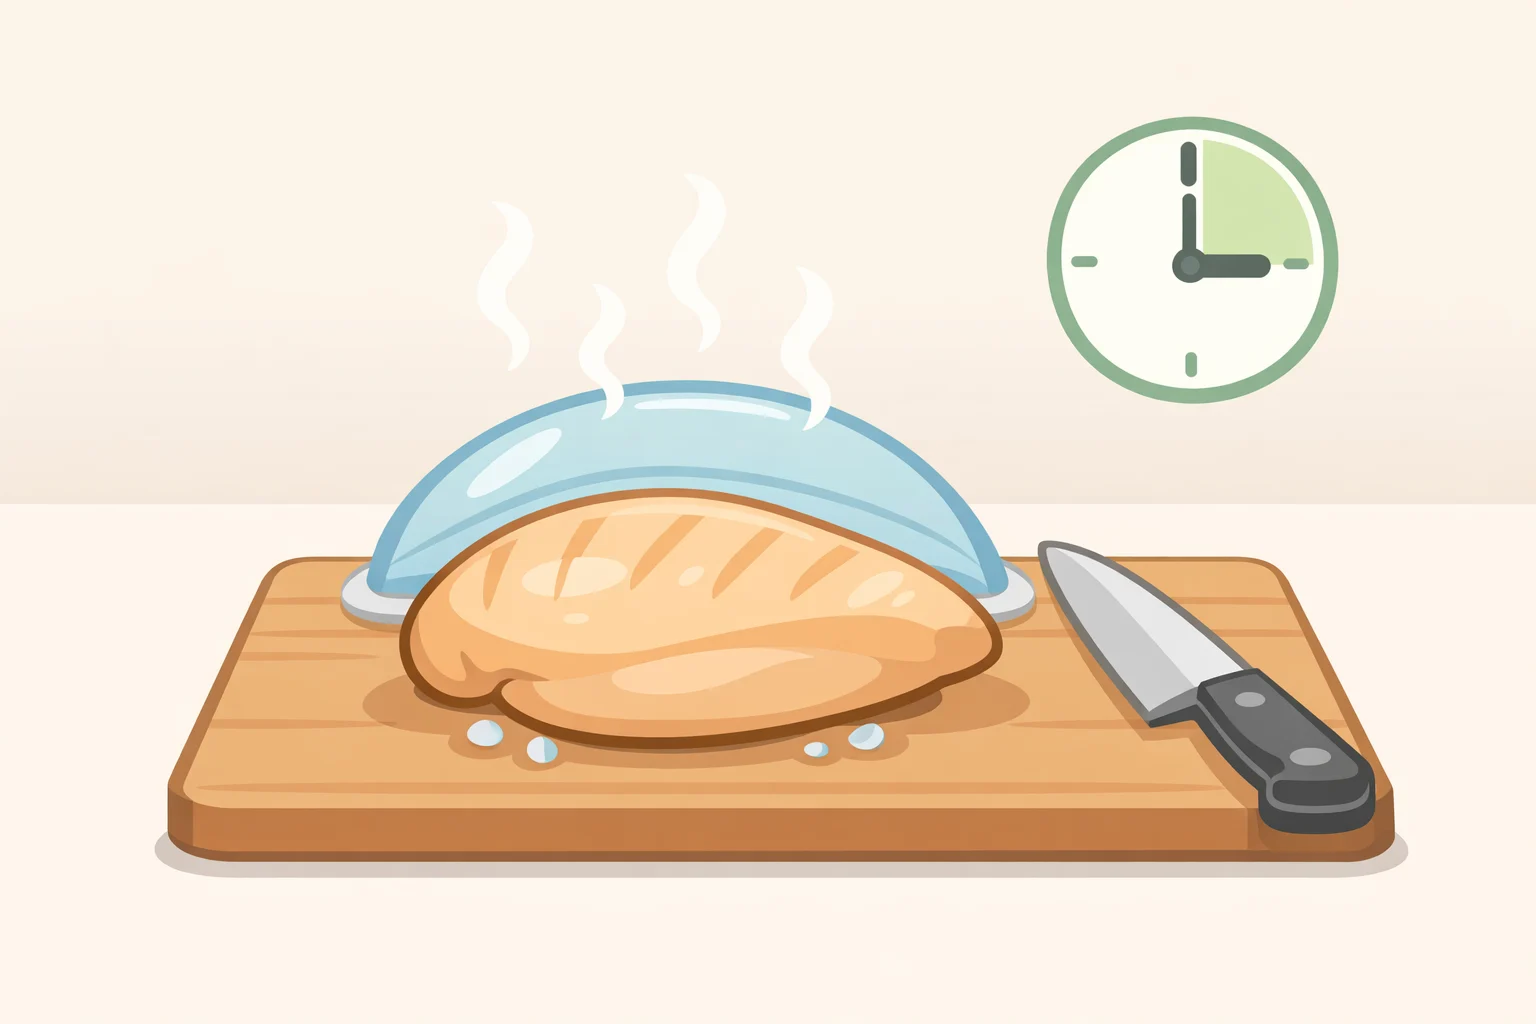
Transfer the chicken to a cutting board and let it rest uncovered for at least 5 minutes before cutting (Bon Appétit, earlier this year). Slicing immediately forces the internal moisture out onto the board. The rest gives it time to redistribute which is the whole point of everything you just did.
Total active time: 10–20 minutes, including setup and monitoring.
Three mistakes that produce dry chicken
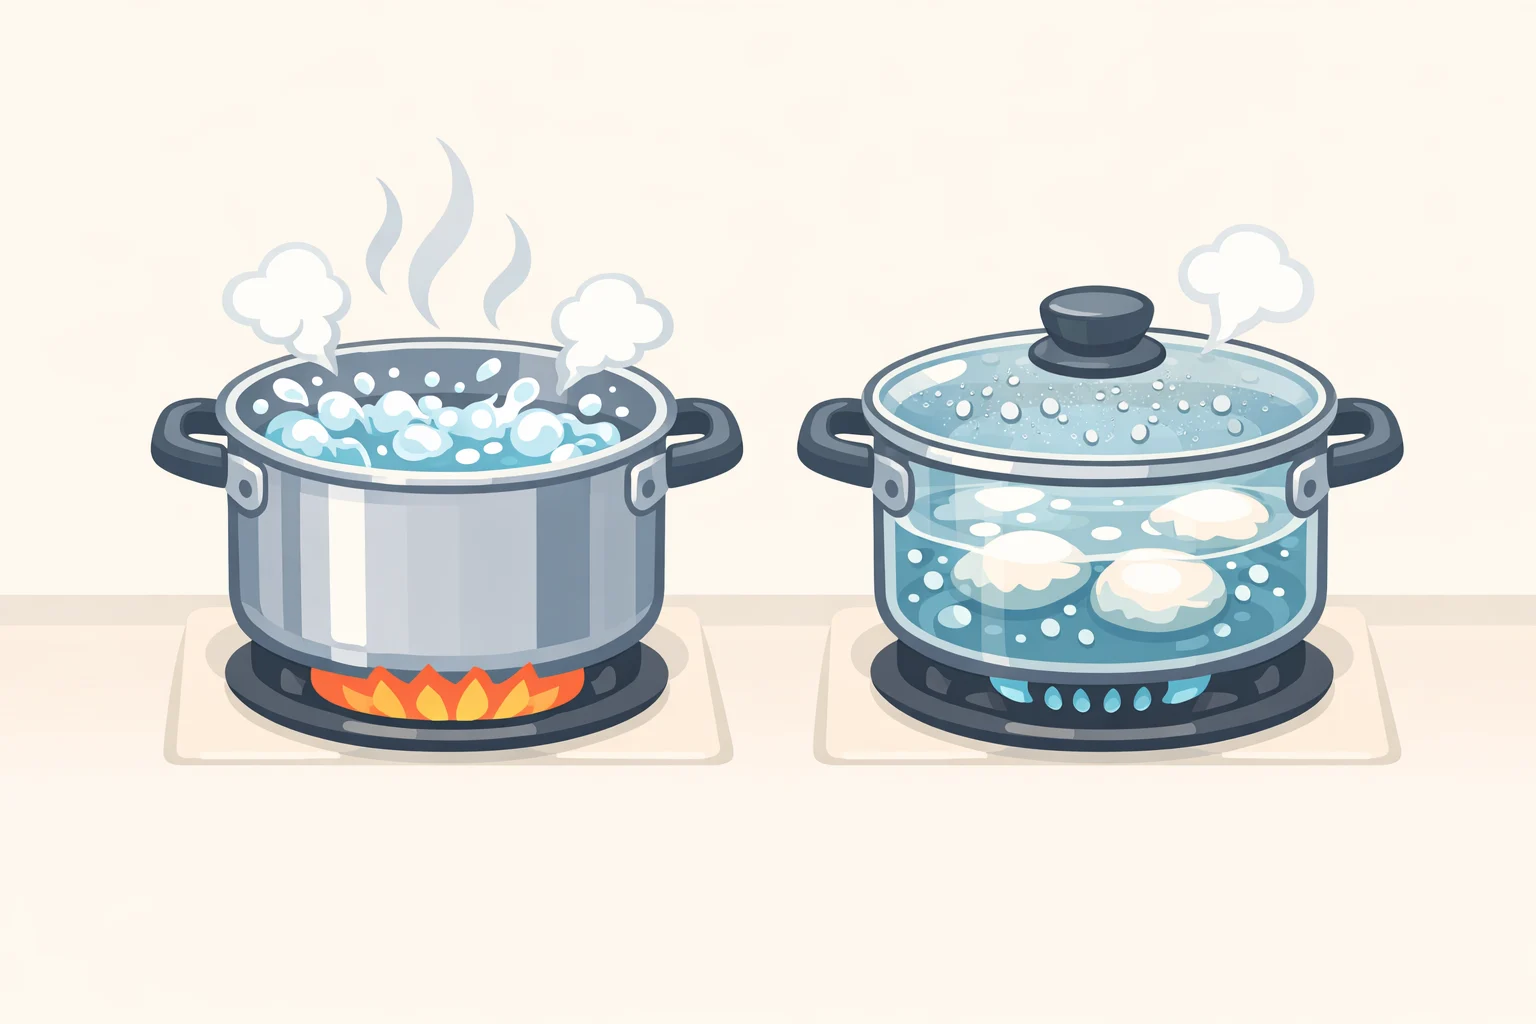
Letting the liquid boil at any point
The method calls for one simmer, then the heat cuts off. A rolling boil generates enough heat and agitation to tighten muscle fibers and force moisture out of the meat. If that happens at any point even briefly reduce or remove the heat immediately (Bon Appétit, earlier this year).
Underseasoning the liquid
Salt in the poaching liquid is not optional flavoring. It's the primary mechanism by which flavor reaches the meat. Lightly salted water produces chicken that may be moist in texture but flat in taste. Sauce can mask that; it can't fix it. Season more aggressively than feels comfortable (Bon Appétit, earlier this year; Chef Chris Cho, this week).
Cutting too soon
The five-minute rest isn't about cooling the chicken. It's about letting the internal moisture redistribute before the meat is opened up. Skip it and you'll watch the juices pool on the cutting board rather than staying in the breast (Bon Appétit, earlier this year).
Storage and what to do with it
Poached chicken is particularly well suited to cold applications. Slice it over salads, pull it into chicken salad, layer it in sandwiches, or portion it into grain bowls. It also works in soups where you want tender chicken without the texture that comes from simmering directly in broth. Stored in an airtight container, it keeps for up to two days in the refrigerator (Bon Appétit, earlier this year; Chef Chris Cho, this week).
Where this technique earns its place is batch cooking. Cook two breasts at the start of the week and you have a versatile, already-seasoned protein ready for whatever comes up no reheating required for cold applications, and the gentle cooking means it won't taste worse on day two. Where it doesn't belong is anywhere you want browning, crust, or rendered fat. This is not the technique for a pan sauce or a dinner centerpiece. It's for meal prep and cold plates, and for those purposes it's hard to beat.
The two decisions that determine whether it works: season the liquid aggressively, and use a thermometer. Get those right, and the method handles the rest.











Comments
Be the first, drop a comment!