




Cornell Chicken Recipe: Sauce, Coal Setup, and Technique
This guide walks you through making Cornell chicken from scratch: the emulsified basting sauce, the coal setup, the turning schedule, and the doneness test. By the end, you'll understand not just what to do but why the sequence matters. Prerequisites: a charcoal grill, chicken halves or bone-in pieces, a basting brush, and roughly an hour of active cook time.
Cornell chicken is an upstate New York BBQ chicken tradition built around an unusual basting sauce of egg, vegetable oil, apple cider vinegar, salt, and poultry seasoning. Dr. Robert C. Baker, Professor Emeritus of Animal Sciences at Cornell's College of Agriculture and Life Sciences, developed the formula in 1950 and published it through Cornell Cooperative Extension (Cornell eCommons). The recipe has survived roughly 75 years with one adjustment: Baker later reduced the salt as Americans grew more conscious of sodium (Cornell Alumni). Everything else is unchanged.
Is it the oldest BBQ recipe? No. Barbecued meats appeared regularly at Virginia gatherings as early as the 17th century, and the tradition runs much deeper than that (Southern Foodways Alliance). That's not the interesting claim. The interesting claim is that this specific method still produces reliable results at scale, for a crowd, over charcoal, the same way Baker designed it.
Why this method is worth understanding before you start
Baker didn't develop this recipe for backyard experimentation. He used it at the "Chicken Coop," his stand at the New York State Fair, where it had to perform on hundreds of sequential halves under fairground conditions (Cornell eCommons). That kind of volume testing builds something into a formula that no single-batch recipe can claim: genuine repeatability. A method that held up at a state fair stand is not going to fall apart on a home grill.
The sauce itself is structurally different from a conventional grilling preparation. Beating the egg before adding oil creates an emulsion, a basting liquid that clings to the chicken across multiple applications rather than running off the skin. That layering behavior is the mechanism the whole method depends on.
One clarification before the steps: Baker's original instructions treat this as a basting sauce applied repeatedly throughout the cook, not a marinade (Cornell Alumni). Some current sources describe it the other way. Baker's own published method is clear on this point, and the distinction matters because repeated application over coal heat is what builds the layered surface the recipe produces. Soaking the chicken beforehand is a different technique that skips that process entirely.
The same Cornell Cooperative Extension pamphlet extends the approach to turkey, pork, and fish, and includes construction plans for both a backyard cinder block pit and the larger collapsible metal pits used at the state fair (Cornell eCommons). Baker built a system. The chicken is the entry point.
Cornell chicken recipe: ingredients and quantities
Basting sauce (yields enough for approximately 10 chicken halves):
- 1 egg
- 1 cup vegetable oil
- 2 cups apple cider vinegar
- 3 tablespoons salt (Baker's reduced-sodium version)
- 1 tablespoon poultry seasoning
Source: Cornell Alumni, based on Baker's original formula
A note on poultry seasoning: standard commercial blends (sage, thyme, marjoram, rosemary) all work. The recipe doesn't specify a brand, so use what you have.
How to make Cornell chicken on a charcoal grill
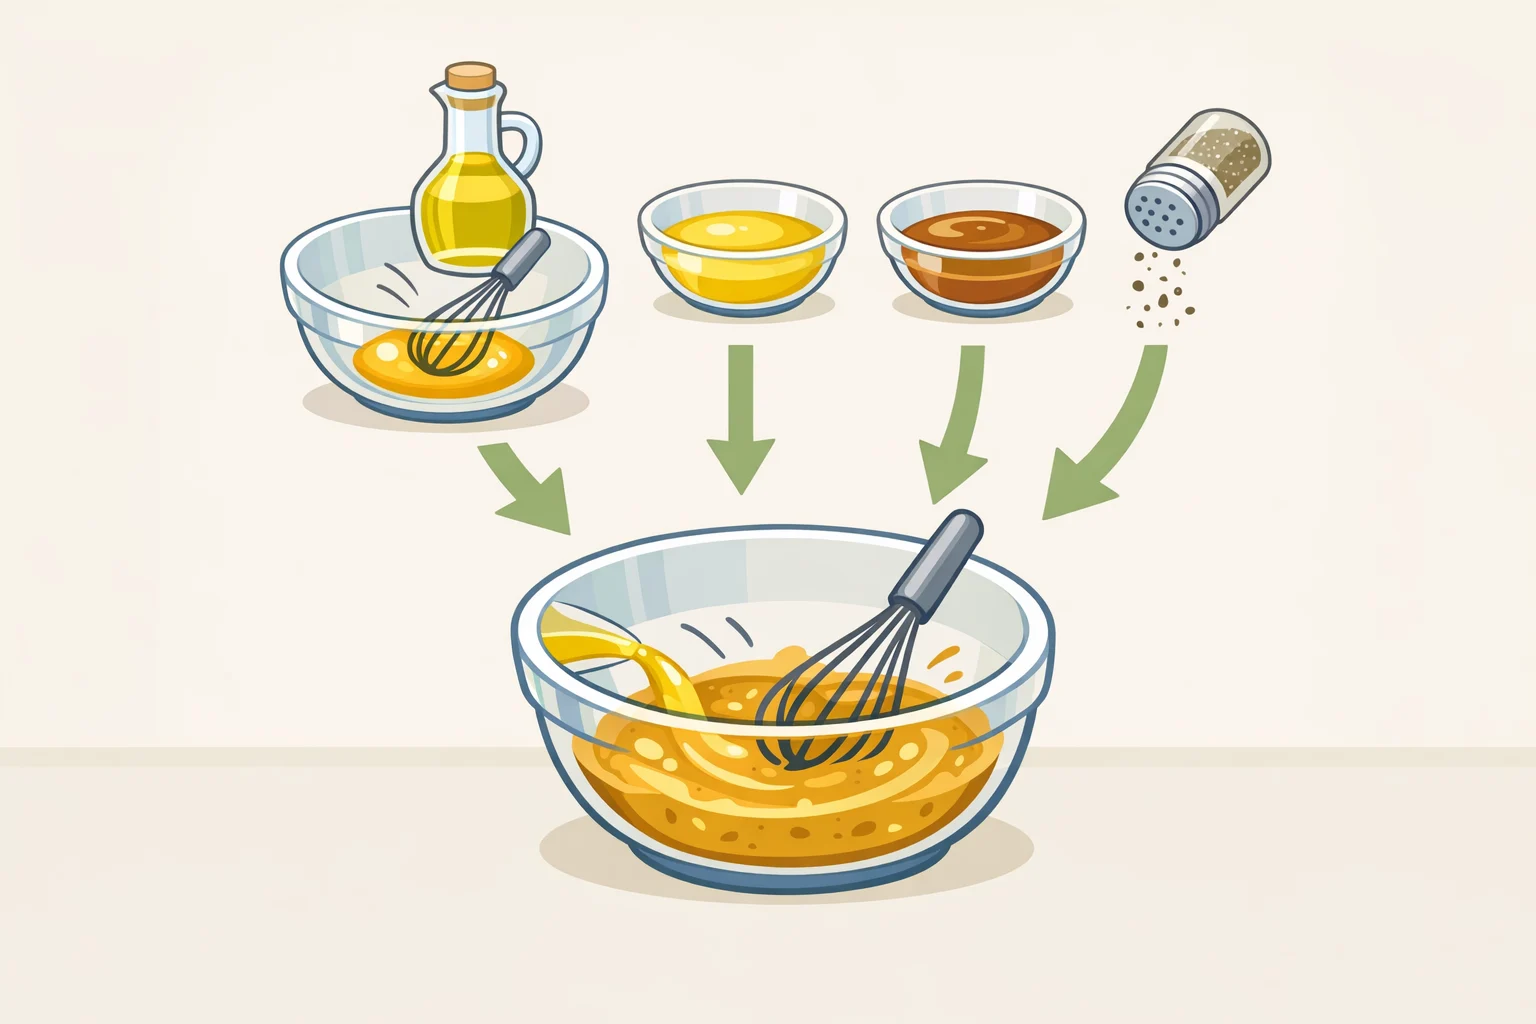
Step 1: Make the basting sauce in the right order.
Beat the egg thoroughly on its own first. Add the oil and beat again until the mixture looks cohesive. Then add the apple cider vinegar, salt, and poultry seasoning and stir to combine (Cornell Alumni). The sequence is not arbitrary. Egg first, then oil, then acid. Add vinegar to an unbeaten egg and the emulsion breaks before it forms, producing a thin, watery liquid that won't coat or layer on the chicken.
Leftover sauce stores in the refrigerator for several weeks (Cornell Alumni). Make it the morning of the cook if that's easier.
Important food safety note: Any sauce that has come into contact with raw chicken should be discarded. Keep a separate container for basting so you're not cross-contaminating the batch.
Step 2: Set up your grill for coal heat, not flame.
Wait until the flames have completely died down before placing any chicken on the grate (Cornell Alumni). You want steady, radiant heat from gray coals. The egg in the sauce will scorch under direct flame before the emulsion has a chance to set on the skin.
This is the step grillers most often skip. Don't. Let the coals get there.
If you're using a gas grill, set burners to medium and expect a somewhat different surface result. The original method was built for charcoal, and the coal contact and smoke are part of what the recipe assumes.
Step 3: Place chicken and turn every 5 to 10 minutes.
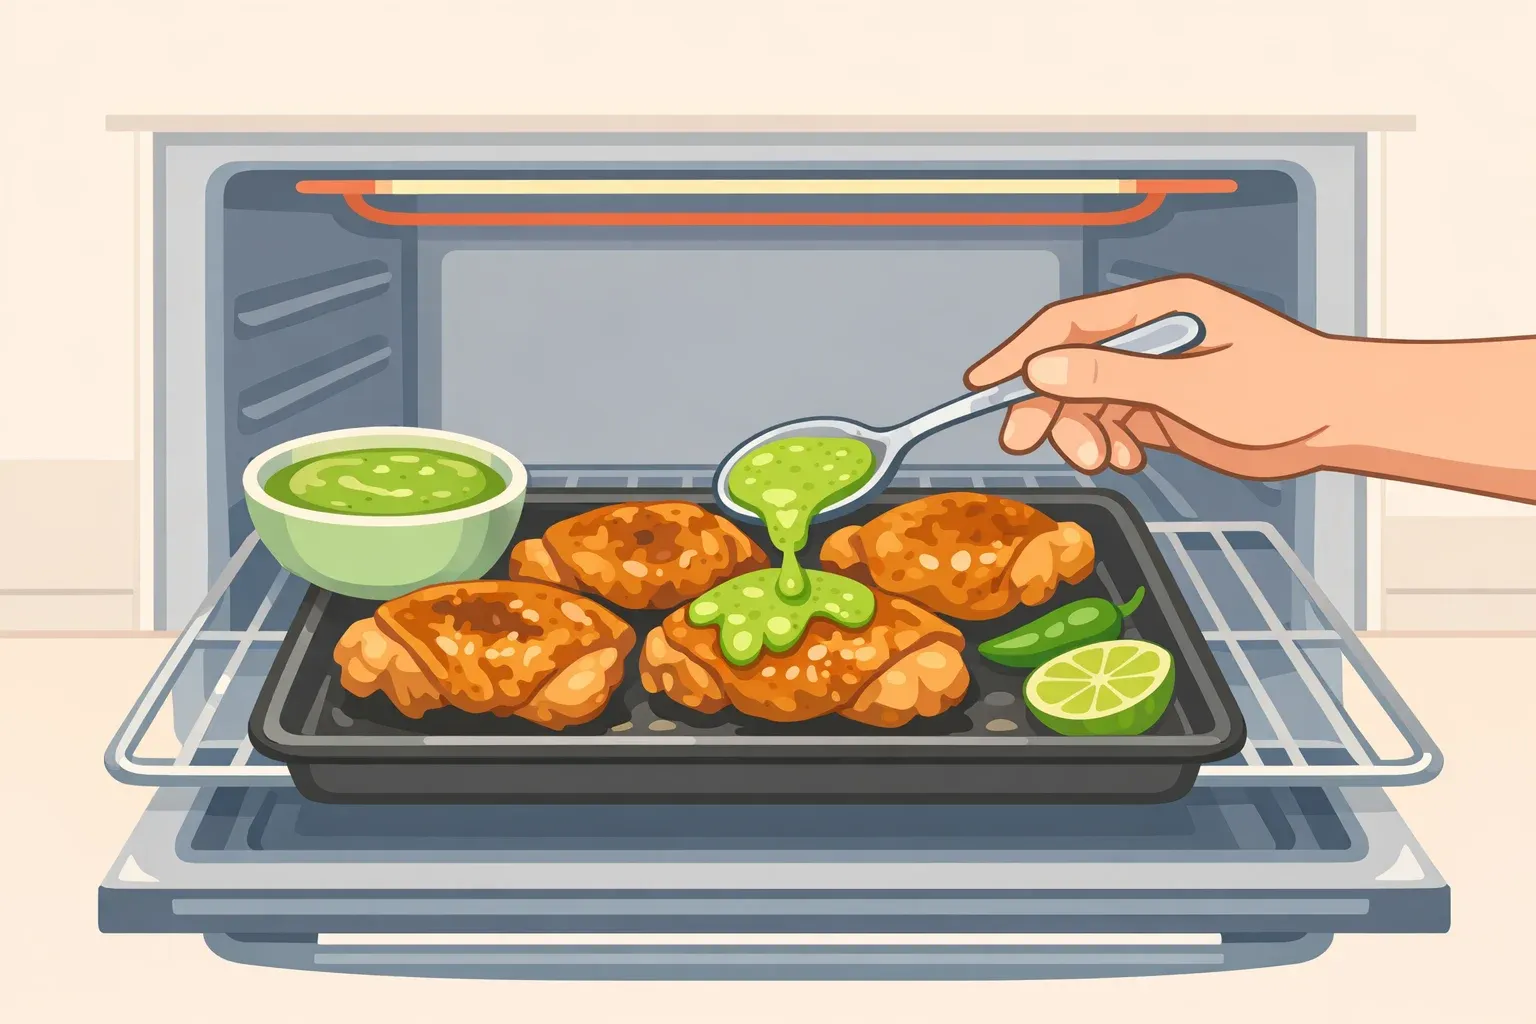
Set halves skin-side up first. Turn every 5 to 10 minutes depending on how hot the coals are running, and baste at every turn (Cornell Alumni). Apply the sauce lightly in the first half of the cook to build a base layer. In the final stretch, baste more generously. The late applications build color and flavor concentration in the skin. Too much sauce too early promotes burning before the base has set.
Using parts instead of halves: Bone-in halves are traditional and handle a full hour of direct coal heat without much intervention. Thighs and drumsticks are more forgiving on timing but need closer attention to the skin. If pieces are browning faster than the meat is cooking through, move them to an indirect heat zone and keep basting. Watch for flare-ups from dripping fat, especially early in the cook; move pieces briefly off the heat zone and let the flames die before returning them. Parts don't fail, but they require more heat management than halves do.
Step 4: Cook for about one hour, then test before pulling.
Total cook time over properly managed coals is about one hour (Cornell Alumni). That's longer than most grillers expect for chicken. Baker's doneness test: pull the wing away from the body. If the meat splits cleanly and no red shows at the joint, it's done (Cornell Alumni). Confirm with a thermometer at the thickest part of the thigh; USDA guidance puts safe poultry internal temperature at 165°F.
Don't rush the final stretch by adding fresh coals or raising the grate. The last basting layers need time to set, and forcing the pace produces scorched skin over meat that isn't finished at the bone.
What the emulsion does and why coal heat matters
Plain grilled chicken tends to finish with either dried-out skin or meat that's underdone near the joint. The Cornell method addresses both through repeated basting: each pass of the sauce adds a fresh coating that builds on the one before it, producing a layered surface rather than a single application that cooks off. CNET argued this week that Cornell chicken remains one of the most consistently successful grilled chicken preparations precisely because the sauce behaves differently under heat than a conventional glaze or marinade would.
The method scales without adjustment. The sauce covers roughly ten halves, and doubling or tripling the batch changes nothing about the technique (Cornell eCommons). This is specifically the right preparation when you have a full grill and a crowd. It is not a quick weeknight method. It demands tending for a full hour. That's also exactly why it works.
Troubleshooting common problems
Skin burning before the meat is done. The coals are running too hot, or there's too much sauce going on too early. Raise the grate if possible, or spread coals to reduce intensity. Apply lighter coats until the surface stabilizes.
Sauce separating in the bowl. It happens, especially if the emulsion wasn't fully established in step one. Whisk the bowl again before basting. A separated sauce is thinner and won't layer as well, but the cook isn't ruined.
Flare-ups from dripping fat. Move the affected pieces briefly off the hot zone, wait for the flame to die, then return them. Don't douse a charcoal fire with water. Keep a section of the grill clear so you have somewhere to move pieces when needed.
Pieces finishing at different rates. Thighs typically take longer than drumsticks. Pull drumsticks when the joint test passes and rest them on an upper grate or off to the side while the thighs finish. Don't hold everything until the slowest piece is done; the faster pieces will overcook.
Where to go from here
The core technique to commit to: basting, not marinating; light-to-heavy sauce application; flames-out coal heat; about one hour on the grill (Cornell Alumni). Those four elements together produce the result.
Start with halves if you can find them. The geometry of a half keeps the breast and thigh close enough in mass that they finish together, which makes the timing more forgiving on a first cook. Once you've done halves once and understand how the sauce behaves on the skin, parts are straightforward.
From there, the original Cornell Cooperative Extension pamphlet extends the same basting approach to turkey, pork, and fish, with coal-heat and turning guidance for each (Cornell eCommons). It also includes pit construction plans for anyone cooking at larger scale. The chicken is the starting point, not the ceiling.






Comments
Be the first, drop a comment!