


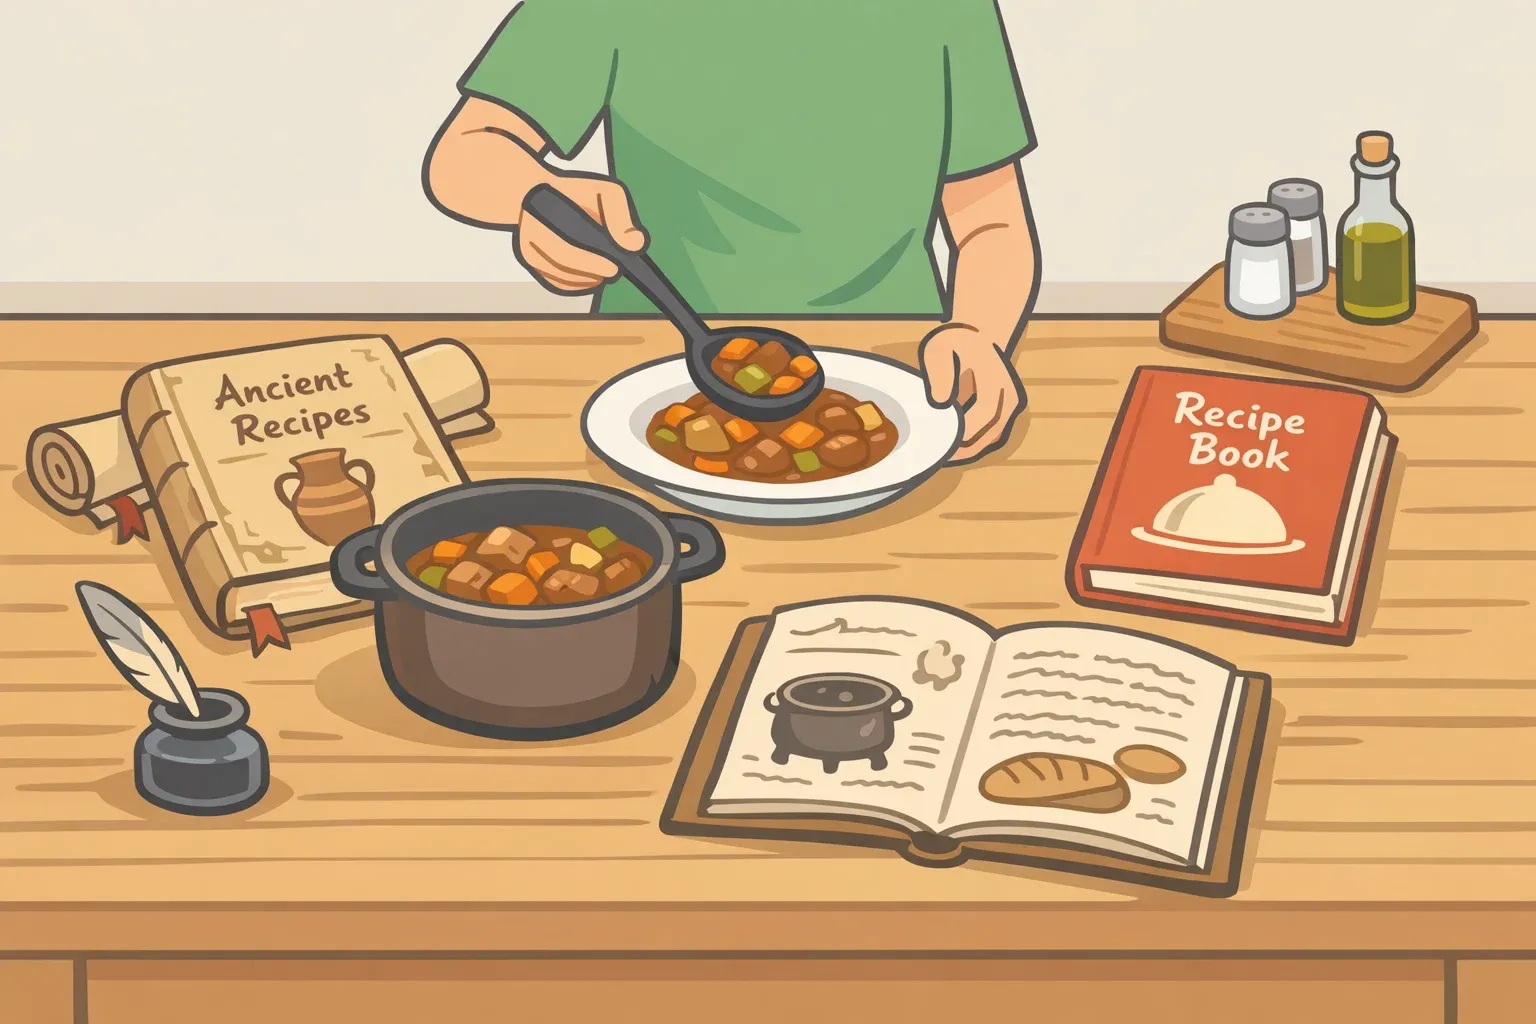
Stuffed pepper skillet recipe: 3 versions, one pan
Same flavors as traditional stuffed peppers. No hollowing, no stuffing, no extended bake. This stuffed pepper skillet recipe walks through three versions from start to finish choose your path before you start, because the rice choice determines everything that follows.
Choose your version:
- Fastest weeknight dinner → precooked brown rice, oven finish (~40 minutes, 25 active), per EatingWell
- No oven, pantry ingredients only → raw white rice, stovetop only (~30 minutes), per Valerie's Kitchen
- Lower carb, more vegetables → cauliflower rice stuffed pepper skillet, stovetop (~25 minutes), per In Jamie's Kitchen
- Making it ahead to freeze → any version works; undercook the peppers
The base method is identical for all three: brown meat, toast paste, build the filling, add liquid and rice, cover and finish with cheese. Rice choice changes the liquid ratio, cook time, and final texture. Everything else holds.
One note on yield: the EatingWell and Jamie's Kitchen versions serve 4. Valerie's Kitchen serves 6. Keep that in mind when scaling.
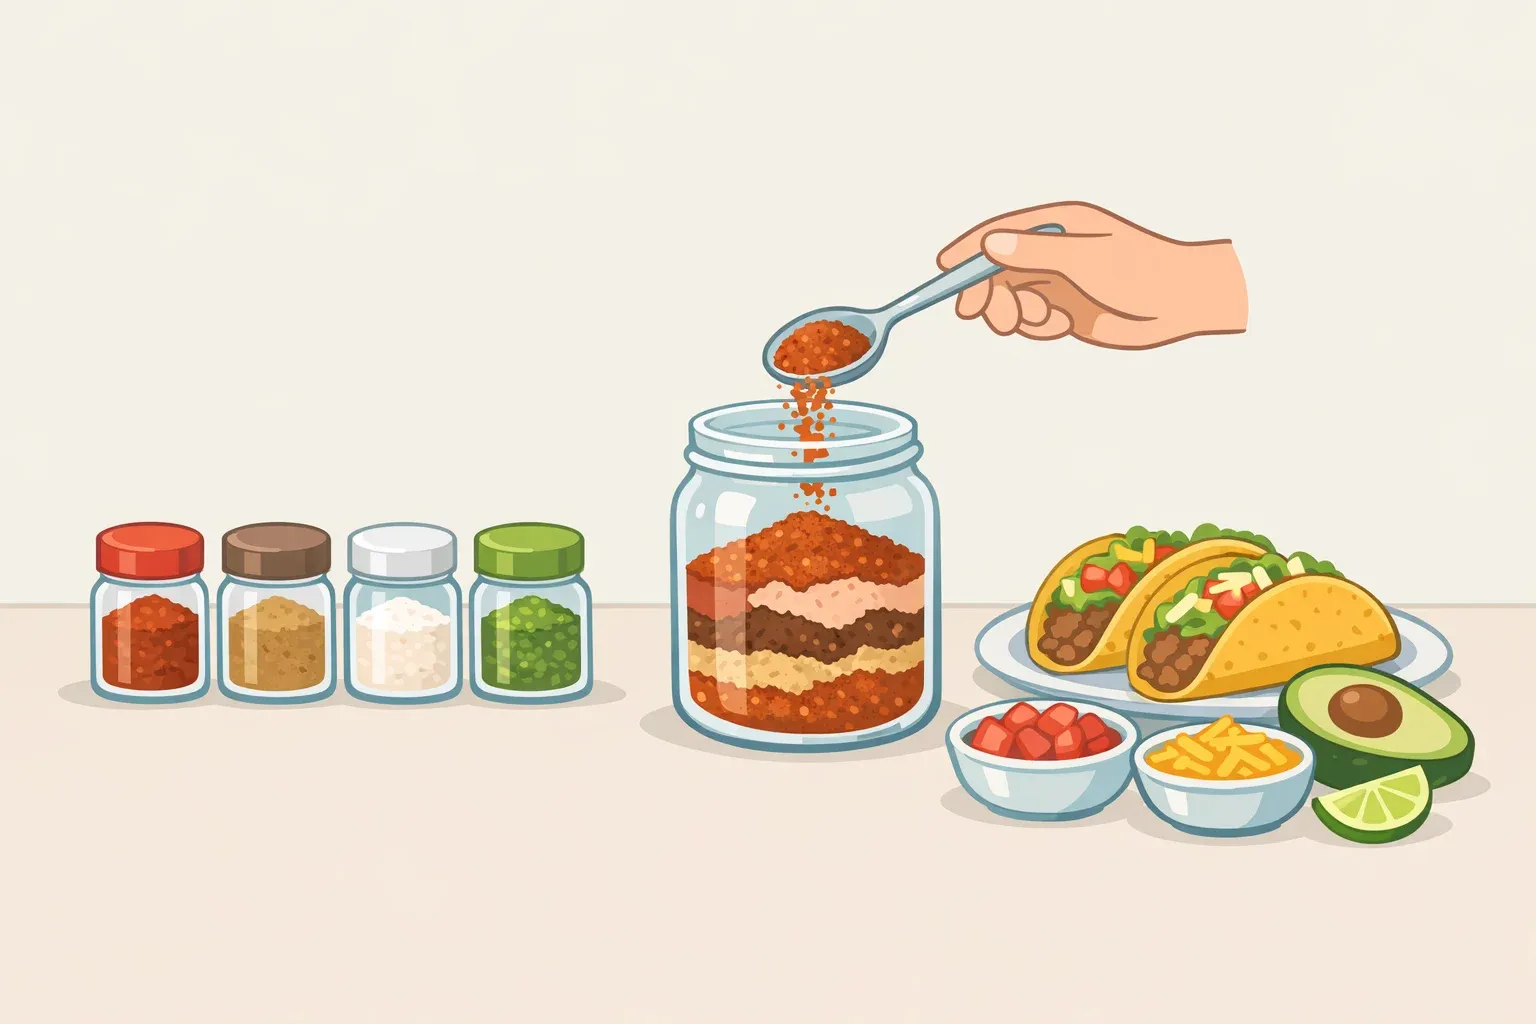
Stuffed pepper skillet recipe: ingredients and setup
What you'll need:
- 1 tablespoon olive oil
- 1 pound lean ground beef (90% lean or higher)
- 2 tablespoons tomato paste
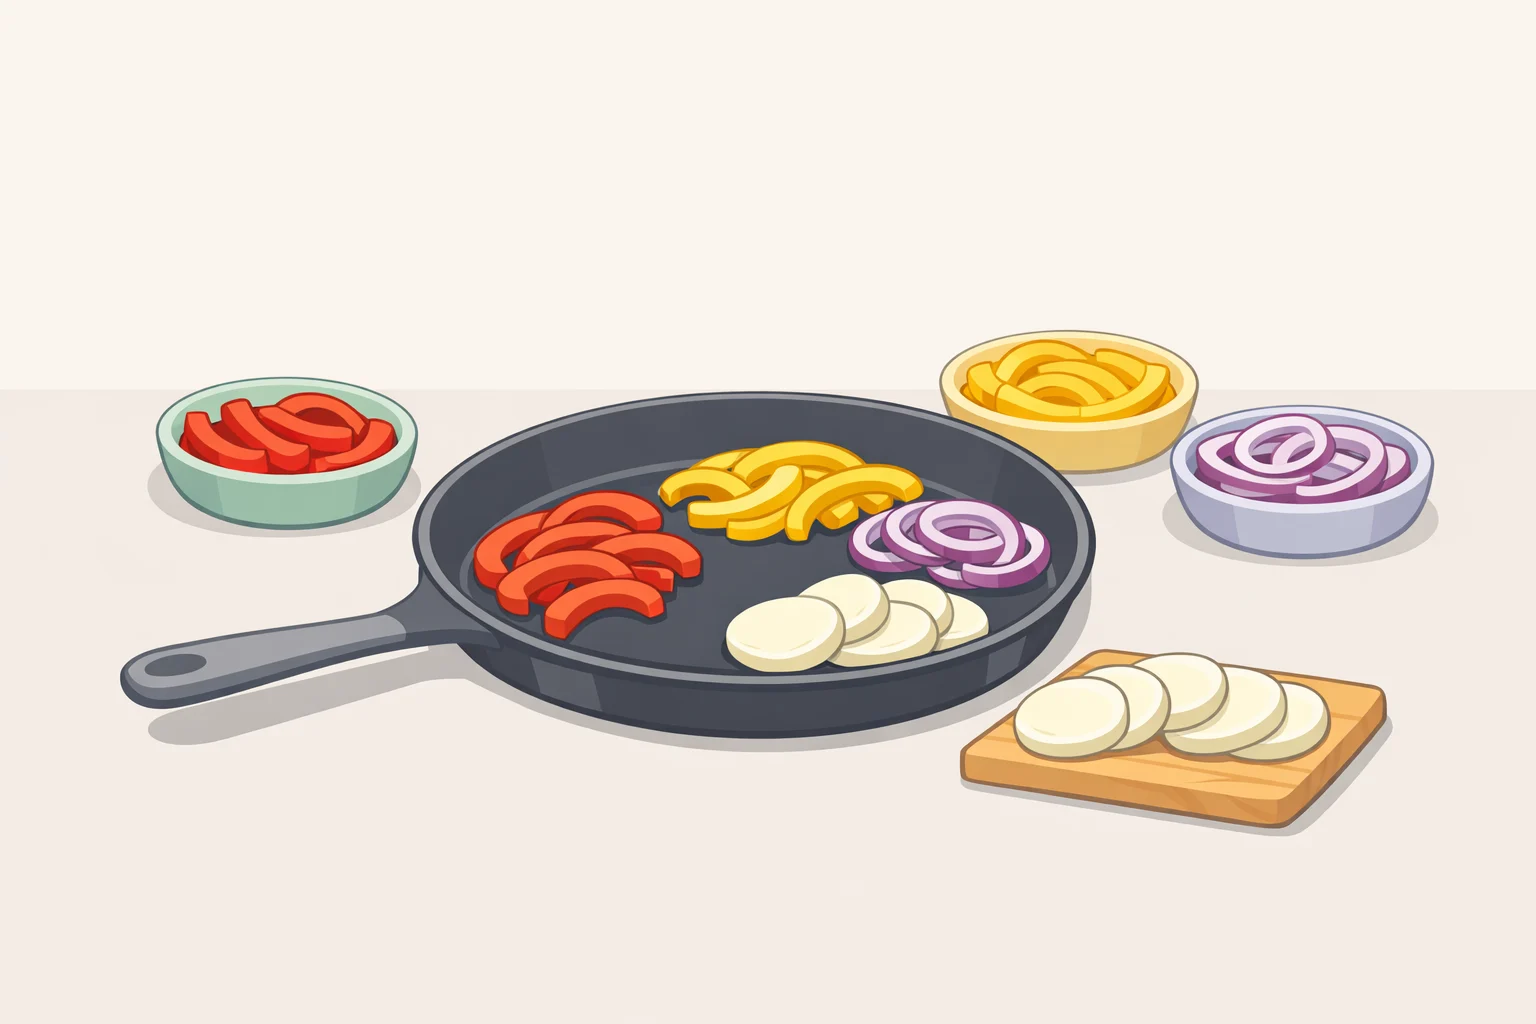
- 1 medium red onion, thinly sliced
- 3 medium bell peppers, thinly sliced (any color; green is traditional, red and orange are sweeter)
- 1 tablespoon smoked paprika
- 1 tablespoon Italian seasoning
- 1 teaspoon garlic powder
- ¾ teaspoon salt
- ½ teaspoon crushed red pepper (optional)
- 1 can (14.5 oz) diced tomatoes, with liquid
- 1 tablespoon red-wine vinegar
- Rice of your choice (version-specific quantities in Step 4)
- 1 cup shredded low-moisture part-skim mozzarella
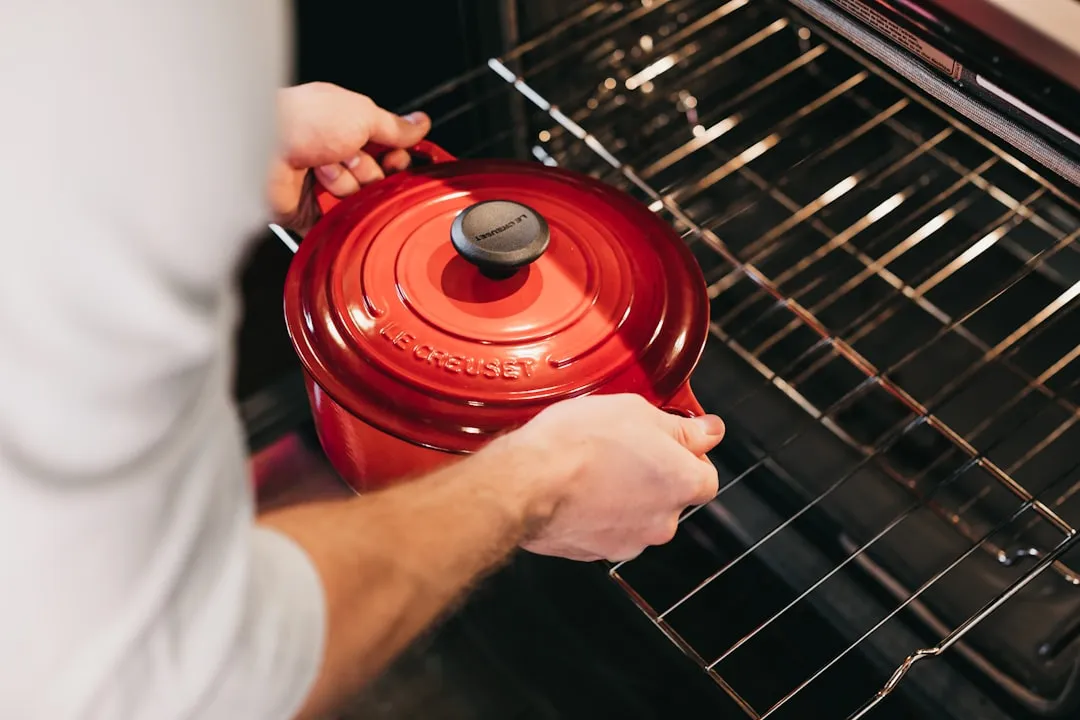
Equipment: A large ovenproof skillet (12-inch) handles the oven-finish version. For the raw white rice path, use a deep 12-inch skillet with a lid Valerie's Kitchen specifies the deep version because raw rice absorbs considerably more liquid than precooked.
Protein swaps: Ground turkey, chicken, pork, or crumbled firm tofu all work in the grain-rice versions, per EatingWell. Turkey and chicken are leaner, so there's often little fat to drain after browning. Tofu needs to be pressed dry before crumbling into the pan wet tofu steams rather than browns, and you want color on it.
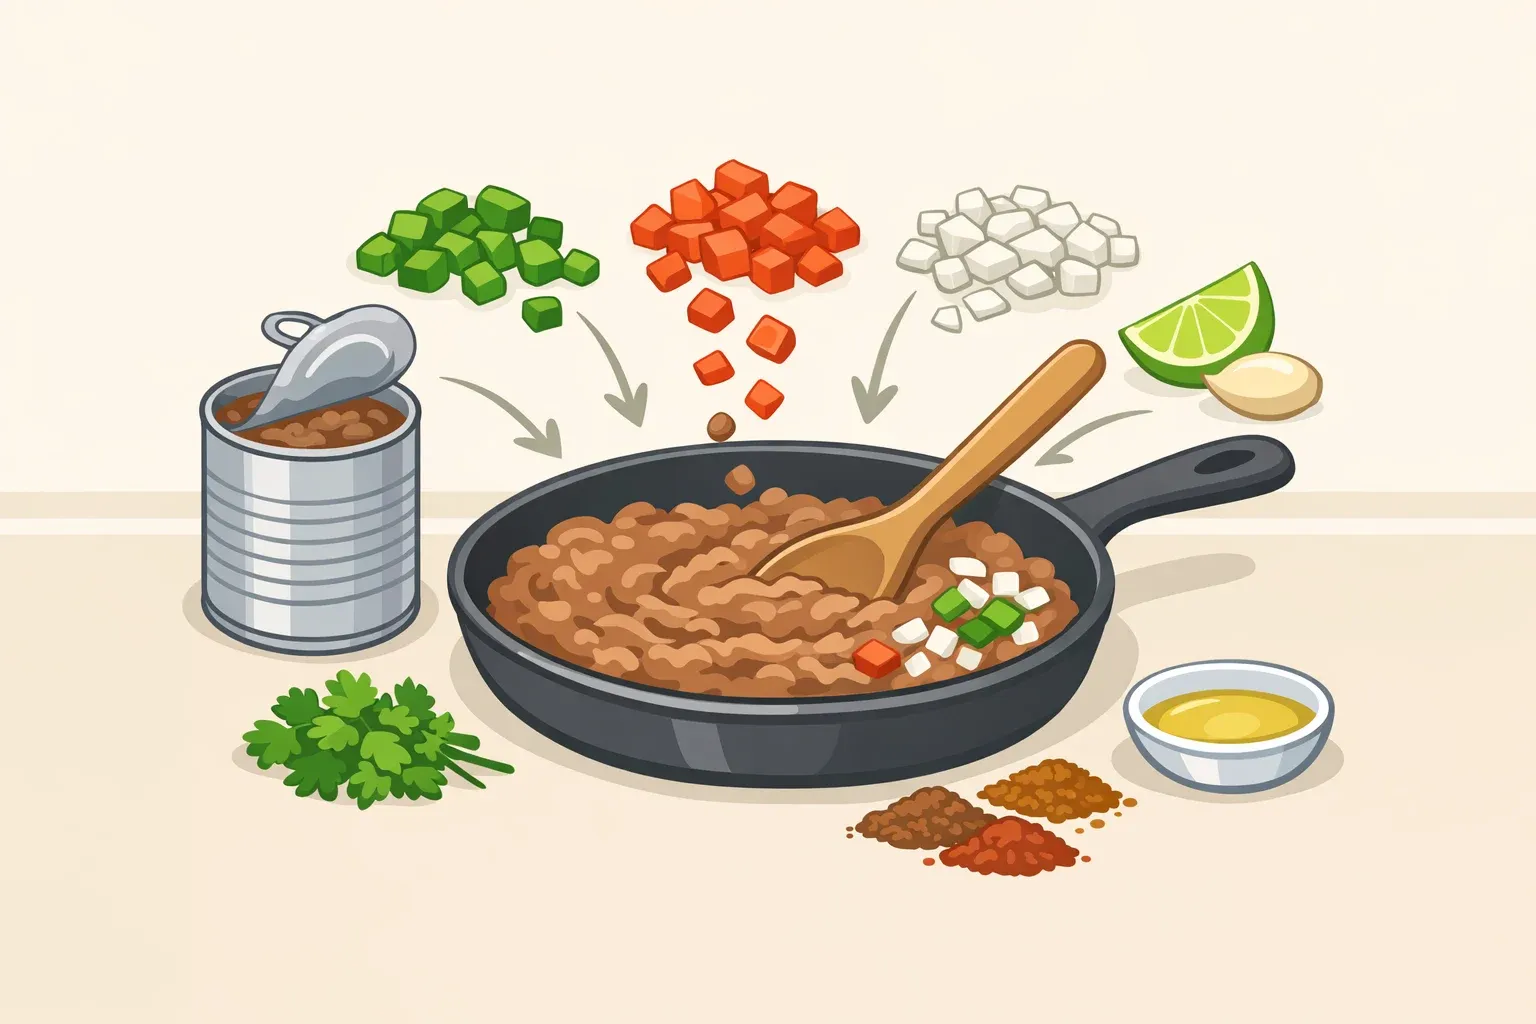
The method: five steps to a finished skillet
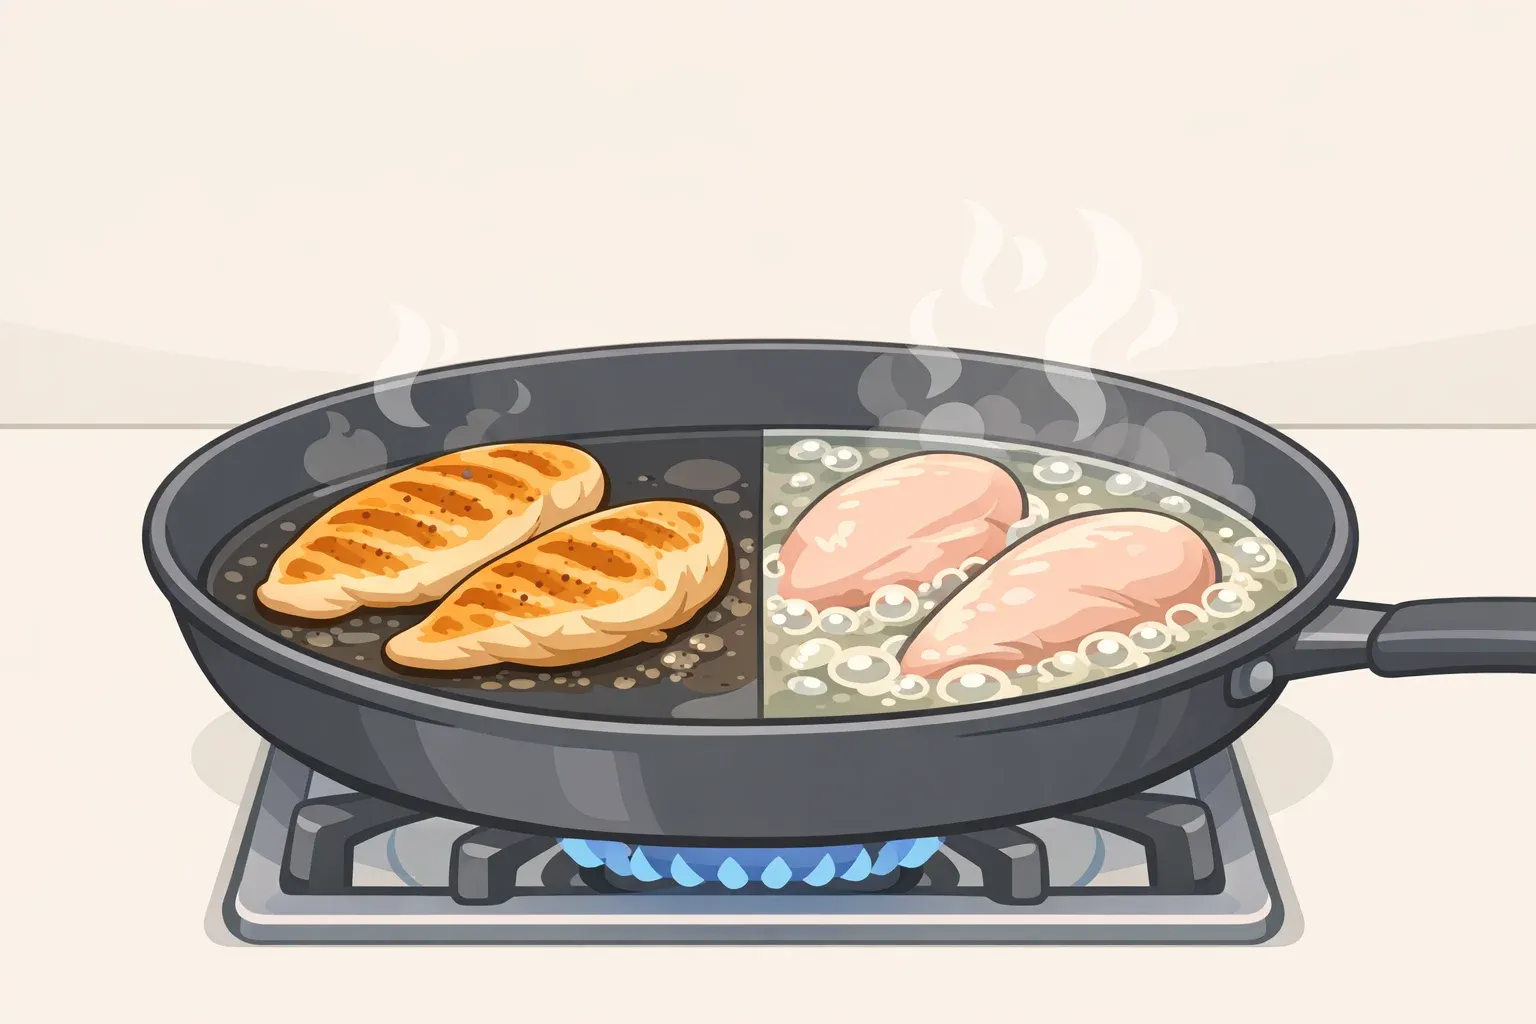
Step 1: Brown the meat.
Heat oil in the skillet over medium-high until it shimmers. Add ground beef and break it up with a spoon, cooking until no pink remains, about 5 minutes. Keep the peppers out of the pan at this stage. Browning the meat alone builds flavor that a crowded pan can't replicate.
If using beef at 85% lean or fattier, drain the excess fat after browning, then return the pan to heat. Valerie's Kitchen flags this step explicitly: excess grease left in the pan makes the finished dish greasy in a way that doesn't cook off.
Step 2: Toast the tomato paste.
Add 2 tablespoons of tomato paste directly to the browned meat. Stir constantly for about 1 minute until the paste darkens slightly in color, per EatingWell. Sixty seconds of stirring, and the flavor of the whole dish changes. Don't skip it.
Step 3: Add peppers, onion, and spices cook to tender-crisp.
Add the sliced peppers, onion, and all dry seasonings. Stir to combine and cook over medium heat for about 6 minutes. The goal is tender-crisp: softened enough to eat, still holding structure with some bite.
This is a texture window you can't recover once you've passed it. EatingWell identifies tender-crisp as the explicit target peppers that go soft here will be limp by the time the rice finishes. If the pan is running hot, pull the heat back.
Step 4: Add liquid, tomatoes, and rice version-specific from here.
Remove the skillet from heat. Stir in the canned diced tomatoes with their liquid and the red-wine vinegar. Then add rice according to your chosen version:
- Precooked brown rice: Add one 8.8-oz microwaveable packet directly. Add ½ cup beef broth. Cover tightly with a lid or foil, transfer to a 400°F oven, and bake 10 minutes. The rice just needs to heat through and absorb the surrounding liquid, per EatingWell. Fastest path to finished rice without overcooking the peppers.
- Raw white rice: Add 1 cup long-grain white rice and 2½ cups low-sodium beef broth. Bring to a boil, reduce to a low simmer, cover, and cook 15–18 minutes until the rice is tender, per Valerie's Kitchen. Check at the 15-minute mark. If the rice is still firm, cover and give it another few minutes if the skillet looks dry before the rice is done, add 2–3 tablespoons of water and keep the lid on.
- Frozen cauliflower rice: See the next section for specific rules before proceeding.
Step 5: Melt the cheese and serve.
For the oven method: scatter mozzarella over the top and return the uncovered skillet to 400°F for 8 minutes, until the cheese is melted and beginning to bubble, per EatingWell. For the stovetop method: scatter cheese on top, cover the skillet, and cook on low until melted, per Valerie's Kitchen. Garnish with fresh oregano or parsley if you have it.
Each serving is roughly 1½ cups. The EatingWell grain-rice version yields 4 servings at 505 calories and 42 grams of protein per serving. Valerie's Kitchen stovetop version serves 6 at 425 calories and 27 grams of protein a different yield and a different recipe, so treat those numbers as version-specific.
Troubleshooting
Filling too wet: Didn't drain fattier beef, or the cauliflower rice went in frozen. See Step 1 on draining fat, and the cauliflower section on thawing first.
Rice still firm at the end: For the raw white rice path, the skillet may have lost too much liquid before the rice finished. Cover and add 2–3 tablespoons of water, keep the heat low, and give it another 3–4 minutes. Don't crank the heat that's how you get scorched rice and undercooked grains.
Peppers too soft: Cooked past tender-crisp in Step 3, or the skillet ran too hot during the rice finish. Next time, pull the peppers while they still have some resistance. For the version you're eating now, the flavor's still there texture just won't be.
Cheese not melting evenly: For the stovetop method, make sure the lid is on tightly and the heat is on low. Mozzarella needs steam to melt without browning.
The cauliflower rice version: different rules
Frozen riced cauliflower replaces grain rice for a lower-calorie, lower-carb result. This is the low carb stuffed pepper skillet path EatingWell puts it at 374 calories and 29 grams of protein per serving, compared to 505 calories for the grain-rice version. The texture is saucier and lighter. Don't expect the same hearty, starchy body.
What changes in the method:
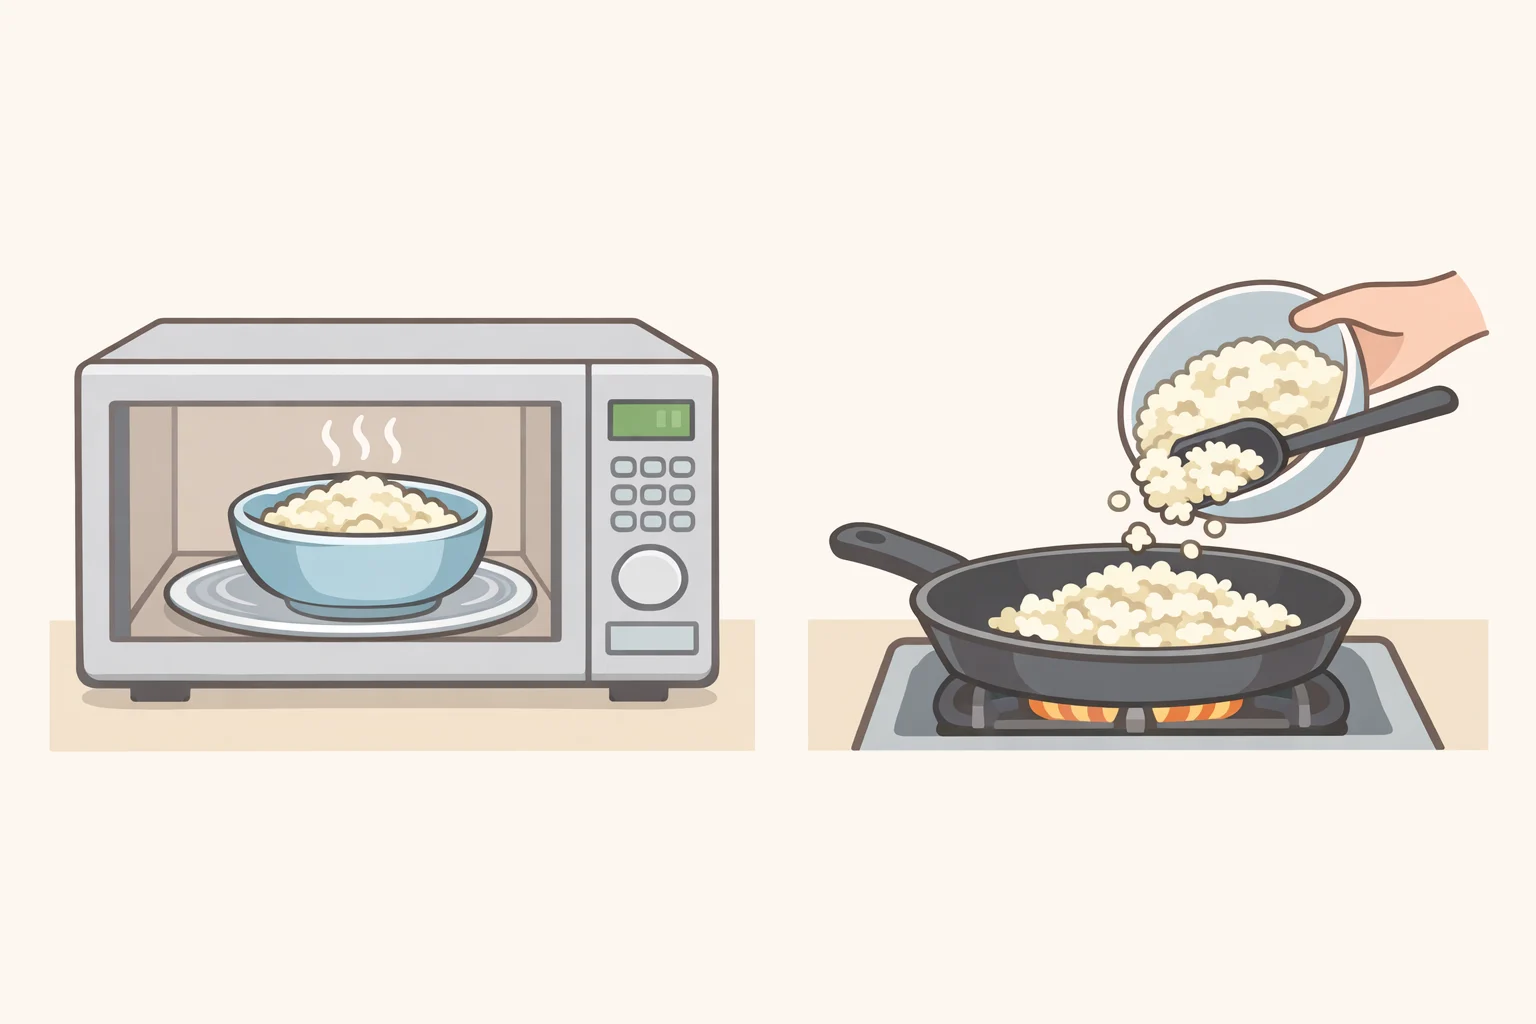
Cauliflower rice doesn't absorb liquid the way grain rice does. Skip the added broth entirely, or the filling turns watery. Add a 16.5-oz bag of frozen riced cauliflower but thaw it first. EatingWell is direct: frozen cauliflower added without thawing releases excess moisture and makes the filling soupy. Microwave the bag for 4 minutes while the meat and peppers cook, per In Jamie's Kitchen.
Once the thawed cauliflower and tomato sauce are in the pan, simmer uncovered until most of the liquid has cooked off, about 5–7 minutes, per In Jamie's Kitchen. You'll see the mixture tighten as it reduces. Then top with cheese and melt.
On protein: EatingWell recommends ground beef over turkey specifically in this version without starch to carry flavor, the protein has to do more work. Turkey can be too mild on its own. If turkey is what you have, increase the smoked paprika and Italian seasoning by half to compensate.
On cheese: Mozzarella is the default. Cheddar has enough flavor to stand up to the lighter filling. Provolone and Monterey Jack are both solid alternatives EatingWell confirms all three as tested substitutions.
Make-ahead, storage, and reheating
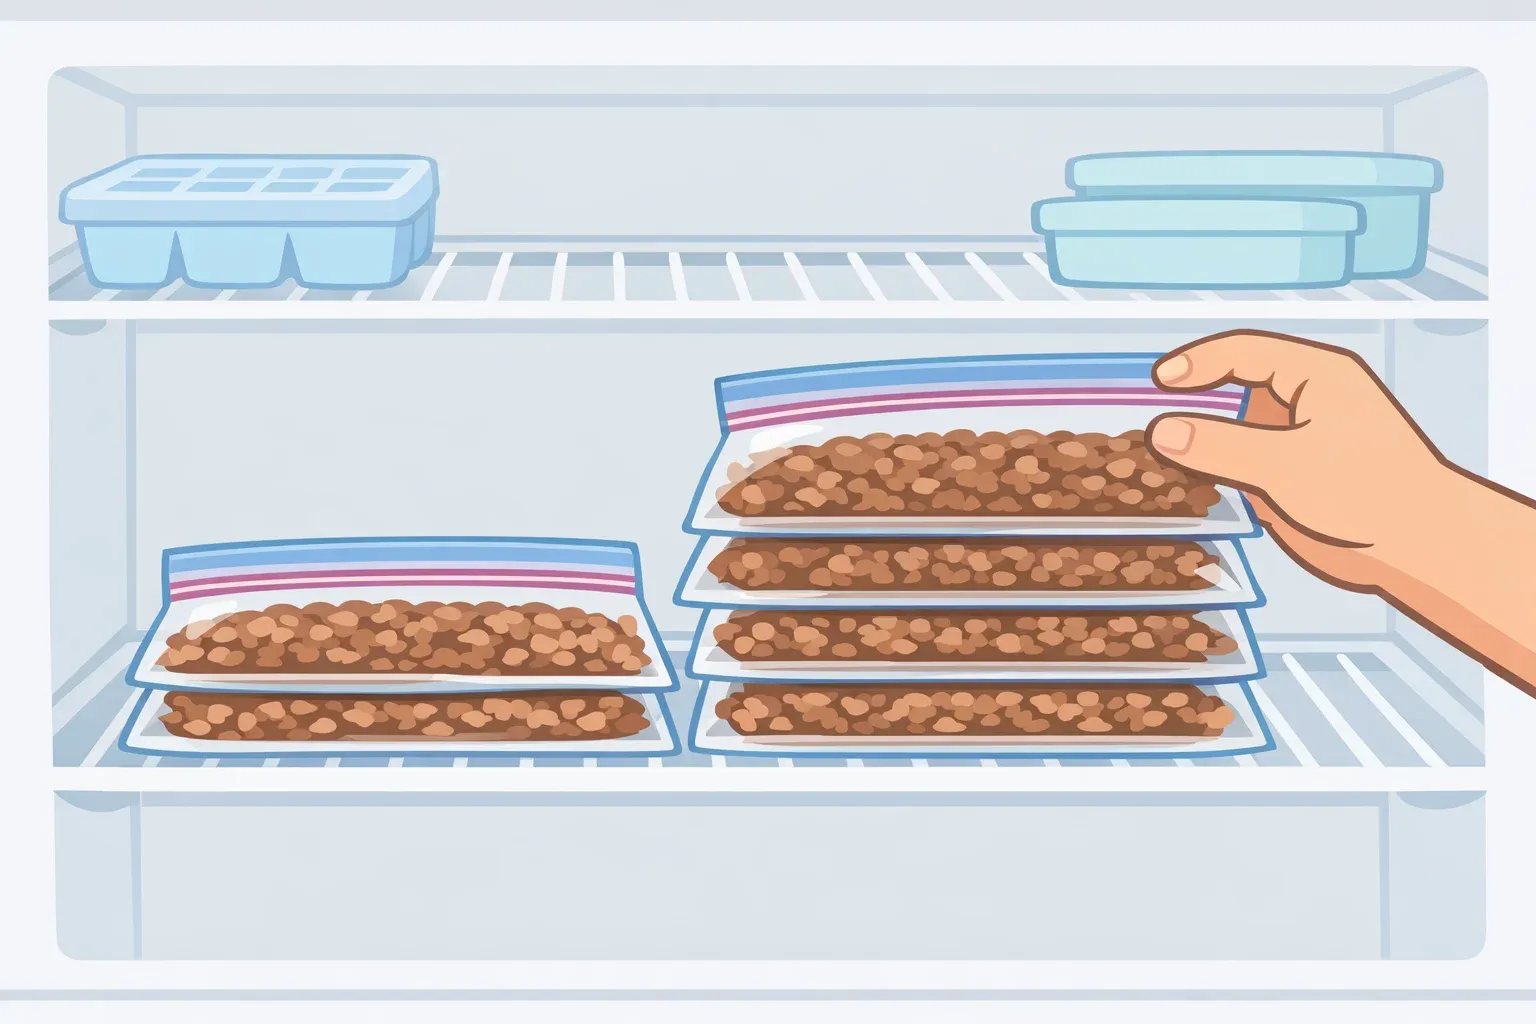
The one-pan format lends itself to batch cooking. The grain-rice version keeps up to three days refrigerated in an airtight container, per EatingWell. Valerie's Kitchen puts the refrigerator window at 3–4 days. Both sources confirm it freezes well: EatingWell clears it for up to four months frozen; Valerie's Kitchen pegs the freezer window at three months.
For the cauliflower rice skillet, the prepped-but-uncooked dish can be refrigerated up to one day before the final cook. Cooked leftovers last 3–4 days refrigerated or about four months frozen, per EatingWell.
Reheating: Defrost overnight in the refrigerator before reheating not from frozen in the microwave. Add 1–2 tablespoons of water to the dish and cover with foil, then heat in a 350°F oven for 15–20 minutes. Alternatively, microwave in 30-second increments covered with a damp paper towel. The steam prevents the rice from drying out and keeps the peppers from going rubbery, per EatingWell.
If you're batch cooking for the freezer, undercook the peppers slightly in Step 3 pull them off heat while still quite firm. They'll finish softening during reheating. The cauliflower rice version will be slightly saucier on reheat; the grain rice versions hold their shape better. Flavor holds well across all three after a freeze-thaw cycle.


Comments
Be the first, drop a comment!