



3 Coffee Hacks to Make Coffee Taste Better: Fix Common Flaws
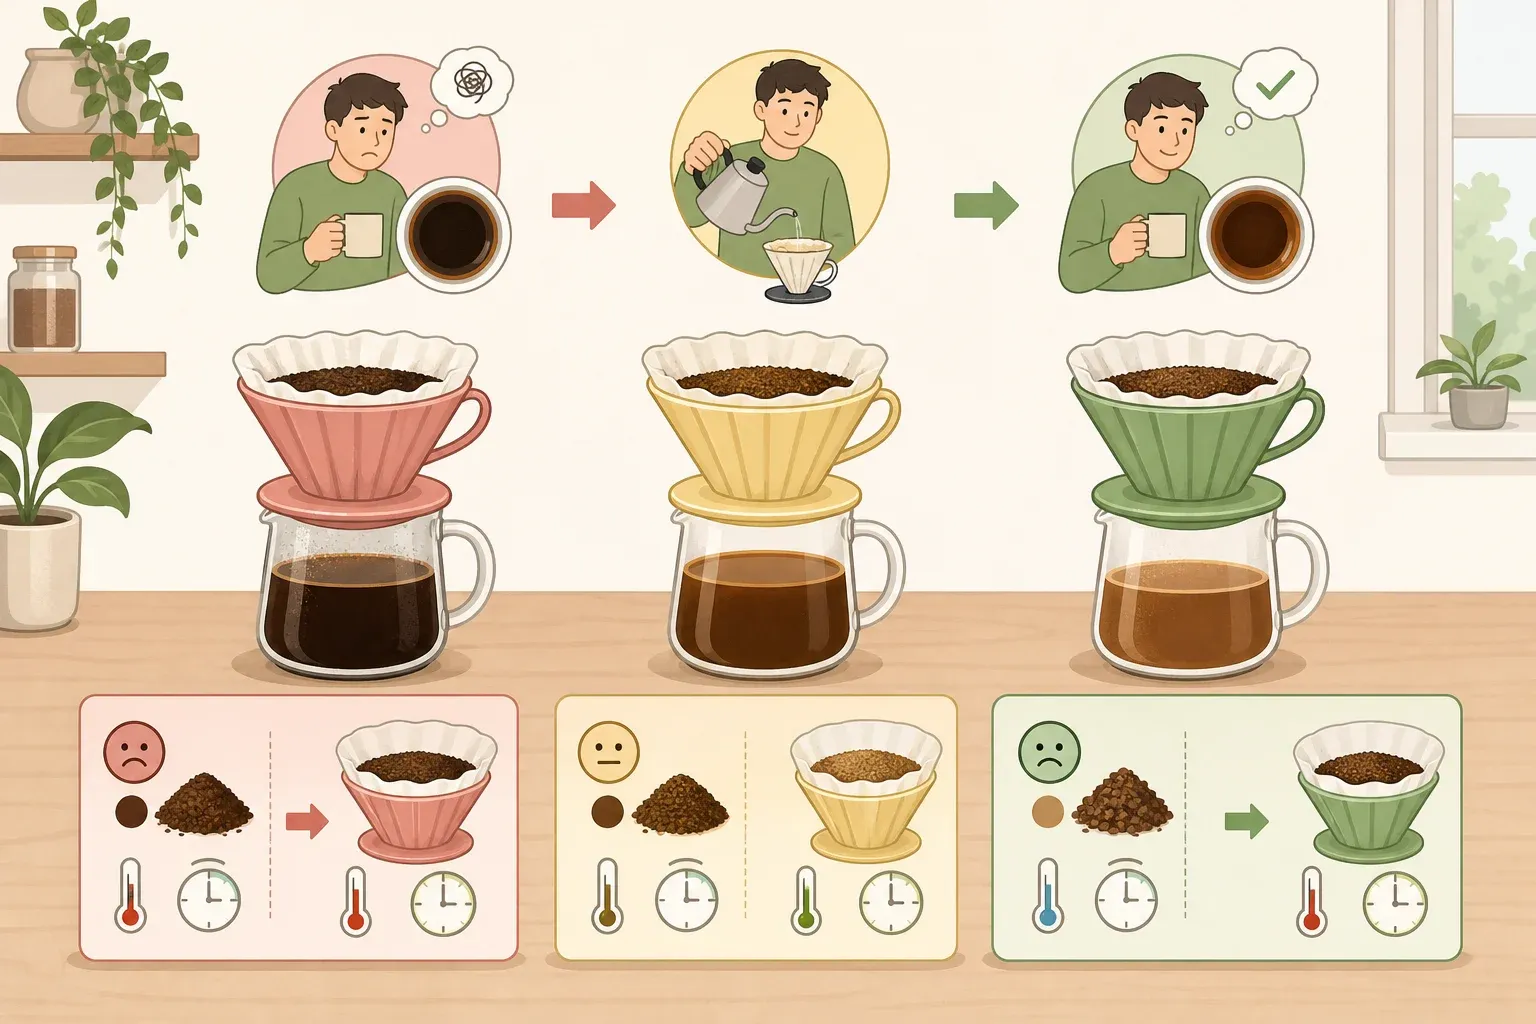
Most disappointing home coffee doesn't need a new machine. Before buying one, test these three corrections, each matched to a specific symptom: stale or dull coffee, a thin or sour manual brew, or a cup that tastes bitter despite otherwise solid technique. These coffee hacks to make coffee taste better work because they target the cause behind the symptom instead of throwing every trick at every cup, and none of them require equipment beyond what's already in a typical kitchen. Learning how to make coffee taste better at home mostly comes down to matching the fix to what's actually wrong with the cup in front of you.
In an October 2025 report, WVIA cited coffee prices that were nearly 19% higher than the year before, part of why more people are brewing at home instead of buying out. James Hoffmann, author of How to Make the Best Coffee at Home, told WVIA that coffee is essentially fresh food: good to drink for a long time, but not delicious for very long. Freshness is the first thing to check, he says, before touching technique or equipment. The Specialty Coffee Association's research on "dialing in" shows that changing a coffee's strength and extraction level shifts its flavor in a measurable, predictable direction, the SCA explained last month. That's the case for matching a fix to the symptom instead of running through all three on a cup that's already fine.
Here's the quick version before the full method:
- Coffee smells weak or tastes dull and flat: check the roast date and grind fresh.
- A manual pour-over or French press tastes thin, sour, or uneven: bloom before the full pour.
- Coffee tastes harsh or bitter even though the beans are reasonably fresh and brewed correctly: try a pinch of salt.
What you'll need
- A bag of whole-bean coffee with a roast date printed on it, not just a "best by" date, or a local coffee shop willing to grind beans to order.
- A kitchen scale, which makes the bloom step more consistent. Without one, a small splash of water is a fine approximation for a beginner.
- A kettle that can heat water to 195 to 205°F, ideally one with a thermometer or a gooseneck spout if pour-over is the method, per Coffee Slang.
- No grinder is required to benefit from Hack 1. Buying smaller amounts and having a shop grind to order works as a substitute, detailed below.
Skill level: beginner-friendly. None of this requires equipment beyond a typical home coffee setup.
Before you start: match the symptom to the likely cause
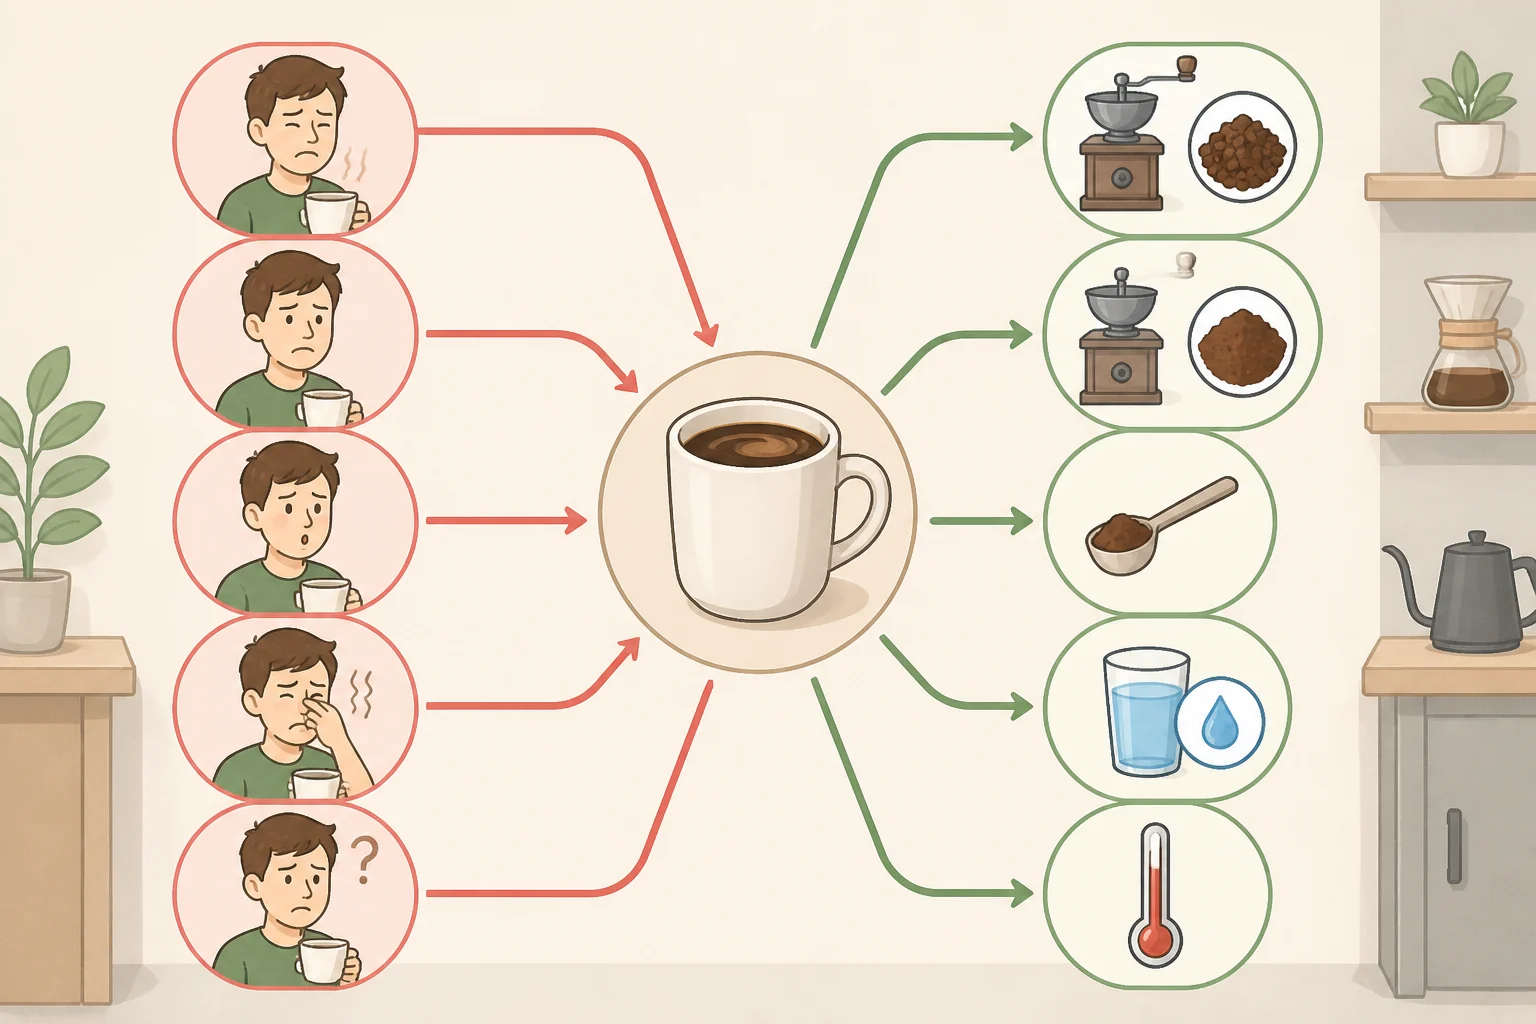
Running all three fixes on one cup wastes time and sometimes wastes decent coffee. Work through this short list first, based on how the current brew method, whether that's pour-over, French press, AeroPress, drip, moka pot, or cold brew, actually tastes.
- Flat or dull coffee points back to the roast date and how long ago the beans were ground. That points to Hack 1.
- Sour, thin, or uneven manual brews often come down to how evenly the grounds got saturated during brewing. Check that before assuming the bean itself is bad, then move to Hack 2, which only applies to pour-over, French press, AeroPress, and drip machines with a bloom setting.
- Bitter or harsh coffee despite fresh beans and reasonable technique can mean the brew pulled more out of the grounds than it should have. The SCA's research ties a higher extraction percentage to greater bitterness, so that's the one case where Hack 3 is worth trying, and only after the first two have been ruled out.
Hoffmann says whole-bean coffee lasts longer than pre-ground coffee, so grind only what will get used soon. If salt ends up on the table later, test it in a single finished cup before adding it to a full batch.
Hack 1: Grind fresh and match the grind to your brew method
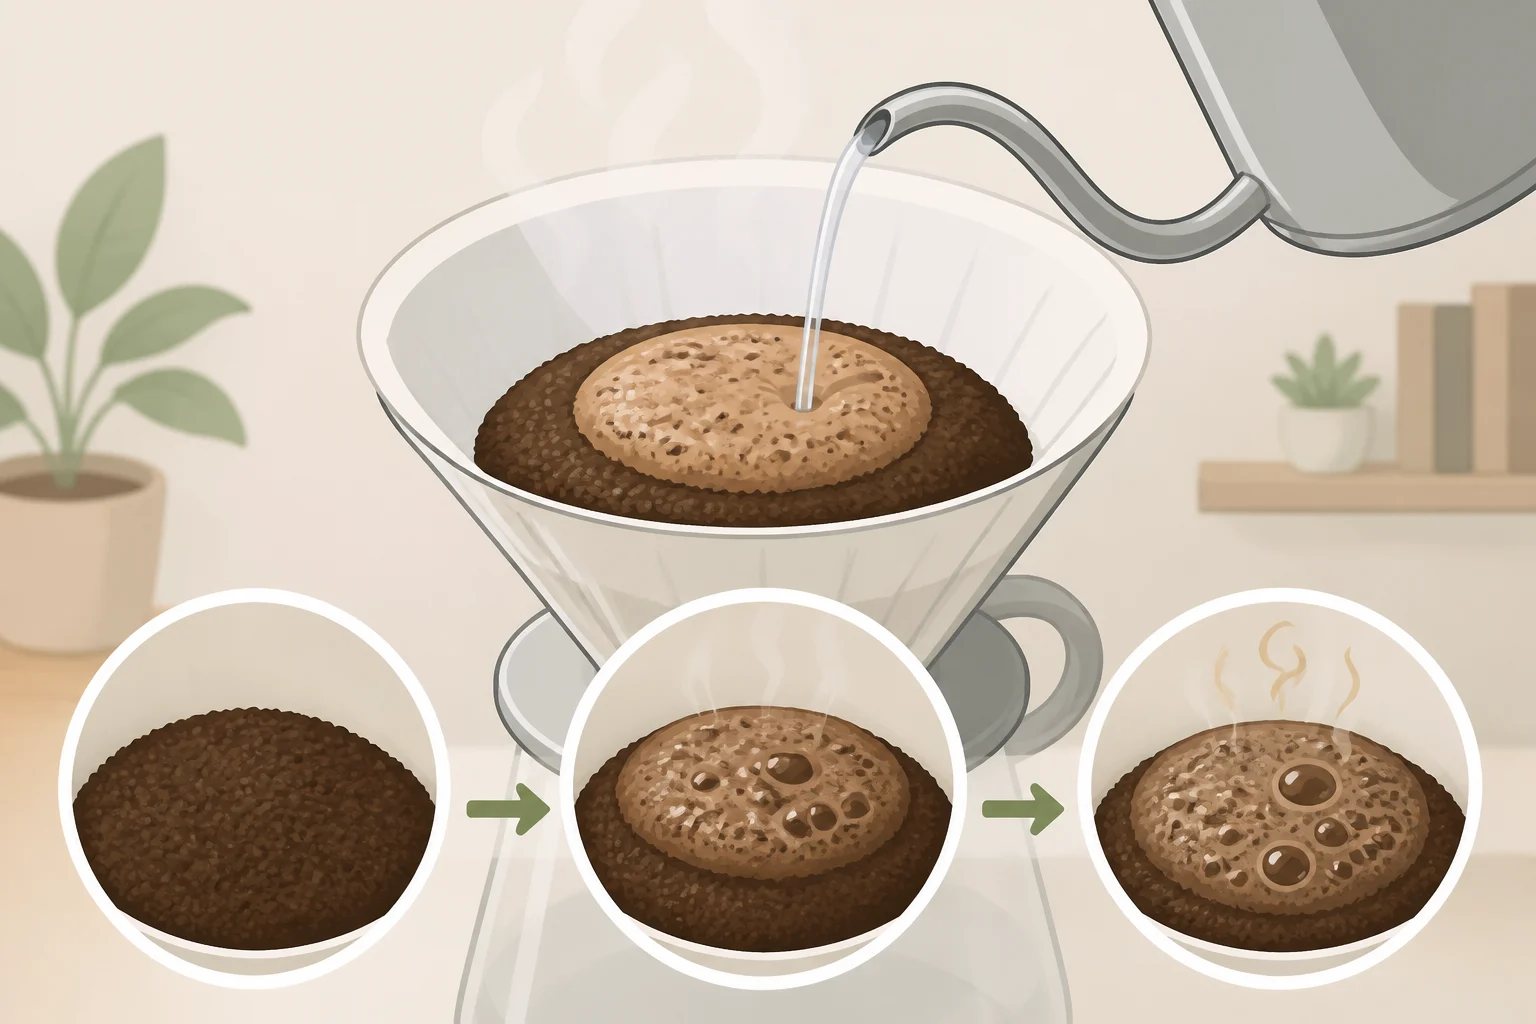
Start here if coffee smells weak or tastes flat and dull no matter how it's brewed. Flavor drops noticeably within 24 to 48 hours of grinding, and by about a week much of it is gone while less pleasant notes start to show up, Hoffmann told WVIA.
- Check the roast date on the bag. If all it lists is a "best by" date, Hoffmann told WVIA that not knowing the roast specifics can be a sign that better coffee is out there.
- Buy an amount that'll get finished soon. Generally speaking, Hoffmann recommends buying beans within two to four weeks of their roast date, then using them as whole beans within another three to four weeks.
- Grind right before brewing, sized for the brewer being used. A single bag of generic pre-ground coffee uses one grind size that's "kind of okay in everything" but matched to nothing, Hoffmann said. A good local shop can dial in the right grind for a specific brewer, whether that's pour-over, drip, French press, or espresso.
- No grinder? Let a shop do it. Buy a smaller bag, tell the shop exactly how coffee gets brewed at home, and have them grind it for that method on the spot. Buy only enough to finish within a week or two.
Buying in bulk "for value" works against freshness, Hoffmann said; he recommends smaller, more frequent purchases over stocking up.
Freshly ground coffee should smell noticeably aromatic right out of the grinder, and it should bubble when hot water first hits it, though how much depends on the roast. Darker roasts build more CO₂ during roasting and bubble more visibly than lighter roasts, so a quiet reaction on a light roast isn't a failure. If the coffee bubbles at all, that's a useful sign the bloom is releasing gas, which is the whole point of the next fix.
Hack 2: Coffee brewing tips for a sour or thin manual brew
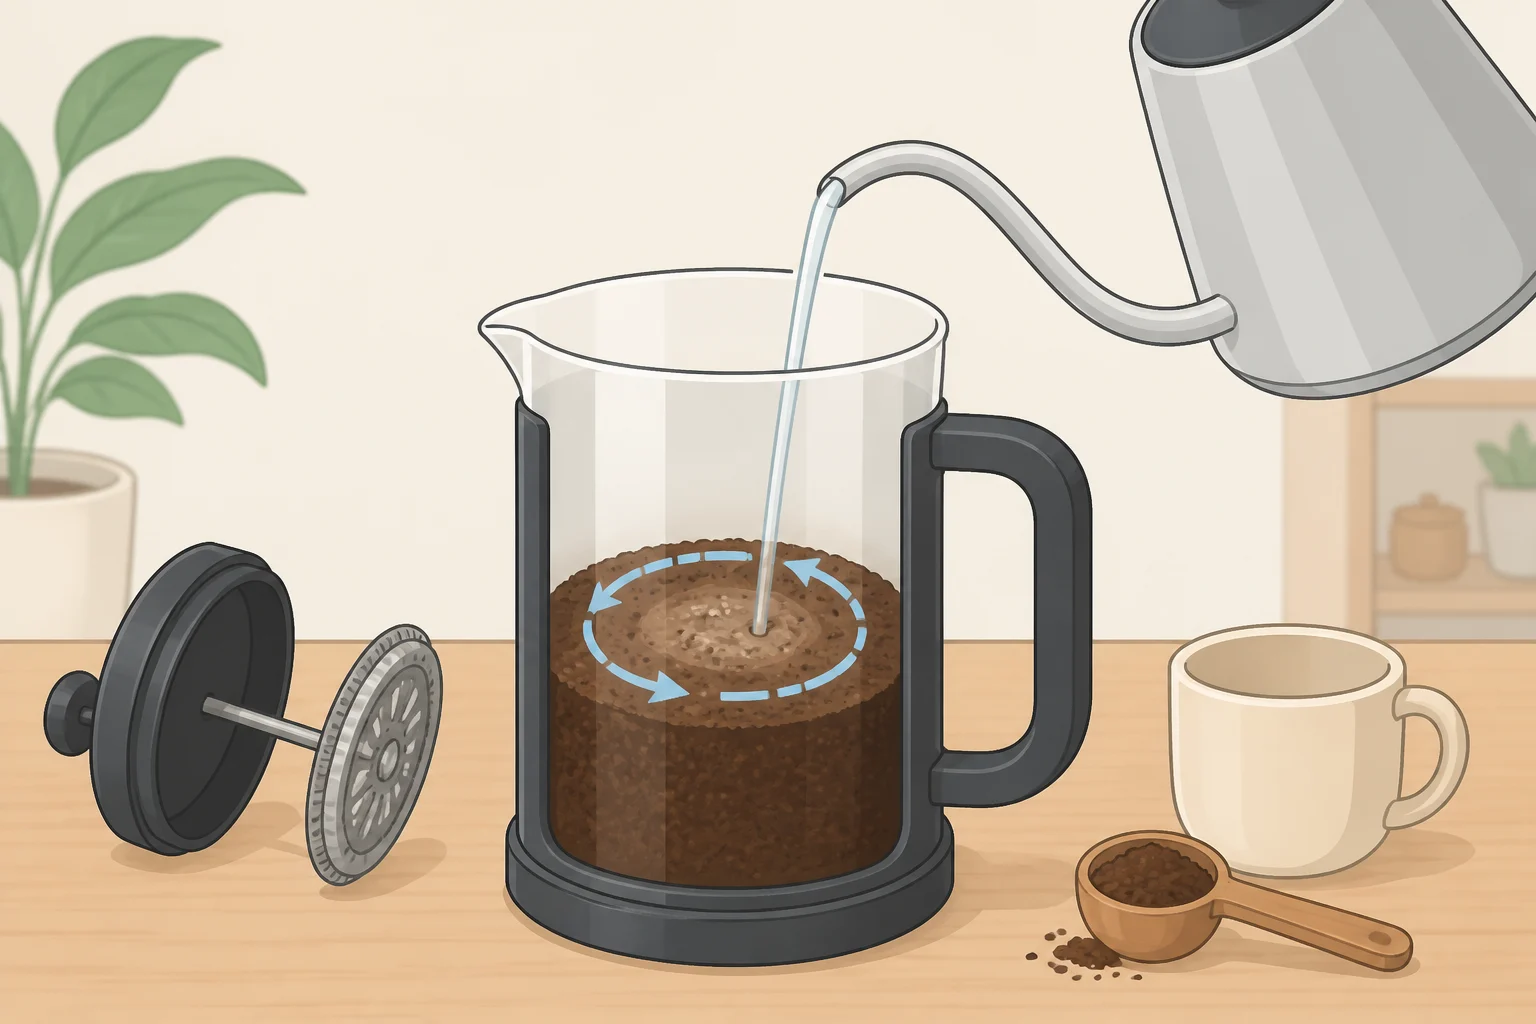
Start here if a pour-over, French press, or AeroPress tastes thin, sour, or uneven, even with fresh beans. Fresh coffee holds trapped carbon dioxide, and blooming lets that gas escape before the full pour so water saturates the grounds evenly instead of getting pushed away by bubbles, per Coffee Slang.
- Confirm the method supports it. Pour-over, French press, and AeroPress all benefit from a manual bloom. Drip machines only work for this if they have a built-in bloom or pre-infusion setting; check the manual and run that setting rather than trying to pause a standard machine mid-cycle. Moka pots bloom passively as the water heats, so there's no separate step to add. Cold brew skips this entirely, since cold water doesn't release meaningful CO₂.
- Weigh out the bloom water. Use roughly twice the coffee's weight: 20 g of coffee gets about 40 g of water, per Coffee Slang.
- Heat water to 195 to 205°F and pour just enough to wet all the grounds evenly, leveling the coffee bed first if brewing pour-over. Keep the pour gentle; pouring too hard or stirring aggressively during the bloom can push fine particles around and clog water flow later in the brew, according to Perfect Daily Grind.
- Watch the bed, not a stopwatch. You may see the grounds puff up and bubble, though how much depends on the roast and how fresh the beans are. That's typically 30 to 45 seconds, but fresher beans can foam for up to a minute and older beans may settle in 20 to 25 seconds, per Coffee Slang.
- Finish by method. For pour-over, continue the staged pour once the foaming slows to a trickle. For French press, add the rest of the measured water after the bloom and follow the brewer's normal steep time before plunging. For AeroPress, top up with the remaining water before plunging according to the chosen recipe. For a drip machine with a pre-infusion setting, let the machine's built-in cycle run on its own; don't try to manually replicate a bloom on a standard machine.
A weak or missing bloom can mean the beans are stale or the water isn't hot enough, per Coffee Slang, but it can also just reflect roast style. A light roast may show little bubbling even when it's perfectly fresh, so don't treat a quiet bloom on a light roast as proof the coffee has gone bad.
Hack 3: Test a pinch of salt for a bitter cup
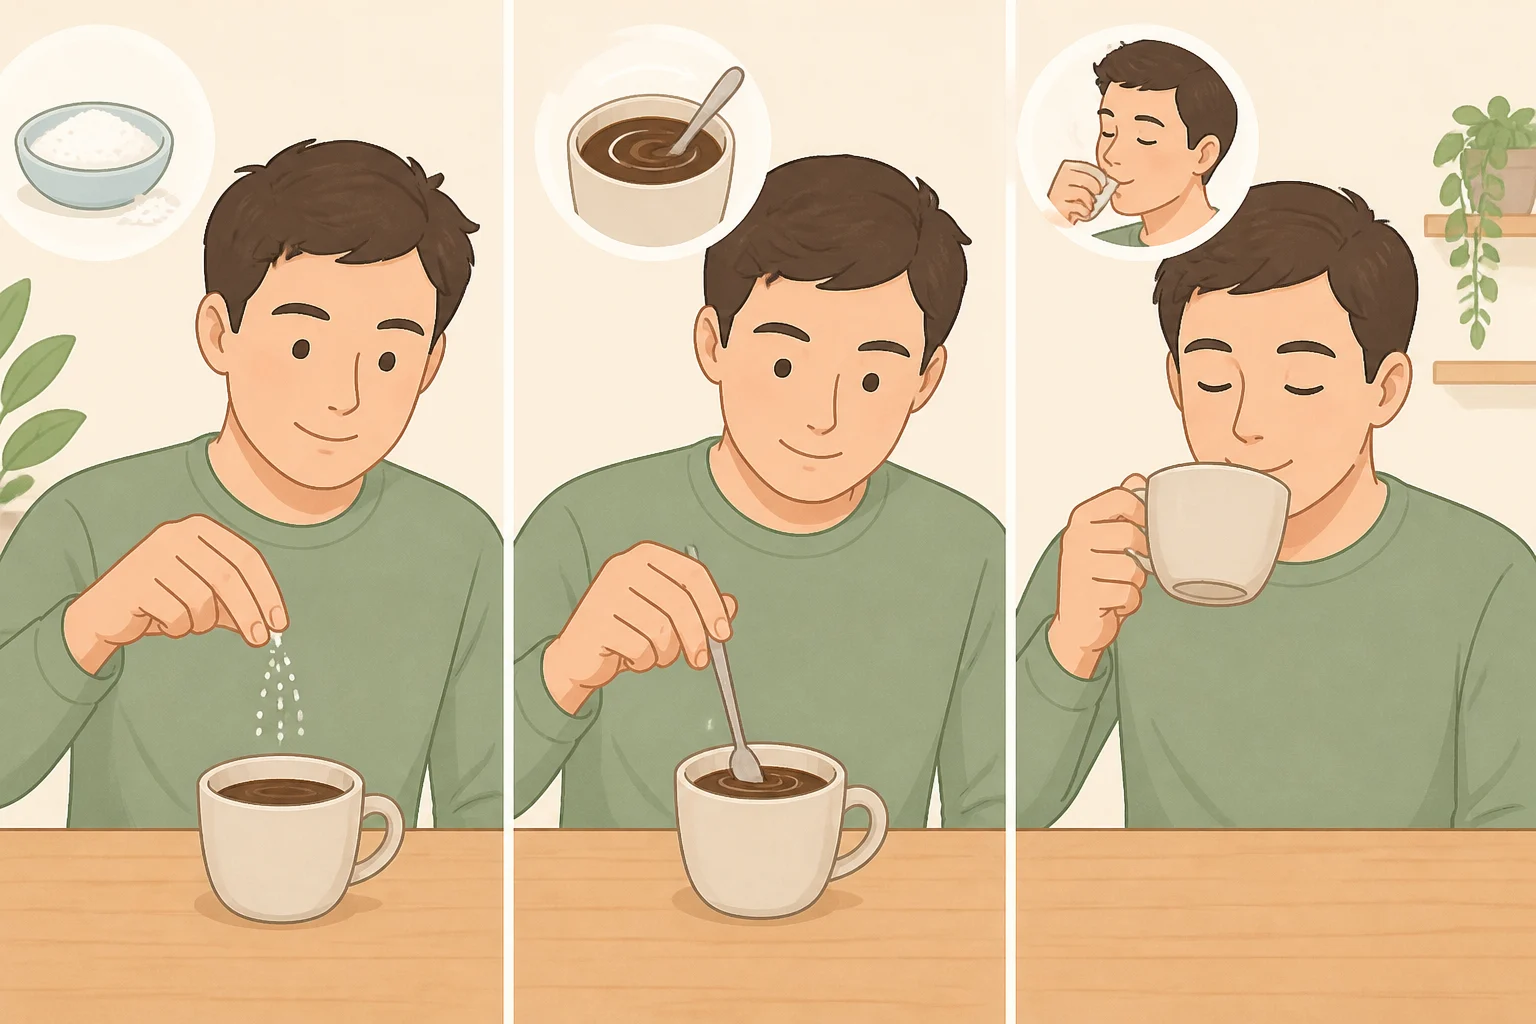
Only reach for this after freshness and bloom technique are already handled, and the cup still tastes harsh or bitter. Food science experts say a small amount of sodium can blunt bitterness and boost perceived sweetness by affecting taste receptors, without masking flavor the way sugar or cream can, according to Fox News, about a year ago.
- Brew the cup normally and taste it first.
- Add the tiniest pinch of salt to that one finished cup, stir, and taste again before adding more. Heather Perry, a two-time U.S. barista champion, told Fox News it only takes a small amount of salt to reduce perceived bitterness; too much will overpower the coffee's flavor or make it taste outright salty.
- Add more only if needed, a grain at a time, and stop well before the cup tastes salty instead of balanced.
- Or test it in the grounds instead. Fox News reports that some people sprinkle a few grains into the dry grounds before brewing rather than stirring it into the finished cup. Adding it to the cup is easier to control since it can be tasted and adjusted on the spot.
Salt changes how bitterness is perceived. It doesn't fix what caused it. The SCA's research associates higher total dissolved solids and extraction percentage with greater bitterness, so a dose or brew time that's pushing those numbers up is worth adjusting first. Salt also can't rescue coffee that's gone stale or a brew that never saturated evenly; for those problems, go back to the freshness or saturation steps. Perry also noted that high-quality, fresh-roasted beans likely don't need salt at all, since it can mask the flavor spectrum the roaster worked to create.
Skip this step entirely if managing hypertension or kidney disease; registered dietitian Janelle Bober advises people with those conditions to avoid adding salt, per Fox News. She also notes a pinch of salt won't meaningfully affect most people's sodium intake, and it offers no real hydration benefit despite what some viral claims suggest.
If the cup still isn't right
This is general brewing guidance rather than a single finding, but it's consistent across what the sources above describe. Start with whichever symptom still shows up after trying the matching fix.
- If the cup is sour and thin after blooming, the grind may be too coarse, the water may not be hot enough, or the bloom may not have saturated the whole bed. A finer grind, water closer to 205°F, or a more careful, even pour during the bloom usually addresses this before salt enters the picture.
- If the cup is bitter and strong even after a bloom, the dose, grind, or brew time is likely pulling too much out of the grounds. Try a slightly coarser grind or a shorter brew time to bring the extraction down before reaching for salt to cover it.
- If the cup is flat no matter the technique, the coffee itself is probably the problem. Fresher beans, ground closer to brew time, will do more than any technique adjustment.
Where to stop adjusting
These three fixes build on each other. Fresher, well-ground coffee tends to bloom more visibly, and a well-bloomed, correctly matched grind often needs no salt correction at all. Don't get hung up on timing the bloom to the exact second or hunting for one "perfect" grind setting. Watching the coffee bed and adjusting by taste matters more than hitting precise numbers.
There's no single correct brewing recipe, according to the SCA; dose, grind, and water all need to flex for that coffee and brewer. Taste the cup, change one variable on the next brew, not several at once, and stop adjusting once it tastes balanced. These are easy coffee hacks meant to diagnose a specific symptom, not a checklist to run through on every single cup.















Comments
Be the first, drop a comment!