




Chiles rellenos usually go wrong for one of three reasons: a chile that tears while peeling, a batter that slides off instead of clinging, or oil that's the wrong temperature. Handle those three points and the rest of the method is straightforward kitchen work.
This guide walks through how to make authentic chiles rellenos the classic way: six chiles rellenos de queso, roasted poblanos stuffed with melty cheese, dredged in flour, coated in a whipped egg batter, and fried until golden. That yields 3 to 4 servings, about 1 to 2 chiles per person. A chile relleno means "stuffed chile" in Spanish, and the traditional dish is exactly that: a roasted chile stuffed with cheese or meat, coated in a light egg batter, and fried.
The quantities below come from halving a tested 12-chile recipe down to a six-chile batch that fits a normal stovetop and a smaller table. Other published versions of this traditional Mexican chile relleno recipe use different pepper counts, cheese amounts, and fry depths, and the technique holds across all of them: roast, peel, stuff, dredge, batter, fry. Several published recipes use a similar six-chile yield.
Poblano is the classic pepper tied to Puebla, Mexico, though Anaheim and Hatch chiles show up often as substitutes, particularly in Northern Mexican and U.S. kitchens. This is intermediate-level cooking, mainly because the egg-white batter takes patience and timing to get right.
Chiles can be roasted and stuffed up to two days ahead, but battering and frying are best done right before serving for the best texture. Hot oil demands full attention, and so does the open flame or broiler used earlier in the process. This guide follows one complete method start to finish, including the exact point to stop and set a chile aside if it tears rather than trying to fix it once it's in the oil.
What you'll need before you start
Measure out everything for these cheese-stuffed poblano peppers before the peppers finish roasting. Six chiles move fast once stuffed, and there's no good moment to stop and dig through a cabinet for flour.
Ingredients (serves 3-4):
6 large poblano peppers, chosen for size and uniform shape to make stuffing easier
2 cups sliced melty cheese; queso Oaxaca is traditional, and Chihuahua, asadero, or Monterey Jack are suitable melting alternatives
1/2 cup all-purpose flour, 1/4 teaspoon salt, and 1/4 teaspoon black pepper, combined on a plate for dredging
4 large eggs, separated, plus 1/8 teaspoon cream of tartar, 1 teaspoon salt, and 1/4 teaspoon black pepper for the whites
Neutral oil (canola or vegetable), enough to fill a heavy pot no more than a third of the way, giving a 2 to 3 inch depth
Tools: a gas burner, grill, or broiler for roasting; an electric mixer for whipping whites; a heavy skillet or Dutch oven with long tongs for frying; and a thermometer if you have one, since 350 to 375°F is a narrow enough window that guessing wastes a batch. Without a thermometer, test with a pinch of flour or a dab of batter dropped into the oil instead.
Timing and yield: roasting, stuffing, battering, and frying six chiles takes about an hour total, roughly 30 minutes of prep and 25 to 30 minutes of cooking.
For serving, warm a jarred salsa roja, salsa verde, or ranchera while the chiles fry. A quick homemade version simmers chopped tomato, onion, garlic, and chile with a little flour and broth until slightly thickened, and it keeps in the fridge for up to 3 days if made ahead.
Safety basics: use a stable, heavy pot that won't tip, fill the oil no more than a third of the way up, and keep water away from the oil entirely, since even a few drops can cause dangerous splattering. Pat chiles dry before frying, keep loose sleeves and bystanders clear of the stove, lower food in slowly with tongs and away from your body, and turn off the heat right away if the oil starts smoking heavily.
How to make classic chiles rellenos: roast, peel, and stuff the poblanos
A chile that's properly charred, steamed, and dried peels clean and holds its stuffing.
Char the peppers directly over a gas flame or under a broiler until blackened on all sides, turning them with tongs. This takes about 5 minutes over open flame, longer under a broiler.
Transfer the chiles to a covered bowl or bag to steam for 15 minutes. This loosens the skin so it slips off instead of tearing. Open the bag away from your face, since it releases a burst of hot steam.
Peel each chile with a paper towel rather than scraping with a knife, which tears the flesh underneath. Pat each chile dry and let it drain a minute before stuffing.
Slit one side lengthwise from just below the stem to just above the pointed tip, stopping short of cutting all the way through so the back of the chile stays intact. Scrape out the seeds and membranes with a spoon rather than your fingers to avoid tearing the wall. Remove them for less heat, or leave some in for more; poblanos vary naturally in spice from pepper to pepper, so this step adjusts heat rather than guaranteeing mild.
Stuff each chile with cheese, distributing it evenly along the length rather than packing it all near the opening, then close the edges so they overlap slightly. Enough cheese to melt fully without forcing the slit open is the goal, not a packed chile.
If a chile is torn too badly to close on its own, secure the edges with a single toothpick now, before it goes near the oil. If the tear is worse than that, set the chile aside for a casserole or baked version instead of forcing it into the fryer.
If splitting the work across two days, stop here. Roasted, peeled, and stuffed chiles hold in the fridge for up to two days; wait to flour, batter, and fry until closer to serving time.
Make the batter and heat the oil
Set a heavy pot with oil no more than a third full, giving a 2 to 3 inch depth, over medium-high heat and bring it to 350 to 375°F. Start this now, since it takes several minutes to climb to temperature.
While the oil heats, combine the flour with salt and pepper on a plate for dredging.
Beat the egg whites with the cream of tartar, salt, and pepper until they hold stiff, straight-up peaks when the beater is lifted. Chili Pepper Madness specifically warns against underbeating the whites, since soft peaks won't hold their lift once the batter hits the oil.
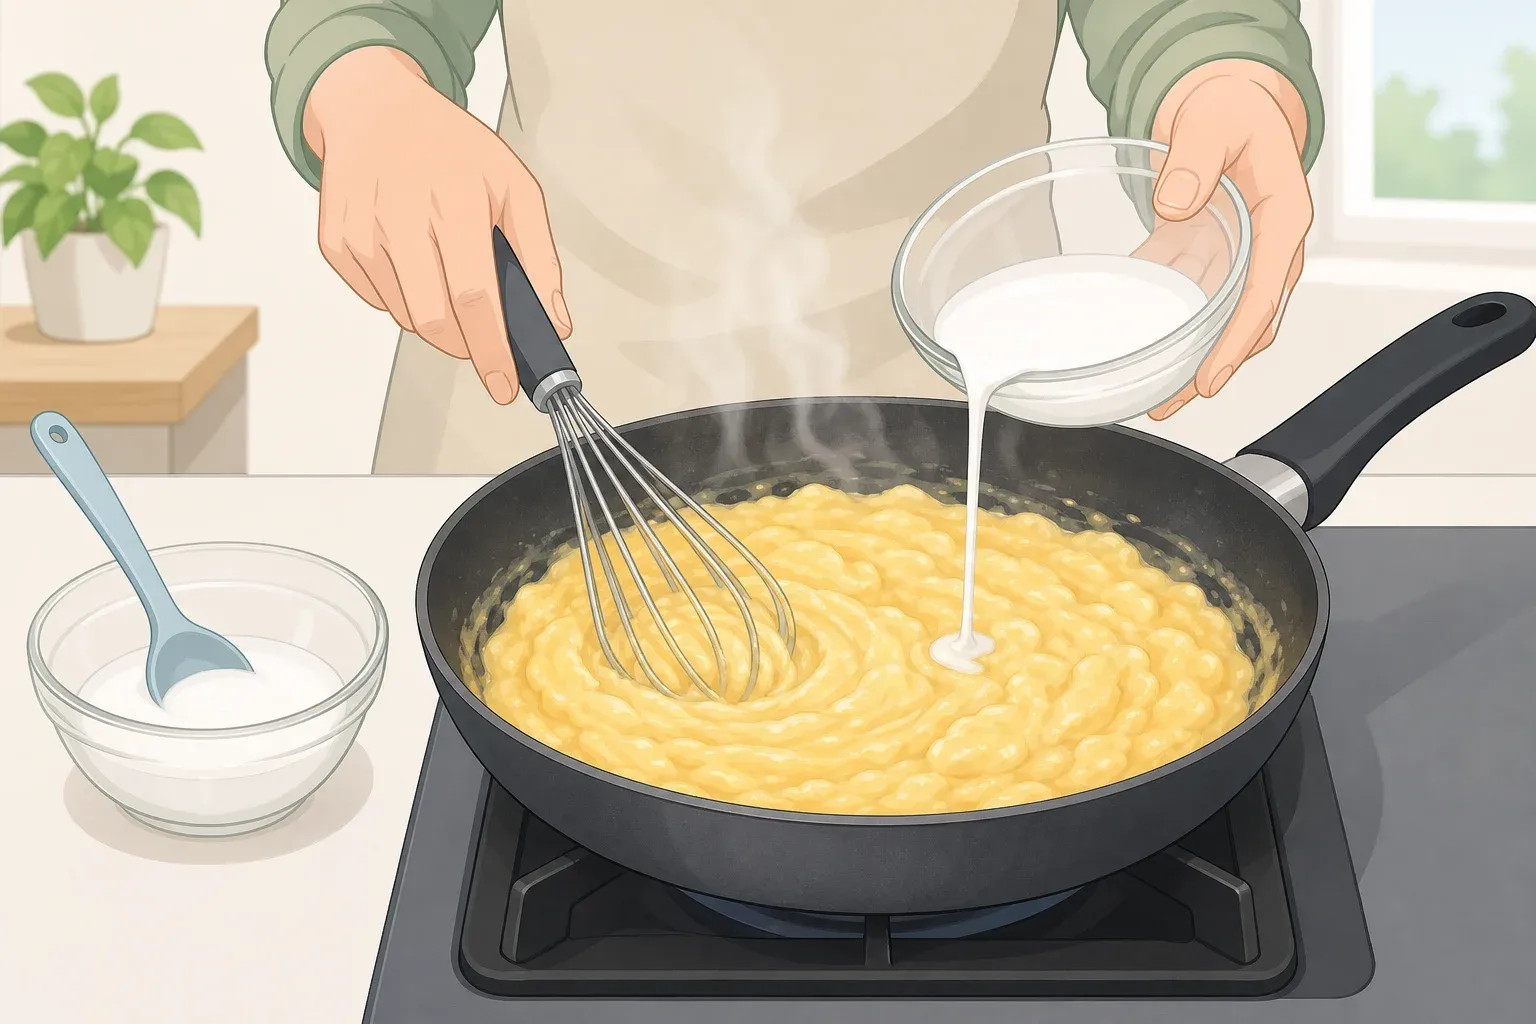
Gently fold in the yolks one at a time until just combined. This version keeps flour out of the batter itself and relies on the flour dredge alone to give the coating something to grip.
Do not let any yolk touch the whites before whipping. Even a trace of fat stops them from reaching stiff peaks. Once the batter is whipped, use it within the next batch or two; whipped egg whites lose volume the longer they sit, so there's no reason to make it early and let it wait next to the stove.
Fry the poblano peppers with egg batter
Line up the seasoned flour, the batter, a pair of long tongs, and a tray lined with paper towels next to the stove before the oil reaches temperature. Frying moves fast once the first chile goes in, and there's no time to hunt for a missing tool.
Test the oil by dropping in a small bit of batter. It should sizzle and float, not sink; if it sinks, give the oil more time before frying.
Dredge one dry, stuffed chile in the seasoned flour, then dip it into the egg batter until fully coated.
Lower it into the hot oil right away, using tongs and moving it away from your body. Fry immediately after dipping for the best texture.
Fry only 1 to 2 chiles at a time, turning once, until deep golden brown on both sides. That takes roughly 2 to 5 minutes per side depending on the size of the pepper and how well the oil holds its temperature. A coating turning dark brown or black before both sides finish cooking means the oil is running hotter than 375°F; pull the chile and let the oil cool slightly before continuing.
Drain on paper towels in a single layer rather than stacked, changing the towels two or three times to pull off excess oil before plating. Stacking hot, fried chiles traps steam against the coating and softens the crisp shell.
If a toothpick went into any chile before frying, count them and pull every one out before the chiles reach the table.
If the coating begins to come away in the oil, don't try to patch or re-dip the chile. Finish frying it until the coating that's left is browned, then remove it and check the filling before serving. If a chile is badly torn or has already lost most of its cheese, set it aside instead of forcing it through the next batch.
Decide before frying, not during, whether a torn chile needs a toothpick or should be set aside. Once a chile is in the oil, there's no fixing it.
Troubleshooting common problems
Batter looks thin or won't hold shape. The whites likely aren't at stiff peaks yet. Whip a fresh batch to stiff, straight-up peaks rather than trying to fix the batter already in the bowl.
Oil isn't hot enough, or it drops between batches. A drop of batter sinks instead of sizzling and floating. Give the oil more time on the burner and retest before adding the next chile.
Cheese is leaking out during frying. Use less cheese in the next chile and press the closed edges together firmly before dredging, so the overlap holds through frying.
Chile tears while peeling. Give the remaining chiles the full 15 minutes covered before peeling, and use a paper towel instead of scraping.
Finishing up
A finished chile should look golden and visibly puffed, with a light, fluffy coating rather than a heavy fried crust. Serve warm with a modest spoonful of salsa drizzled on top rather than drowning the chile, and let anyone who wants more add it at the table.
Refrigerate leftovers in an airtight container for up to 3 days. Reheat on a baking sheet in a 350°F oven for 12 to 15 minutes, or in an air fryer at 350°F for 5 to 7 minutes for extra crispness. Skip the microwave, which makes the batter soggy.
For freezing, stop before the batter stage: freeze the roasted, stuffed chiles before battering and frying, and they'll keep up to 2 months that way. Fried batter doesn't hold its texture once thawed.
Next time, adjust heat by leaving in or removing seeds and membranes; pepper-to-pepper variation is normal, not a sign anything went wrong. A baked, no-fry version exists for a lighter dish, but it skips the egg coating entirely and trades away the classic texture rather than replicating it. Treat it as a different dish, not a shortcut to the same result.













Comments
Be the first, drop a comment!